GBC C210E: инструкция
Раздел: Техника
Тип:
Инструкция к GBC C210E
CombBind
C210E
G
Instruction Manual
F
Manuel d’utilisation
D
Bedienungsanleitung
I
Manuale d’istruzioni
O
Gebruiksaanwijzing
E
Manual de instrucciones
P
Manual de Instruções
T
Kullanım Kılavuzu
K
Οδηγίες
c
Brugsvejledning
FI
o
Käyttöopas
NO
o
Bruksanvisning
S
Bruksanvisning
Q
Instrukcja obsługi
o
CZ
Návod k obsluze
H
Használati útmutató
RUS
o
Руководствo по
зкcплyатации
English 4
Français 6
Deutsch 8
Italiano 10
Nederlands 12
Español 14
Português 16
Türkçe 18
Ελληνικά 20
Dansk 22
Suomi 24
Norsk 26
Svenska 28
Polski 30
Česky 32
Magyar 34
Pyccкий 36

1 32
4 65
7 8
9
10
Quickstart Guide 1-2-3
Specifications
Important safeguards
m
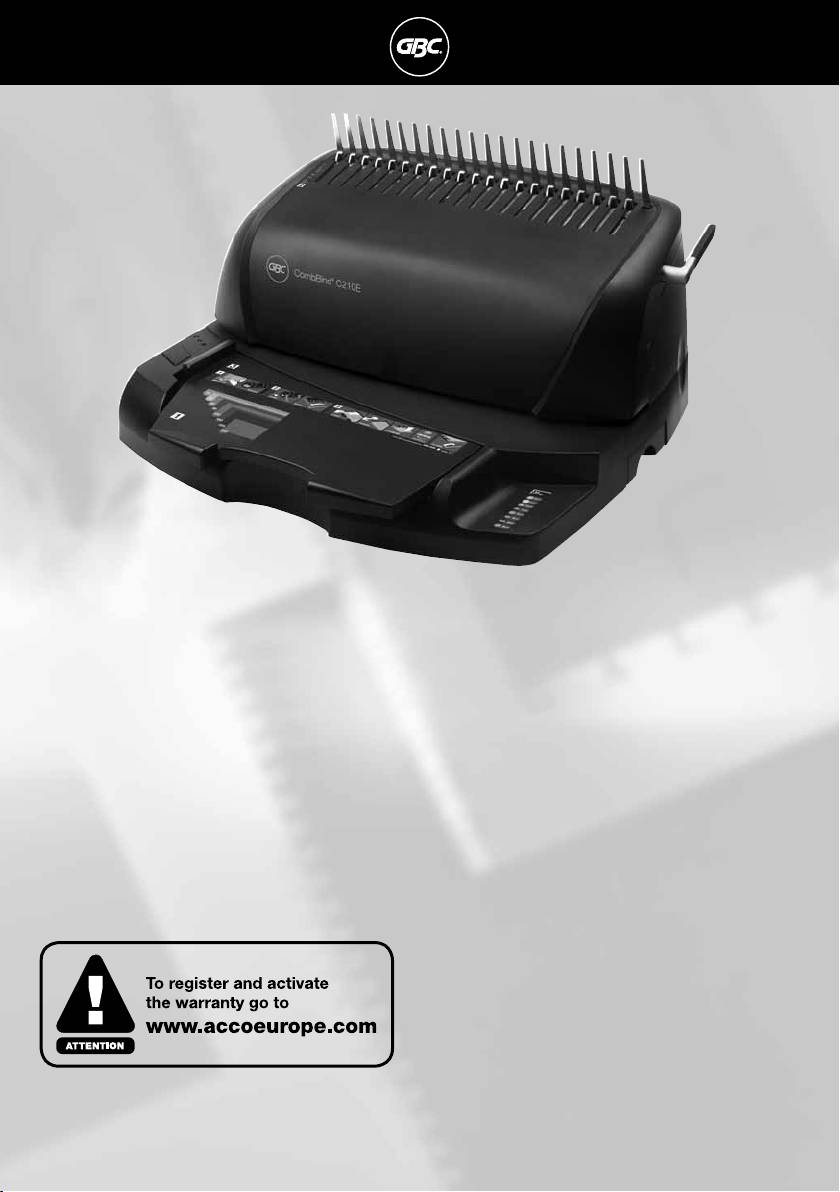
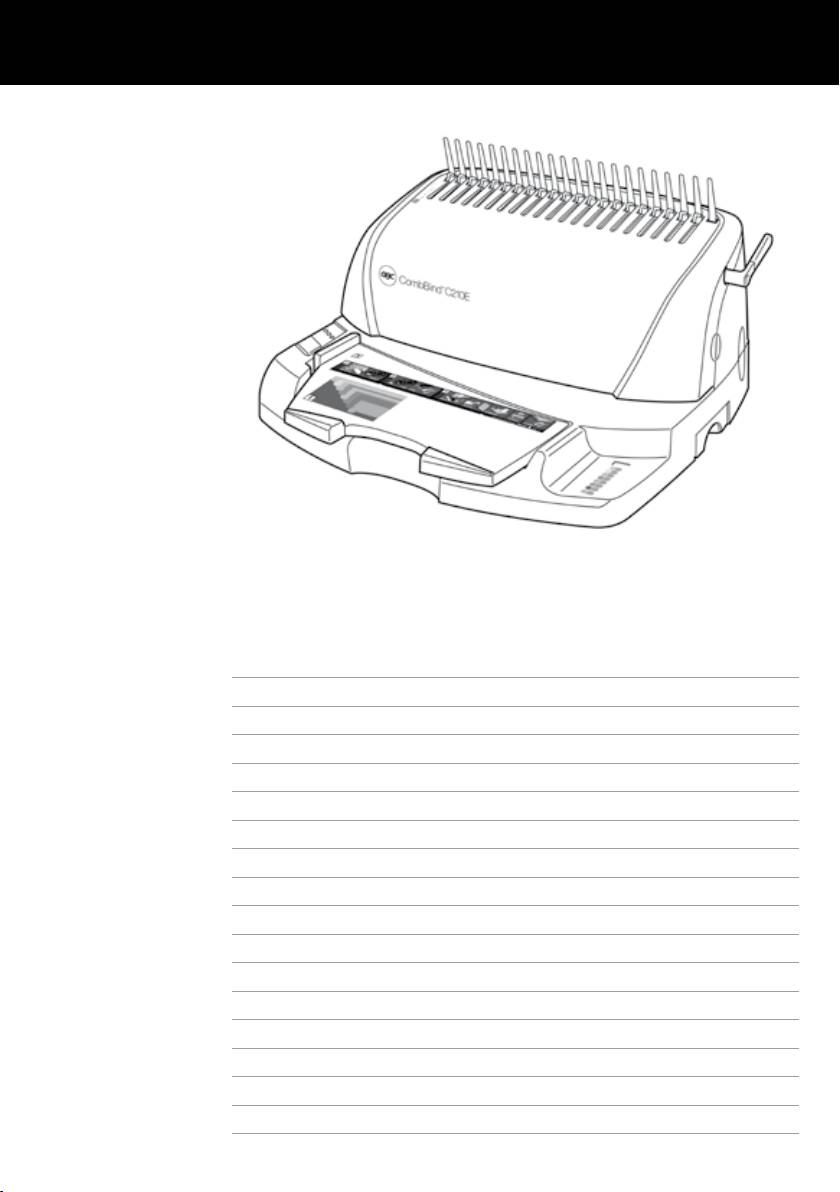
GBC CombBind C210E
FOR YOUR PROTECTION, DO NOT CONNECT THE
Max. width of paper
297mm - A4
m
COMBBIND C210E TO ELECTRICAL POWER UNTIL YOU
Punching capacity, paper
20 sheets (80gsm)
READ THESE INSTRUCTIONS COMPLETELY. KEEP THESE
Binding capacity
330 sheets
INSTRUCTIONS IN A CONVENIENT LOCATION FOR
FUTURE REFERENCE. TO GUARD AGAINST INJURY, THE
Net weight
7.1 kg
FOLLOWING BASIC SAFETY PRECAUTIONS MUST BE
Dimensions (H x W x D)
220mm x 420mm x 384mm
OBSERVED IN THE SET-UP AND USE OF THIS PRODUCT.
Please read these instructions carefully and keep
them in a safe place f or later reference.
General safeguards
• Use the CombBind C210E only for its intended purpose of
Special notice
punching and binding paper and covers according to the indicated
specifications.
Thank you for choosing a GBC Binding Machine. We aim to produce
quality binding machines at an affordable price, with many advanced
• Do not place anything in the punch opening of the machine other than
features to enable you to create excellent results every time. Before
paper and cover stock.
using your machine for the first time, please take a few minutes to read
• Place unit on a secure, stable work area to prevent the machine falling
through this guide.
and possibly causing personal injury and damage to the unit.
• Follow all warnings and instructions marked on the product.
Safety instructions
m
• Lift the machine from the bottom, not the cover.
• Do not lift the machine by the cover or GuideRight™ edge guide.
YOUR SAFETY AS WELL AS THE SAFETY OF OTHERS IS IMPORTANT
TO ACCO BRANDS EUROPE. IN THIS INSTRUCTION MANUAL AND ON
THE PRODUCT ARE IMPORTANT SAFETY MESSAGES. READ THESE
Electrical safeguards
MESSAGES CAREFULLY.
• The CombBind C210E must be connected to a supply voltage
THE SAFETY ALERT SYMBOL PRECEDES EACH SAFETY
corresponding to the electrical rating of the machine as indicated on
m
MESSAGE IN THIS INSTRUCTION MANUAL.
the serial/rating plate or in this manual.
THIS SYMBOL INDICATES A POTENTIAL PERSONAL
CAUTION: THE POWER RECEPTACLE MUST BE LOCATED
SAFETY HAZARD THAT COULD HURT YOU OR OTHERS,
m
NEAR THE EQUIPMENT AND BE EASILY ACCESSIBLE.
AS WELL AS CAUSE PRODUCT DAMAGE OR PROPERTY
• Unplug the CombBind C210E before moving it, or when it is not in use
DAMAGE.
for an extended period of time.
THIS WARNING IS FOUND ON THE PRODUCT.
• Do not operate with a damaged supply cord or plug, after it
malfunctions, or after it has been damaged in any manner.
m
WARNING
• Do not overload electrical outlets beyond their capacity as this can
c
Electrical shock hazard.
result in fire or electrical shock.
Do not open. No user
• Do not alter attachment plug. Plug is configured for the appropriate
servicable parts inside.
electrical supply.
Refer servicing to qualified
• The unit is intended for indoor use only.
service personnel.
• Never push objects into this product through cabinet slots. Do not spill
This safety message means that you could be seriously hurt or killed if
liquid of any kind on this product.
you open the product and expose yourself to hazardous voltage.
• Do not operate if the product has been exposed to rain or water.
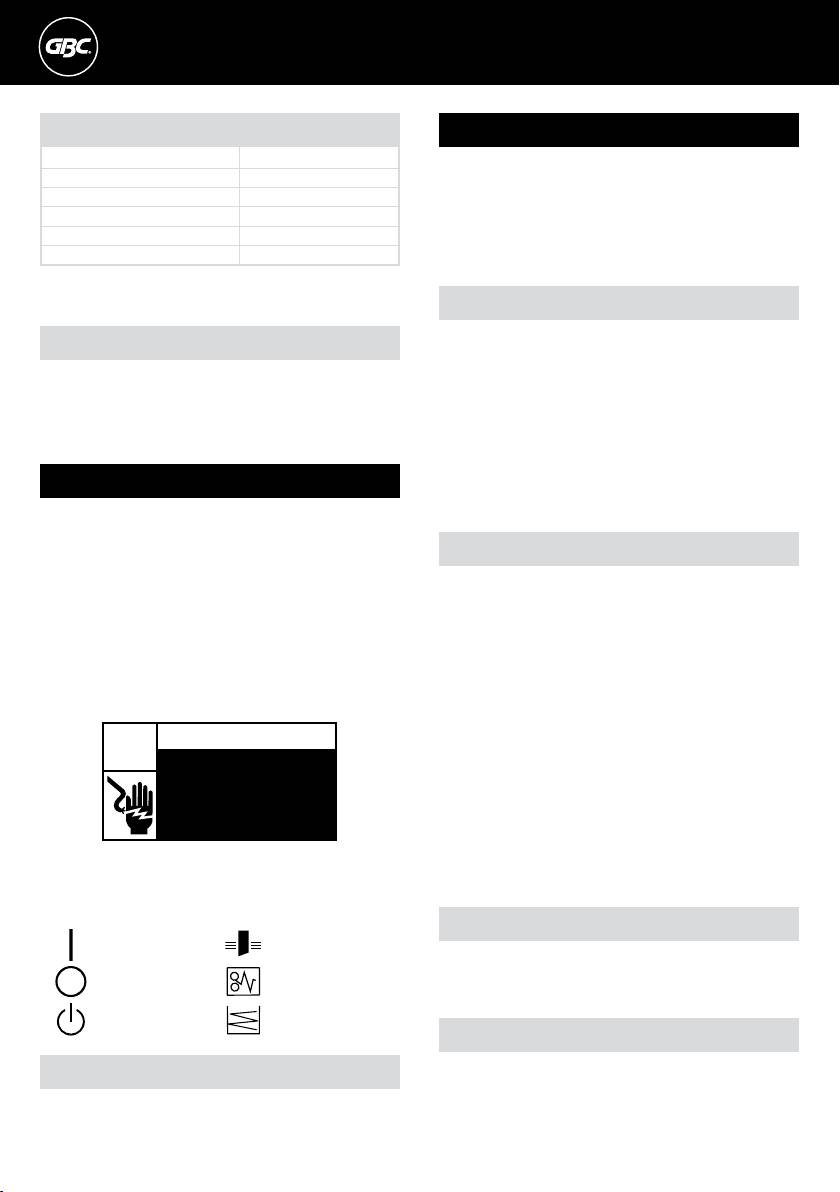
The following symbols appear on this product, and their meanings are
as follows:
Cleaning
Power On Punch Paper
Caution: Unplug this product before cleaning.
m
• Wipe exterior only with a damp cloth. Do not use detergents
Power Off Jam
or solvents.
Standby Chip Tray Full
Empty chip drawer
1
Your CombBind C210E has a chip drawer located on the right side
Service
of the machine (fig.8). When it is full, an indicator light located above
the punch button will illuminate. To empty, gently pull the drawer
• Do not attempt to service or repair the CombBind C210E yourself.
open and remove it from the machine. Dispose of the contents and
Unplug the unit and contact an authorised ACCO Brands Europe
re-insert the drawer into the machine until it snaps in place.
service representative for any required repairs.
4

G
Binding
Your machine has been fitted with a GuideRight™ paper alignment tray
6
Jog or align the sheets or covers and insert the edge to be punched
(fig.1). This ensures accurate A4 punching every time.
into the punch throat opening.
1
To turn the machine “ON” press the ON / OFF (I/O) switch located in
7
Fully insert the sheets into the throat opening and against the edge
the rear of the machine. A green light will illuminate to indicate that
guide (fig.6).
the power is on.
8
To punch, press the punch button
. The CombBind C210E will
2
Measure document using colour coded guide (fig.2)
punch up to 15 sheets of 80 gsm paper. Do not punch more than 1
Open the lid of the machine and rest your document (including any
clear cover at a time to prevent jams.
cover sheets you have chosen) against the lid on the ‘staging’ area
9
If the punch jams the red jam light
will illuminate (fig.5)
provided. Gently push the document back against the lid and check
to indicate that the machine has jammed. The machine will
the document size using the colour coded guide on the staging area.
automatically reverse the punches to clear the jam and the red jam
You can leave your document on the staging area in readiness to
light will remain illuminated. Remove the paper and push the punch
punch.
button to re-set the machine. The red jam light will turn off indicating
3
Select comb which fits your document (fig.3)
that the machine is ready to punch. Reduce some of the sheets and
Use the comb size guide to select the size of comb that fits your
repeat steps 2 to 4 to avoid jams on additional lifts.
document i.e. 25 sheet document = 6mm comb.
J
Place the front cover (finished side down) onto the opened binding
4
Load comb onto machine (fig.4)
element fingers. Place the document pages (face down) onto the
Insert the binding comb next to the white positional arrow on the
element. Repeat for larger documents as required. Place the back
machine, behind the metal comb support fingers, with the open side
cover (finished side up) on the open binding element fingers last.
of the comb pointing upwards.
K
Rotate the binding lever away from you, back to its original position
Note: If using GBC ProCombs™ the coloured line on your comb
to close the binding element.
should align to the coloured arrows on the machine for faster
L
Remove the book by lifting upward. Your document is now complete.
binding.
M
Once you become familiar with your CombBind C210E you will find
5
Open comb by turning lever towards you (fig.5)
that you can bind as you punch, increasing your productivity.
The coloured arrows adjacent to the opening comb act as a guide
as to how far to open in order to allow punched sheets to be easily
N
When finished punching turn the machine OFF by pressing the ON /
inserted.
OFF (I/O) switch located at the rear of the machine.
Rotate the binding handle towards you to open the hooks away from
the comb support.
ZipComb spine (fig.9)
Quickstep Guide 1-2-3 (fig.10)
The ZipComb spine allows you to create an easily editable document
The QuickStep Guide label on the machine is a quick reference guide to
with comb punch orientation.
how to bind in three quick and simple steps.
1
Place the adaptor on to the metal teeth.
1
Understand the comb size required by measuring on the document
size area 1, select the appropriate ProComb.
2
Place the spine into the zip holder as shown in fig. 9.
2
Load the ProComb with the dot to the left and open until you see the
3
Load and punch paper as per 'Binding' section 6-8.
coloured arrow.
4
Load punched paper on to spine.
3
Punch and load your document on to the spine until your document
5
Remove document and spine, close the ZipComb using the zipper
is complete. Close the spine.
included in the ZipComb boxes.
6
Complete by flipping the back cover around the spine, for a
professional finish where the spine is hidden.
Guarantee
Operation of this machine is guaranteed for two years from date of
persons not authorised by ACCO Brands Europe will invalidate the
purchase, subject to normal use. Within the guarantee period, ACCO
guarantee. It is our aim to ensure that our products perform to the
Brands Europe will at its own discretion either repair or replace the
specifications stated. This guarantee does not affect the legal rights
defective machine free of charge. Defects due to misuse or use for
which consumers have under applicable national legislation governing
inappropriate purposes are not covered under the guarantee. Proof
the sale of goods.
of date of purchase will be required. Repairs or alterations made by
Register this product online at www.accoeurope.com
5
