Vitek VT-3606: INSTALLATION EXAMPLE (FIG.1,2,3,4) REMOVING THE FRONT PANEL (Fig. D) MASKING OF ALTERNATIVE FREQUENCIES INSTALLING THE FRONT PANEL (Fig. E) RETUNING STATIONS (L / S) (2) AUDIO PROCESSOR (AUDIO DSP) (2)
INSTALLATION EXAMPLE (FIG.1,2,3,4) REMOVING THE FRONT PANEL (Fig. D) MASKING OF ALTERNATIVE FREQUENCIES INSTALLING THE FRONT PANEL (Fig. E) RETUNING STATIONS (L / S) (2) AUDIO PROCESSOR (AUDIO DSP) (2): Vitek VT-3606
Table of contents
- OPERATING CONTROLS (FIG. A) MAINTENANCE INSTALLATION SAFETY MEASURES INSTALLING THE UNIT IN YOUR AUTOMOBILE ISO JACKS (FIG. C)
- INSTALLATION EXAMPLE (FIG.1,2,3,4) REMOVING THE FRONT PANEL (Fig. D) MASKING OF ALTERNATIVE FREQUENCIES INSTALLING THE FRONT PANEL (Fig. E) RETUNING STATIONS (L / S) (2) AUDIO PROCESSOR (AUDIO DSP) (2)
- TONE COMPENSATION (LOUDNESS) (2) CHOOSING LOCAL/DISTANT RADIO STATIONS ANTI-SHOCK PROTECTION (ESP) (2) AUDIBLE SIGNAL (BEEP) (2) SETTING THE VOLUME LEVEL (VOL SEEK (2) 4. STATION PRESETS (1,2,3,4,5,6) STEREO/MONO (2)
- 8. DISPLAY MODE (DISP) USING THE RDS FUNCTION 5. AF/REG Function (Alternative frequencies) 9. DEVICE OPERATING MODE (MODE) 10.BAND SELECTOR (BAND) 11. AUTOMATIC OR MANUAL RADIO TUNING 6. TA Function (Traffic Information 12. AUTOMATIC PROGRAM SEARCH (A/PS) 7. PTY function (Program type)
- 21.REPEAT PLAYBACK BUTTON RPT 22.RANDOM PLAYBACK MODE RDM 13.SCANNING 23, 24. Selecting 10 tracks up/down: (For MP3 discs) CHOOSING MP3 FILES 14.MUTE BUTTON 15.LIQUID CRYSTAL SCREEN LOCATION OF CONTROLS FOR THE CD/MP3 PLAYER 11.FORWARD/BACK TRACK SEARCH 17.CD DISC SLOT 18.EJECTING DISCS (EJ) 19.PAUSE MODE (PAU) 20.INTRO MODE PLAYBACK (Preliminary play-
- TECHNICAL CHARACTERISTICS GENERAL
ENGLISH
INSTALLATION EXAMPLE (FIG.1,2,3,4)
- TA SEEK mode:
Installing in a dashboard
If a newly tuned station does not transmit traffic
1. Remove the screws and clips.
information within 5 seconds, the radio automat-
3. CLIP. Break off these clips if necessary.
ically tunes to the next station that transmits
Note: Store the key in a reliable place, as you
traffic information.
may need to remove the device from the car in
In TA search mode, the current station can be
the future.
switched to another station if the signal is lost or
the station stops broadcasting traffic informa-
Removal and installation of the front panel
tion, because the device is searching for other
The front panel of this device can be removed in
stations, broadcasting traffic information, that
order to avoid theft.
have strong broadcast signals and are transmit-
ting TP-signal information.
REMOVING THE FRONT PANEL (Fig. D)
Before removing the decks front panel, turn off
- TA ALARM mode:
the power by pressing button 1 POWER
This mode automatically switches to a station
ON/OFF (PWR).
transmitting traffic information and sounds a
Press the panel release button 16 to remove the
warning beep before the beginning of the traffic
front panel (REL), pull the panel towards your-
information broadcast.
self.
See the figure D.
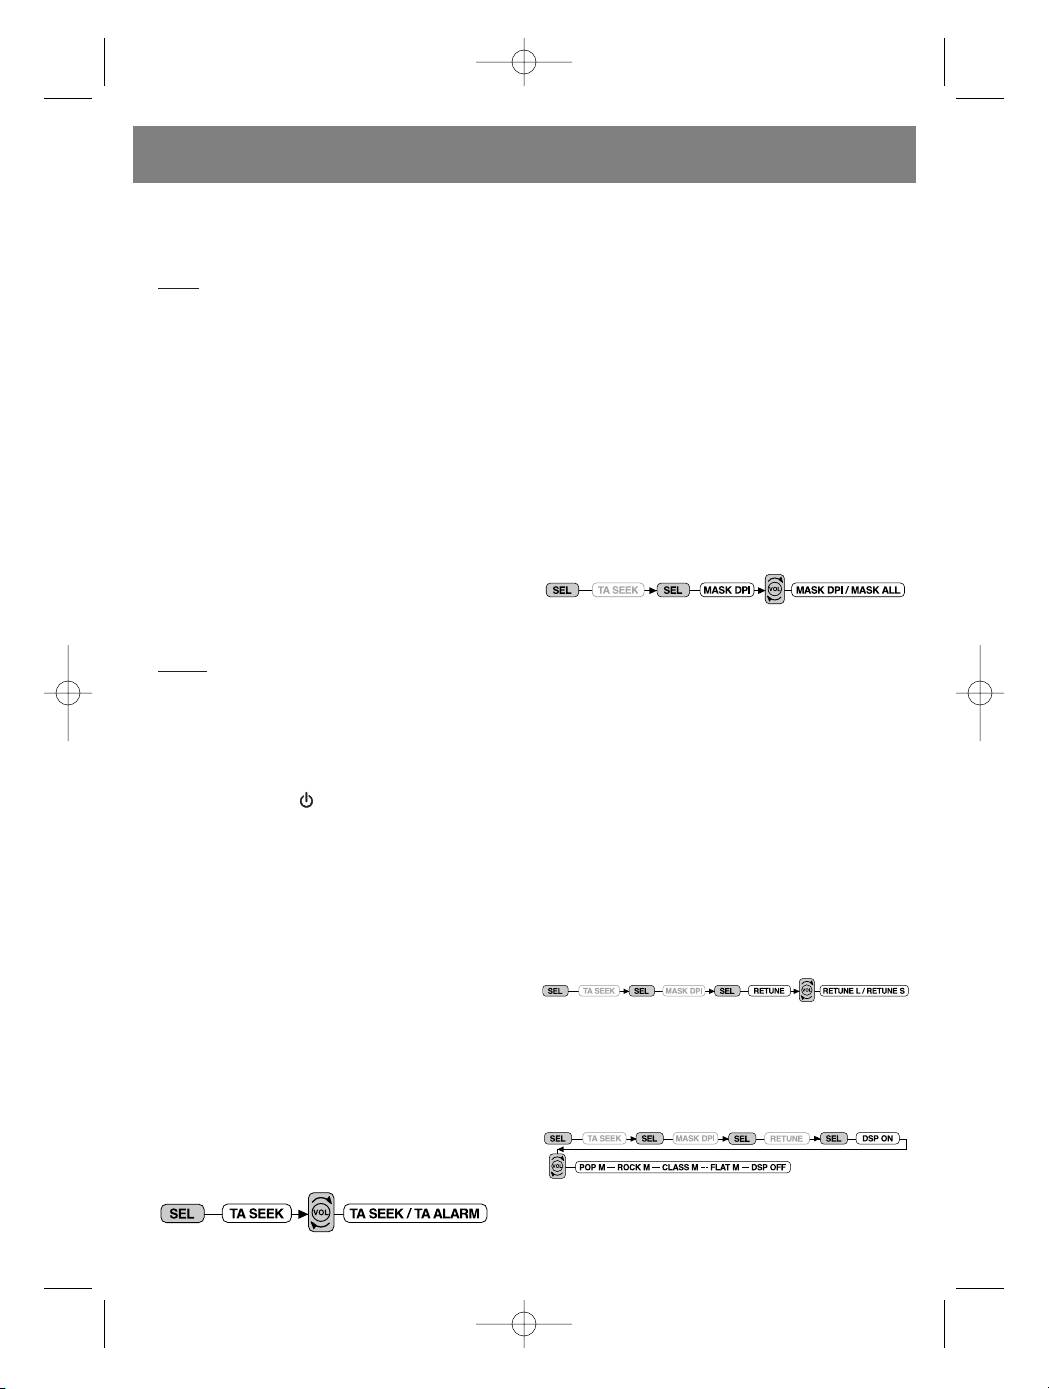
MASKING OF ALTERNATIVE FREQUENCIES
(MASK DPI) (2)
INSTALLING THE FRONT PANEL (Fig. E)
Before installing the panel, make sure that it is
located in the correct position. Connect side B
of the panel with side A of the main unit. Push
Holding down the SEL button for more than 2
the panel into place until it clicks.
seconds activates the selection of alternative
Notes:
frequencies processing mode.
Do not press too hard when installing the panel.
It freely snaps into place with light pressure.
MASK DPI mode: masks radio stations on
When taking the panel with you, place it in the
alternative radio frequencies (AF) that have dif-
supplied case.
fering program identifiers (PI).
Do not press hard on the LCD screen when con-
MASK ALL mode: masks radio stations on
necting the front panel to the main unit.
alternative radio frequencies with differing pro-
gram identifiers and no RDS signal.
1. POWER ON/OFF ( )
Press this button to turn the device on. To turn it
RETUNING STATIONS (L / S) (2)
off, press and hold this button for more than 1
Pressing the SEL button for more than 2 sec-
second. This device turns on when any button is
onds activates the function selector for the
pressed.
retune mode, which retunes to stations transmit-
ting traffic information.
2,3. MENU SETTINGS BUTTONS: BASS/TRE-
RETUNE L: Sets the TA search mode delay to
BLE/CHANNEL BALANCE/ FADER
90 seconds.
When pressed momentarily, the sound charac-
RETUNE S: Set the TA search mode delay to 30
teristics setting mode is activated.
seconds.
VOLUME- BASS TREBLE CHANNEL
BALANCE FADER VOLUME
Rotate knob 3 to set the desired parameters
VOLUME, BASS, TREBLE, CHANNEL BALANCE,
AUDIO PROCESSOR (AUDIO DSP) (2)
FADER.
Pressing the SEL button for more than 2 sec-
onds activates the function selector for the
TA SEEK /TA ALARM (2)
audio processing parameters.
Press the SEL button for more than 2 seconds to
The parameters are chosen using the 3 (VOL)
activate the function selector for traffic notifica-
knob in the following order:
tion messages.
The TA SEEK or TA ALARM functions can be
chosen by rotating the VOL knob.
POP M-ROCK M-CLASSICAL- NEUTRAL
MUSIC-PROCESSOR OFF
5
3606_4l.qxd 29.03.05 13:40 Page 5


