Vitek VT-1656: Instructions for using the microwave oven 1. Setting the time Installation 2. Cooking in the microwave oven
Instructions for using the microwave oven 1. Setting the time Installation 2. Cooking in the microwave oven: Vitek VT-1656
Table of contents
- PRECAUTIONS, WHICH MUST BE IMPORTANT SAFETY INSTRUCTIONS SAFETY MEASURES
- Rules that should always be remembered: Grounding the Microwave Oven
- Materials and dishes that are safe to use in your microwave oven
- Materials and dishes that are NOT safe for microwave use Description Display Control Panel
- Instructions for using the microwave oven 1. Setting the time Installation 2. Cooking in the microwave oven
- 2. Cooking in Grill mode 4. Convection cooking (Without preheating) 3. Convection cooking (with preheating) Setting the "CONVECTION" mode temperature
- "COMBINATION" cooking options Table of reheating modes. 1. Setting the cook start time "CLOCK/PRESET" 8. Time defrost "d1" 7. Reheating food 9. Weight defrost "d2"
- 10. Defrosting meat "d3" 11. Defrosting seafood "d4" 12. Automatic cooking process
- Table of automatic cooking modes 13. Memory
- 18. Indications on the display 19. Care and cleaning 14. Quick cooking mode 15. Viewing the current cooking mode 16. Child lock function 17. Auto power level reduction function
- Eliminating malfunctions Technical Characteristics
ENGLISH
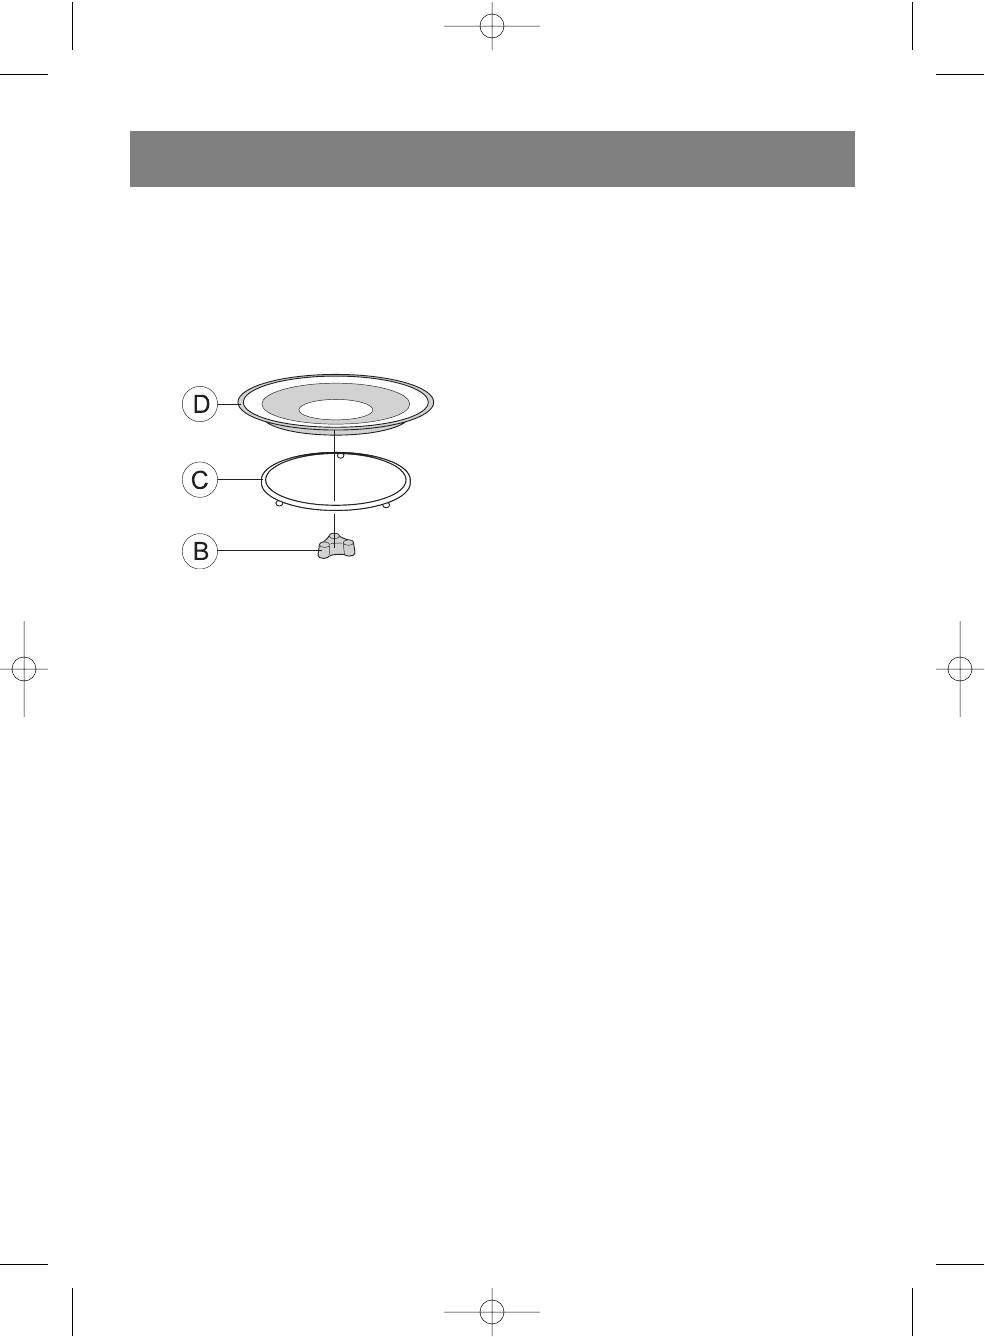
• During the cooking process, always use the glass
Instructions for using the microwave
tray, rolling ring and tray base.
oven
• Food and cooking dishes must always be placed
only on the glass tray.
1. Setting the time
• The glass tray may rotate clockwise or counter
Upon connecting the microwave oven to power, it will
clockwise. This is normal.
beep and the display will show "0:00".
• Replace the tray immediately if it becomes cracked
You can set the time from 0:00 23:59;
or chipped.
For example: To set the time as 12:12.
• Press the (4) "CLOCK/PRESET" button; the dis
play will show the current time format of 24Н; press
the button again to choose a 12H format.
• Press the number buttons "1", "2", "1", "2".
• Press the (4) "CLOCK/PRESET" button to finish
setting the time. The display will show the set time of
12:12 and the separation dots (9) will blink.
Note:
• If the time is not set, the current time will not be
shown on the display.
• If the time is set incorrectly, press the (6)
"STOP/CLEAR" button to clear the setting and
repeat steps 1, 2, and 3.
Installation
• Before connecting the microwave oven, make sure
2. Cooking in the microwave oven
that the operating voltage and power usage matches
Choose the power level and set the cooking time. Press
the parameters of your electrical system. Connect
the (2) "MICROWAVE" button several times to set the
the microwave oven to a grounded electrical outlet.
desired power level for the oven.
• Install the oven on a flat, stable surface. Choose a
location that will not be accessible to small children.
Number of key presses Display reading Oven power level
• Install the oven so that the distance between the wall
1 Р100 100%
and the back of the oven is no less than 78 cm and
2 Р80 80%
the free space above the microwave is no less than
3 Р50 50%
30 cm.
4 Р30 30%
• Do not remove the legs from the bottom of the
5Р1010%
microwave oven.
• Do not block the ventilation openings on the
For example: To start the oven for 10 minutes at an 80%
microwave oven's housing.
power level, complete the following steps:
• The microwave oven should be installed away from
• Open the oven door, place the food into the cooking
televisions and radios in order to prevent static inter
chamber, and then close the door.
ference of radio and television signals.
• Press the (2) "MICROWAVE" button; the indication
WARNING: Do not install the microwave oven on heat
"Р100" and symbol (1) will appear on the display.
ing surfaces (kitchen stoves) or other sources of heat
• Press the (4) "MICROWAVE" button again; the indi
waves.
cation "Р80" will appear on the display.
If the microwave oven malfunctions due to user error,
• Press the number buttons "1", "0", "0", "0"; the
the warranty for free service and repair is voided.
time "10:00" minutes will appear on the display.
• Press the (11) "START/+30SEC./CONFIRM" but
While operating, the top surface of the microwave oven
ton to begin cooking; the display will show the
and heat up significantly; avoid touching hot surfaces of
remaining cooking time as it counts down and the
the oven with bare skin in order to prevent burns.
symbol (1) will blink.
When the cooking process has finished, the oven will
turn off and beep five times.
7
1656.qxd 27.06.05 14:58 Page 7


