Binatone NHB-7705: BEFORE USING THE APPLIANCE
BEFORE USING THE APPLIANCE: Binatone NHB-7705
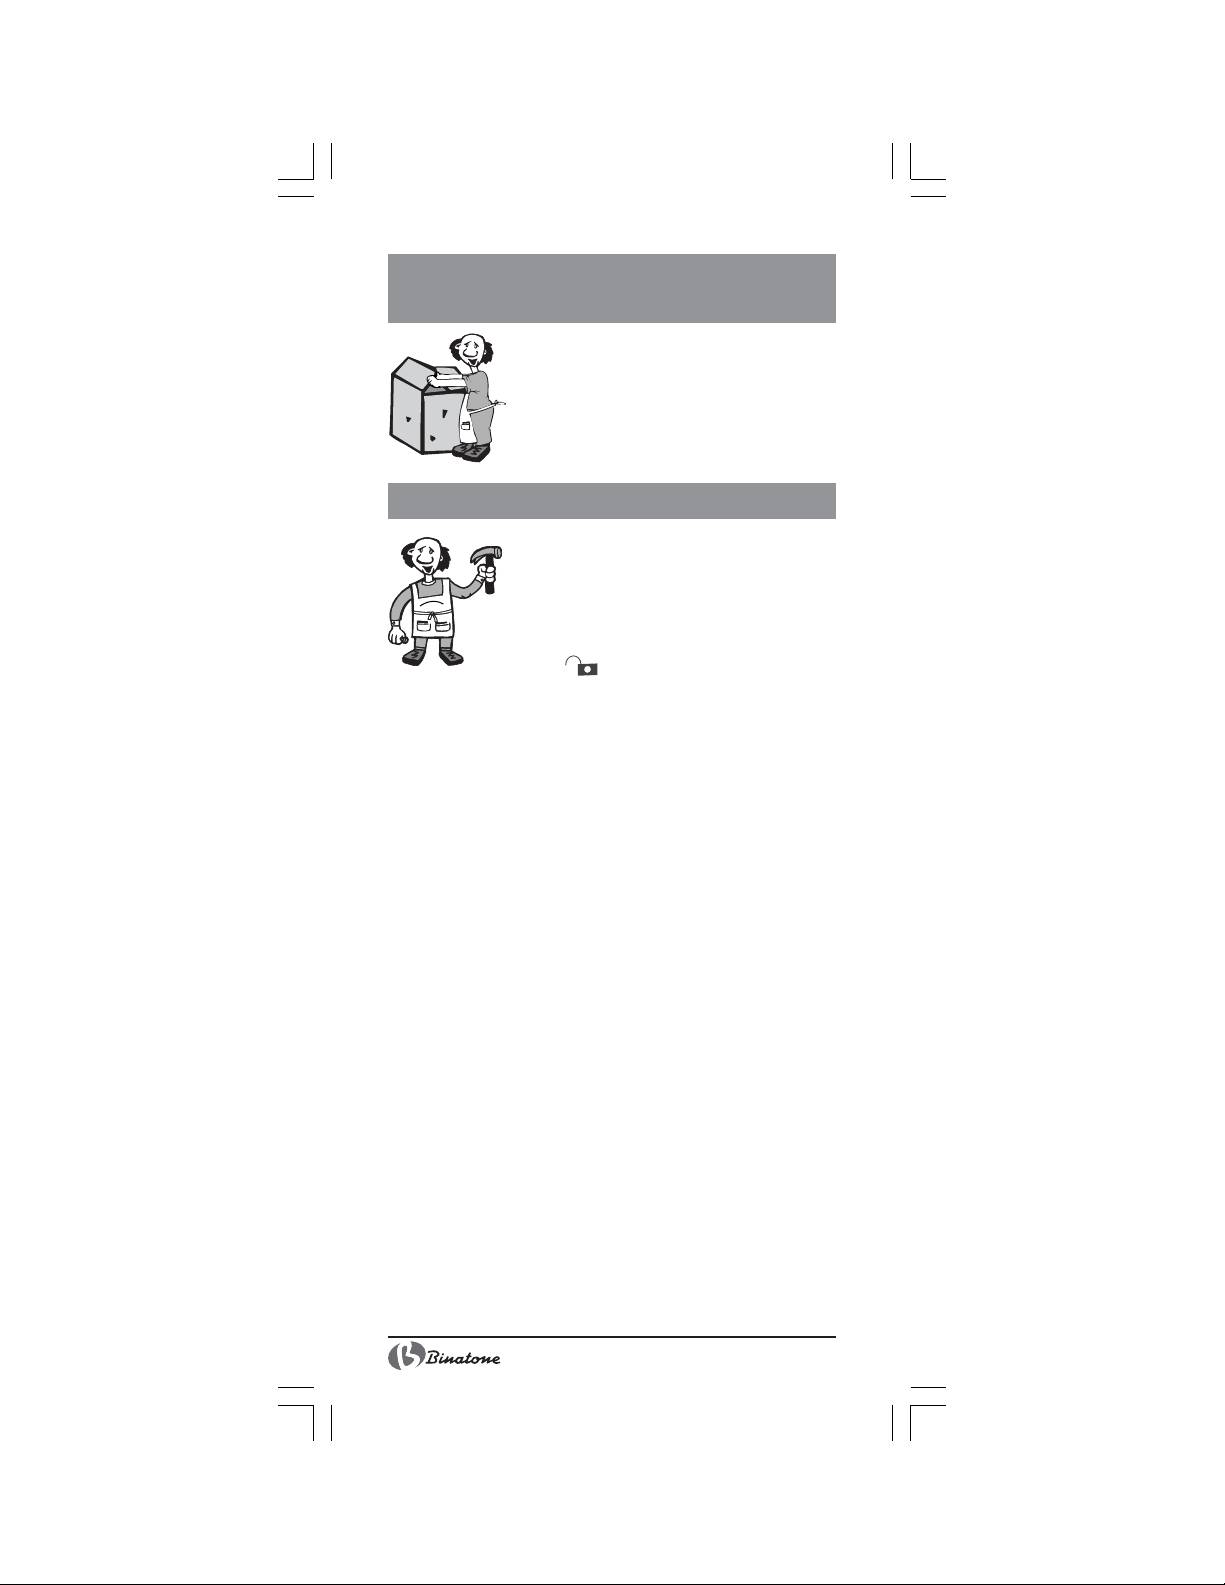
BEFORE USING
THE APPLIANCE
Remove the appliance from the package and
wash all the parts that will contact with products
in warm water, clean the body of the appliance
(1) and the power cable (11) with a damp
cloth and then wipe them dry.
OPERATING INSTRUCTIONS
How to use the blender attachment
and the whisk attachment:
1. Insert the selected attachment (4, 5) into
the corresponding slot of the appliance body,
aligning the arrow on the attachment (4, 5)
with the indicator on the body of the appli-
ance (1). Turn the attachment (4, 5) clockwise, until you hear
it click into the locked position.
2. Before turning the appliance on, make sure that the attach-
ment (4, 5) is installed correctly!
3. Connect the appliance to the power supply.
4. Immerse the attachment (4, 5) directly into the bowl with the
product being blended or into the mixing cup (10).
Note: to prevent splashing the blades of the blender
attachment should be completely immersed into the
product being blended.
5. Set the desired speed using the speed selector (2) and press
the power on/off button (3) to start the appliance. Hold this
button while the appliance is working.
6. Unplug the appliance from the power socket after use.
7. The appliance can be used for blending food in any bowls or
containers.
How to use the grinder attachment:
1. The grinder attachment is suitable for shallow corrugation of
meat, cheese, onion, herbs, garlic, carrot, nuts etc. Before
grinding cut large food into small cubes, remove shell, bones,
sinews and cartilages.
2. Insert the blender blade unit (8) into the bowl (9).
3. Place products into the blender bowl (9).
4. Position the blender drive unit (6) on the bowl (9).
5. Place the body of appliance (1) on the blender drive unit (6).
Align the corresponding slots in the body of the appliance (1)
and in the blender drive unit (6). Turn the body of the appli-
ance (1) clockwise, until you hear it click into the locked posi-
tion.
6. Before turning the appliance on, make sure that the drive unit
(6) is installed correctly!
6
Оглавление
- Stick Blender
- A
- SAFETY MEASURES
- SPECIAL SAFETY MEASURES
- BEFORE USING THE APPLIANCE
- CARE AND CLEANING
- DISPOSAL
- MESURES DE SECURITE
- MESURES SPECIALES DE SECURITE
- DESCRIPTIF DES PIECES DE L’APPAREIL
- ENTRETIEN ET NETTOYAGE
- RECYCLAGE
- ÌÅÐÛ ÁÅÇÎÏÀÑÍÎÑÒÈ
- ÑÏÅÖÈÀËÜÍÛÅ ÌÅÐÛ ÁÅÇÎÏÀÑÍÎÑÒÈ
- ÎÏÈÑÀÍÈÅ ÄÅÒÀËÅÉ ÏÐÈÁÎÐÀ
- ÓÕÎÄ È ×ÈÑÒÊÀ
- ÏÎËÅÇÍÛÅ ÑÎÂÅÒÛ
- ÓÒÈËÈÇÀÖÈß
- ÏÐÀÂÈËÀ ÁÅÇÏÅÊÈ
- ÑÏÅÖ²ÀËÜͲ ÏÐÀÂÈËÀ ÁÅÇÏÅÊÈ
- ÎÏÈÑ ÄÅÒÀËÅÉ ÏÐÈËÀÄÓ
- ÄÎÃËßÄ ² ×ÈÙÅÍÍß
- ÊÎÐÈÑͲ ÏÎÐÀÄÈ
- ÓÒÈ˲ÇÀÖ²ß
