Binatone RL-595: инструкция
Раздел: Освещение
Тип:
Инструкция к Binatone RL-595
Оглавление
Instruction Manual
Rechargeable Emergency Lanterns

A
RL590
2
8
6
13
5
4
3
7
1
11
12
2
9
RL595
23
2
1
4
6
16
8
5
15
14
17
7
9
10
ENGLISH.........................................4
ENGLISHFRANÇAISРУССКИЙ
FRANÇAIS .................................... 10
РУССКИЙ .....................................16
УКРАЇНСЬКА ...............................24
УКРАЇНСЬКА
3
Rechargeable Emergency Lanterns
RL590, RL595
Please read the safety instructions carefully before using this
appliance. Please retain the instructions for future refer
ence.
SAFETY MEASURES
When using your appliance, the following basic
safety precautions should always be followed:
X To avoid electric shocks, do not immerse the
appliance, plug or power cord in water or
any other liquids. Do not place the appliance
where it could come into contact with water or other
liquids. If the appliance comes in contact with wa-
ter, immediately disconnect it from the mains. Do not use the
machine again until it has been serviced by an authorized
service center.
X Do not let children use the appliance without supervision.
X This appliance is not intended for use by persons (including
children) with reduced physical, sensory or mental capabili-
ties, or lack of experience and knowledge, unless they have
been given supervision or instruction concerning use of the
appliances by a person responsible for their safety.
X If the power cord plug does not fit to your wall socket,
consult a qualified electrician.
X Use of various adapters may result in damage to the
appliance and termination of warranty.
X Always supervise the appliance while in use.
X Always unplug before moving the appliance from one
place to another, cleaning and storing.
X Never pull the cord to disconnect the appliance, instead grasp
the plug and pull it to disconnect.
X Do not allow the cord or the machine itself to come in contact
with hot surfaces.
X Position the appliance and the cord so that nobody can acci-
dentally overturn it.
X Do not use the appliance if it has been dropped, or it has a
damaged power cord or plug. Do not modify or repair the
machine yourself.
X Do not dismantle the appliance as improper assembly might
result in an electric shock during the subsequent use of the
equipment. Repairs should only be done by authorized
service centers.
X This equipment is intended for household use only, not for
commercial or industrial use.
X Please follow all the requirements of this guide.
X Do not use the appliance if it has mechanical defects (dents,
cracks etc.), get it checked by the nearest authorized service
center.
4
SPECIAL SAFETY MEASURES
X Use only fluorescent lamps with the size of
cap recommended by the manufacturer.
X Do not switch the lantern on without the lamp
installed or with the lamp not fixed properly.
X Do not store or operate the appliance under
extreme temperature conditions and/or in high
humidity environment.
Note: the lantern operates most effectively at the
o
temperature mode from 10 to 40
C. If the
o
ENGLISH
environmental air temperature is below 10
C, the
time of continuous battery operation will decrease.
X Do not use the appliance without transparent protection cover.
X Avoid water getting on the plug and the control panel.
X Avoid direct sunlight getting on the appliance.
X Keep the appliance clean and do not allow foreign objects to
get into ventilation and other holes of the appliance, as it may
result in electric shocks, fire and damage of the appliance.
X Constant supervision and adult control is necessary when the
appliance is operated by children or people with disabilities or
when they occur near the appliance.
X Place the appliance only on a soft flat surface.
DESCRIPTION
OF THE APPLIANCE
1. Fluorescent lamp 61cm (24 inches), 18 W, cap
G13
2. Cover fixing screws
3. Transparent plastic cover
4. Rechargeable battery condition indicator
5. Operation mode switch
6. Body
7. Rope switch
8. Protrudable handle
9. Cable storage compartment
10.Holes for wall mounting
For RL-590 model
11.Folding base for vertical installation
12.Additional supports for vertical installation
13.Indicator of electric network connection
For RL-595 model
14.«Test» button
15.Slot for 12 V power supply
16.Battery compartment
17.External safety fuse 3 А
5
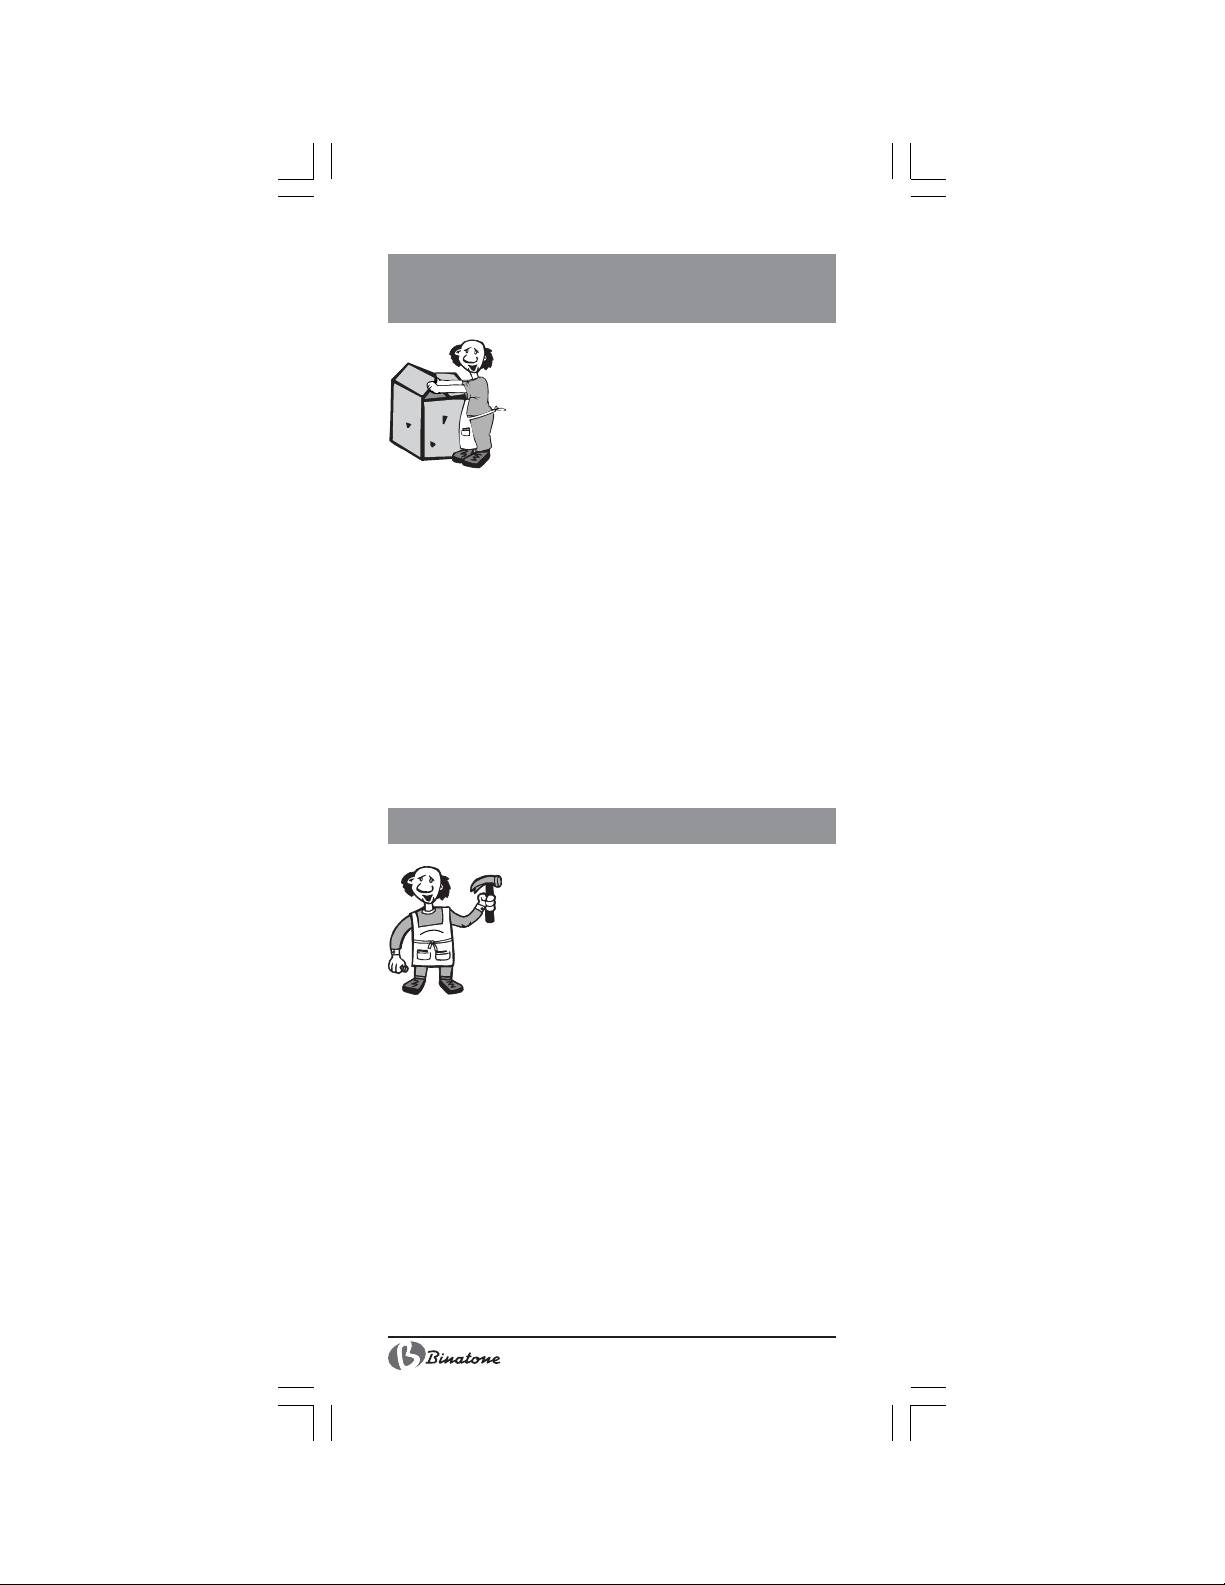
BEFORE USING
THE APPLIANCE
Charging the rechargeable
batteries of the lantern
Take the cable out of the cable storage com-
partment (9) and insert the plug into the AC
socket. The rechargeable battery condition in-
dicator of the red light (4) will come on indicating that the built-
in rechargeable battery started to charge.
You can use the electric network of a car to charge the lantern of
RL-595 model having the slot for 12 V (DC) power supply
connection.
Warning: charge the rechargeable batteries for 20-24 hours
before the first use. 24 hour charging of the batteries is
also needed after 4 hours of continuous work.
Note: recharge the batteries after each use and after long
(more than 3 months) period of storage. Otherwise
the rechargeable batteries may become unfit for use.
Note: always charge the batteries of the lantern, if light
is getting dim.
OPERATING INSTRUCTIONS
Using the appliance as the lantern
of steady light
With electric network connection
X Connect the cable to the electric network
and set the operation mode switch (5) to «AC». The recharge-
able battery condition indicator of the red light (4) will come
on indicating that the built-in rechargeable battery started to
charge.
X You can switch the lantern on and off by pulling the rope
switch (7). When the RL-590 model is switched on, the indica-
tor of electric network connection of the green light (13) will
also come on.
Without electric network connection
X Unplug the appliance from the power socket and set the op-
eration mode switch (5) to «AC» or «ON» . The lantern will
be powered by the charged battery.
X You can switch the lantern on and off by pulling the rope
switch (7).
6
Using the appliance as the lantern with
automatic switch-on
X Connect the lantern to the electric network by inserting the
plug into a power socket.
X Set the operation mode switch (5) to «ON».
X After electric power supply is cut off, the appliance will start
operating in the autonomous emergency mode. If light does
not go on, please pull the rope switch.
Warning: when you stop using the lantern, set the
operation mode switch to «OFF» in order to save
battery charge.
ENGLISH
The emulation mode of emergency mode
(only for RL-595)
You can check the functioning of emergency lighting network
by pressing the «Test» button (14), emulating power supply cut-
off.
Replacing the external safety fuse (only for
RL-595)
X The emergency lantern RL-595 features the built-in external
safety fuse (17), installed on the body of the appliance (6).
This safety fuse protects power circuit of the rechargeable
battery.
X To replace the safety fuse, unscrew the protection cover with
a cross screwdriver, take the fuse out of the receptacle and
replace it with a new one.
Warning: use only the safety fuses with the rating value of
3A 250 V to replace the burnt-out safety fuse.
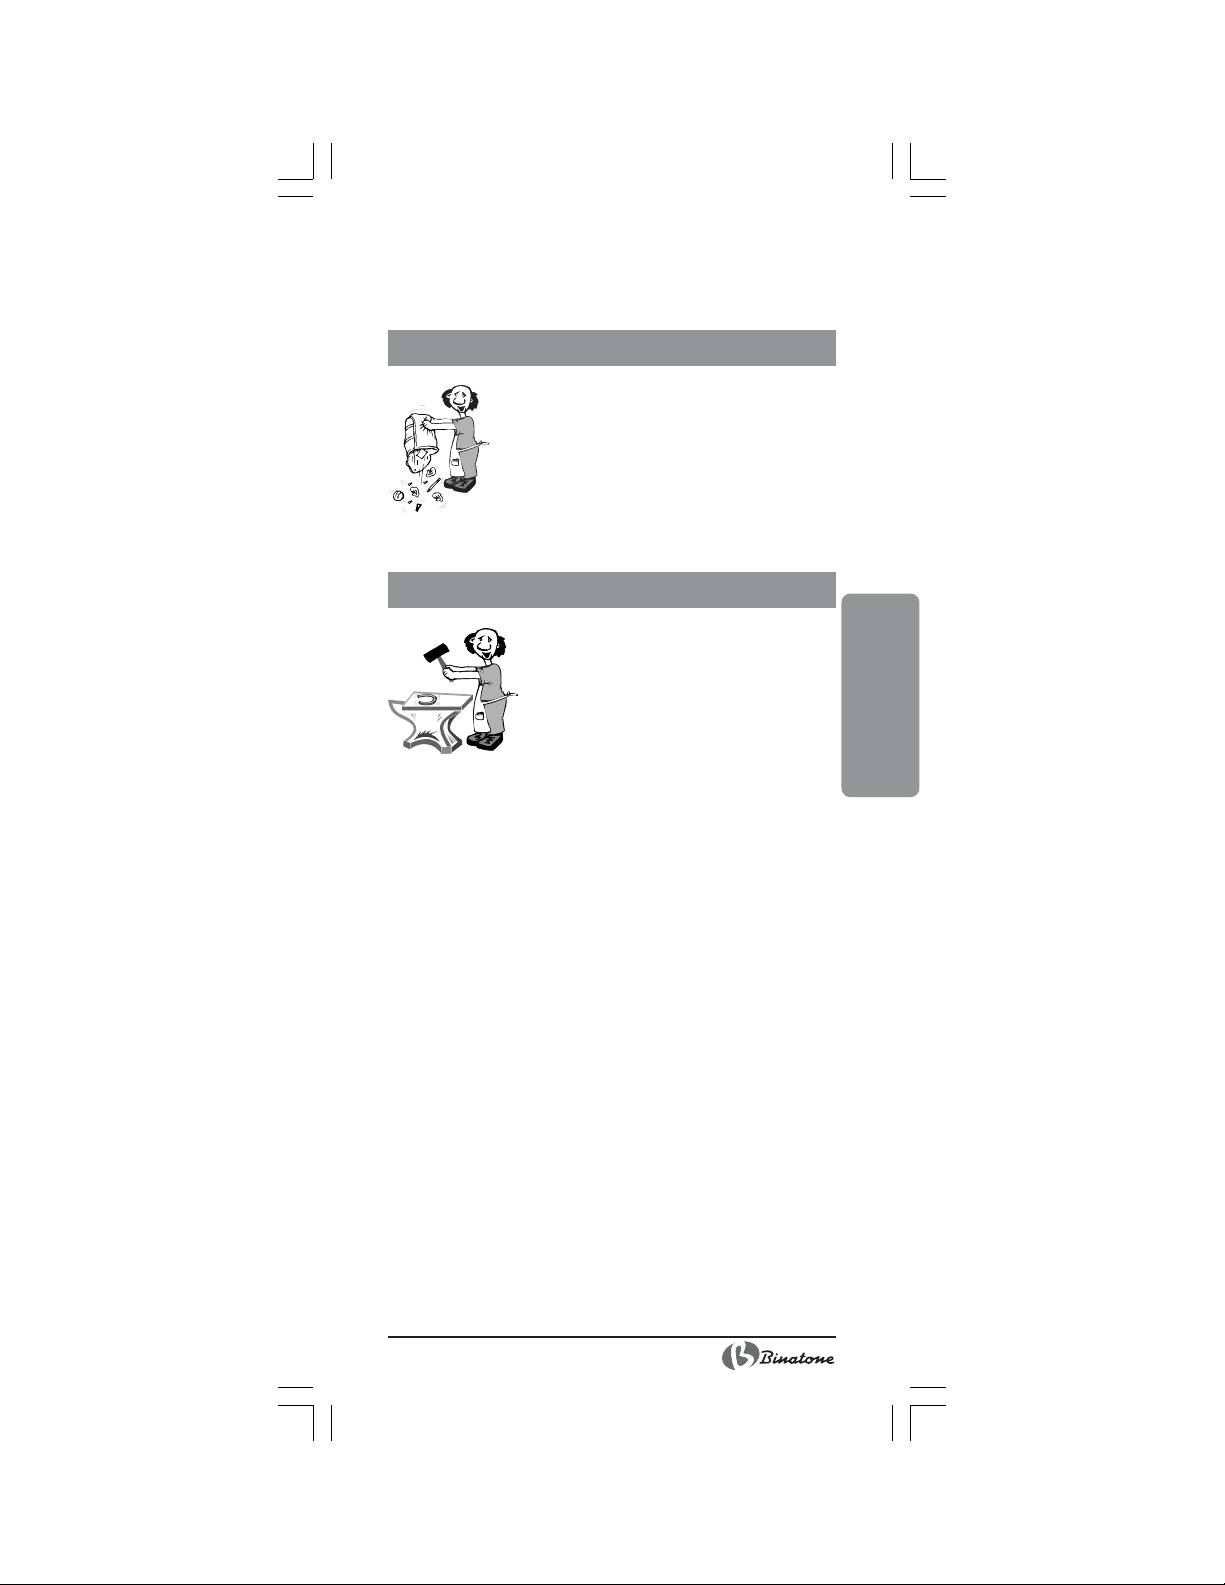
Replacing the fluorescent lamp
X Unscrew the cover fixing screws (2) with a cross screwdriver.
X Take the cover (3) off and rotate the lamp (1) in any direction
until the projections on the lamp align with the gutters of the
receptacle. Take the lamp out.
X Replace the lamp with a new one: insert the new lamp as far as
it goes and make a quarter turn in any direction.
Warning: do not touch the cap of the lamp.
X Close the cover.
X Screw the cover fixing screws.
Installation and transportation
X You can install the lantern on a horizontal or vertical surface
using the mounting holes (10) on the body of the appliance.
X You can carry the lantern from one place to another using the
protrudable handle (8). To do so, take the handle out by
pulling it in the direction opposite the body of the appliance.
7
X The RL-590 lantern can also be positioned vertically on a table,
floor, any flat horizontal surface using the folding base (11)
and the additional supports for vertical installation (12).
Potential problems and troubleshooting:
Problem
Probable cause
Corrective action
The safety fuse is
Replace the safety
Emergency lighting
damaged (for RL-
fuse.
does not switch on
595 model).
in case of power
The rechargeable
Charge the battery
supply cut-off.
battery is not
for 24 hours.
charged.
The lantern does
The rope switch is
Switch on the rope
not give light.
not switched on.
switch.
The lamp flashes
The lamp is
Replace the lamp.
when being.
damaged.
switched on
Charge the battery.
The time of con-
The rechargeable
tinuous work is less
battery is not
than 4 hours.
charged.
Replace the battery
The rechargeable
in an authorized
battery is damaged.
service facility.
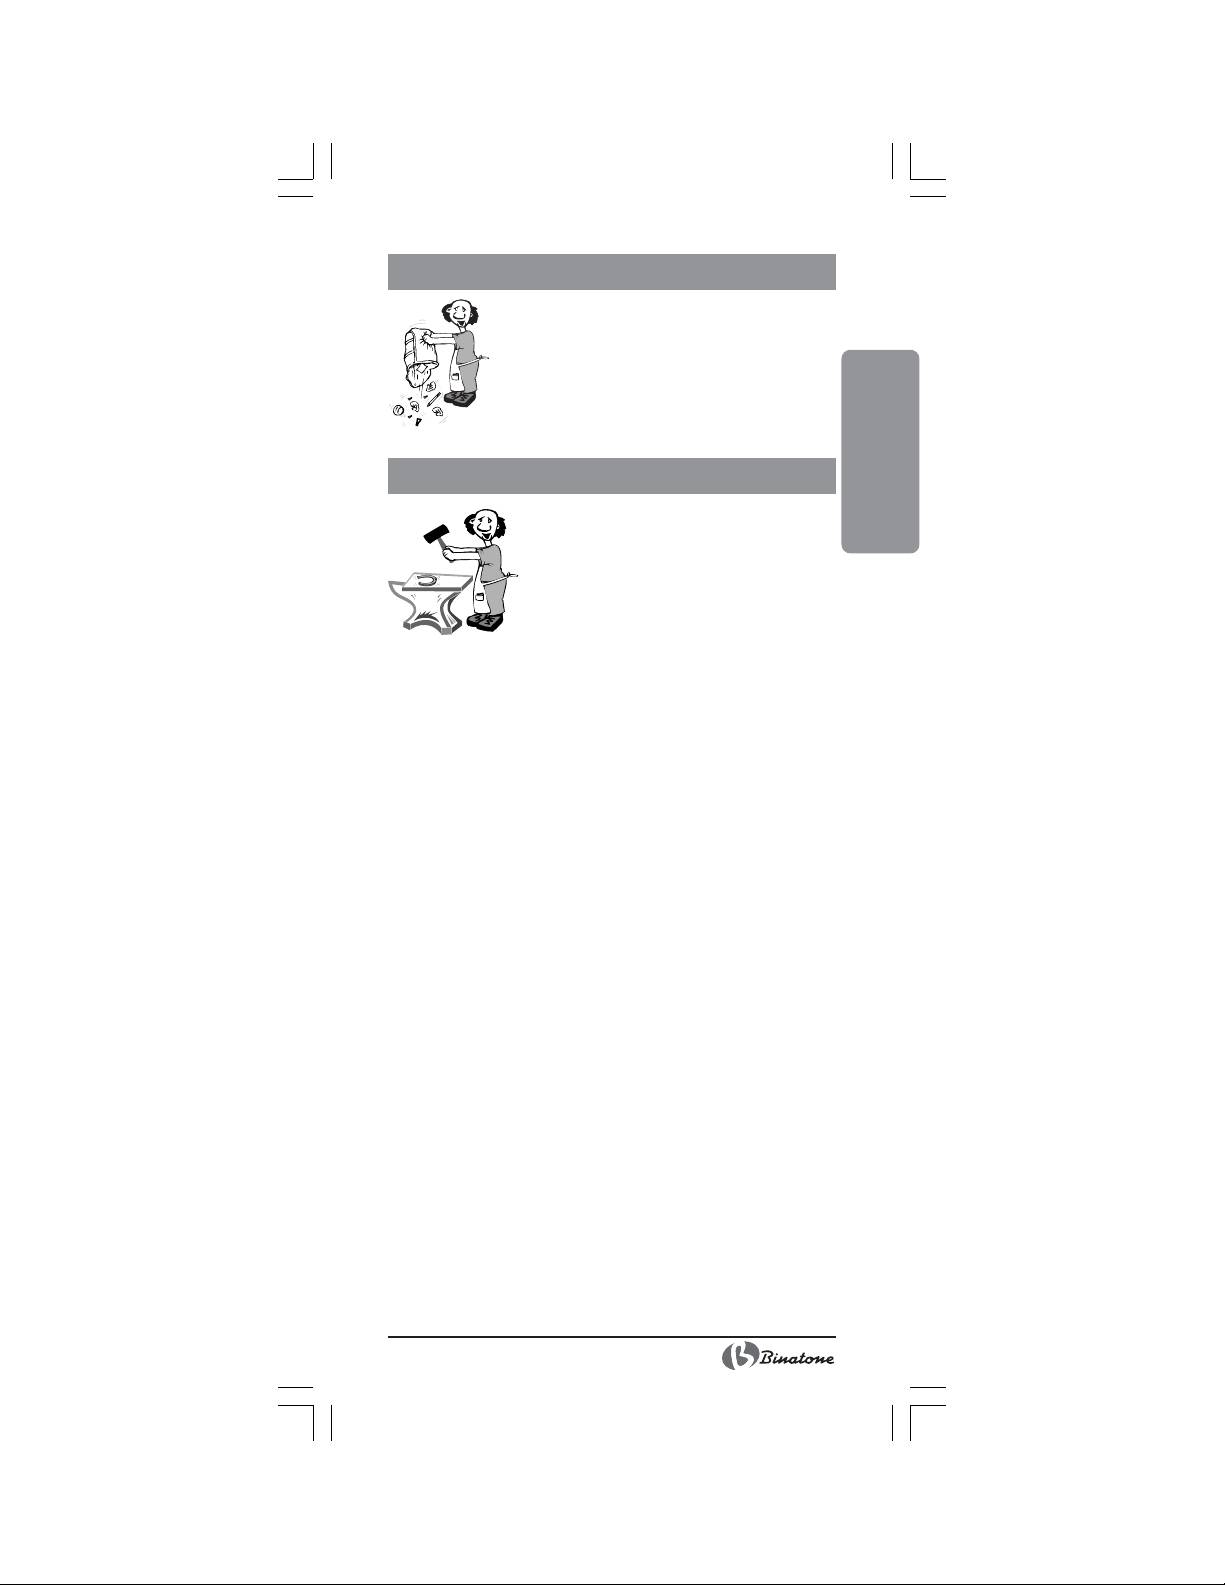
CARE AND CLEANING
1. Always turn off the appliance and pull the
plug of the cord from the electric wall outlet
before cleaning.
2. Wipe the body of the lantern with a damp
cloth. Do not use the appliance till it becomes
completely dry. Do not use alcohol, gasoline or
any other similar substance for cleaning the ap-
pliance. Also abrasive cleaning materials should
not be used.
3. When you stop using the appliance, wait until it gets cool and
put the cable into the cable storage compartment.
o
4. The storage temperature of the appliance: from 10 to 40
C.
Any other maintenance operations should be carried out in an
authorized service center.
Do not remove the appliance for storage if it is hot or con-
nected with the electric mains. If the appliance is not used place it
in a box after it is cool completely, and store it in a safe dry place
out of reach of children. Make sure that the appliance and its cord
do not touch sharp edges and are not pressed by heavy objects.
8
DISPOSAL
The appliance should be disposed of in accor-
dance with waste disposal regulations in your coun-
try and with the least damage to the environment.
Only ecologically safe materials are used in
the packaging of our products and the cardboard
and paper can be disposed of with normal paper
waste.
AFTER-SALES SERVICE
ENGLISH
If your appliance does not operate or does
not operate properly, contact an authorized
service center for consultancy or repair.
The warrantee does not cover:
- the package of the appliance, consumables
and accessories (rechargeable batteries,
safety fuses, fluorescent lamps, etc);
- mechanical damages and natural wear of the product;
- failures due to overloading, improper or careless maintenance,
penetration of liquids, dust, insects and other foreign matters
inside the product, exposure of plastic and other not thermal-
resistant components to high temperatures, force-majeure cir-
cumstances (accidents, fire, flooding, power grid failure, light-
ning stroke, etc.);
- damages caused by:
X Non-fulfillment of the above-mentioned precautions and op-
erating manuals.
X Application in commercial purposes (application of the product
beyond personal daily living needs).
X Connection to a grid with a voltage which differs from that
indicated on the appliance.
X Unauthorized repair or replacement of the components of the
appliance, performed by an unauthorized person or service
center.
Features may be changed by Binatone without any notice.
Warranty details are set out in the warranty card provided
with the product.
Exploitation period: 3 years after the day of purchase.
Manufacture: Binatone Industries Ltd, Great Britain, Vitabiotics
House,1 Apsley Way, Staples Corner, London, NW2 7HF, UK.
9
Lanternes Veilleuses Rechargeables
RL590, RL595
Lisez attentivement cette instruction avant le premier usage
pour prendre connaissance du fonctionnement de l’appareil.
Gardez l’instruction pour s’y référer ultérieurement.
MESURES DE SECURITE
En exploitant l’appareil, respectez toujours les
mesures de sécurité suivantes:
X Pour éviter un choc électrique, ne pas plonger
l’appareil, la fiche ou le câble dans l’eau ou
dans un autre liquide. Installez l’appareil dans
un endroit où il ne peut pas tomber dans l’eau ou
dans un autre liquide. Si l’appareil a été
accidentellement mouillé, débranchez-le du réseau
immédiatement. N’utilisez pas l’appareil qui est tombé dans
l’eau. Portez-le dans un centre de maintien.
X Ne pas laisser les enfants manier l’appareil sans contrôle des
adultes.
X Cet appareil n’est pas destiné à être utilisé par des personnes
(notamment des enfants) dont les capacités physiques,
sensorielles ou intellectuelles sont réduites, ou par des
personnes manquant d’expérience ou de connaissances dans
l’utilisation de cet appareil. A moins que celles-ci ne soient sous
surveillance ou qu’elles aient reçu des instructions quant à
l’utilisation de l’appareil par une personne responsable de
leur sécurité.
X Si la fiche mâle de l’appareil ne coïncide pas avec
votre prise selon sa structure, consultez auprès de
l’expert.
X L’utilisation de différents raccords peut conduire à
une panne de l’appareil et la cessation des
garanties.
X Ne pas laisser l’appareil branché sur le réseau sans surveil-
lance.
X Déconnectez l’appareil du réseau avant le
déplacement d’un endroit à l’autre et avant le
nettoyage et la conservation.
X Ne tirez jamais sur le câble pour déconnecter l’appareil du
réseau; prenez la fiche et faites-la sortir de la prise de courant.
X Eviter le contact du câble ou de l’appareil avec des surfaces
chauffées.
X Placer l’appareil et le câble de façon à éviter le basculement
accidentel.
X Ne pas utiliser l’appareil si le câble ou la fiche de contact est
endommagé. N’essayez pas de réparer l’appareil vous-même.
Le remplacement du câble électrique et de la fiche de contact
doit être effectué par un centre de maintien agréé.
X Ne démontez jamais l’appareil vous-même; l’assemblage in-
correct peur résulter en choc électrique pendant l’usage
ultérieur de l’appareil. Tous les travaux de réparation doivent
être effectués seulement par un centre de service agréé.
10
X Cet appareil est destiné à l’usage personnel et n’est pas destiné
à l’usage commercial et industriel.
X Respectez toutes les règles de la présente instruction.
X Ne pas utiliser l’appareil qui a des défauts mécaniques
(enfoncements, cassures,…): vérifiez son fonctionnement dans
un centre de service agréé.
MESURES SPECIALES DE
SECURITE
X Les tubes fluorescents ne doivent être utilisés
qu’avec un socle à dimension indiquée par le
fabricant.
X Ne branchez pas la veilleuse sans une lampe
soit avec celle qui est mal fixée.
X Ne gardez pas et n’utilisez pas l’appareil à
la température extrémale et/ou à l’humidité
élevée.
Conseil: le plus effectif fonctionnement de la veilleuse est
°
obtenu sous les températures de 10 à 40
C,
à
°
température ambiante de 10
C au dessous de zéro, le
temps du fonctionnement continu à partir de
l’accumulateur sera diminué.
X L’appareil ne doit pas être utilisé sans le couvercle de protec-
tion transparent.
FRANÇAIS
X Evitez la présence de l’eau à la fiche et au tableau de
commande.
X L’appareil ne doit pas être resté sous les rayons de soleil di-
rects.
X L’appareil doit être propre et n’admettez pas la présence des
objets étrangers aux trous différents de l’appareil puisque ça
pourra produire le choc électrique, inflammation soit
endommagement de l’appareil.
X En cas de l’utilisation soit de la présence à côté de l’appareil
des enfants comme des hommes handicapés, il est indispens-
able de surveiller toujours sous le contrôle par les adultes.
X L’appareil ne doit être placé qu’à la surface sèche et plate.
DESCRIPTION DE L’APPAREIL
DETAILLEE
1. Tube fluorescent à 61 cm (24 pouce), 18 W,
socle de G13
2. Vis de fixation du couvercle
3. Couvercle en plastique transparent
4. Indicateur du chargement de l’accumulateur
5. Sélecteur des modes de fonctionnement
6. Corps
7. Disjoncteur de corde
8. Levier à tirer
9. Compartiment pour le cordon
10.Orifices de montage pour la fixation murale
11
Pour le modèle RL-590
11.Support pliant pour l’installation horizontale
12.Supports supplémentaires pour l’installation verticale
13.Indicateur de la connexion au réseau électrique
Pour le modèle RL-595
14.Bouton «Test»
15.Prise pour l’alimentation électrique à 12 V
16.Compartiment des sources d’alimentation
17.Fusible extérieur 3 A.
AVANT LA MISE EN SERVICE
Chargement des accumulateurs
du luminaire
Tirez du compartiment pour le cordon (9) le
cordon, insérez la fiche à la prise du courant
alternative (AC). L’indicateur du chargement
de l’accumulateur rouge (4) sera allumé en signifiant que
l’accumulateur implanté commence à charger.
Pour charger le luminaire du modèle RL-595 avec la prise à 12
V (DC), vous pouvez utiliser le réseau à bord de la voiture.
Attention: avant le premier usage, chargez les
accumulateurs pendant 20-24 heures. Après 4 heures
de l’exploitation continue, les accumulateurs doivent
être aussi chargés pendant 24 heures.
Conseil: les accumulateurs doivent être chargés après
chaque usage soit après la conservation de longue
durée (plus que 3 mois). Au contraire, les
accumulateurs peuvent-être endommagés.
Conseil: si la lumière est devenue mate les accumulateurs
devront être toujours chargés.
NOTICE D’UTILISATION
Utilisation de l’appareil comme
un luminaire permanent
Avec une connexion au réseau
électrique
X Connectez le cordon au réseau électrique et mettez le
sélecteur des modes (5) à la position «AC». L’indicateur du
chargement de l’accumulateur rouge (4) est allumé en signifiant
que l’accumulateur implanté commence à charger.
X En tirant le disjoncteur de corde (7), vous pouvez brancher et
débrancher le luminaire. Pour le modèle RL-590, l’indicateur
(13) vert de la connexion au réseau électrique est aussi allumé.
12

Sans une connexion au réseau électrique
X Tirez la fiche de la prise, mettez le sélecteur des modes (5) à
la position «AC» soit «ON». La lampe sera fonctionnée depuis
l’accumulateur chargé.
X En tirant le disjoncteur de corde (7) vous pouvez brancher et
débrancher la lampe.
Usage de l’appareil comme un luminaire avec
un branchement automatique
X Branchez un luminaire au réseau électrique en insérant la
fiche à la prise
X Mettez le sélecteur des modes (5) à la position «ON».
X Après la coupure l’alimentation électrique, l’appareil com-
mence à fonctionner au régime trouble autonome. Si la lumière
ne sera pas allumé, tirez s’il vous plaît le disjoncteur de corde.
Attention: pour conserver la charge des accumulateurs,
sélectionnez la position «OFF» après l’utilisation du
luminaire est achevée.
Mode de la simulation du régime trouble
(seulement pour RL-595)
Vous pouvez tester le fonctionnement du réseau de la veilleuse
en poussant le bouton «Test» (14) qui est simulé la coupure du
FRANÇAIS
réseau électrique.
Changement du fusible extérieur (seulement
pour RL-595)
X La veilleuse RL-595 est équipée du fusible extérieur implanté
(17) qui est situé au corps de l’appareil (6), qui est destiné à
protéger la chaîne d’alimentation de l’accumulateur.
X Pour changer le fusible, dévissez par le tournevis à croix son
couvercle de protection, faites-le sortir du support et changez-
le par un nouvel.
Attention: pour changer le fusible sauté, utilisez seulement
ceux à valeur de 3 A 250 V.
Changement du tube fluorescent
X Dévissez les vis de fixation du couvercle (2) par le tournevis à
croix.
X Enlevez le couvercle (3) et tournez le tube (1) dans n’importe
quel sens jusqu’à moment où les saillies du tube coïncident aux
rainures du support. Enlevez le tube.
X Changez le tube par un nouvel: mettez le tube nouveau jusqu’à
l’appui et tournez-le à quart du tour dans n’importe quel sens.
Attention: ne touchez pas par les mains le socle du tube.
X Fermez le couvercle.
X Revissez les vis de fixation du couvercle.
13
Installation et transportation
X Vous pouvez installer le luminaire à la surface horizontale soit
verticale avec les orifices de montage (10) situés au corps de
l’appareil.
X Le luminaire peut-être transporté avec un levier à tirer (8). Il
est indispensable de tirer le levier vers le côté opposé du plan
du corps.
X En tirant le support pliant (11) comme les supports
supplémentaires (12) affectés à l’installation verticale, le
luminaire RL-590 peut-être monté verticalement à la table, au
plancher ou à toutes surfaces horizontales.
Pannes possibles et modes de leurs
éliminations:
Cause
Cause possible
Mode d’élimination
Pendant la
Le fusible est sauté
Changer le fusible.
coupure de
(pour le modèle
l’alimentation
RL-595).
électrique, la
L’accumulateur
Charger
veilleuse n’est pas
n’est pas chargé.
l’accumulateur
allumée.
pendant 24 heures.
Le luminaire n’est
Le disjoncteur de
Brancher le
pas allumé.
corde n’est pas
disjoncteur de corde.
branché.
Au moment du
La lampe est
Changer la lampe.
branchement, la
endommagée.
lampe est clignotée.
Le temps du
L’accumulateur
Charger
fonctionnement
n’est pas chargé.
l’accumulateur.
continu est moins
L’accumulateur est
Les accumulateurs
que 4 heures.
défectueux.
doivent être changés
au centre de service.
ENTRETIEN ET NETTOYAGE
1. Avant le nettoyage, débranchez toujours
l’appareil et retirez la fiche de la prise de cou-
rant.
2. Essuyez le corps du luminaire par le tissu
humide. Ne pas utiliser l’appareil avant le
séchage complet. Ne pas utiliser l’alcool,
l’essence et autres produits de ce type pour le
nettoyage de l’appareil. Ne pas utiliser de matières abrasives.
3. Après l’achèvement de l’exploitation de l’appareil, laissez-le
refroidir et ensuite mettez le cordon dans son compartiment.
4. La température de la conservation de l’appareil est de 10 à
o
40
C.
Tous les autres travaux doivent être effectués dans un centre
de service agrée.
Ne pas ranger l’appareil quand il est chaud ou connecté au
secteur. Si vous n’utilisez pas l’appareil, après le refroidissement
complet placez l’appareil dans son carton et gardez dans un
14
endroit sûr et sec, hors de portée des enfants. Assurez-vous que
l’appareil et le cordon ne touchent pas aux bords coupants et ne
sont pas écrasés sous un poids lourd.
RECYCLAGE
Appareils électroménager doit être utiliser avec
le moindre tort pour l’environnement et en
conformité des règles d’utilisation des déchets dans
Votre région. Pour recycler l’appareil
correctement, souvent il suffit de le porter dans le
centre local de traitement des déchets.
Pour l’emballage de nos appareils, nous
utilisons uniquement les matériaux recyclables. Donc, le carton et
le papier peuvent être recyclés avec d’autres déchets en papier.
SERVICES APRES VENTE
Si votre appareil ne fonctionne pas ou
fonctionne mal, contactez votre centre de
service.
Garantie ne couvre pas:
- l’embalage du produit, consommables et
accessoires (accumulateurs, fusibles, tubes
fluoriscents etc) ;
FRANÇAIS
- dégâts mécaniques et usure naturel;
- dégâts résultant de surcharge, opération inappropriée, infiltra-
tion de la poussière ou de l’humidité ou d’insectes dans
l’appareil, haute température, accidents force majeure (feu,
inondation, coup de foudre, dégâts dans le réseau électrique
etc.);
- dégâts causés par:
X Défaillance dans l’observation des mesures de sécurité et des
règles des instructions.
X Usage dans les buts commerciaux (hors d’usage de maison).
X Branchement dans le réseau avec un voltage inappropriéé;
X Réparation non autorisée ou la rechange de la partie effectuée
par des persons ou des centres de service n’ayant pas
d’autorisation.
Les caractéristiques peuvent être changées par la société
“Binatone” sans aucune notification préalable.
Le délai de garantie et autres pieces sont indiqués dans le
ticket de garanti joint à l’appareil.
Durée de service: 3 ans du jour d’acquisition.
Fabricant: Binatone Industries Ltd, Great Britain, Vitabiotics
House,1 Apsley Way, Staples Corner, London, NW2 7HF, UK
(Binatone Industries Ltd, Grande Bretagne)
15
Светильники аварийного освещения
RL590, RL595
Внимательно прочтите инструкцию перед первым
использованием, чтобы ознакомиться с работой нового
прибора. Пожалуйста, сохраните инструкцию для
дальнейших справок.
ÌÅÐÛ ÁÅÇÎÏÀÑÍÎÑÒÈ
Во время эксплуатации прибора всегда
соблюдайте следующие меры предосторожности:
X Во избежание поражения электрическим током
не погружайте прибор, вилку или
электрический шнур в воду или другие
жидкости. Ставьте прибор в такие места, где
он не может упасть в воду или другие жидкости.
При попадании воды на прибор, немедленно отключите
его от сети. Не пользуйтесь прибором, упавшим в воду.
Отнесите его в уполномоченный сервисный центр.
X Не допускайте детей к работе с прибором без присмотра
взрослых.
X Прибор не предназначен для использования людьми с
ограниченными физическими или умственными
способностями; также запрещается использовать прибор
без предварительного ознакомления с инструкцией.
X Если штепсельная вилка прибора не совпадает по
конструкции с Вашей розеткой, обратитесь за
помощью к специалисту.
X Применение различных переходников может
привести к поломке прибора и прекращению
гарантийных обязательств.
X Не оставляйте включенный в сеть прибор без внимания.
X Отсоединяйте прибор от сети перед
перемещением с одного места на другое и перед
чисткой и хранением.
X Никогда не тяните за шнур при отключении прибора от
сети; возьмитесь за штепсельную вилку и выньте ее из
розетки.
X Не допускайте соприкосновения шнура или самого
прибора с нагретыми поверхностями.
X Располагайте прибор и шнур так, чтобы никто не смог
случайно задеть шнур и опрокинуть прибор.
X Не пользуйтесь прибором с поврежденным электрическим
шнуром или штепсельной вилкой. Не пытайтесь
отремонтировать прибор самостоятельно. Замена
электрического шнура и штепсельной вилки должна
производиться только в уполномоченном сервисном центре.
X Никогда не разбирайте прибор самостоятельно;
неправильная сборка может привести к поражению
электрическим током во время последующего
использования прибора. Все ремонтные работы
должны производиться только в уполномоченном
сервисном центре.
X Этот прибор предназначен только для домашнего
16
использования и не предназначен для коммерческого и
промышленного использования.
X Выполняйте все требования инструкции.
X Не пользуйтесь прибором, имеющим механические
повреждения (вмятины, трещины и т.п.), проверьте его
работоспособность в ближайшем уполномоченном
сервисном центре.
ÑÏÅÖÈÀËÜÍÛÅ ÌÅÐÛ
ÁÅÇÎÏÀÑÍÎÑÒÈ
X Используйте лампы дневного света только c
размером цоколя, указанным производителем.
X Не включайте светильник без лампы либо с
непрочно зафиксированной лампой.
X Не храните и не используйте прибор при
экстремальной температуре и/или высокой
влажности.
Ñîâåò:
íàèáîëåå ýôôåêòèâíûé ðåæèì ðàáîòû
ñâåòèëüíèêà äîñòèãàåòñÿ ïðè
o
òåìïåðàòóðíûõ ðåæèìàõ îò 10 äî 40
Ñ,
ïðè îêðóæàþùåé òåìïåðàòóðå âîçäóõà
o
íèæå 10
Ñ âðåìÿ íåïðåðûâíîé ðàáîòû îò
àêêóìóëÿòîðà áóäåò óìåíüøàòüñÿ .
X Не используйте прибор без защитной прозрачной крышки.
X Не допускайте попадание воды на штепсельную вилку и
панель управления.
X Не допускайте попадания на прибор прямых солнечных
лучей.
X Содержите прибор в чистоте, и не допускайте попадания
посторонних предметов в вентиляционные и прочие
отверстия на приборе, так как это может привести к
поражению электрическим током, возгоранию или поломке
прибора.
X При использовании или нахождении рядом с прибором
детей или людей с ограниченными возможностями
РУССКИЙ
необходимо постоянное наблюдение и контроль взрослых.
X Устанавливайте прибор только на плоскую сухую
поверхность.
ÎÏÈÑÀÍÈÅ ÄÅÒÀËÅÉ
ÏÐÈÁÎÐÀ
1. Лампа дневного света 61 см (24 дюйма),
18 Вт, цоколь G13
2. Винты@фиксаторы крышки
3. Прозрачная пластиковая крышка
4. Индикатор зарядки аккумулятора
5. Переключатель режимов работы
6. Корпус
7. Веревочный выключатель
8. Выдвигающаяся ручка
17
9. Отсек для хранения шнура
10.Монтажные отверстия для настенного крепления
Для модели RL590
11.Складная подставка для вертикальной установки
12.Дополнительные опоры для вертикальной установки
13.Индикатор подключения к электросети
Для модели RL595
14.Кнопка «Тест»
15.Разъем для электропитания 12 В
16.Отсек источников питания
17.Внешний плавкий предохранитель 3 А
ÏÅÐÅÄ ÈÑÏÎËÜÇÎÂÀÍÈÅÌ
Çàðÿäêà àêêóìóëÿòîðîâ
ñâåòèëüíèêà
Достаньте электрошнур из отсека для
хранения (9), вставьте вилку в розетку
переменного тока (AC). Загорится красный
индикатор зарядки аккумулятора (4),
означающий, что встроенный аккумулятор начал заряжаться.
Для зарядки светильника модели RL@595, имеющего разъем
для подключения к сети 12 В (DC), Вы можете использовать
бортовую сеть автомобиля.
Âíèìàíèå:
ïåðåä ïåðâûì èñïîëüçîâàíèåì
çàðÿæàéòå àêêóìóëÿòîðû â òå÷åíèå 20-24÷.
Ïîñëå 4-õ ÷àñîâîãî íåïðåðûâíîãî
èñïîëüçîâàíèÿ òàêæå íåîáõîäèìà 24-õ
÷àñîâàÿ çàðÿäêà àêêóìóëÿòîðîâ.
Ñîâåò:
ïåðåçàðÿæàéòå àêêóìóëÿòîðû ïîñëå
êàæäîãî èñïîëüçîâàíèÿ èëè ïîñëå
äëèòåëüíîãî (áîëåå ÷åì 3–õ ìåñÿ÷íîãî)
õðàíåíèÿ.  ïðîòèâíîì ñëó÷àå
àêêóìóëÿòîðû ìîãóò ïðèäòè â íåãîäíîñòü.
Ñîâåò:
âñåãäà çàðÿæàéòå àêêóìóëÿòîðû
ñâåòèëüíèêà, åñëè ñâåò ñòàíîâèòñÿ
òóñêëûì.
18
ÈÍÑÒÐÓÊÖÈß ÏÎ
ÝÊÑÏËÓÀÒÀÖÈÈ
Èñïîëüçîâàíèå ïðèáîðà â
êà÷åñòâå ïîñòîÿííîãî
ñâåòèëüíèêà
Ñ ïîäêëþ÷åíèå ê ýëåêòðîñåòè
X Подсоедините шнур к электросети и
поставьте переключатель режимов (5) в положение «AC».
Загорится красный индикатор зарядки аккумулятора (4),
означающий, что встроенный аккумулятор начал
заряжаться.
X Включить и выключить лампу Вы можете, потянув за
веревочный выключатель (7). При включении модели RL@
590 также загорится зеленый индикатор подключения к
сети (13).
Áåç ïîäêëþ÷åíèÿ ê ýëåêòðîñåòè
X Выньте вилку из розетки, переведите переключатель
режимов (5) в позицию «AC» или «ON». Светильник будет
работать с помощью заряженного аккумулятора.
X Включить и выключить светильник Вы можете, потянув за
веревочный выключатель (7).
Èñïîëüçîâàíèå ïðèáîðà â êà÷åñòâå
ñâåòèëüíèêà ñ àâòîìàòè÷åñêèì
âêëþ÷åíèåì
X Подключите светильник к электросети, воткнув вилку в
розетку.
X Поставьте переключатель режимов (5) в позицию «ON».
X После отключения электричества прибор начнет работу в
автономном аварийном режиме. Если свет не включится,
пожалуйста, потяните за веревочный выключатель.
РУССКИЙ
Âíèìàíèå:
äëÿ ñîõðàíåíèÿ çàðÿäà
àêêóìóëÿòîðîâ, ïåðåñòàâüòå
ïåðåêëþ÷àòåëü ðåæèìîâ â ïîëîæåíèå
«OFF»,
êîãäà çàêîí÷èòå èñïîëüçîâàíèå
ñâåòèëüíèêà.
Ðåæèì èìèòàöèè àâàðèéíîãî ðåæèìà
(òîëüêî äëÿ RL-595)
Вы можете проверить работу сети аварийного освещения,
нажав кнопку «Тест» (14), имитирующую отключение
электросети.
19

Çàìåíà âíåøíåãî ïðåäîõðàíèòåëÿ
(òîëüêî äëÿ RL-595)
X Аварийный светильник RL@595 оснащен внешним
встроенным защитным плавким предохранителем (17),
установленным на корпусе прибора (6), который защищает
цепь питания аккумулятора.
X Для замены предохранителя отвинтите крестовой отверткой
защитную крышку предохранителя, выньте его из
держателя и замените на новый.
Âíèìàíèå:
äëÿ çàìåíû ñãîðåâøåãî
ïðåäîõðàíèòåëÿ èñïîëüçóéòå òîëüêî
ïðåäîõðàíèòåëè ñ íîìèíàëîì 3 À 250 Â.
Çàìåíà ëàìïû äíåâíîãî ñâåòà
X Отвинтите винты@фиксаторы крышки (2) крестовой
отверткой.
X Снимите крышку (3), и поверните лампу (1) в любую
сторону, пока выступы на лампе не совпадут с пазами
держателя. Вытащите лампу.
X Замените лампу на новую: вставьте новую лампу до упора
и поверните ее на четверть оборота в любую сторону.
Âíèìàíèå:
íå äîòðàãèâàéòåñü ðóêàìè äî öîêîëÿ
ëàìïû.
X Закройте крышку.
X Завинтите винты@фиксаторы крышки.
Óñòàíîâêà è òðàíñïîðòèðîâêà
X Вы можете установить светильник на горизонтальную или
вертикальную поверхность с помощью монтажных
отверстий (10) на корпусе прибора.
X Вы можете переносить светильник с место на место с
помощью выдвижной ручки (8). Для этого необходимо
вытащить ручку, потянув ее в сторону, противоположную
плоскости корпуса.
X Светильник RL@590 Вы также можете установить вертикально
на стол, пол, любую плоскую горизонтальную поверхность,
вытащив складную подставку (11) и дополнительные опоры
для вертикальной установки (12).
20
- 1
- 2
