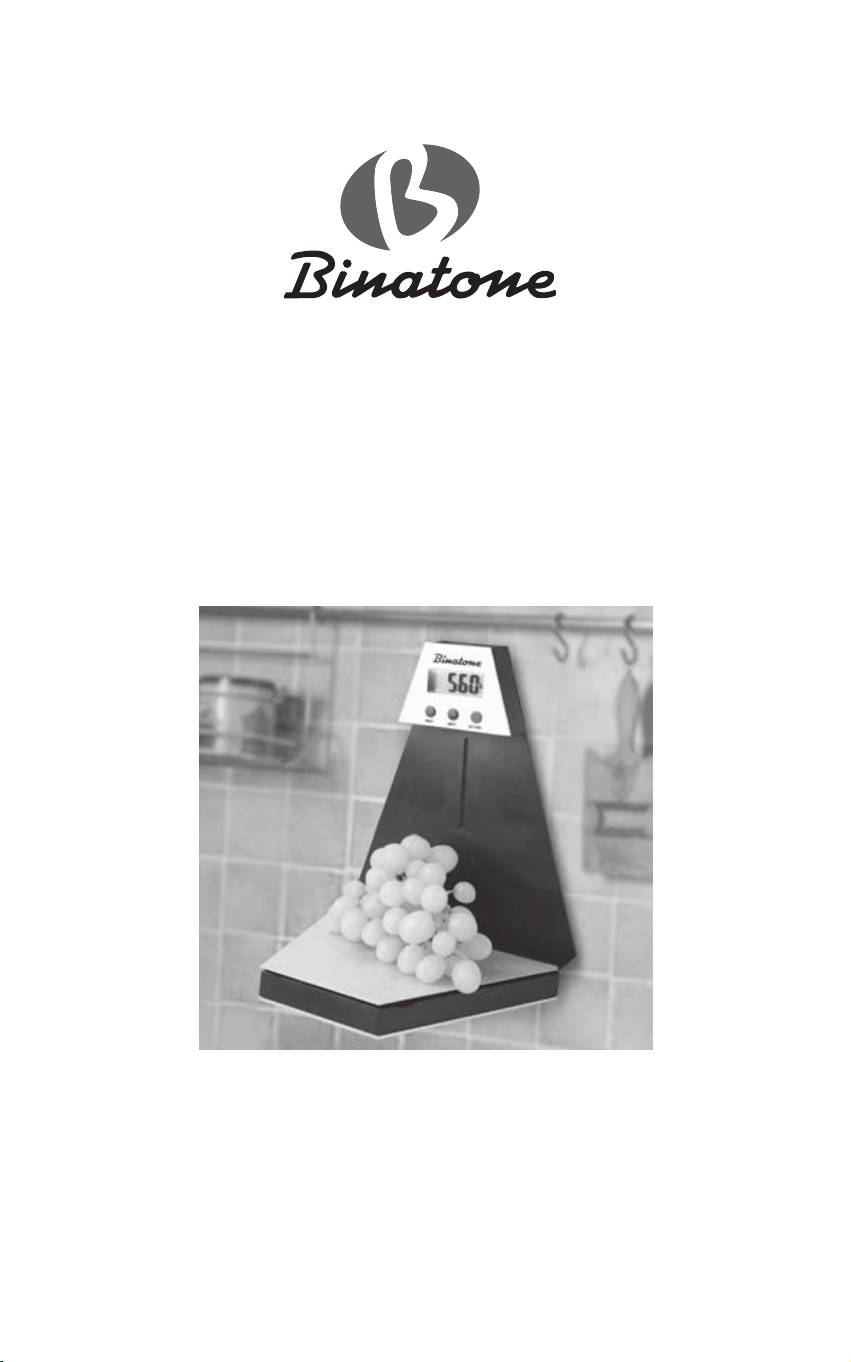
Binatone KS-7030: инструкция
Раздел: Узкоспециализированное и бизнес оборудование
Тип: Весы ювелирные
Инструкция к Весам ювелирным Binatone KS-7030
Оглавление
Instruction Manual
KS7030
Kitchen Electronic Scales
A
Kitchen Electronic Scales KS7030
B C
ENGLISH ........................................ 4
ENGLISHFRANÇAISÐÓÑÑÊÈÉ
FRANÇAIS .....................................10
ÐÓÑÑÊÈÉ .....................................16
ÓÊÐÀ¯ÍÑÜÊÀ ................................22
ÓÊÐÀ¯ÍÑÜÊÀ
3
Kitchen Electronic Scales KS-7030
Please read the safety instructions carefully before using this ap-
pliance. Please retain the instructions for future reference.
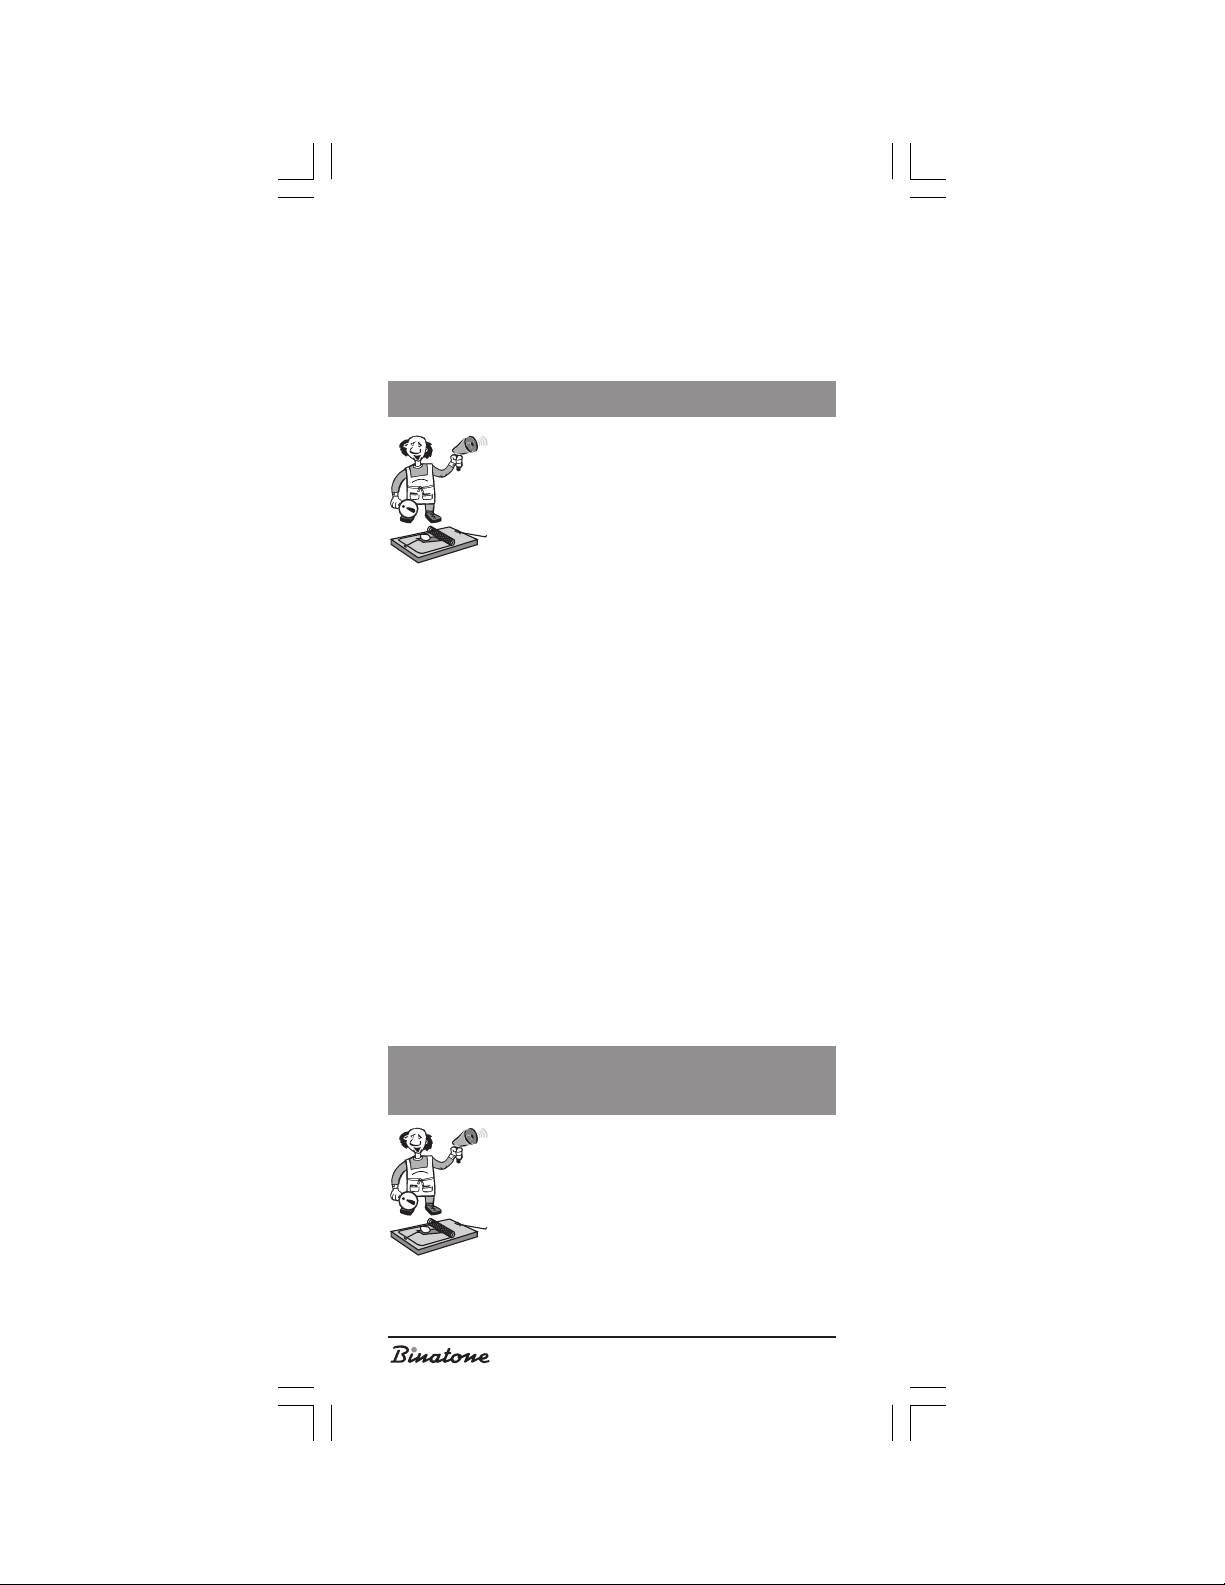
SAFETY MEASURES
This appliance is powered by batteries, therefore
during operation it is necessary to comply with the fol-
lowing safety measures:
Before using the appliance with batteries, study
directions for their use.
Only use the batteries as recommended by the
manufacturer.
It is strictly prohibited to re-charge batteries – it can cause an ex-
plosion.
To charge re-chargeable batteries, use only chargers recom-
mended by the manufacturer.
Before turning the appliance on, make sure the batteries are set
correctly and are in good working order.
Do not use power units with visible marks of oxidation.
If the corrosion liquid comes in contact with skin or into the eyes,
immediately wash them with plenty of water, and if any is ingested
– drink a lot of water, cause vomiting and go to the doctor.
If the appliance is not going to be used for a long period of time, it
is recommended to take the batteries out of the appliance.
Do not use the appliance in places where there are vapors of highly
inflammable gases.
In cases where liquid has got inside the appliance, take out the
batteries. See the attached instruction to become acquainted with
their further use.
Do not use the scales near electromagnetic radiation sources (com-
puters, radio telephones etc.).
Do not keep the scales near heating appliances, heating systems,
or in direct sun.
SPECIAL SAFETY MEASURES
Use the appliance only for purposes stipulated
by this instruction book.
Do not try to repair the appliance indepen-
dently, go to an authorized service center.
Only use the scales on a hard horizontal sur-
face.
Try to evenly distribute the load on the tray of
the scales.
Only weigh within the limits, indicated on the box of the appli-
ance.
For activation of the functions of the appliance press the buttons
lightly and without excessive force. It is unnecessary to press them
hard, do not use sharp objects to press them.
Do not insert foreign objects in the open parts of the appliance.
Prevent the appliance from falling or other objects falling onto the
appliance. It can damage the appliance and affect the accuracy
of measurement during weighing.
4
Prevent water getting inside the appliance.
Do not use the scales or store them in places with high humidity or
where water could be spilled on them.
Store the appliance in the package, in a horizontal position.
Do not put foreign objects on the scales.
When cleaning the scales, do not use abrasive materials and
cleansers as these can damage the body and parts of the appli-
ance.
ENGLISH
If you can’t turn on the appliance, check if the battery is in place
and set correctly. It is possible that the battery is discharged and
needs to be replaced. If replacement of the battery did not resolve
the problem, go to an authorized service center.
Keep the device closed, preferably in its package. Do not keep
foreign objects on the scale.
Do not use materials and means (for example, abrasive) during
the maintenance of the scale, which can damage its body and com-
ponents.
If you fail to turn on the device check availability of the battery
and its polarity. Possibly the battery discharged and should be
replaced. If the battery replacement did not result in positive result
please contact an authorized service center.
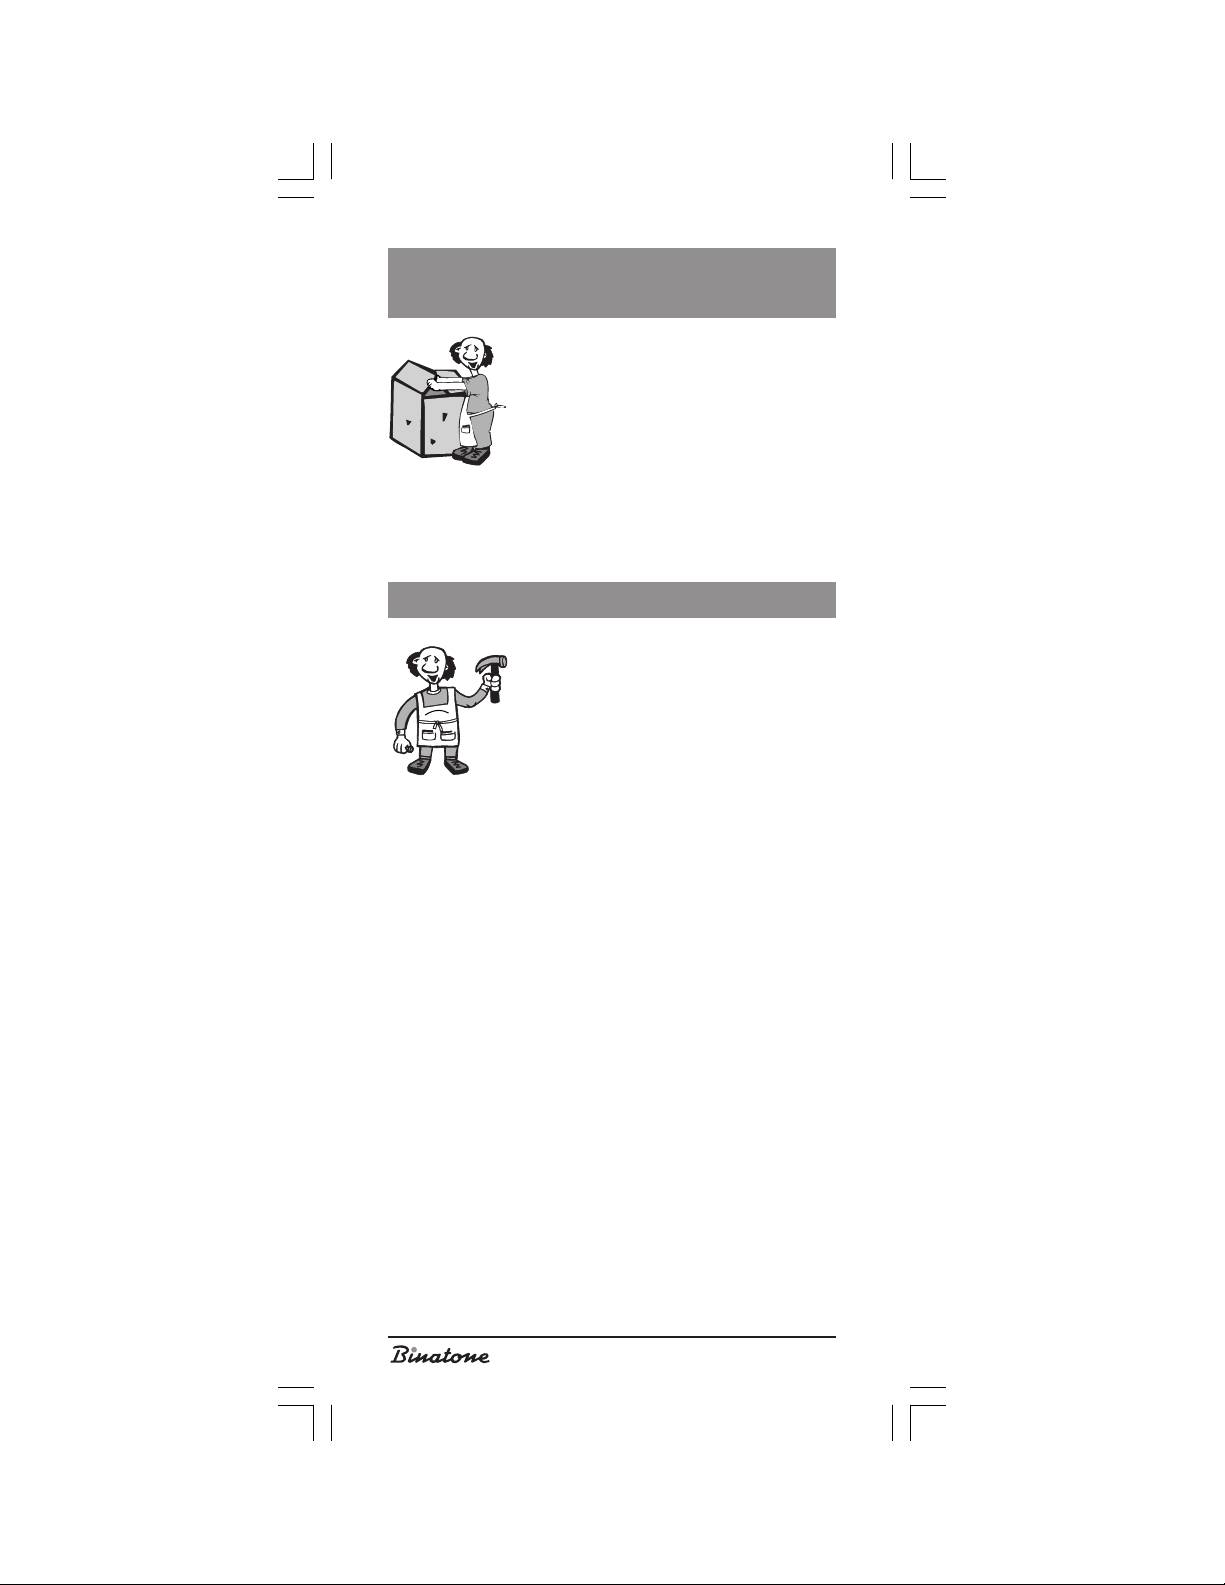
DESCRIPTION OF DEVICE
PARTS
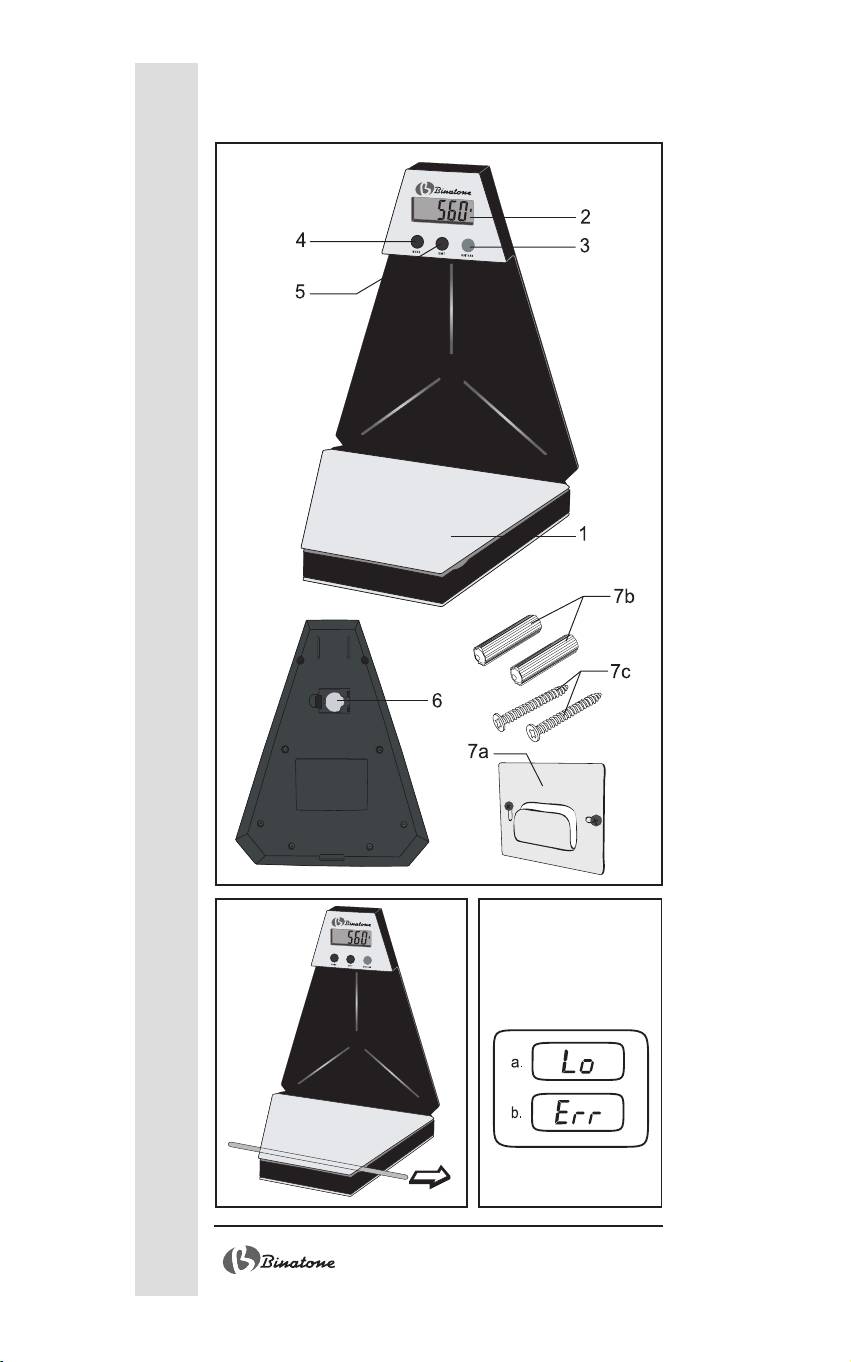
Figure A:
1. Cradle
2. LCD-display
3. “On/Tare” button
4. “Mode” button
5. “Unit” button
6. Battery compartment
7. Kit for wall mounting
a) Fastening plate
b) 2 dowels
c) 2 screw nails
BEFORE THE FIRST USE
Remove all packaging materials before the first
use.
Remove the stud used for safe transportation
from the lateral side of the cradle (1) (Figure
B).
Find an appropriate place in the kitchen and
fasten the plate (7a) by means of the dowels
(7b) and screw nails (7c).
Take the device, open the battery compartment (6) and remove
the insulation sheet to clean contacts. Close the compartment.
Hang the scale on the fastening plate (7a).
5
OPERATION INSTRUCTIONS
Operation of the device
1. Place the cradle (1) in the operating position
having turned it by 90 degrees.
2. Press “On/Tare” button (3) to turn on the de-
vice. First the word “Helo” appears on the dis-
play (2) and afterwards “0” will be indicated.
3. To select measurement units press the “Unit” button (5) once or
twice until a desired mode is set. While pressing the button (5) the
symbols “g” (grams) and “oz” (ounces) will appear successively
in the right portion of the display showing the current active mea-
surement unit.
4. Put foodstuffs onto the cradle (1). Always put an object to be
weighed on the center of the cradle (or bowl). Bear in mind that its
weight should not exceed 2 kilograms.
Note: If the bowl is used place it securely onto the cradle
(1) before turning on the device.
5. Wait till the readings on the display (2) become stable and the
weight of your object is indicated.
6. After the weighing is complete lift the cradle (1) into the upper
position.
Setting off the tare weight
Turn on the scale. After zero reading is set, place an empty con-
tainer onto the cradle (1). Press the “On/Tare” button (3) to offset
the tare weight. When this function is active the indication Tare ap-
pears in the left portion of the display. Carry out further weighing food-
stuffs according the instructions.
Successive weighing
You can carry out successive weighing without removing the cradle
or foodstuff already on it, to do this press the “On/Tare” button (3)
once; before each additional weighing. This action will set the device
in zero position for each new measurement. The display (2) will indi-
cate only the weight of foodstuff being added last. When this function
is active the indication Tare appears in the left portion of the display.
When the weighed object is removed from the cradle (1) the display
will indicate a negative value.
Note: If the tare weight exceeds 20 g then maximum
foodstuff weight being measured will be decreased by
a value corresponding to the tare weight. If the tare
weight is less than 20 g the maximum weight being
measured does not change and equals to 2 kg.
Setting the time
1. To set the real time press the “Mode” button (4) till TM appears in
the right portion of the display. This means that the device entered
6
the time setting mode.
2. Press the “Mode” button (4) once again and hold it for 2-3 sec-
onds till the two right digits (minutes) begin blinking.
3. Set minutes pressing repeatedly the “Unit” button (5).
4. Press the “Mode” button (4) once again. The two left digits (hours)
begin blinking.
5. Set hours pressing repeatedly the “Unit” button (5).
6. After the time setting procedure is complete press the “Mode” but-
ENGLISH
ton (4).
Setting the timer
1. The scale is equipped with an alarm timer up to 100 minutes. To
set the timer press the “Mode” button (4) till TMR appears in the
right portion of the display (2). This means that the device entered
the timer setting mode.
2. Press the “Mode” button (4) once again and hold it for 2-3 sec-
onds till the two right digits (seconds) begin blinking.
3. Set seconds pressing repeatedly the “Unit” button (5).
4. Press the “Mode” button (4) once again. The two left digits (min-
utes) begin blinking.
5. Set minutes pressing repeatedly the “Unit” button (5).
6. After the timer setting procedure is complete press the “Mode”
button (4).
7. After the set time expires an audible alarming signal will be gen-
erated. Press the “Mode” button (4) to turn off the signal. Press
this button once again to return to the time mode.
Warning indications
Figure C:
a. Battery should be replaced.
b. The device is overloaded. Remove excessive weight.
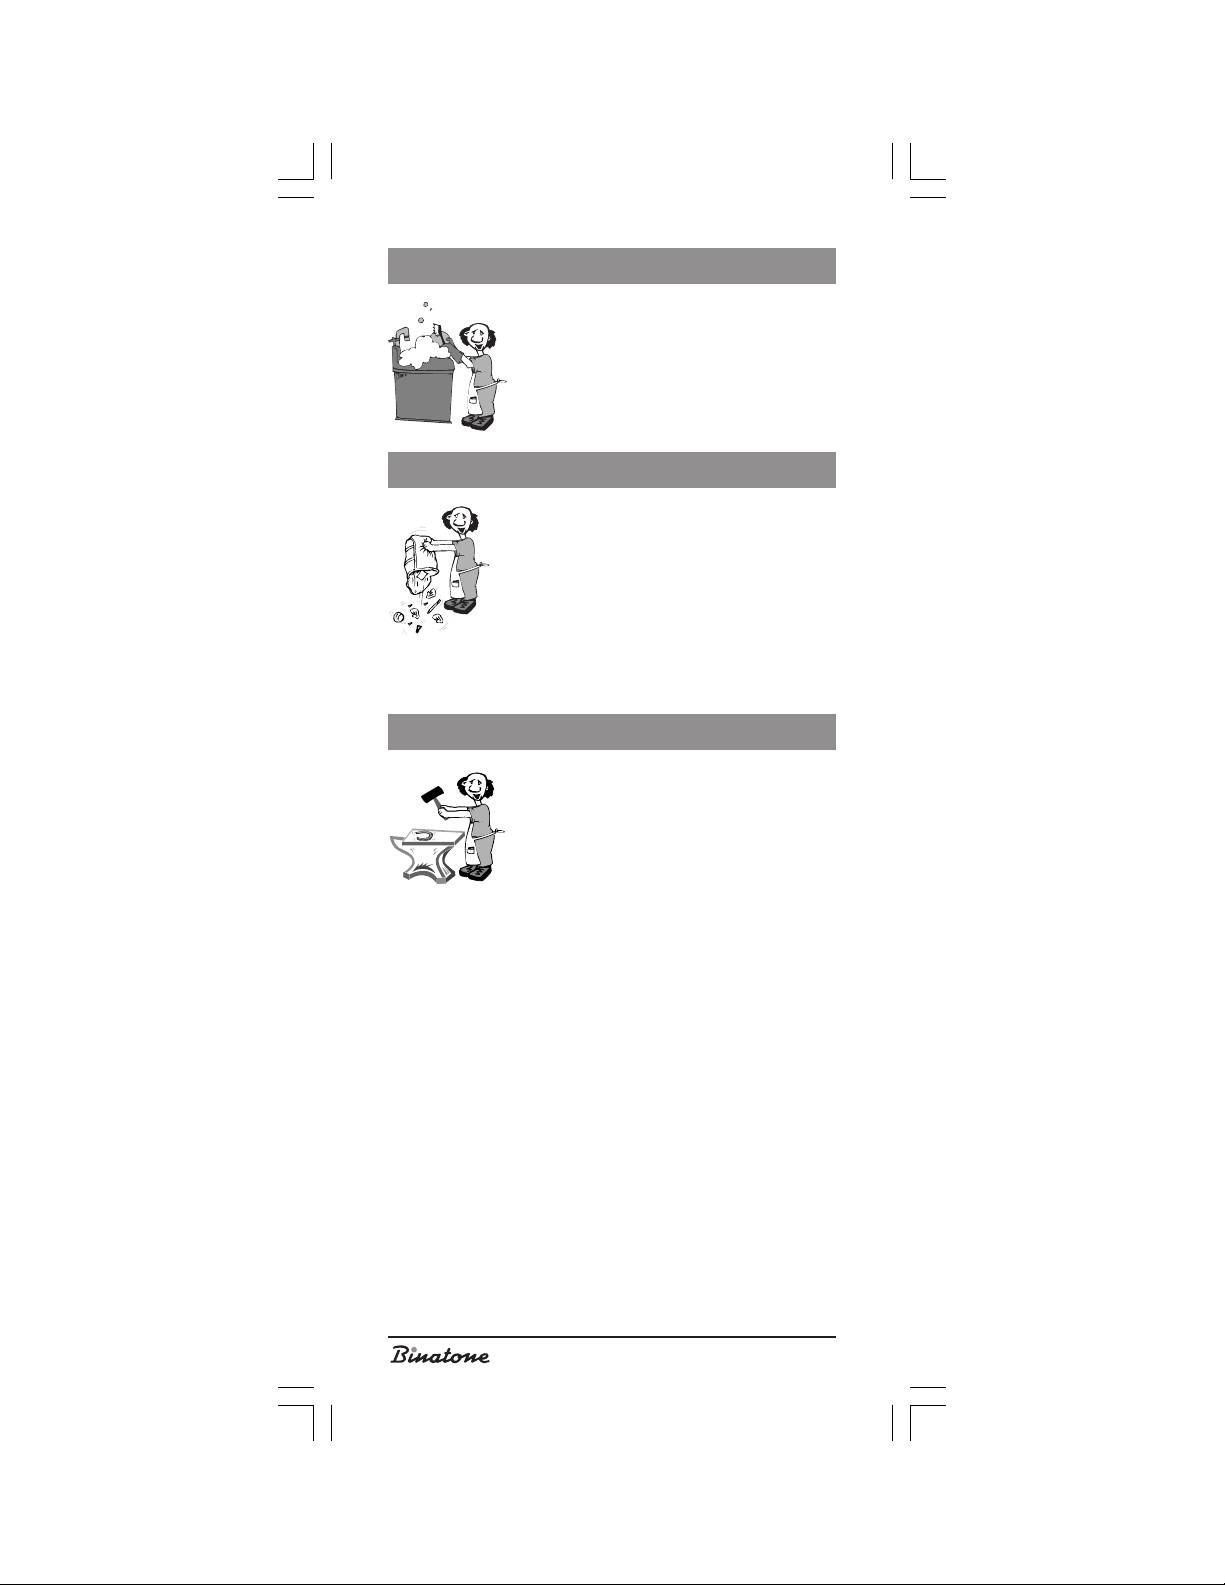
MAINTENANCE AND
CLEANING
1. Wipe the device with a damp lint free cloth.
Avoid penetration of water into the device. Do
not use alcohol, gasoline and harsh abrasive
substances for cleaning
2. Keep the device in a dry cool place. Avoid keep-
ing the device in places with high moisture or
elevated temperature.
DISPOSAL
Upon expiry of the service life of this appliance
it should be disposed of in accordance with waste
disposal regulations in your country and with the
least damage to the environment.
Only ecologically safe materials are used in
the packaging of our products and the cardboard
and paper can be disposed of with normal paper
waste.
7
AFTER-SALES SERVICE
If you’re appliance does not operate at all or
operates poorly, call an authorized service center
for help or repairs.
The warranty does not cover the
following:
Non-observance of the above safety measures
and operation instructions.
Commercial use (use outside the scope of personal household
needs).
Improper care (ingress of liquid, dust, insects, and other foreign
items and substances inside the appliance).
Use of excessive force during appliance operation or other dam-
ages (mechanical damages resulting from incorrect use, shocks or
dropping of the appliance).
Unauthorized repairs or replacement of the appliance parts per-
formed by an unauthorized person or service center.
Accidents, such as lightning strike, flood, fire and other acts of God.
Also the warranty does not cover replaceable batteries.
8
ENGLISH
Features may be changed by Binatone without any notice.
Warranty details are set out in the warranty card provided with
the product.
Exploitation period: 3 years after the day of purchase.
Manufacture: Binatone Industries Ltd, Great Britain, Vitabiotics
House,1 Apsley Way, Staples Corner, London, NW2 7HF, UK.
9
Balance de cuisine electronique
KS-7030
Lisez attentivement cette instruction avant le premier usage pour
prendre connaissance du fonctionnement de l’appareil. Gardez
l’instruction pour s’y referer ulterieurement.
MESURES DE SECURITE
L'alimentation de cet appareil est assurée par des
piles électriques de courant continu dont l'utilisation
nécessite les mesures suivantes de sécurité:
Avant d'installer les piles électriques dans
l'appareil, lisez attentivement leur notice
d'utilisation.
Utilisez toujours les sources d'alimentation stan-
dard recommandées par le fabricant.
Il est strictement interdit de recharger les piles: ceci peut résulter
en explosion.
Pour recharger les accumulateurs, n'utilisez que des chargeurs
recommandés par le fabricant.
Avant de mettre en service l'appareil, assurez-vous que les piles
ou les accumulateurs sont installés correctement et qu'ils sont en
bon état.
Ne pas utiliser des piles qui ont des traces visibles d'oxydation.
En cas de contact des produits de corrosion avec la peau ou les
yeux, laver immédiatement à grande eau; en cas d'ingestion, boire
beaucoup d'eau, faire vomir et consulter le médecin.
Si vous n'envisagez pas l'utilisation de l'appareil pendant une
longue période, il est conseillé de retirer les piles.
Ne pas utiliser l'appareil dans des locaux où l'air peut contenir
des vapeurs des gaz inflammables.
En cas d'infiltration d'eau à l'intérieur de l'appareil, retirer les piles.
Pour leur utilisation ultérieure, lisez la notice d'utilisation qui leur
est jointe.
Ne pas utiliser la balance à proximité des sources de radiation
élecromagnétique (ordinateurs, téléphones portables ...)
Ne pas garder la balance près des appareils de chauffage, des
systèmes de chauffage, ainsi que dans des endroits qui peuvent
être exposés à l'action directe des rayons de soleil.
MESURES SPECIALES DE
SECURITE
N’utiliser l’appareil que dans les buts prevus
par la presente notice d’utilisation.
Ne pas essayer de reparer l’appareil par vos
propres forces, portez-le au centre de service
agree.
Installer la balance seulement sur une surface
dure horizontale.
Repartir la charge sur la plate-forme de la balance de facon egale.
Peser les poids seulement dans les limites indiquees sur le carton
de l’appareil.
10

Pour activer les fonctions de l’appareil, appuyer sur les touches
doucement, sans effort excessif. Il n’est pas necessaire d’appuyer
trop fort ou d’utiliser a cette fin des objets aigus.
Ne pas inserer des objets etrangers dans des parties ouvertes de
l’appareil.
Ne pas laisser tomber l’appareil, et ne pas laisser tomber d’autres
objets sur l’appareil. Ceci peut endommager l’appareil et influ-
encer la precision de mesure.
Ne pas laisser l’eau s’infiltrer a l’interieur de l’appareil.
Ne pas utiliser et ne pas garder la balance dans des endroits a
haut degre d’humidite et a haute probabilite d’infiltration d’eau a
l’interieur.
Pour un stockage prolonge de l’appareil, il est conseille de le
ranger dans l’emballage en position horizontale.
Ne pas mettre des objets etrangers sur l’appareil.
Pour l’entretien de la balance, ne pas utiliser des produits et des
moyens qui peuvent endommager le corps et les pieces de
l’appareil (p.ex., des produits abrasifs).
Si vous n’arrivez pas a mettre l’appareil en service, verifiez s’il y
a une pile et si elle est installee correctement. Il est possible que la
pile s’est dechargee et qu’elle doit etre remplacee. Si le
remplacement de la pile n’a pas donne de resultat, adressez-vous
a un centre de service agree.
Gardez l’appareil couvert, de preference dans son emballage.
FRANÇAIS
Ne pas garder des objets etrangers sur la balance.
Pour l’entretien de la balance, ne pas utiliser des produits et des
materiaux (p.ex. abrasifs), capables de deteriorer le corps et les
pieces de l’appareil.
Si vous n’arrivez pas a brancher l’appareil, verifiez s’il y a une
pile et si elle est installee correctement. Peut etre, que la pile s’est
dechargee et doit etre remplacee. Si le remplacement de la pile
n’a pas donne de resultat, adressez-vous a un centre de service
agree.
DESCRIPTIF DES PIECES DE
L’APPAREIL
Dessin A:
1. Plate-forme
2. Ecran aux cristaux liquides
3. Touche marche/tarage “On/Tare”
4. Touche “Mode”
5. Touche “Unit”
6. Compartiment a piles
7. Garniture de fixation murale
a) Plaque de fixation
b) 2 tampons
c) 2 vis
11
AVANT LA PREMIERE
UTILISATION
Avant la premiere utilisation de l’appareil,
enlevez tous les materiaux d’emballage.
Enlevez la partie laterale de la plate-forme (1)
l’ attache de securite de manutention (Dessin
B).
Choisissez l’endroit convenable dans la cuisine
et fixez la plaque (7a) a l’aide des tampons
(7b) et des vis (7c).
Prenez l’appareil, ouvrez le compartiment a piles (6) et enlevez
la feuille isolante pour liberer les contacts. Refermez le
compartiment.
Accrochez la balance sur la plaque de fixation (7a).
UTILISATION DE L’APPAREIL
Exploitation de l’appareil
1. Mettez la plate-forme (1) en position de travail
en la rabattant sous l’angle de 90 degres.
2. Pour brancher l’appareil, appuyez sur la tou-
che “On/Tare” (3). L’ecran (2) affichera
d’abord le mot “Helo”, ensuite, la balance se
mettra en position “0”.
3. Pour choisir les unites de mesure, appuyez sur la touche “Unit”
(5) une ou deux fois, jusqu’a l’installation du mode necessaire.
En appuyant sur la touche (5), vous verrez les icones apparaitre
alternativement de cote droite de l’ecran (“g” - grammes, “oz” -
onces), affichant l’unite de mesure active au moment donne.
4. Placez les aliments sur la plate-forme (1). Installez toujours l’objet
a peser au centre de la plate-forme (ou du plateau). N’oubliez
pas que le poids ne doit pas depasser 2 kilogrammes.
Note: Si vous utilisez le plateau, installez-le de facon sure
sur la plate-forme (1) avant de brancher l’appareil.
5. Attendez que les valeurs de l’ecran (2) stabilisent et vous verrez
le poids de votre objet.
6. Apres la fin de pesage, relevez la plate-forme (1).
Tarage
Branchez la balance. Apres l’installation de zero, mettez la tare
vide sur la plate-forme (1). Appuyez sur la touche “On/Tare” (3)
pour defalquer le poids de la tare. Quand cette fonction est active,
dans la partie gauche de l’ecran le mot Tare est affiche. Ensuite, pesez
les produits suivant l’instruction.
Pesages consecutifs
Vous pouvez proceder aux pesages consecutifs sans enlever le
poids qui se trouve deja sur la balance. Pour le faire, avant chaque
12
pesage appuyez simplement sur la touche “On/Tare” (3) une fois ;
ceci remettra la balance a zero pour un nouveau pesage. Dans ce
cas, l’ecran (2) affichera seulement le poids du produit qui a ete ajoute
le dernier. Quand cette fonction est active, dans la partie gauche de
l’ecran apparait le mot Tare. Quand vous enlevez l’objet pese de la
plate-forme (1), l’ecran affichera une valeur negative.
Note: Si le poids de la tare depasse 20 g, le poids
maximum du produit a peser sera reduit du poids
correspondant au poids de la tare. Si le poids de la
tare est inferieur a 20 g, le poids maximum a
mesurer ne change pas, il est egal a 2 kg.
Installation du temps
1. Pour installer le temps courant, appuyez sur la touche “Mode”
(4) jusqu’a l’apparition de l’indication TM dans la partie gauche
de l’ecran. Cela signifie que la balance est passee au mode de
fixation de l’heure.
2. Appuyez iterativement sur la touche “Mode” (4) et retenez-la pen-
dant 2-3 secondes jusqu’au moment ou les deux chiffres a droite
indiquant les minutes commencent a clignoter.
3. Fixez les minutes en appuyant iterativement sur la touche “Unit”
FRANÇAIS
(5).
4. Appuyez encore une fois sur la touche “Mode” (4). Deux chiffres
a gauche indiquant l’heure, commencent a clignoter.
5. Fixez l’heure en appuyant iterativement sur la touche “Unit” (5).
6. Apres la fin de fixation appuyez sur “Mode” (4).
Fixation de la minuterie
1. La balance est amenagee d’une minuterie jusqu’a 100 minutes.
Pour fixer la minuterie, appuyez sur la touche “Mode”(4) jusqu’a
l’apparition de l’indication TMR dans la partie droite de l’ecran
(2). Cela signifie que la balance est passee au mode de fixation
de la minuterie.
2. Appuyez iterativement sur la touche “Mode” (4) et retenez-la pen-
dant 2-3 secondes jusqu’au moment ou les deux chiffres a droite
indiquant les secondes, commencent a clignoter.
3. Fixez les secondes en appuyant iterativement sur la touche “Unit”
(5).
4. Appuyez encore une fois sur la touche “Mode” (4). Deux chiffres
a gauche indiquant les minutes, commencent a clignoter.
5. Fixez les minutes en appuyant iterativement sur la touche “Unit”
(5).
6. Apres la fin de fixation appuyez sur “Mode” (4).
7. Quand le temps fixe sera ecoule, un signal sonore retentira. Pour
le faire cesser, appuyez sur la touche “Mode” (4). Appuyez en-
core une fois sur cette touche pour revenir au mode horloge.
Signaux d’avertissement
Dessin C:
a. Il est necessaire de remplacer la pile.
b. L’appareil est surcharge. Enlevez le poids excessif.
13
ENTRETIEN ET NETTOYAGE
1. Essuyez l’appareil avec un tissu humide. Eviter
l’infiltration d’eau a l’interieur de l’appareil. Ne
pas utiliser pour le nettoyage l’alcool, l’essence,
les produits durs et abrasifs.
2. Garder l’appareil dans un endroit sec et frais.
Evitez de garder l’appareil dans des locaux a
humidite ou temperature elevee.
RECYCLAGE
Apres la fin de la periode de fonctionnement,
l’appareil electromenager doit etre recycle avec le
minimum de degats pour l’environnement et en
conformite avec les regles de traitement des dechets
dans votre region. Pour recycler l’appareil
correctement, souvent il suffit de le porter dans le cen-
tre local de traitement des dechets. Pour l’emballage
de nos appareils, nous utilisons uniquement les materiaux recyclables.
Donc, le carton et le papier peuvent etre recycles avec d’autres dechets
en papier.
SERVICES APRES VENTE
Si votre appareil ne fonctionne pas ou
fonctionne mal, adressez-vous a un centre agree
pour consultation ou reparation.
La garantie n’est pas valable dans
les cas suivants:
Non-respect des mesures de securite
susmentionnees et des regles d’exploitation.
Utilisation commerciale (utilisation depassant les besoins person-
nels menagers).
Mauvais maintien (penetration des liquides, de la poussiere, des
insectes et d’autres corps etrangers a l’interieur de l’appareil).
Effort excessif pendant l’exploitation de l’appareil ou autres
endommagements (defauts mecaniques survenus suite a
l’exploitation incorrecte, la percussion ou la chute de l’appareil).
Reparation ou changement des pieces de l’appareil, effectue par
une personne non-autorisee ou hors du centre de service autorise.
Accidents tels que la foudre, l’inondation, l’incendie ou autres
circonstances de force majeure.
La garantie ne concerne pas non plus les piles interchangeables.
14

FRANÇAIS
Les caractéristiques peuvent être changées par la société
“Binatone” sans aucune notification préalable.
Le délai de garantie et autres pieces sont indiqués dans le ticket
de garanti joint à l’appareil.
Durée de service: 3 ans du jour d’acquisition.
Fabricant: Binatone Industries Ltd, Great Britain, Vitabiotics
House,1 Apsley Way, Staples Corner, London, NW2 7HF, UK
(Binatone Industries Ltd, Grande Bretagne)
15
Êóõîííûå ýëåêòðîííûå âåñû KS-
7030
Âíèìàòåëüíî ïðî÷òèòå äàííóþ èíñòðóêöèþ ïåðåä ïåðâûì
èñïîëüçîâàíèåì, ÷òîáû îçíàêîìèòüñÿ ñ ðàáîòîé íîâîãî ïðèáîðà.
Ïîæàëóéñòà, ñîõðàíèòå èíñòðóêöèþ äëÿ äàëüíåéøèõ
ñïðàâîê.
ÌÅÐÛ ÁÅÇÎÏÀÑÍÎÑÒÈ
Äëÿ ïèòàíèÿ äàííîãî ïðèáîðà èñïîëüçóþòñÿ
õèìè÷åñêèå èñòî÷íèêè ïîñòîÿííîãî òîêà ïðè
ýêñïëóàòàöèè êîòîðûõ, íåîáõîäèìî ñîáëþäàòü
ñëåäóþùèå ìåðû ïðåäîñòîðîæíîñòè:
Ïåðåä èñïîëüçîâàíèåì ýëåìåíòîâ ïèòàíèÿ â
ïðèáîðå, âíèìàòåëüíî èçó÷èòå èíñòðóêöèþ
ïî èõ ïðèìåíåíèþ.
Èñïîëüçóéòå ñòàíäàðòíûå èñòî÷íèêè ïèòàíèÿ,
ðåêîìåíäîâàííûå çàâîäîì èçãîòîâèòåëåì.
Êàòåãîðè÷åñêè çàïðåùàåòñÿ çàðÿæàòü áàòàðåéêè - ýòî ìîæåò
ïðèâåñòè ê âçðûâó.
Äëÿ çàðÿäêè àêêóìóëÿòîðîâ ïðèìåíÿéòå òîëüêî çàðÿäíûå
óñòðîéñòâà, ðåêîìåíäîâàííûå çàâîäîì èçãîòîâèòåëåì.
Ïåðåä âêëþ÷åíèåì óáåäèòåñü â ïðàâèëüíîñòè óñòàíîâêè
áàòàðååê (èëè àêêóìóëÿòîðîâ) è èõ èñïðàâíîñòè.
Íå ïðèìåíÿéòå èñòî÷íèêè ïèòàíèÿ ñ âèäèìûìè ñëåäàìè
îêèñëåíèÿ.
 ñëó÷àå ïîïàäàíèÿ íà êîæó èëè â ãëàçà ïðîäóêòîâ êîððîçèè
íåìåäëåííî ïðîìûòü áîëüøèì êîëè÷åñòâîì âîäû, à ïðè
ïîïàäàíèè âíóòðü - ïðèíÿòü áîëüøîå êîëè÷åñòâî æèäêîñòè,
âûçâàòü ðâîòó è îáðàòèòüñÿ ê âðà÷ó.
Åñëè èçäåëèå íå ïëàíèðóåòñÿ èñïîëüçîâàòü äëèòåëüíûé ïåðèîä
âðåìåíè, ðåêîìåíäóåòñÿ èçâëå÷ü ýëåìåíòû ïèòàíèÿ èç
ïðèáîðà.
Íå ïîëüçóéòåñü ïðèáîðîì â ìåñòàõ, ãäå â âîçäóõå ìîãóò
ñîäåðæàòüñÿ ïàðû ëåãêîâîñïëàìåíÿþùèõñÿ ãàçîâ.
Ïðè ïîïàäàíèè æèäêîñòè âíóòðü ïðèáîðà, èçâëåêèòå ýëåìåíòû
ïèòàíèÿ. Ñ ïîðÿäêîì èõ äàëüíåéøåãî èñïîëüçîâàíèÿ
îçíàêîìüòåñü â ïðèëàãàåìîé ê íèì èíñòðóêöèè.
Íå ïîëüçóéòåñü âåñàìè âáëèçè èñòî÷íèêîâ ýëåêòðîìàãíèòíîãî
èçëó÷åíèÿ (êîìïüþòåðû, ðàäèîòåëåôîíû è ò.ï.).
Íå õðàíèòå âåñû âáëèçè íàãðåâàòåëüíûõ ïðèáîðîâ, ñèñòåì
îòîïëåíèÿ, à òàêæå â ìåñòàõ, ãäå âîçìîæíî âîçäåéñòâèå ïðÿìûõ
ñîëíå÷íûõ ëó÷åé.
16

ÑÏÅÖÈÀËÜÍÛÅ ÌÅÐÛ
ÏÐÅÄÎÑÒÎÐÎÆÍÎÑÒÈ
Èñïîëüçóéòå ïðèáîð òîëüêî â öåëÿõ
ïðåäóñìîòðåííûõ íàñòîÿùåé èíñòðóêöèåé.
Íå ïûòàéòåñü ñàìîñòîÿòåëüíî ðåìîíòèðîâàòü
ïðèáîð.
Ñòàðàéòåñü ðàñïðåäåëÿòü íàãðóçêó íà
ïëàòôîðìó âåñîâ ðàâíîìåðíî.
Âçâåøèâàíèå ïðîèçâîäèòü òîëüêî â òåõ
ïðåäåëàõ, êîòîðûå óêàçàíû íà êîðîáêå
ïðèáîðà.
Äëÿ àêòèâàöèè ôóíêöèé ïðèáîðà íàæèìàéòå êíîïêè ñëåãêà,
íå ïðèëàãàÿ èçëèøíèõ óñèëèé. Íåò íåîáõîäèìîñòè íàæèìàòü
èõ ñëèøêîì ñèëüíî èëè èñïîëüçîâàòü äëÿ íàæàòèÿ îñòðûå
ïðåäìåòû.
Íå âñòàâëÿéòå ïîñòîðîííèå ïðåäìåòû â îòêðûòûå ÷àñòè
ïðèáîðà.
Íå äîïóñêàéòå ïàäåíèå ïðèáîðà è ïàäåíèå íà ïðèáîð äðóãèõ
ïðåäìåòîâ. Ýòî ìîæåò ïîâðåäèòü åãî ðàáîòå.
Íå äîïóñêàéòå ïîïàäàíèÿ âîäû âíóòðü ïðèáîðà.
Íå ïîëüçóéòåñü âåñàìè è íå õðàíèòå èõ â ìåñòàõ, ãäå âûñîêà
âåðîÿòíîñòü ïîïàäàíèÿ â íèõ âîäû.
Õðàíèòå ïðèáîð çàêðûòûì, æåëàòåëüíî â óïàêîâî÷íîé òàðå.
Íå õðàíèòå íà âåñàõ ïîñòîðîííèå ïðåäìåòû.
Ïðè óõîäå çà âåñàìè íå èñïîëüçóéòå ìàòåðèàëîâ è ñðåäñòâ
(íàïðèìåð, àáðàçèâíûõ) ñïîñîáíûõ ïîâðåäèòü êîðïóñ è äåòàëè
ïðèáîðà.
Åñëè ïðèáîð íå óäàëîñü âêëþ÷èòü, ïðîâåðüòå íàëè÷èå è
ïðàâèëüíîñòü óñòàíîâêè áàòàðåéêè. Âîçìîæíî, áàòàðåéêà
ðàçðÿäèëàñü è íóæäàåòñÿ â çàìåíå. Åñëè çàìåíà áàòàðåéêè
íå äàëà ðåçóëüòàòà, îáðàòèòåñü â óïîëíîìî÷åííûé ñåðâèñíûé
öåíòð.
ÎÏÈÑÀÍÈÅ ÄÅÒÀËÅÉ
ÏÐÈÁÎÐÀ
ÐÓÑÑÊÈÉ
Ðèñóíîê À:
1. Ïëàòôîðìà
2. ÆÊ-äèñïëåé
3. Êíîïêà âêëþ÷åíèÿ/âûáîðêè âåñà òàðû “On/
Tare”
4. Êíîïêà “Mode”
5. Êíîïêà “Unit”
6. Îòñåê äëÿ áàòàðååê
7. Íàáîð äëÿ íàñòåííîãî êðåïåæà
a) Êðåïåæíàÿ ïëàñòèíà
b) 2 äþáåëÿ
c) 2 øóðóïà
17

ÏÅÐÅÄ ÏÅÐÂÛÌ
ÈÑÏÎËÜÇÎÂÀÍÈÅÌ
Ïåðåä ïåðâûì èñïîëüçîâàíèåì ïðèáîðà
ñíèìèòå âñå óïàêîâî÷íûå ìàòåðèàëû.
Óäàëèòå èç áîêîâîé ñòîðîíû ïëàòôîðìû (1)
øòûðü äëÿ áåçîïàñíîé òðàíñïîðòèðîâêè
(Ðèñóíîê Â).
Âûáåðèòå ïîäõîäÿùåå ìåñòî íà êóõíå è
ïðèêðåïèòå ïëàñòèíó (7a) ñ ïîìîùüþ
äþáåëåé (7b) è øóðóïîâ (7c).
Âîçüìèòå ïðèáîð, îòêðîéòå îòñåê äëÿ áàòàðååê (6) è óäàëèòå
èçîëÿöèîííûé ëèñò, ÷òîáû îñâîáîäèòü êîíòàêòû. Çàêðîéòå
îòñåê.
Ïîâåñüòå âåñû íà êðåïåæíóþ ïëàñòèíó (7a).
ÈÑÏÎËÜÇÎÂÀÍÈÅ ÏÐÈÁÎÐÀ
Ýêñïëóàòàöèÿ ïðèáîðà
1. Óñòàíîâèòå ïëàòôîðìó (1) â ðàáî÷åå
ïîëîæåíèå, îòêèíóâ åå ïîä óãëîì 90
ãðàäóñîâ.
2. Äëÿ âêëþ÷åíèÿ ïðèáîðà íàæìèòå êíîïêó
“On/Tare” (3). Ñíà÷àëà íà äèñïëåå (2)
âûñâåòèòñÿ ñëîâî “Helo”, çàòåì âåñû
óñòàíîâÿòñÿ â ïîëîæåíèå “0”.
3. Äëÿ âûáîðà åäèíèö èçìåðåíèÿ íàæìèòå êíîïêó “Unit” (5) îäèí
èëè äâà ðàçà, ïîêà íå óñòàíîâèòñÿ íåîáõîäèìûé ðåæèì. Ïðè
íàæàòèè íà êíîïêó (5), ñ ïðàâîé ñòîðîíû äèñïëåÿ áóäóò
ìåíÿòüñÿ èêîíêè (“g” - ãðàììû, “oz” - óíöèè), êîòîðûå
ïîêàçûâàþò, êàêàÿ åäèíèöà èçìåðåíèÿ àêòèâíà â äàííûé
ìîìåíò.
4. Ïîëîæèòå ïðîäóêòû íà ïëàòôîðìó (1). Âñåãäà óñòàíàâëèâàéòå
âçâåøèâàåìûé îáúåêò â öåíòð ïëàòôîðìû (èëè ÷àøè). Ïîìíèòå,
÷òî åãî âåñ íå äîëæåí ïðåâûøàòü 2 êèëîãðàììîâ.
Ïðèìå÷àíèå: Ïðè èñïîëüçîâàíèè ÷àøè,
íàäåæíî óñòàíîâèòå åå íà ïëàòôîðìó
(1) ïåðåä âêëþ÷åíèåì ïðèáîðà.
5. Ïîäîæäèòå, ïîêà çíà÷åíèÿ äèñïëåÿ (2) ñòàáèëèçèðóþòñÿ, è
áóäåò ïîêàçàí âåñ âàøåãî îáúåêòà.
6. Ïîñëå çàâåðøåíèÿ âçâåøèâàíèÿ ïîäíèìèòå ïëàòôîðìó (1)
ââåðõ.
Âûáîðêà âåñà òàðû
Âêëþ÷èòå âåñû. Ïîñëå óñòàíîâêè íóëÿ, ïîñòàâüòå ïóñòóþ òàðó
íà ïëàòôîðìó (1). Íàæìèòå êíîïêó “On/Tare” (3), ÷òîáû
îáíóëèòü âåñ òàðû. Êîãäà äàííàÿ ôóíêöèÿ àêòèâíà, â ëåâîé ÷àñòè
äèñïëåÿ ïîÿâëÿåòñÿ èíäèêàöèÿ Tare. Äàëåå ïðîèçâîäèòå
âçâåøèâàíèÿ ïðîäóêòîâ ñîãëàñíî èíñòðóêöèè.
18
Ïîñëåäîâàòåëüíûå âçâåøèâàíèÿ
Âû ìîæåòå ïðîèçâîäèòü ïîñëåäîâàòåëüíûå âçâåøèâàíèÿ, íå
ñíèìàÿ ñ ïëàòôîðìû óæå èìåþùèéñÿ íà íåé âåñ. Äëÿ ýòîãî ïðîñòî
ïåðåä êàæäûì äîïîëíèòåëüíûì âçâåøèâàíèåì ïðîäóêòîâ
íàæèìàéòå êíîïêó “On/Tare” (3) îäèí ðàç, ýòî óñòàíîâèò âåñû â
íóëåâîå ïîëîæåíèå äëÿ íîâûõ èçìåðåíèé.  ýòîì ñëó÷àå, äèñïëåé
(2) áóäåò ïîêàçûâàòü òîëüêî âåñ ïðîäóêòà, êîòîðûé áûë äîáàâëåí
ïîñëåäíèì. Êîãäà äàííàÿ ôóíêöèÿ àêòèâíà, â ëåâîé ÷àñòè äèñïëåÿ
ïîÿâëÿåòñÿ èíäèêàöèÿ Tare. Êîãäà âû ñíèìèòå âçâåøèâàåìûé
îáúåêò ñ ïëàòôîðìû (1), íà äèñïëåå áóäåò ïîêàçàíî îòðèöàòåëüíî
çíà÷åíèå.
Ïðèìå÷àíèå: Åñëè âåñ òàðû ïðåâûøàåò
20 ã, òî ìàêñèìàëüíûé èçìåðÿåìûé âåñ
ïðîäóêòà áóäåò óìåíüøåí íà âåñ,
ñîîòâåòñòâóþùèé âåñó òàðû. Åñëè æå
âåñ òàðû ìåíüøå 20 ã, òî ìàêñèìàëüíî
èçìåðÿåìûé âåñ íå ìåíÿåòñÿ è ðàâåí 2 êã.
Óñòàíîâêà âðåìåíè
1. Äëÿ óñòàíîâêè òåêóùåãî âðåìåíè íàæèìàéòå íà êíîïêó
“Mode” (4), ïîêà â ïðàâîé ñòîðîíå äèñïëåÿ íå ïîÿâèòñÿ
èíäèêàöèÿ TM. Ýòî îçíà÷àåò, ÷òî âåñû ïåðåøëè â ðåæèì
óñòàíîâêè âðåìåíè.
2. Ïîâòîðíî íàæìèòå íà êíîïêó “Mode” (4) è óäåðæèâàéòå åå â
òå÷åíèå 2-3 ñåê., äî òîãî ìîìåíòà, êàê äâå ïðàâûå öèôðû,
îáîçíà÷àþùèå ìèíóòû íå çàìèãàþò.
3. Óñòàíîâèòå ìèíóòû ïîñëåäîâàòåëüíûì íàæàòèåì íà êíîïêó
“Unit” (5).
4. Åùå ðàç íàæìèòå íà êíîïêó “Mode” (4). Äâå ëåâûå öèôðû,
îáîçíà÷àþùèå ÷àñû, çàìèãàþò.
5. Óñòàíîâèòå ÷àñû ïîñëåäîâàòåëüíûì íàæàòèåì íà êíîïêó “Unit”
(5).
6. Ïîñëå çàâåðøåíèÿ óñòàíîâêè íàæìèòå “Mode”(4).
Óñòàíîâêà òàéìåðà
ÐÓÑÑÊÈÉ
1. Âåñû îñíàùåíû òàéìåðîì äî 100 ìèíóò. Äëÿ óñòàíîâêè
òàéìåðà íàæèìàéòå íà êíîïêó “Mode”, (4) ïîêà â ïðàâîé
ñòîðîíå äèñïëåÿ (2) íå ïîÿâèòñÿ èíäèêàöèÿ TMR. Ýòî îçíà÷àåò,
÷òî âåñû ïåðåøëè â ðåæèì óñòàíîâêè òàéìåðà.
2. Ïîâòîðíî íàæìèòå íà êíîïêó “Mode” (4) è óäåðæèâàéòå åå â
òå÷åíèå 2-3 ñåê., äî òîãî ìîìåíòà, êàê äâå ïðàâûå öèôðû,
îáîçíà÷àþùèå ñåêóíäû íå çàìèãàþò.
3. Óñòàíîâèòå ñåêóíäû ïîñëåäîâàòåëüíûì íàæàòèåì íà êíîïêó
“Unit” (5).
4. Åùå ðàç íàæìèòå íà êíîïêó “Mode” (4). Äâå ëåâûå öèôðû,
îáîçíà÷àþùèå ìèíóòû, çàìèãàþò.
5. Óñòàíîâèòå ìèíóòû ïîñëåäîâàòåëüíûì íàæàòèåì íà êíîïêó
“Unit” (5).
6. Ïîñëå çàâåðøåíèÿ óñòàíîâêè íàæìèòå “Mode”(4).
7. Ïî èñòå÷åíèè óñòàíîâëåííîãî âðåìåíè, ðàçäàñòñÿ çâóêîâîé
ñèãíàë. ×òîáû åãî îòêëþ÷èòü íàæìèòå íà êíîïêó “Mode” (4).
19
Ïîâòîðíî íàæìèòå íà ýòó æå êíîïêó äëÿ âîçâðàùåíèÿ â ðåæèì
÷àñîâ.
Ïðåäóïðåæäàþùèå èíäèêàòîðû
(Ðèñóíîê Ñ):
a. Íåîáõîäèìî ïîìåíÿòü áàòàðåéêó.
b. Ïðèáîð ïåðåãðóæåí. Óáåðèòå ëèøíèé âåñ.
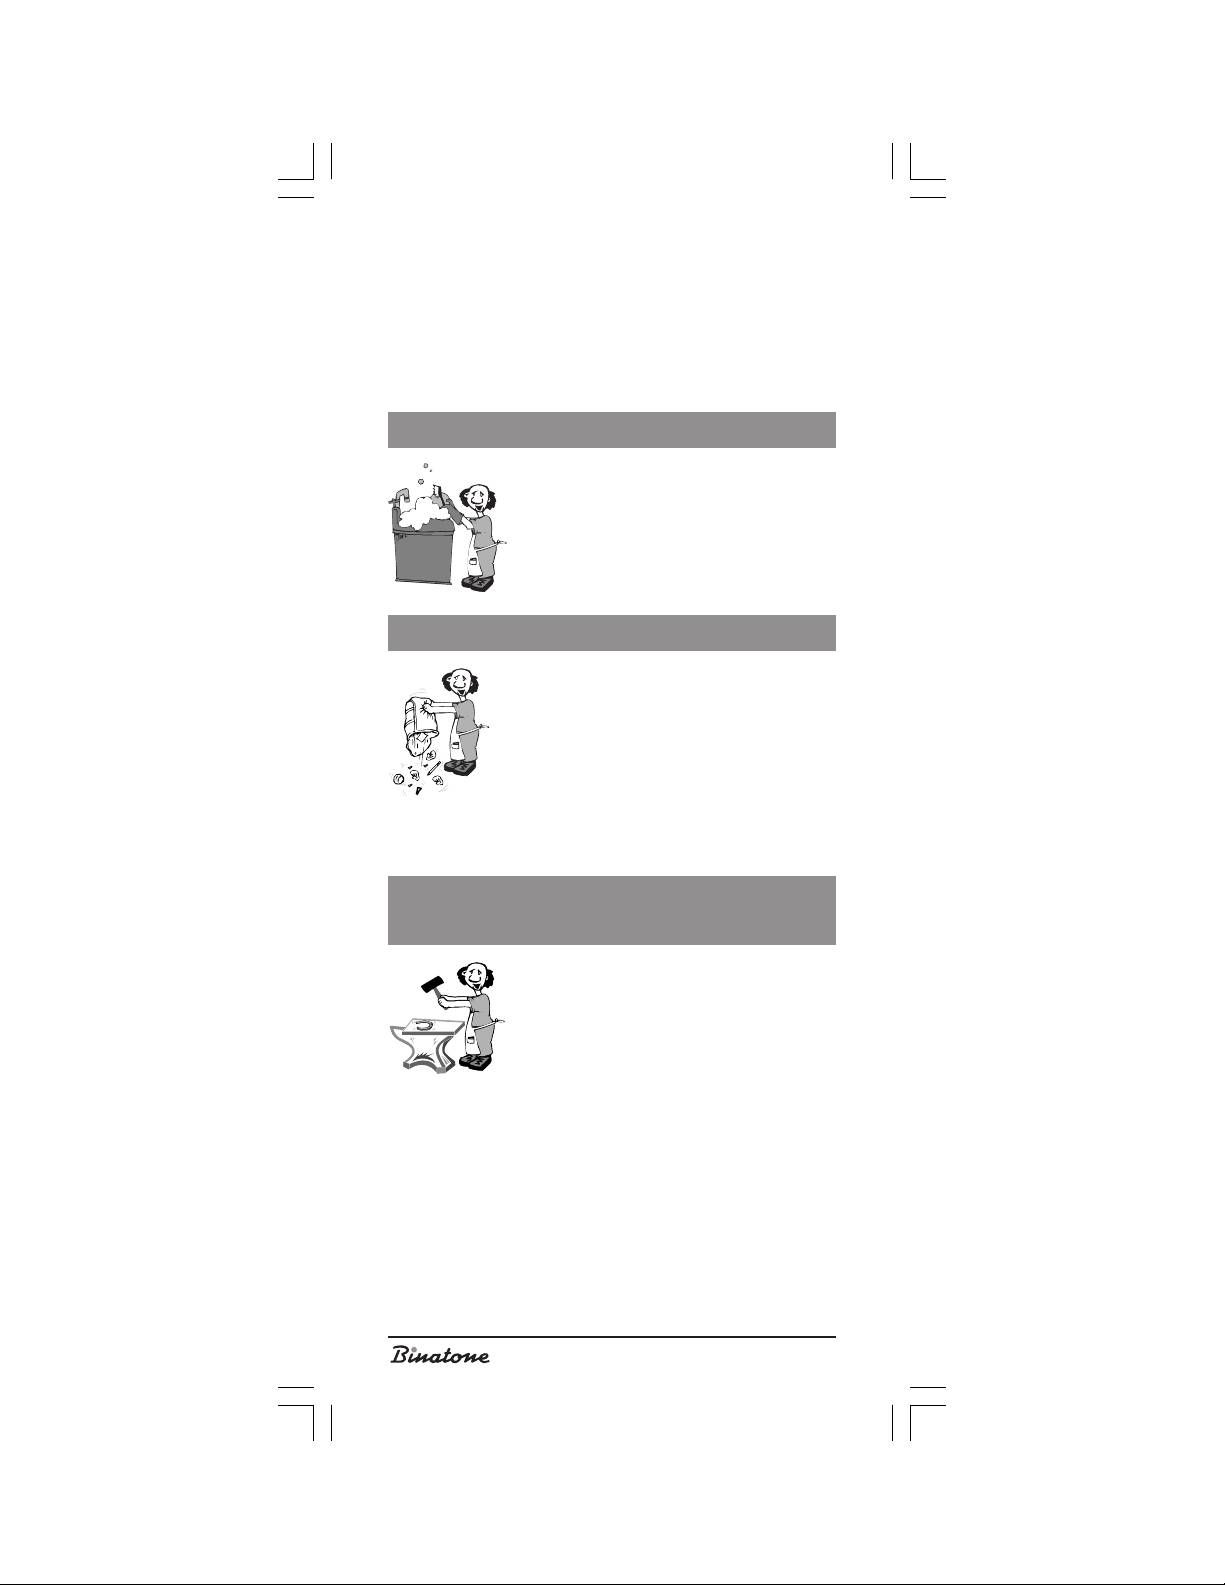
ÓÕÎÄ È ×ÈÑÒÊÀ
1. Ïðîòðèòå ïðèáîð âëàæíîé òêàíüþ.
Èçáåãàéòå ïîïàäàíèÿ âîäû âíóòðü ïðèáîðà.
Íå èñïîëüçóéòå äëÿ ÷èñòêè ñïèðò, áåíçèí è
æåñòêèå àáðàçèâíûå âåùåñòâà.
2. Õðàíèòå ïðèáîð â ñóõîì ïðîõëàäíîì ìåñòå.
Èçáåãàéòå õðàíåíèÿ ïðèáîðà â ìåñòàõ ñ
ïîâûøåííîé âëàæíîñòüþ èëè òåìïåðàòóðîé.
ÓÒÈËÈÇÀÖÈß
Ïî îêîí÷àíèè ñðîêà ñëóæáû ýëåêòðîáûòîâîé
ïðèáîð äîëæåí áûòü óòèëèçèðîâàí ñ íàèìåíüøèì
âðåäîì äëÿ îêðóæàþùåé ñðåäû è â ñîîòâåòñòâèè
ñ ïðàâèëàìè ïî óòèëèçàöèè îòõîäîâ â Âàøåì
ðåãèîíå. Äëÿ ïðàâèëüíîé óòèëèçàöèè ïðèáîðà
÷àñòî äîñòàòî÷íî îòíåñòè åãî â ìåñòíûé öåíòð
ïåðåðàáîòêè âòîðè÷íîãî ñûðüÿ. Äëÿ óïàêîâêè
ïðîèçâîäèìûõ íàìè ïðèáîðîâ èñïîëüçóþòñÿ òîëüêî ýêîëîãè÷åñêè
÷èñòûå ìàòåðèàëû. Ïîýòîìó êàðòîí è áóìàãó ìîæíî óòèëèçèðîâàòü
âìåñòå ñ áóìàæíûìè îòõîäàìè.
ÏÎÑËÅÏÐÎÄÀÆÍÎÅ
ÎÁÑËÓÆÈÂÀÍÈÅ
Åñëè Âàø ïðèáîð íå ðàáîòàåò èëè ðàáîòàåò
ïëîõî, îáðàòèòåñü â óïîëíîìî÷åííûé
ñåðâèñíûé öåíòð çà êîíñóëüòàöèåé èëè
ðåìîíòîì.
Ãàðàíòèÿ íå ðàñïðîñòðàíÿåòñÿ
â ñëåäóþùèõ ñëó÷àÿõ:
Ïðè íåñîáëþäåíèè îïèñàííûõ âûøå ìåð áåçîïàñíîñòè è
èíñòðóêöèè ïî ýêñïëóàòàöèè.
Èñïîëüçîâàíèå â êîììåð÷åñêèõ öåëÿõ (èñïîëüçîâàíèå,
âûõîäÿùåå çà ðàìêè ëè÷íûõ áûòîâûõ íóæä).
Ïðè íåíàäëåæàùåì óõîäå (ïðîíèêíîâåíèè æèäêîñòè, ïûëè,
íàñåêîìûõ è äð. ïîñòîðîííèõ ïðåäìåòîâ è âåùåñòâ âíóòðü
ïðèáîðà).
Ïðè ïðèìåíåíèè èçëèøíèõ óñèëèé âî âðåìÿ ýêñïëóàòàöèè
ïðèáîðà èëè ïîâðåæäåíèÿõ äðóãîãî ðîäà (ìåõàíè÷åñêèõ
ïîâðåæäåíèé â ðåçóëüòàòå íåïðàâèëüíîé ýêñïëóàòàöèè, óäàðà
èëè ïàäåíèÿ ïðèáîðà).
20
