Canon pixma pro-1: 2 1. Make sure that the printer has turned off. 2. Turn on the computer. 3. Insert the Setup CD-ROM into the CD-ROM drive.
2 1. Make sure that the printer has turned off. 2. Turn on the computer. 3. Insert the Setup CD-ROM into the CD-ROM drive.: Canon pixma pro-1
Table of contents
- Contents■
- Printer Installation Flow■ Printer Preparation Software Installation Installation Complete
- Symbols Used in This Document
- Printed Manual■ On-screen Manual and Online Manual■ Getting Started (this manual)
- Devices Required for Wired Connection■ When using the printer over a wired connection, a commercial network device (router, etc.) and Ethernet cable are required.
- Preparation
- 1 2
- 3 4 5 6
- 7 When it is necessary to turn off the printer
- 1 2 Install the Ink Tanks
- 3 4
- 5 6
- 1 2 Install the Print Head
- 3 4
- 5
- 6
- 7 8
- 9
- Software Installation
- For Windows XP/Windows XP SP1/Windows XP SP2/Windows Vista
- For Windows XP/Windows XP SP1/Windows XP SP2/Windows Vista If you prefer not to apply a Windows service pack, install the printer driver and IJ Network Tool by following the procedure below.
- For Mac OS X v10.6 to v10.6.7 Do you prefer to apply a Mac OS software update?
- For Mac OS X v10.4.11 to v10.5 Perform the installation by following one of the methods below.
- For Mac OS X v10.4.11 to v10.5 Install the software (the printer driver and IJ Network Tool) stored on the Setup CD-ROM by following 1 to 3 below.
- Do not connect the USB Easy-WebPrint EX cable yet.
- 1 1. Make sure that the POWER lamp (white) (A) is lit. 2. Press the ON button (B) to TURN OFF THE PRINTER.
- 2 1. Make sure that the printer has turned off. 2. Turn on the computer. 3. Insert the Setup CD-ROM into the CD-ROM drive.
- 3 3
- 4
- When the second page of the pattern is printed, Print Head Alignment is At the end of the installation, Quick Menu starts up. You can open the Online complete. Manual and On-screen Manual from here when you want to know about the details of the functions and operations or when need arises.
- 5 Load Paper
- My Image Garden 6 Application Software
- CREATIVE PARK PREMIUM Print Studio Pro
2
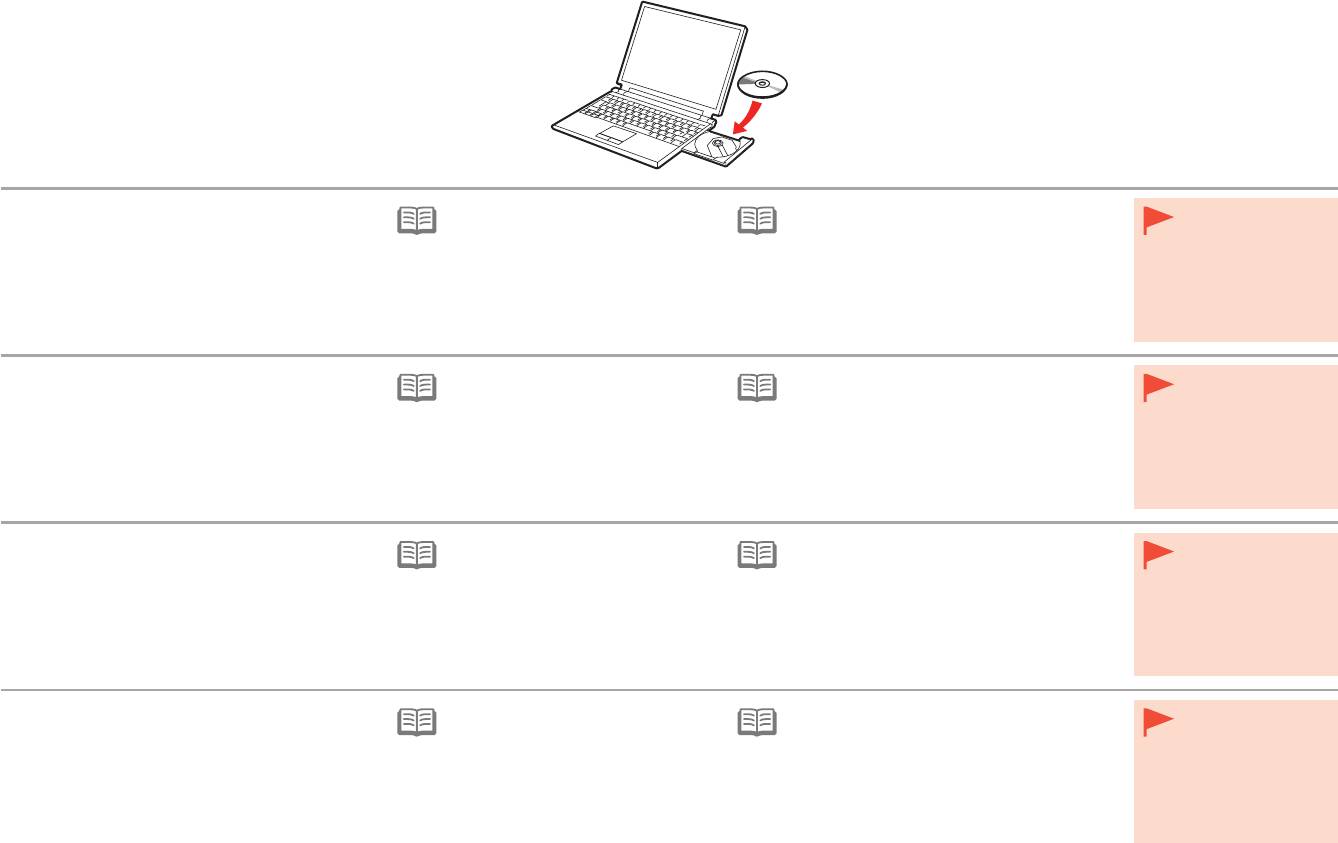
1. Make sure that the printer has turned off.
For Windows (other than Windows 8)
For Windows 8 If the USB cable is
•
2. Turn on the computer.
already connected,
•
If the "Setup CD-ROM" does not autorun, insert
unplug it. If a
3. Insert the Setup CD-ROM into the CD-ROM
•
If the program does not start
the CD-ROM into the computer again and
message appears on
drive.
automatically, double-click the CD-ROM
click the selection button which appears in the
the computer, click
icon in Computer or My Computer.
window. When selection window opens, double-
Cancel.
When the CD-ROM contents appear,
click the MSETUP4.EXE. Follow the on-screen
If you are using Windows, the setup program starts
double-click MSETUP4.EXE.
instructions to proceed.
automatically.
1. Vérifiez que l’imprimante est hors tension.
Sous Windows (autre que Windows 8)
Sous Windows 8 Si le câble USB
•
2. Allumez l’ordinateur.
est déjà branché,
•
Si le « CD-ROM d’installation
» ne s’exécute
débranchez-le. Si un
3. Insérez le CD-ROM d’installation dans le
•
Si le programme d’installation ne se
pas automatiquement, insérez-le à nouveau
message apparaît
lecteur de CD-ROM.
lance pas automatiquement, double-
dans l’ordinateur et cliquez sur le bouton de
sur l’écran de
cliquez sur l’icône de CD-ROM dans
sélection qui s’afche dans la fenêtre. Lorsque la
l’ordinateur, cliquez
Ordinateur (Computer) ou Poste de
fenêtre de sélection s’afche, double-cliquez sur
sur Annuler.
Si vous utilisez Windows, le programme d’installation
travail (My Computer). Une fois le
MSETUP4.EXE. Suivez les instructions à l’écran
démarre automatiquement.
contenu du CD-ROM afché, double-
pour continuer.
cliquez sur MSETUP4.EXE.
1. Stellen Sie sicher, dass der Drucker
Für Windows (andere als Windows 8)
Für Windows 8
•
Wenn das USB-Kabel
ausgeschaltet ist.
bereits angeschlossen
•
Wenn die “Installations-CD-ROM (Setup CD-
ist, ziehen Sie es
2
. Schalten Sie den Computer ein.
•
Wenn das Programm nicht automatisch
ROM)” nicht automatisch ausgeführt wird, legen
ab. Falls auf dem
3. Legen Sie die Installations-CD-ROM (Setup
startet, doppelklicken Sie auf das CD-
Sie die CD-ROM erneut in den Computer ein
Computerbildschirm
ROM-Symbol unter Computer oder
und klicken Sie auf die Auswahlschaltäche, die
CD-ROM) in das CD-ROM-Laufwerk ein.
eine Meldung
Arbeitsplatz (My Computer). Wenn
im Fenster erscheint. Wenn das Auswahlfenster
angezeigt wird,
der Inhalt der CD-ROM angezeigt wird,
erscheint, doppelklicken Sie auf MSETUP4.
Wenn Sie Windows verwenden, startet das Setup-
klicken Sie auf
doppelklicken Sie auf MSETUP4.EXE.
EXE. Befolgen Sie die Anweisungen auf dem
Programm automatisch.
Abbrechen (Cancel).
Bildschirm, um fortzufahren.
1. Assicurarsi che la stampante sia spenta.
Per Windows (diverso da Windows 8)
Per Windows 8 Se è già collegato,
•
2. Accendere il computer.
scollegare il cavo
•
Se il “CD-ROM di installazione (Setup CD-
USB. Se sul
3. Inserire il CD-ROM di installazione (Setup
•
Se il programma non viene avviato
ROM)” non viene avviato automaticamente,
computer viene
CD-ROM) nell’unità CD-ROM.
automaticamente, fare doppio clic
inserire nuovamente il CD-ROM nel computer
visualizzato un
sull’icona del CD-ROM in Computer
e fare clic sul pulsante di selezione visualizzato
messaggio, fare clic
o
Risorse del computer (My
nella nestra. Quando si apre la nestra di
su Annulla (Cancel).
Se si utilizza Windows, il programma di installazione
Computer). Quando viene visualizzato
selezione, fare doppio clic su MSETUP4.EXE.
verrà avviato automaticamente.
il contenuto del CD-ROM, fare doppio
Seguire le istruzioni a video per continuare.
clic sul le MSETUP4.EXE.
26


