Canon pixma pro-1: 1 2 Install the Print Head
1 2 Install the Print Head: Canon pixma pro-1
Table of contents
- Contents■
- Printer Installation Flow■ Printer Preparation Software Installation Installation Complete
- Symbols Used in This Document
- Printed Manual■ On-screen Manual and Online Manual■ Getting Started (this manual)
- Devices Required for Wired Connection■ When using the printer over a wired connection, a commercial network device (router, etc.) and Ethernet cable are required.
- Preparation
- 1 2
- 3 4 5 6
- 7 When it is necessary to turn off the printer
- 1 2 Install the Ink Tanks
- 3 4
- 5 6
- 1 2 Install the Print Head
- 3 4
- 5
- 6
- 7 8
- 9
- Software Installation
- For Windows XP/Windows XP SP1/Windows XP SP2/Windows Vista
- For Windows XP/Windows XP SP1/Windows XP SP2/Windows Vista If you prefer not to apply a Windows service pack, install the printer driver and IJ Network Tool by following the procedure below.
- For Mac OS X v10.6 to v10.6.7 Do you prefer to apply a Mac OS software update?
- For Mac OS X v10.4.11 to v10.5 Perform the installation by following one of the methods below.
- For Mac OS X v10.4.11 to v10.5 Install the software (the printer driver and IJ Network Tool) stored on the Setup CD-ROM by following 1 to 3 below.
- Do not connect the USB Easy-WebPrint EX cable yet.
- 1 1. Make sure that the POWER lamp (white) (A) is lit. 2. Press the ON button (B) to TURN OFF THE PRINTER.
- 2 1. Make sure that the printer has turned off. 2. Turn on the computer. 3. Insert the Setup CD-ROM into the CD-ROM drive.
- 3 3
- 4
- When the second page of the pattern is printed, Print Head Alignment is At the end of the installation, Quick Menu starts up. You can open the Online complete. Manual and On-screen Manual from here when you want to know about the details of the functions and operations or when need arises.
- 5 Load Paper
- My Image Garden 6 Application Software
- CREATIVE PARK PREMIUM Print Studio Pro
1 2
3
B
A
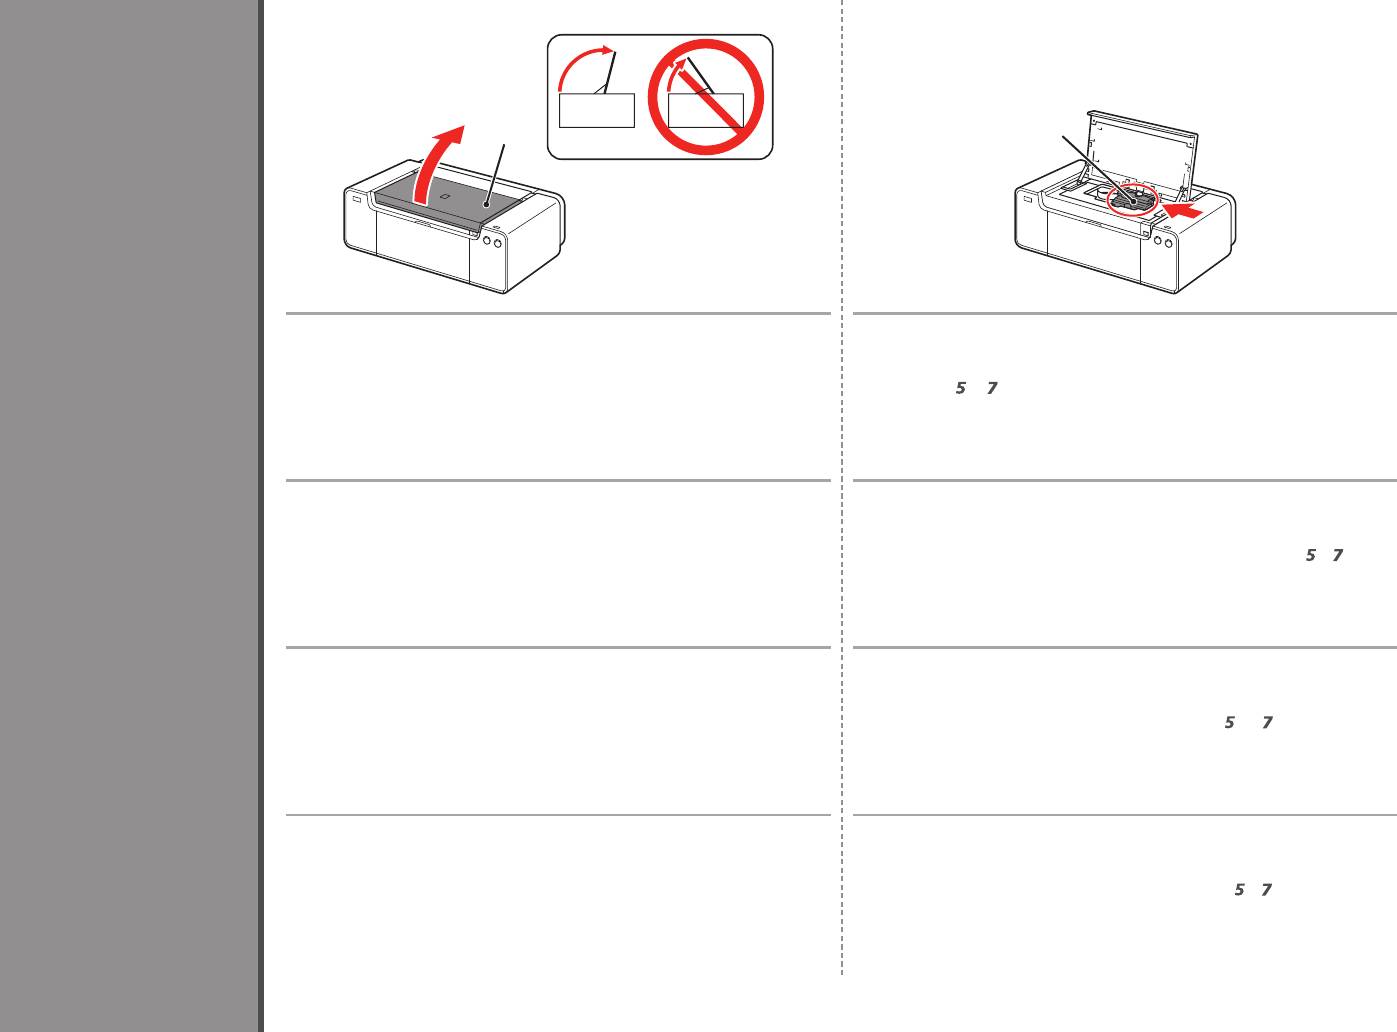
Open the Top Cover (A) completely. The Print Head Holder (B) moves to the installation position.
If the Print Head Holder does not move, make sure that the printer is turned on. For
details, refer to
to
on page 7 in "1 Preparation."
Ouvrez complètement le capot supérieur (A). Le support de tête d’impression (B) se place en position
Install the Print Head
d’installation.
Si le support de la tête d’impression ne se déplace pas, vérifiez que l’imprimante
est sous tension. Pour plus d’informations, reportez-vous aux étapes
à
de la
section « 1 Préparation », page 7.
Einbauen des Druckkopfs
Öffnen Sie die obere Abdeckung (A) vollständig. Der Druckkopfhalter (B) wird in die Installationsposition gefahren.
Wenn sich der Druckkopfhalter nicht bewegt, überprüfen Sie, ob der Drucker
eingeschaltet ist. Weitere Informationen finden Sie unter
bis
auf Seite 7 im
Abschnitt „1 Vorbereitung“.
Installation de la tête d’impression
Installazione della testina di stampa
Aprire completamente il coperchio superiore (A). Il supporto della testina di stampa (B) si sposta nella posizione di
installazione.
Se il supporto della testina di stampa non si sposta, assicurarsi di avere
acceso la stampante. Per ulteriori informazioni, vedere da
a
a pagina 7 in
“1 Preparazione”.
12


