Acer TravelMate 8372Z: Expanding through options
Expanding through options: Acer TravelMate 8372Z
25
Eng
lis
h
Expanding through options
Your notebook PC offers you a complete mobile computing experience.
Connectivity options
Ports allow you to connect peripheral devices to your computer as you would
with a desktop PC. For instructions on how to connect different external devices
to the computer, read the following section.
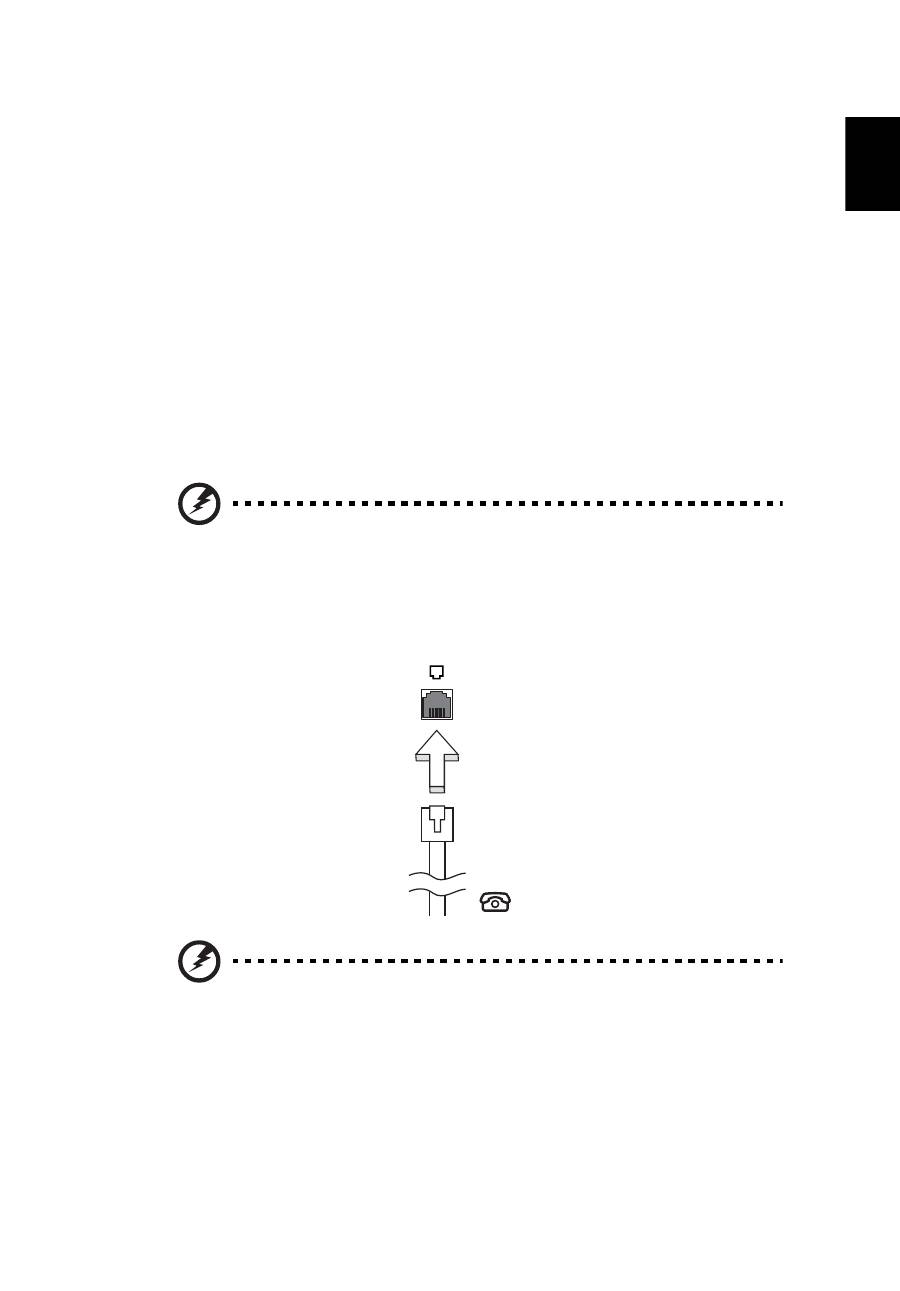
Fax/data modem (only for certain models)
Your computer has a built-in V.92 56 Kbps fax/data modem.
(only for certain models)
Warning! This modem port is not compatible with digital phone
lines. Plugging this modem into a digital phone line will damage
the modem.
To use the fax/data modem port, connect a phone cable from the modem port
to a telephone jack.
Warning! Please make sure that the cable you use is appropriate
for the country in which you are working.
26
English
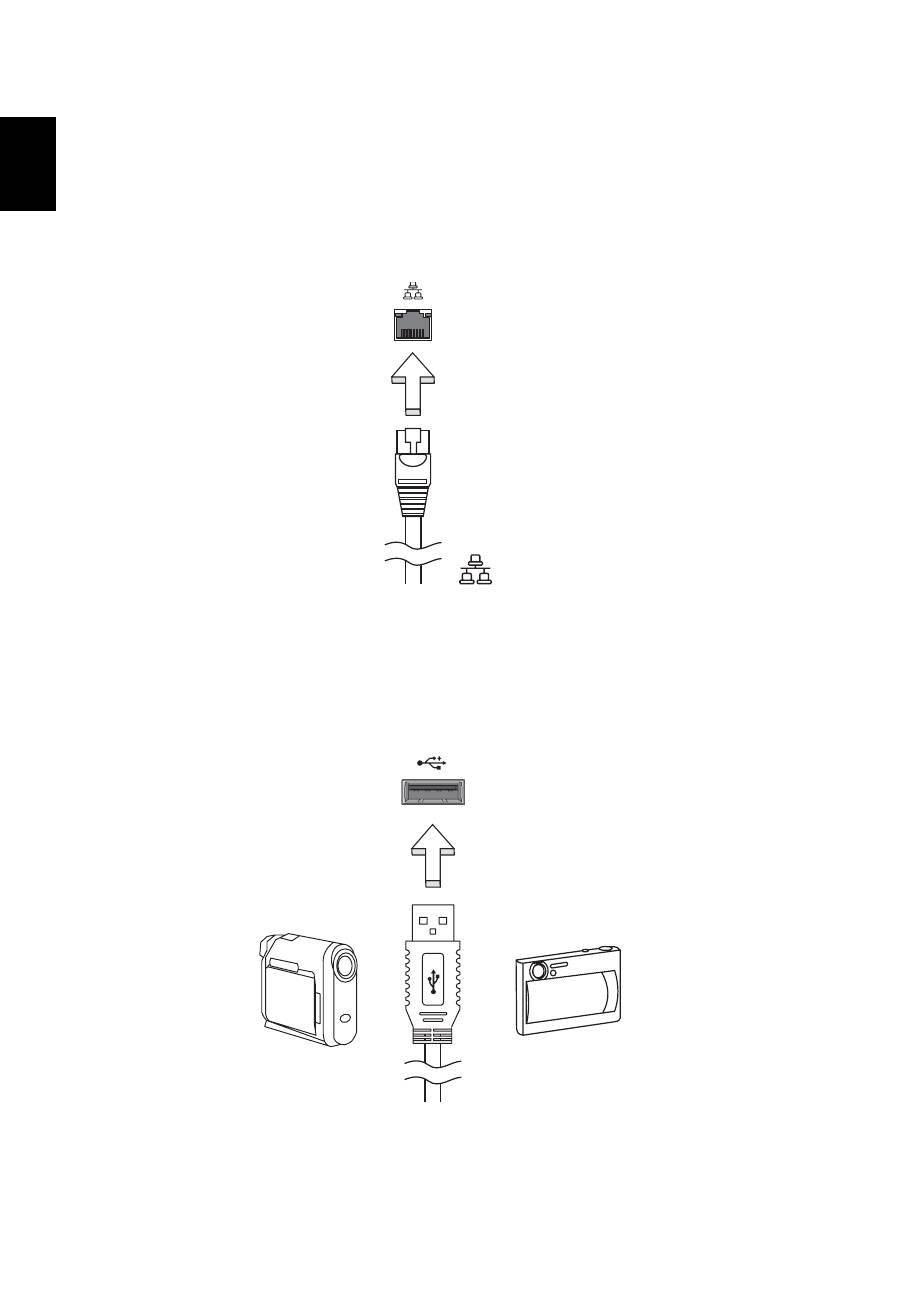
Built-in network feature
The built-in network feature allows you to connect your computer to an
Ethernet-based network.
To use the network feature, connect an Ethernet cable from the Ethernet
(RJ-45) port on the chassis of the computer to a network jack or hub on
your network.
Universal Serial Bus (USB)
The USB 2.0 port is a high-speed serial bus which allows you to connect USB
peripherals without taking up precious system resources.

27
Eng
lis
h
IEEE 1394 port (only for certain models)
The computer's IEEE 1394 port allows you to connect to an IEEE 1394-
compatible device like a video camera or digital camera. See your video or
digital camera's documentation for details.
High-Definition Multimedia Interface
(only for certain models)
HDMI (High-Definition Multimedia Interface) is an industry-supported,
uncompressed, all-digital audio/video interface. HDMI provides an interface
between any compatible digital audio/video source, such as a set-top box, DVD
player, and A/V receiver and a compatible digital audio and/or video monitor,
such as a digital television (DTV), over a single cable.
Use the HDMI port on your computer to connect with high-end audio and video
equipment. Single cable implementation allows tidy setup and fast connection.
28
English
ExpressCard (only for certain models)
The ExpressCard is the newest version of the PC Card. It is a smaller and faster
interface that further enhances the usability and expandability of your
computer.
ExpressCards support a vast number of expansion options, including flash
memory card adapters, TV-tuners, Bluetooth connectivity and IEEE 1394B
adapters. ExpressCards support USB 2.0 and PCI Express applications.
Important! There are two types, ExpressCard/54 and ExpressCard/
34 (54mm and 34mm), each with different functions. Not all
ExpressCard slots will support both types. Please refer to your
card's manual for details on how to install and use the card, and
its functions.
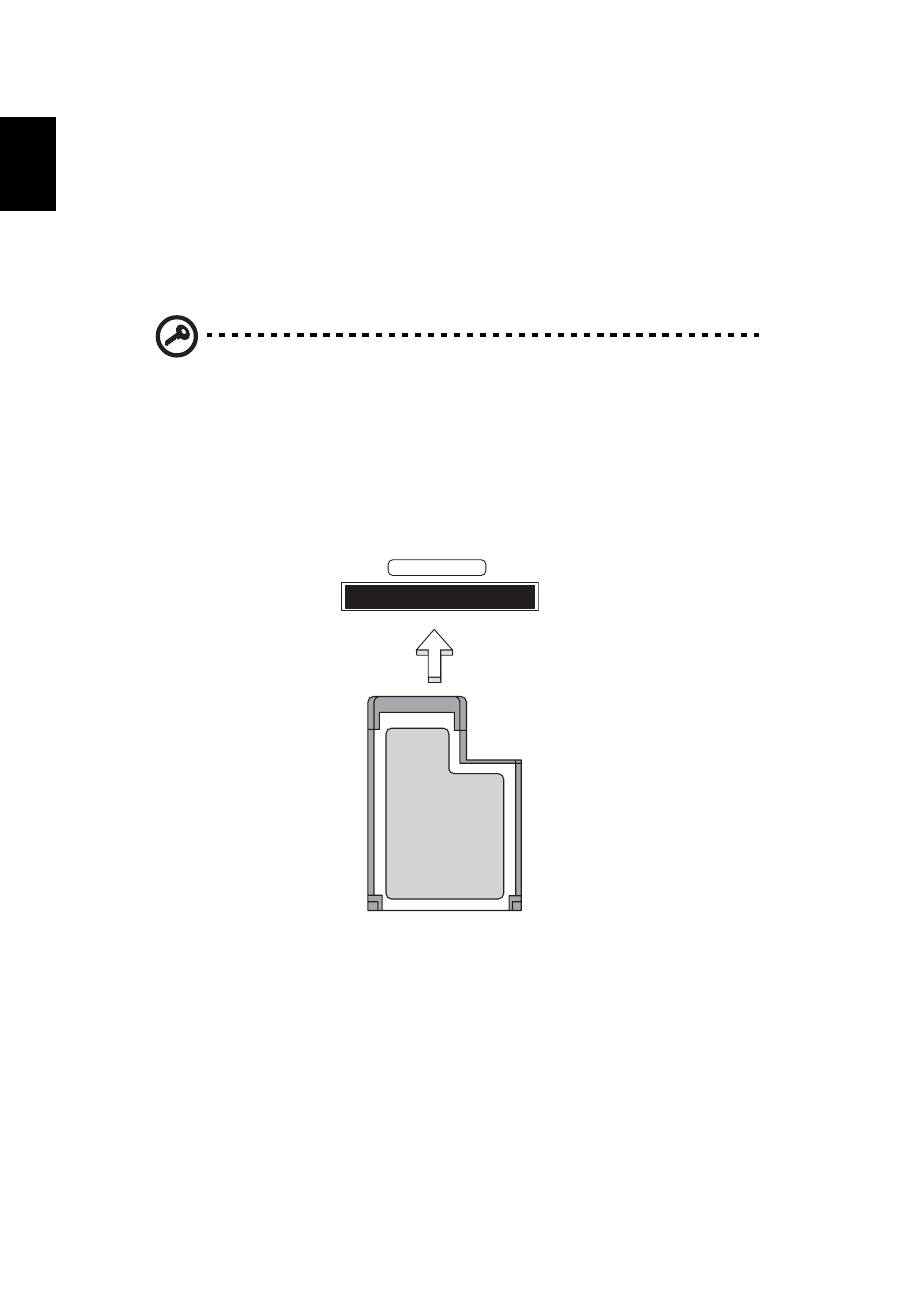
Inserting an ExpressCard
Insert the card into the slot and push gently until it clicks into position.
Ejecting an ExpressCard
Before ejecting an ExpressCard:
1
Exit the application using the card.
2
Left-click on the remove hardware icon on the taskbar and stop the card
operation.
3
Push the card gently into the slot and release to pop out the card. Then
pull the card free from the slot.
EXPRESS CARD
29
Eng
lis
h
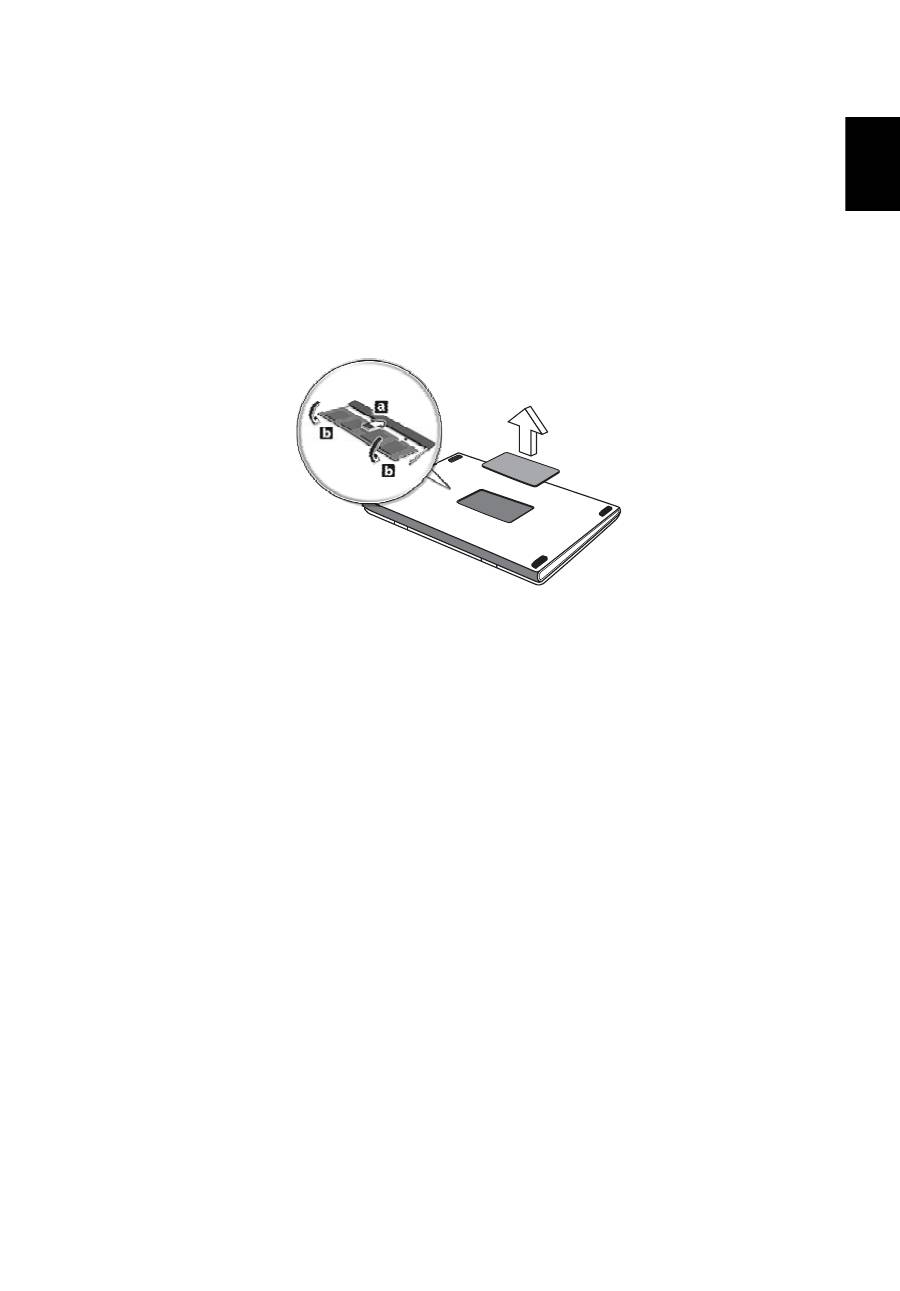
Installing memory
Follow these steps to install memory:
1
Turn off the computer, unplug the AC adapter (if connected) and remove
the battery pack. Then turn the computer over to access its base.
2
Remove the screws from the memory cover; then lift up and remove the
memory cover.
3
(a) Insert the memory module diagonally into the slot, then (b) gently press
it down until it clicks into place.
4
Replace the memory cover and secure it with the screw.
5
Reinstall the battery pack, and reconnect the AC adapter.
6
Turn on the computer.
The computer automatically detects and reconfigures the total memory size.
Please consult a qualified technician or contact your local Acer dealer.

30
English
BIOS utility
The BIOS utility is a hardware configuration program built into your
computer's BIOS.
Your computer is already properly configured and optimized, and you do not
need to run this utility. However, if you encounter configuration problems, you
may need to run it.
To activate the BIOS utility, press <F2> during the POST; while the notebook PC
logo is being displayed.
Boot sequence
To set the boot sequence in the BIOS utility, activate the BIOS utility, then select
Boot from the categories listed at the top of the screen.
Enable disk-to-disk recovery
To enable disk-to-disk recovery (hard disk recovery), activate the BIOS utility,
then select Main from the categories listed at the top of the screen. Find D2D
Recovery at the bottom of the screen and use the <F5> and <F6> keys to set this
value to Enabled.
Password
To set a password on boot, activate the BIOS utility, then select Security from
the categories listed at the top of the screen. Find Password on boot: and use
the <F5> and <F6> keys to enable this feature.
31
Eng
lis
h
Using software
Playing DVD movies
Note: This feature is only available on certain models.
When the DVD drive module is installed in the optical drive bay, you can play
DVD movies on your computer.
1
Eject the DVD disk.
Important! When you launch the DVD player for the first time, the
program asks you to enter the region code. DVD disks are divided
into 6 regions. Once your DVD drive is set to a region code, it will
play DVD disks of that region only. You can set the region code a
maximum of five times (including the first time), after which the
last region code set will remain permanent. Recovering your hard
disk does not reset the number of times the region code has been
set. Refer to the table below for DVD movie region code
information.
2
The DVD movie will automatically play after a few seconds.
Note: To change the region code, insert a DVD movie of a
different region into the DVD drive. Please refer to the online
help for more information.
Region code
Country or region
1
USA, Canada
2
Europe, Middle East, South Africa, Japan
3
Southeast Asia, Taiwan, South Korea
4
Latin America, Australia, New Zealand
5
Former USSR, parts of Africa, India
6
People's Republic of China
Оглавление
- Information for your safety and comfort
- First things first
- Touchpad
- Using the keyboard
- Audio
- Using the system utilities
- Power management
- Acer eRecovery Management
- Battery pack
- Taking your notebook PC with you
- Securing your computer
- Expanding through options
- Frequently asked questions
- Regulations and safety notices
