Yamaha BRX-610: Enjoying BONUSVIEW™ and BD- Live™
Enjoying BONUSVIEW™ and BD- Live™: Yamaha BRX-610
Table of contents
- CAUTION: READ THIS BEFORE OPERATING YOUR UNIT.
- WHAT YOU CAN DO WITH THIS UNIT SUPPLIED PARTS
- ABOUT DISCS AND FILES Types of discs/files that can be used with this unit
- Loading a disc Notice for watching 3D video images Disc precautions
- Front panel
- Remote control 4 PROGRAM : Sets the order of playback
- I ZOOM : Zooms in/out. The
- S TOP MENU : Displays the top menu screen
- Rear panel
- Installing the batteries in the remote control Using the remote control
- 5.1-channel speaker layout Connecting speakers
- Connecting the FM antenna Connecting iPod
- Connecting to a TV
- Connecting audio devices (such as a CD or MD player) Connecting a satellite/cable TV tuner Connecting a portable digital music player other than iPod
- NETWORK AND USB CONNECTION Connecting to the NETWORK terminal Connecting to the USB port
- OTHER CONNECTION Connecting the power cable
- INITIAL WIZARD/EASY SETUP Setting with the Initial Wizard/Easy Setup
- BASIC OPERATION
- BASIC OPERATION
- BASIC OPERATION Playing back photo/music/video
- BASIC OPERATION ■ Operations for viewing photos
- BASIC OPERATION Using network content Using network services
- Operation for iPod Operation for CDs
- ADVANCED PLAYBACK OPERATION On Screen menu
- Status menu
- Using Bookmark Using search Program play
- Enjoying BONUSVIEW™ and BD- Live™
- LISTENING TO FM RADIO STATIONS Tuning to radio stations Selecting preset radio stations Presetting radio stations
- Deleting preset stations Displaying Radio Data System information (Russia model only)
- USING USEFUL FUNCTIONS Setting the sleep timer Operating this unit by TV remote control (the HDMI control function)
- USING USEFUL FUNCTIONS ■ Registering HDMI components to TV ■ Changing the connection method and connected components
- SETUP MENU Menu/Submenu Item Function Page
- Menu/Submenu Item Function Page
- Operation for SETUP menu
- SETUP MENU General Setting
- SETUP MENU ■ Playback ■ Network ■ Security
- Display Setting ■ TV
- SETUP MENU ■ Video Process
- Audio Setting ■ Audio Output ■ Post Process ■ System Information ■ Speaker Setting
- About the video output formats When [TV System] is set to [PAL] When [TV System] is set to [Multi]
- SOFTWARE UPGRADE Upgrading the software
- TROUBLESHOOTING General Problem Cause Remedy Page
- Problem Cause Remedy Page
- Radio reception Problem Cause Remedy Page iPod Status message Cause Remedy Page Problem Cause Remedy Page
- Problem Cause Remedy Page USB Status message Cause Remedy Page Problem Cause Remedy Page
- Disc playback ■ General Problem Cause Remedy Page
- ■ Picture Problem Cause Remedy Page Remote control Problem Cause Remedy Page Network Problem Cause Remedy Page
- TROUBLESHOOTING Problem Cause Remedy Page
- Messages on the screen Error message Cause Remedy Page Others Problem Cause Remedy Page
- GLOSSARY
- SPECIFICATIONS
- SPECIFICATIONS
ADVANCED PLAYBACK OPERATION
■ Using the feature of BD-Live™
3 Press 5/a or number buttons to set/adjust the value
of the focused item, and press ENTER to jump to the
1 Set the Network setting (p. 36).
specified point.
2 Connect the USB memory device to this unit (p. 15).
4 To close the status bar, press STATUS.
• BD-Live data is saved in a USB memory device
connected to this unit.
Enjoying BONUSVIEW™ and BD-
• Connect a USB memory device (2 GB or greater
Live™
and formatted with FAT 32/16) supporting USB
2.0 High Speed (480 Mbit/s) to the USB port that
This unit supports BONUSVIEW (p. 50) (BD-ROM
you select on Local Storage (p. 35). The default
Profile 1 Version 1.1) and BD-Live (p. 50) (BD-ROM
setting is the USB port on the rear panel.
Profile 2) playback functions.
• A “BUDA” folder is created automatically in the
USB memory device when necessary.
Note
• If there is insufficient storage space, the data will
not be copied/downloaded. Delete unneeded data
Functions and playback method vary depending on the disc.
Refer to the guidance on the disc or the supplied user’s manual.
or use a new USB memory device.
• Some time may be required for the data to load
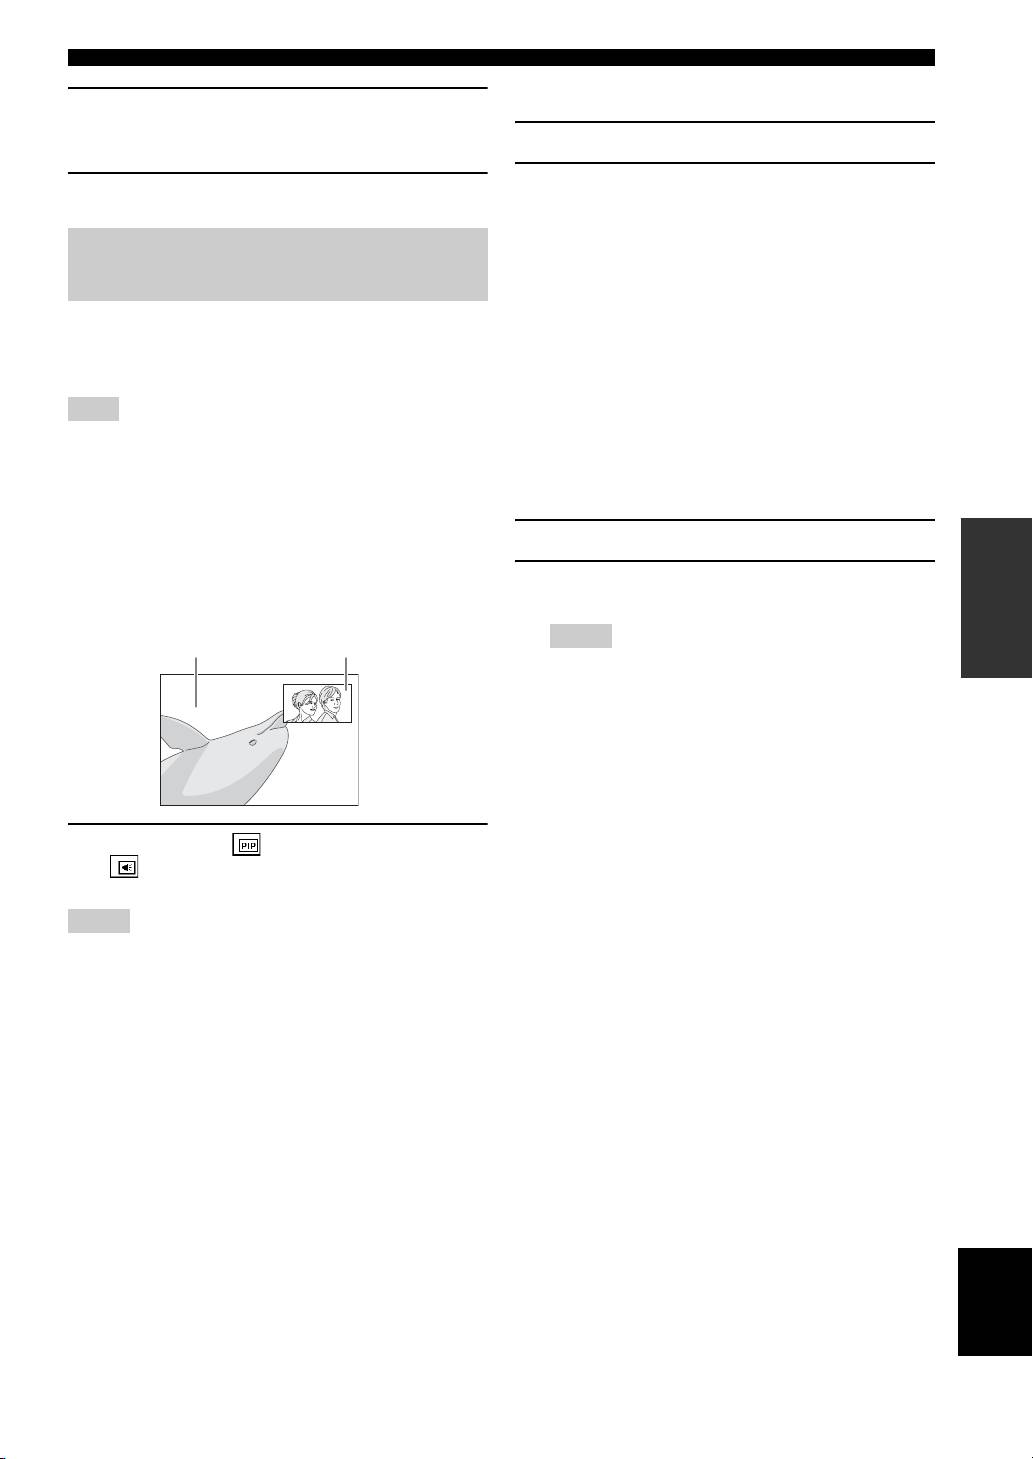
■ Using Picture in Picture function
(read/write).
(secondary audio/video playback)
OPERATIONS
BD-Video that includes secondary audio and video
3 Play back the disc.
compatible with Picture in Picture can be played back
4 Run BD-Live according to the instructions on the
with secondary audio and video simultaneously as a small
disc.
video in the corner.
Primary video Secondary video
Notes
• Regarding playback method of BD-Live contents, etc.,
perform the operations in accordance with the instructions
in the BD disc manual.
• To enjoy BD-Live functions, perform the network
connection (p. 15) and Network settings (p. 36).
• Refer to “[BD-Live Connection]” (p. 36) regarding the
setup to restrict access to BD-Live contents.
• The time required to download the provided programs into
the USB memory device connected to this unit varies
1 While PIP Mark ( ) or Secondary Audio Mark
depending on the internet connection speeds and the data
( ) is displayed, press PIP to turn the Picture in
volume of the programs.
Picture function on/off.
• BD-Live programs provided through the internet may not
be able to display the connection depending on the status
Notes
(upgrading) of the provider. In such cases, take out the
• To listen to secondary audio from a TV connected with an
disc and try again.
HDMI cable, make sure that the Audio Output setting (HDMI)
• If the BD-Live screen does not appear for a while after
is set to [PCM] (p. 39).
you select the BD-Live function in the BD disc menu, the
• Depending on the disc, to listen to secondary audio, you may
USB memory device may not have enough free space. In
need to set secondary audio to on from the top menu of the disc
such cases, eject the disc from this unit, and then erase the
(p. 8).
data in the USB memory device selecting [Format] in
• The secondary audio and video for Picture in Picture may
[Local Storage] (p. 35).
automatically play back and be removed depending on the
content. Also, playable areas may be restricted.
English
27 En
