Yamaha DV-C6860: Setup Menu
Setup Menu: Yamaha DV-C6860
Table of contents
- Important notes for users in the U.K.
- DANGER CAUTION LASER SAFETY
- CAUTION: READ THIS BEFORE OPERATING THIS UNIT.
- Introduction Region codes Cleaning discs Supplied accessories Patent information Notes on discs
- Functional Overview Front panel
- Rear panel
- Remote control
- Connections General notes on connections Audio connections
- Video connections
- Getting Started Step 1: Inserting batteries into the remote control
- Getting Started Step 2: Turning on the power Step 3: Setting a TV type and display
- Getting Started
- Step 4: Setting a language preference
- Disc Operations Basic playback General operation
- Selecting the various repeat/ shuffle functions
- Disc Operations Operations for video playback (DVD/VCD/SVCD)
- Disc Operations Zooming in On-screen display (OSD) DVD Resuming playback from the last stopped point VCD/SVCD
- Disc Operations Special DVD features
- Audio CDs Special VCD & SVCD features Playing MP3/JPEG/Kodak picture CDs
- Disc Operations Special picture disc features
- Scan effect Playing MP3 music and JPEG pictures simultaneously
- Setup Menu UNLOCK General setup menu
- Setup Menu
- Setup Menu Audio setup menu
- Setup Menu
- Setup Menu Video setup menu
- Setup Menu
- Setup Menu
- Setup Menu Preference setup menu
- Setup Menu
- Setup Menu
- Language Code
- Language Code
- Troubleshooting
- Troubleshooting
- Glossary
- Specifications
Setup Menu
2 Press ENTER/OK to confirm your
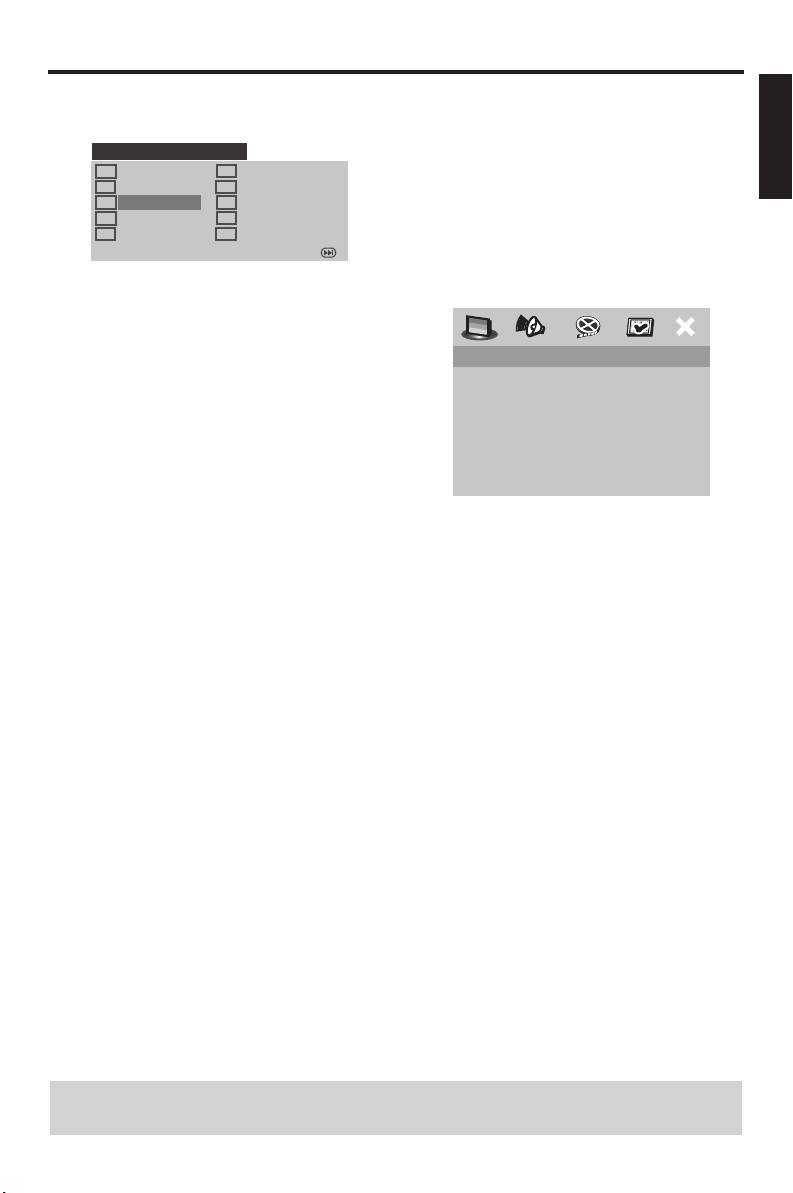
Program: Disc
English
selection.
You can play back discs in the desired
PROGRAM: TRACK: (01-17)
order by programming the discs to be
1 04
6 _ _
played. You can store up to 5 discs.
2 10
7 _ _
1 In “GENERAL SETUP PAGE”, press 3
/ 4
3 _ _
8 _ _
4 _ _
9 _ _
to highlight [PROGRAM], and then press 2
5 _ _
10 _ _
to select [FDS].
EXIT START NEXT
2 Press ENTER/OK to confirm your
selection.
To input your favorite tracks/
chapters
3 Use the numeric buttons (0-9) to enter
FAVOURITE DISC SELECTION
a valid track/chapter number.
(1) DISC: _
4 Use
1 / 2/3 / 4 to move the cursor to the
(2) DISC: _
next position.
(3) DISC: _
(4) DISC: _
• If you want to program more than ten
(5) DISC: _
tracks/chapters, press T to move to
the next page, and then proceed with
START EXIT
programming.
OR
To input your favorite discs
• Use
1 / 2/3 / 4 to highlight [NEXT] on
the program menu, and then press
3 Use the numeric buttons (0-9) to enter
ENTER/OK.
a valid disc number.
5 Repeat step 3
to input another track/
4 Use
1 / 2/3 / 4 to move the cursor to the
chapter number.
next position.
5 Repeat steps 3–4
to input another disc
To remove a track
number.
6 Use
1 / 2/3 / 4 to move the cursor to the
track you want to remove.
To remove a disc
7 Press ENTER/OK or 0 on the numeric
6 Use
1 / 2/3 / 4 to move the cursor to the
buttons (0-9) to remove the track from
disc you want to remove.
the program menu.
7 Press 0 on the numeric buttons (0-9) to
remove the disc from the program menu.
TIPS: To return to the previous menu, press 1.
To exit from the menu, press SETUP.
21 En


