Olympus SP-590UZ: Using Shooting Modes
Using Shooting Modes: Olympus SP-590UZ
Shooting with optimum
aperture value and shutter
speed (P mode)
In this mode, automatic camera shooting can
be used while also allowing changes to a wide
range of other shooting menu functions, such as
exposure compensation, white balance, etc.
on when needed.
1
Set the mode dial to P.
NR
10
EN
12
M
P
12
M
4
IN
4
N
ORM
N
ORM
1/400
1/400
F3.5
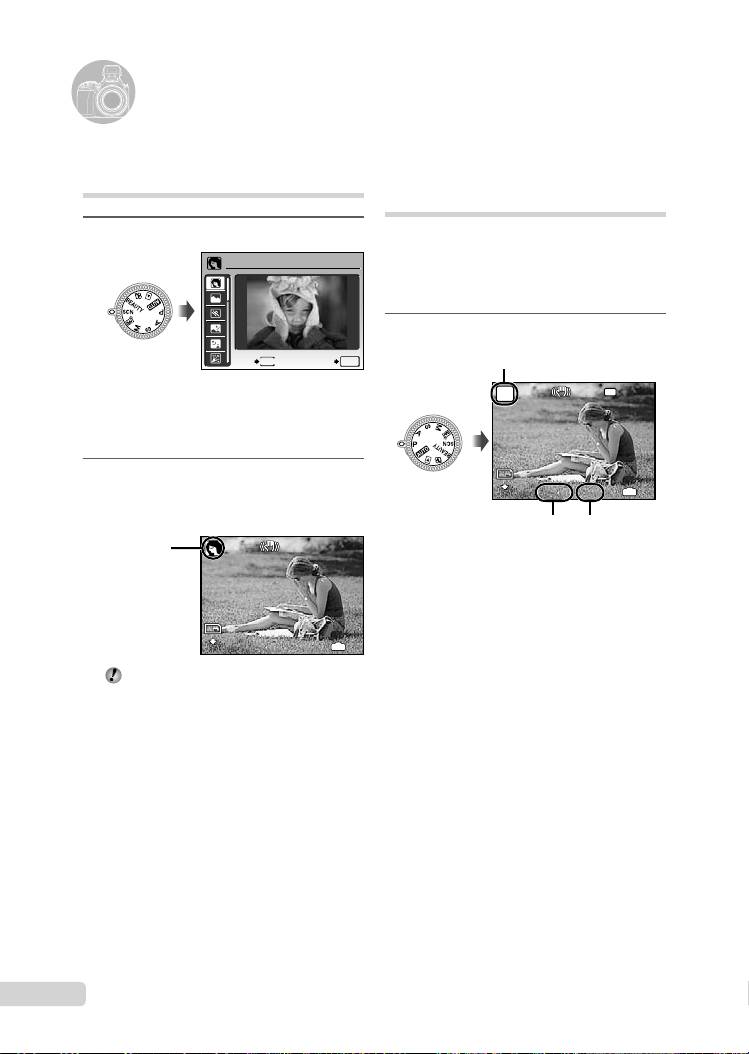
Using the best mode for the
shooting scene (
s
mode)
1
Set the mode dial to
s
.
PORTRAIT
EXIT
MENU
SET
OK
P mode indicator
The sample image and explanations on suitable
shooting methods will be displayed on the screen.
The explanations will be displayed as well by
pressing down the
E
button.
2
Use 78 to select the best
F3.5
shooting mode for the scene, and
press the o button to set.
Shutter speed Aperture
value
12
M
12
M
4
IN
4
N
ORM
Using Shooting Modes
●
Icon indicating
the scene mode
that is set
N
ORM
To change to another scene mode, use the
menu. [J s] (p. 40)
D4384_en_basic.indb 10D4384_en_basic.indb 10 1/15/2009 4:23:45 PM1/15/2009 4:23:45 PM
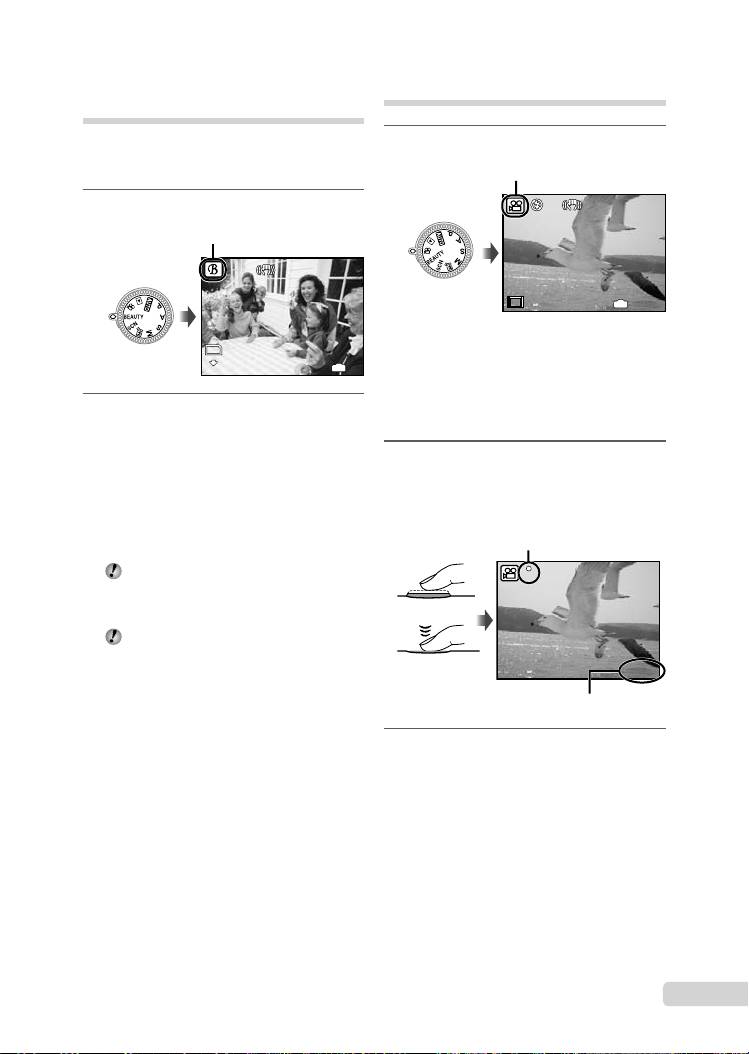
Smoothing out skin tone and
texture (I mode)
The camera fi nds a person’s face and gives the
skin a smooth, translucent look for taking the
picture.
1
Set the mode dial to
I
.
EN
11
12
M
12
M
4
IN
4
N
ORM
Shooting movies (
n
mode)
1
Set the mode dial to n.
I mode indicator
N
ORM
2
Point the camera toward the
subject. Check the frame appearing
around the face detected by the
camera, and then press the shutter
button to take the picture.
●
The unedited image and edited image are both
saved.
●
If the image cannot be retouched, only the
unedited image is saved.
The frame may not appear or may take
some time to appear for some subjects. In
addition, this function may have no visible
effect on some subjects.
The [IMAGE SIZE] of the retouched image
is limited to [J] or lower.
00:34
IN
00:34
15
15
E
A mode indicator
E
To record audio when shooting
[
R
(Movie REC)] (p. 39)
To zoom while recording audio
The optical zoom is not available when
recording. Use [DIGITAL ZOOM] (p. 33).
2
Press the shutter button halfway
down to focus on the subject, and
gently press the button all the way
down to start recording.
00:34
00:34
REC
Red during shooting
REC
Press halfway
Press fully
Remaining recording time (p.
73)
3
Gently press the shutter button all
the way down to stop recording.
D4384_en_basic.indb 11D4384_en_basic.indb 11 1/15/2009 4:23:46 PM1/15/2009 4:23:46 PM
Table of contents
- Preparing the Camera
- Shooting, Playback and Erasing
- Using Shooting Modes
- Using Shooting Functions
- Printing
- Using OLYMPUS Master 2
- Appendix
- Préparer l’appareil photo
- Prise de vue, affi chage et effacement
- Utiliser les modes de prise de vue
- Utiliser les fonctions de prise de vue
- Imprimer
- Utiliser OLYMPUS Master 2
- Appendice
- Preparación de la cámara
- Toma, reproducción y borrado
- Uso de los modos de toma
- Uso de las funciones de toma
- Impresión
- Uso del programa OLYMPUS Master 2
- Apéndice
- Vorbereiten der Kamera
- Aufnahme, Wiedergabe und Löschen von Bildern
- Verwendung der verschiedenen Aufnahmemodi
- Verwendung der Aufnahmefunktionen
- Verwenden der Software OLYMPUS Master 2
- Anhang
- Подготовка фотокамеры
- Съемка, воспроизведение и удаление
- Использование режимов съемки
- Использование функций съемки
- Печать
- Использование OLYMPUS Master 2
- Приложение


