Olympus FE-360: instruction
Class: Video Audio Photo Equipment
Type:

Manual for Olympus FE-360
DIGITAL CAMERA
Basic Manual
ENGLISH 2
FRANÇAIS 26
ESPAÑOL 50
DEUTSCH 74
РУССКИЙ 98
Book_Basic_FE360.indb 1Book_Basic_FE360.indb 1 6/20/2008 9:09:04 PM6/20/2008 9:09:04 PM

ContentsContents
¾
Preparing the Camera ...........................3
Using the digital image stabilization mode
(
h
mode) ............................................11
Checking the contents of the box ............3
Shooting movies (
n
mode) ..................11
Attaching the camera strap ......................3
Charging the battery ................................3
¾
Using Shooting Functions ..................12
Loading the battery and the
Using the zoom ......................................12
xD-Picture Card™ (sold separately) into
Using the fl ash .......................................12
the camera ...............................................4
Adjusting the brightness
Using the microSD card/microSDHC card
(Exposure compensation) ......................12
(sold separately) ......................................5
Shooting closeups (Macro shooting) .....13
Setting the date and time .........................5
Using the self-timer ................................13
Changing the display language ...............6
Increasing the brightness of the monitor
¾
Shooting, Playback, and Erasing .........7
(Backlight boost) ....................................13
Shooting with automatic settings
¾
Printing .................................................14
(
h
mode) ...........................................7
Viewing images .......................................8
¾
Using OLYMPUS Master 2...................15
Erasing images during playback
(Single image erase) ...............................9
¾
Appendix ..............................................17
Using the microSD Attachment ..............17
¾
Using Shooting Modes ........................10
SAFETY PRECAUTIONS ......................17
Using the best mode for the shooting
SPECIFICATIONS .................................23
scene (
f
mode) ..............................10
Shooting with optimum aperture value
and shutter speed (
P
mode) .................10
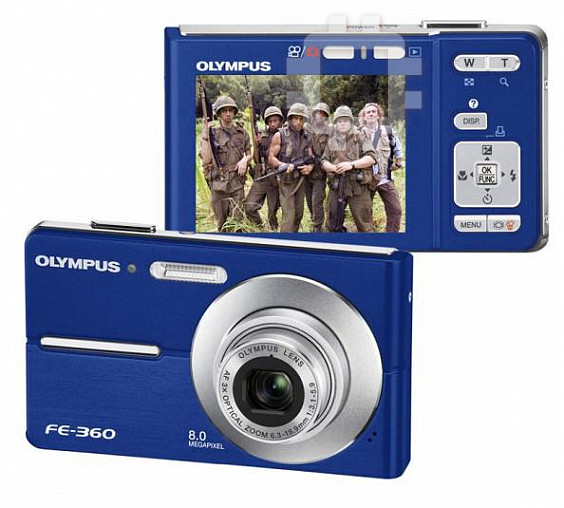
● Thank you for purchasing an Olympus digital
●
In the interest of continually improving products,
camera. Before you start to use your new
Olympus reserves the right to update or modify
camera, please read these instructions carefully
information contained in this manual.
to enjoy optimum performance and a longer
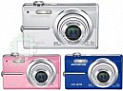
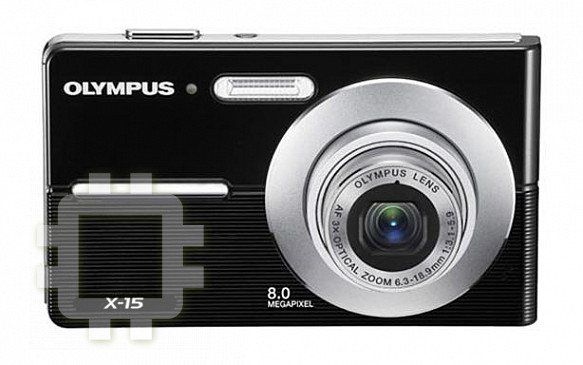
●
The screen and camera illustrations shown in this
service life. Keep this manual in a safe place for
manual were produced during the development
future reference.
stages and may differ from the actual product.
● We recommend that you take test shots to
Unless otherwise specifi ed, the explanation about
get accustomed to your camera before taking
these illustrations is provided for FE-360/X-875/
important photographs.
C-570.
The reference pages are based on the Instruction Manual (provided CD-ROM). Please see the CD-ROM
Instruction Manual for your reference.
2
EN
Book_Basic_FE360.indb 2Book_Basic_FE360.indb 2 6/20/2008 9:09:10 PM6/20/2008 9:09:10 PM
Preparing the Camera
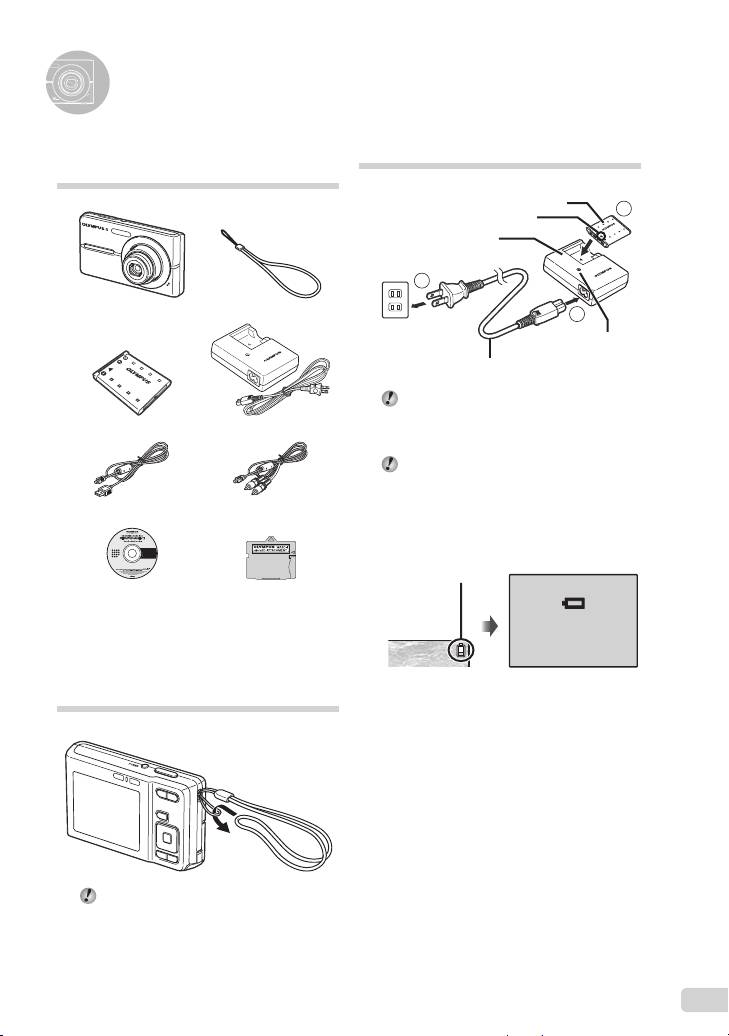
Checking the contents of the
Charging the battery
box
Lithium ion battery
3
▼
Battery charger
2
Digital camera Strap
1
AC outlet
Charging indicator
On: Charging
AC cable
Off: Charged
Battery comes partially charged. Before
use, be sure to charge the battery until the
LI-42B Lithium Ion Battery LI-40C Battery Charger
charging indicator goes off (for approx.
5 hours).
For details on the battery and the charger,
see “Battery and charger” (p. 45).
USB cable AV cable
When to charge the batteries
Charge the battery when the error message
shown below appears.
Flashes in red
OLYMPUS Master 2
microSD Attachment
CD-ROM
BATTERY EMPTY
Other accessories not shown: Instruction Manual,
warranty card.
Contents may vary depending on purchase location.
Monitor top right Error message
Attaching the camera strap
Pull the strap tight so that it does not come
loose.
EN
3
Book_Basic_FE360.indb 3Book_Basic_FE360.indb 3 6/20/2008 9:09:11 PM6/20/2008 9:09:11 PM
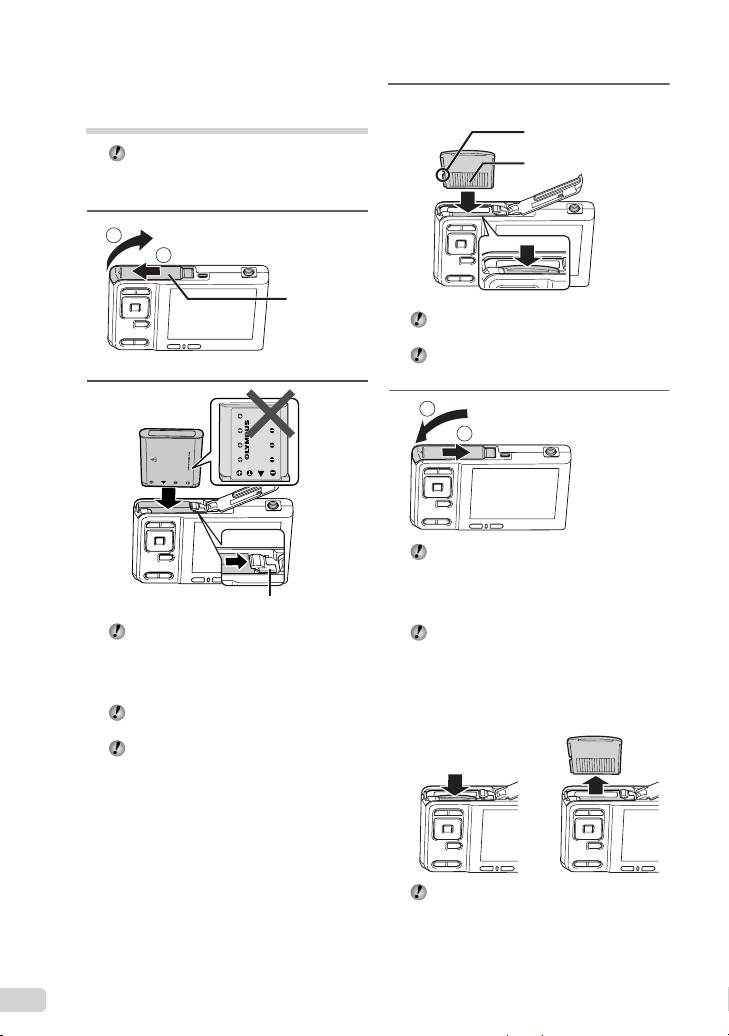
Loading the battery and
3
the xD-Picture Card™ (sold
separately) into the camera
Notch
Do not insert anything other than an
Contact area
xD-Picture Card or the microSD Attachment
into the camera.
1
2
1
Battery/card
compartment
Insert the card straight until it clicks into
cover
place.
Do not touch the contact area directly.
2
4
1
2
This camera allows the user to take pictures
using the internal memory even when
no xD-Picture Card (sold separately) is
Battery lock knob
inserted. “Using an xD-Picture Card”
(p. 46)
Insert the battery by putting in the ▼ marked
“Number of storable pictures (still
side fi rst, with the B marks toward the
pictures)/recording length (movies) in the
battery lock knob.
internal memory and xD-Picture Card”
Damage to the battery exterior (scratches,
(p. 47)
etc.) may produce heat or an explosion.
Removing the xD-Picture Card
Insert the battery while sliding the battery
lock knob in the direction of the arrow.
12
Slide the battery lock knob in the direction
of the arrow to unlock, and then remove the
battery.
Press the card in until it clicks and comes
out slightly, then grab the card and pull it
out.
4
EN
Book_Basic_FE360.indb 4Book_Basic_FE360.indb 4 6/20/2008 9:09:15 PM6/20/2008 9:09:15 PM
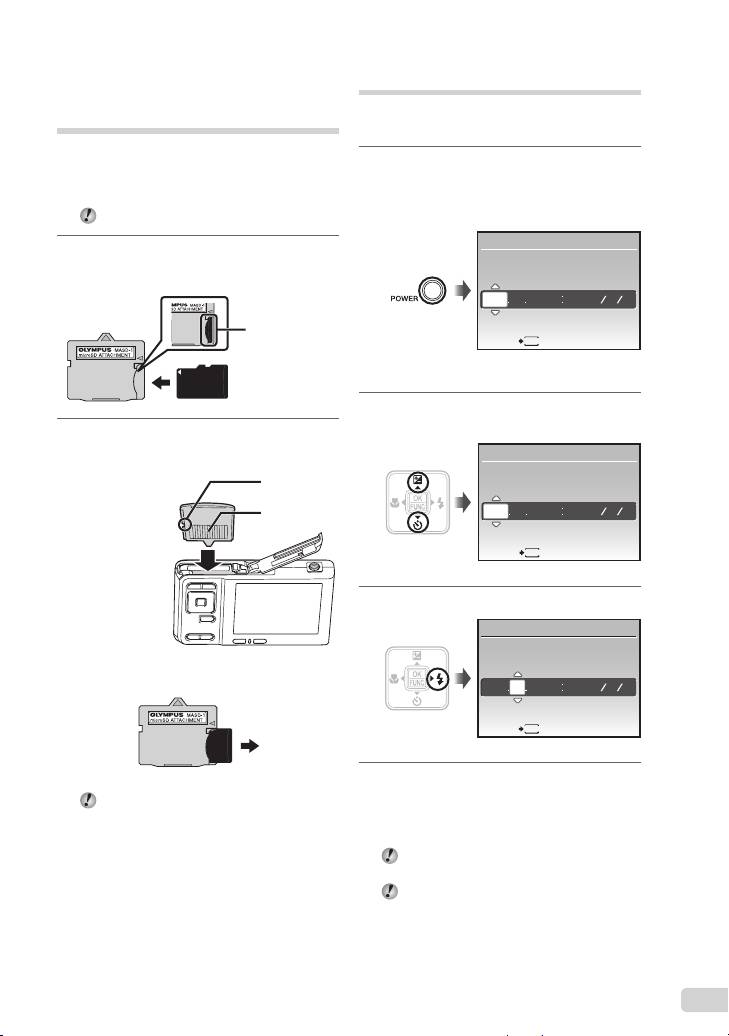
Using the microSD card/
Setting the date and time
microSDHC card (sold
The date and time set here are saved to image
separately)
fi le names, date prints, and other data.
A microSD card or microSDHC card (hereafter
1
both will be referred to as microSD card) is also
Press the o button to turn on
compatible with this camera using the microSD
the camera.
Attachment.
●
The date and time setting screen is displayed
“Using the microSD Attachment” (p. 48)
when the date and time are not set.
X
1
Insert the microSD card into the
microSD Attachment.
YM
DTIME
---- -- -- -- --
YMD
Insert the card
CANCEL
MENU
entirely into the
attachment.
Date and time setting screen
2
Use kl to select the year for
[Y].
2
Insert the microSD Attachment into
X
the camera.
Notch
YM
D TIME
2008
-- -- -- --
Contact area
YMD
CANCEL
MENU
3
Press n to save the setting for [Y].
X
YM
DTIME
To remove the microSD card
2008 10
-- -- --
YMD
CANCEL
MENU
4
Pull the microSD card straight out.
As in Steps 2 and 3, use klmn
and the B button to set [M] (month),
Do not touch the contact area of the
microSD Attachment and/or microSD card.
[D] (day), [TIME] (hours and
minutes), and [Y/M/D] (date order).
For a more accurate setting, press B button
when the time signal hits 00 seconds.
To change the date and time, adjust the
setting from the menu. [X (Date/time)]
(p. 37)
EN
5
Book_Basic_FE360.indb 5Book_Basic_FE360.indb 5 6/20/2008 9:09:18 PM6/20/2008 9:09:18 PM
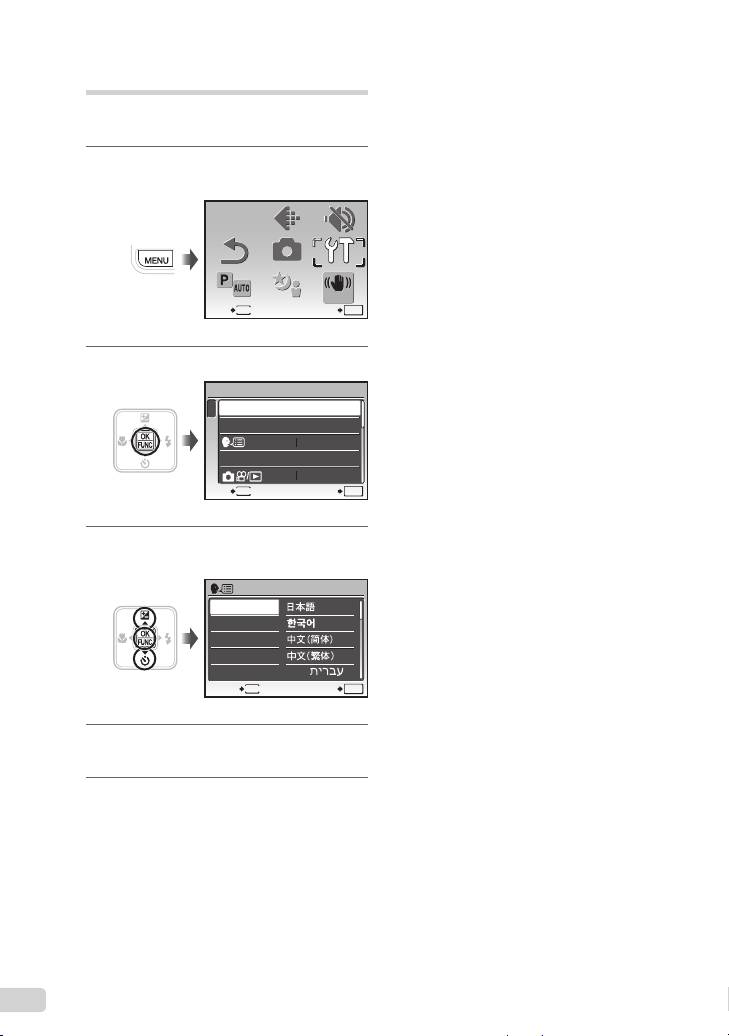
Changing the display language
The language for the menu and error messages
displayed on the monitor is selectable.
1
Press the m button, and press
klmn to select [x SETUP].
6
EN
RESET
RESET
CAMERA
MENU
CAMERA
MENU
SILENT
MODE
SILENT
MODE
EXIT SET
MENU
OK
IMAGE
QUALITY
IMAGE
QUALITY
SETUP
SETUP
SCENE
SCENE
P/AUTO
P/AUTO
DIS MODE
DIS MODE
2
Press the B button.
SETUP
1
MEMORY FORMAT
2
BACKUP
3
ENGLISH
PIXEL MAPPING
NO
EXIT SET
MENU
OK
3
Use kl to select [W] and
press the B button.
ENGLISH
FRANCAIS
DEUTSCH
ESPAÑOL
ITALIANO
BACK SET
MENU
OK
4
Use klmn to select your
language and press the B button.
5
Press the m button.
Book_Basic_FE360.indb 6Book_Basic_FE360.indb 6 6/20/2008 9:09:22 PM6/20/2008 9:09:22 PM
Table of contents
- Preparing the Camera
- Shooting, Playback, and Erasing
- Using Shooting Modes
- Using Shooting Functions
- Printing
- Using OLYMPUS Master 2
- Appendix
- Préparer l’appareil photo
- Prise de vue, affi chage et effacement
- Utiliser les modes prise de vue
- Utiliser les fonctions de prise de vue
- Imprimer
- Utiliser OLYMPUS Master 2
- Appendice
- Preparación de la cámara
- Toma, reproducción y borrado
- Uso de los modos de toma
- Uso de las funciones de toma
- Impresión
- Uso del programa OLYMPUS Master 2
- Apéndice
- Vorbereiten der Kamera
- Aufnahme, Wiedergabe und Löschen von Bildern
- Verwenden der verschiedenen Aufnahmemodi
- Verwenden der Aufnahmefunktionen
- Verwenden der Software OLYMPUS Master 2
- Anhang
- Подготовка фотокамеры
- Съемка, воспроизведение и удаление
- Использование режимов съемки
- Использование функций съемки
- Печать
- Использование OLYMPUS Master 2
- Приложение


