Toshiba JournE Air800-801: To display a playing video file on the digital frame, you have to set the digital frame as the primary monitor.
To display a playing video file on the digital frame, you have to set the digital frame as the primary monitor.: Toshiba JournE Air800-801
Table of contents
- Introduction Check the components What’s in the Box
- Important Information Safety Precautions and Maintenance Care of the Digital Frame
- Recycling Copyright Statement Disclaimer Trademarks
- Journe Air Overview Front View Bottom View
- Rear View Left View System Requirements
- Getting Started Placing the Unit Connecting to the A/C Power Turning on the Digital Frame
- Built-in battery (available on Journe Air 801 only)
- Connections Memory Card: USB Connection
- Understanding the Wi-Fi Icons
- Basic Operations Photo Mode
- 4. Select a sequence: Sequential or Random, then press OK.
- Transition Effect
- Frequency
- Background Color
- Effect
- Rotate
- Browsing Photos Flickr / Picasa Activate an Account
- Add an Account
- Delete an Account
- Time and Date Mode Set Time and Date
- Time Setting Date Setting
- Set Alarm Clock and Alarm Tone Set Alarm Clock Set On/Off
- Set Alarm Tone
- Put Photos in the Photo Calendar
- Photo + Audio Mode
- Video Mode
- Video Playback Mode Icons Definition
- Audio Mode
- One click playing
- Copy and Delete Files
- To copy files to another storage device: To copy all files in a storage device to another storage device:
- To delete files: To delete all files in a storage device:
- 3D Album Installing 3D Album 1. Insert the Software CD and select 3D Album Software. 2. Click Yes, I agree to accept the license agreement and continue the
- 3. Choose a location in the install path field to install 3D Album. (Note that 4. After the installation is complete, a QuickTime install window will pop up.
- 3D Album Functions Converting Photos
- Create a 3D-Album
- System Settings Brightness
- Language
- Network WPS
- Wi-Fi Wizard
- Advance Configuration To configure settings manually:
- To turn the antenna on and off:
- Profile List
- Web Album Store to
- Timer Function (Auto On/Off)
- 10.When the time is set, press OK to confirm.
- Auto Tilt
- Auto Light
- Restore to Default Settings USB Mode Mass Storage Sub View
- 6. Launch the Sub View software installed on your PC.
- To set the digital frame to Extended mode: To set the digital frame to Clone mode:
- To display a playing video file on the digital frame, you have to set the digital frame as the primary monitor.
- PictBridge Print Status Information
- Wi-Fi Status Information Firmware Upgrade
- Supported Video Format Frequently Asked Questions TOSHIBA Support
- Regulatory statements
- Working Environment
- Following information is only for EU-member states:
In the bottom right corner of the Sub View window, there are two blue
rectangles; these represent the range of the PC monitor and the digital
frame. There is also a white rectangle superimposed on the blue one. It
represents the visible range of the digital frame; and you can move and
resize the display with this.
To display a playing video file on the digital frame, you have to set the
digital frame as the primary monitor.
1. Right click on the desktop, and select Properties from the menu.
2. In the Display Properties panel, select Settings tab.
3. In the Display: dropdown menu, select 2. Default Monitor on Sub
View.
4. Check the option Use this device as the primary monitor at the
bottom of the Settings tab.
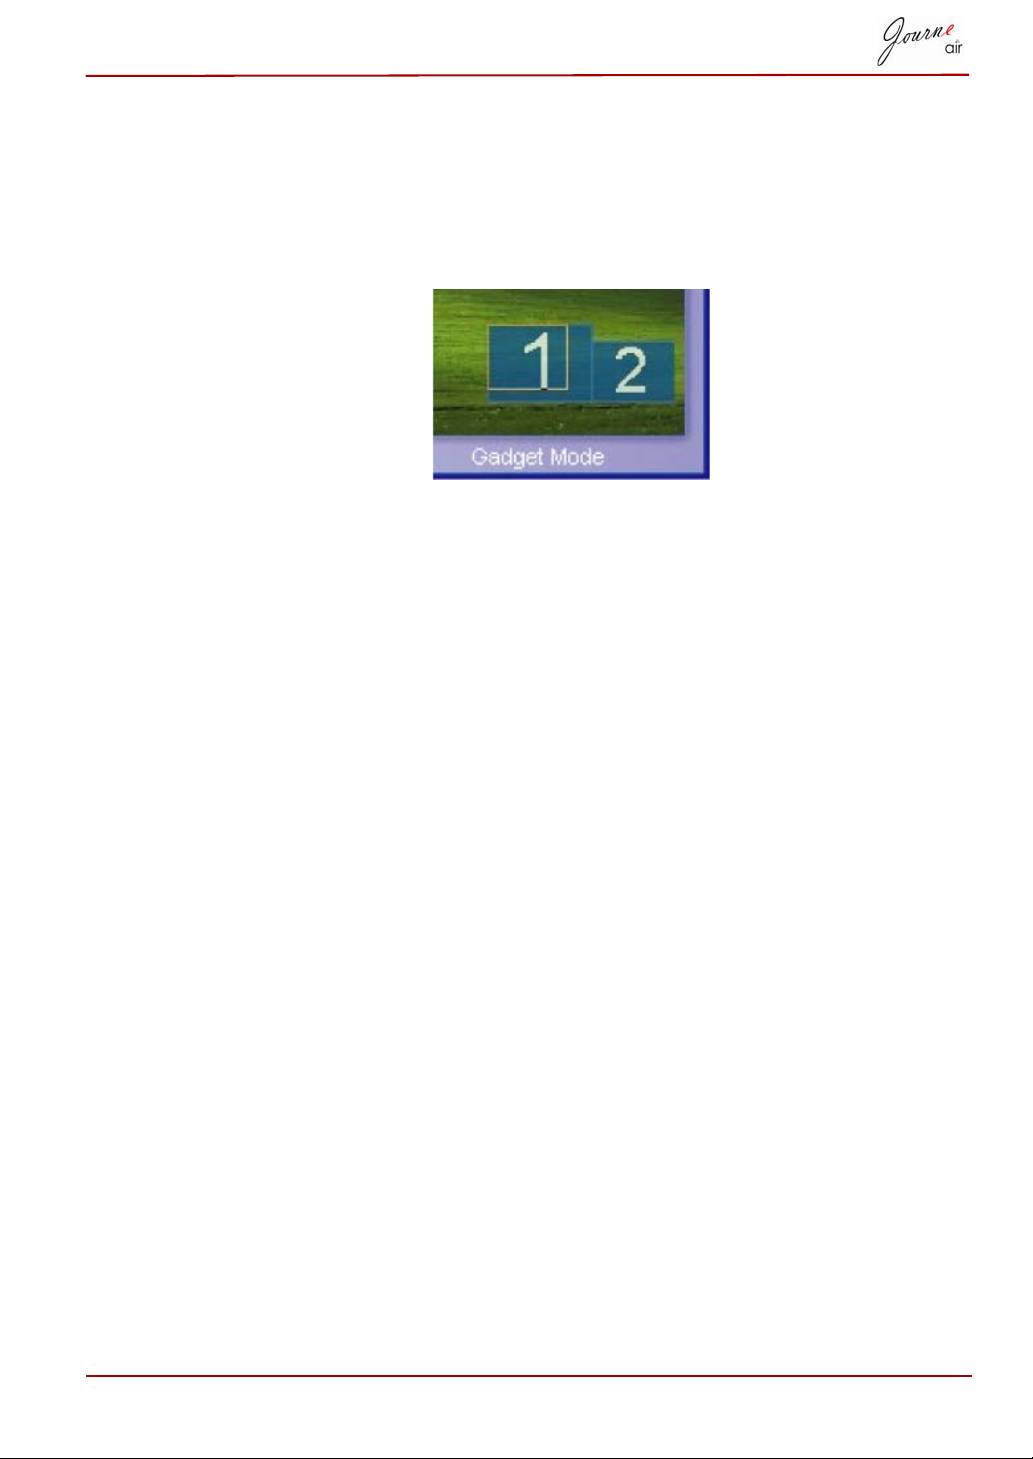
In Windows Vista, Sub View can move all the gadgets on the desktop to the
digital frame. To do this, just click Gadget Mode on the bottom of the Sub
View window.
User’s Manual EN-55
