Toshiba JournE Air800-801 – page 41
Manual for Toshiba JournE Air800-801
Table of contents
- Introduction Check the components What’s in the Box
- Important Information Safety Precautions and Maintenance Care of the Digital Frame
- Recycling Copyright Statement Disclaimer Trademarks
- Journe Air Overview Front View Bottom View
- Rear View Left View System Requirements
- Getting Started Placing the Unit Connecting to the A/C Power Turning on the Digital Frame
- Built-in battery (available on Journe Air 801 only)
- Connections Memory Card: USB Connection
- Understanding the Wi-Fi Icons
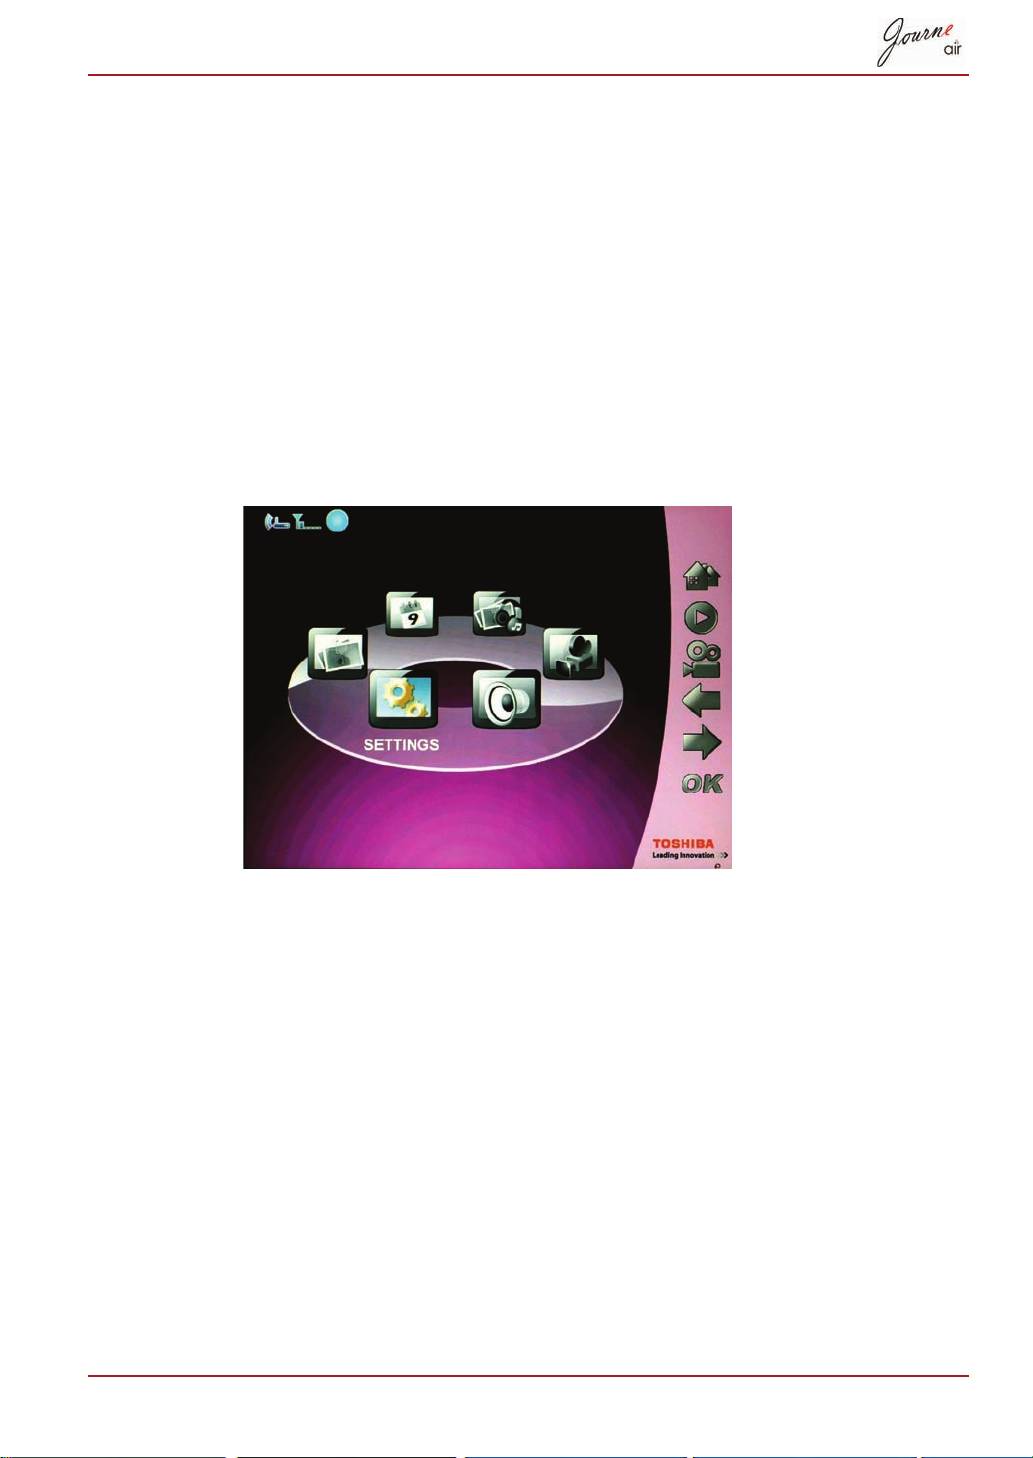
- Basic Operations Photo Mode
- 4. Select a sequence: Sequential or Random, then press OK.
- Transition Effect
- Frequency
- Background Color
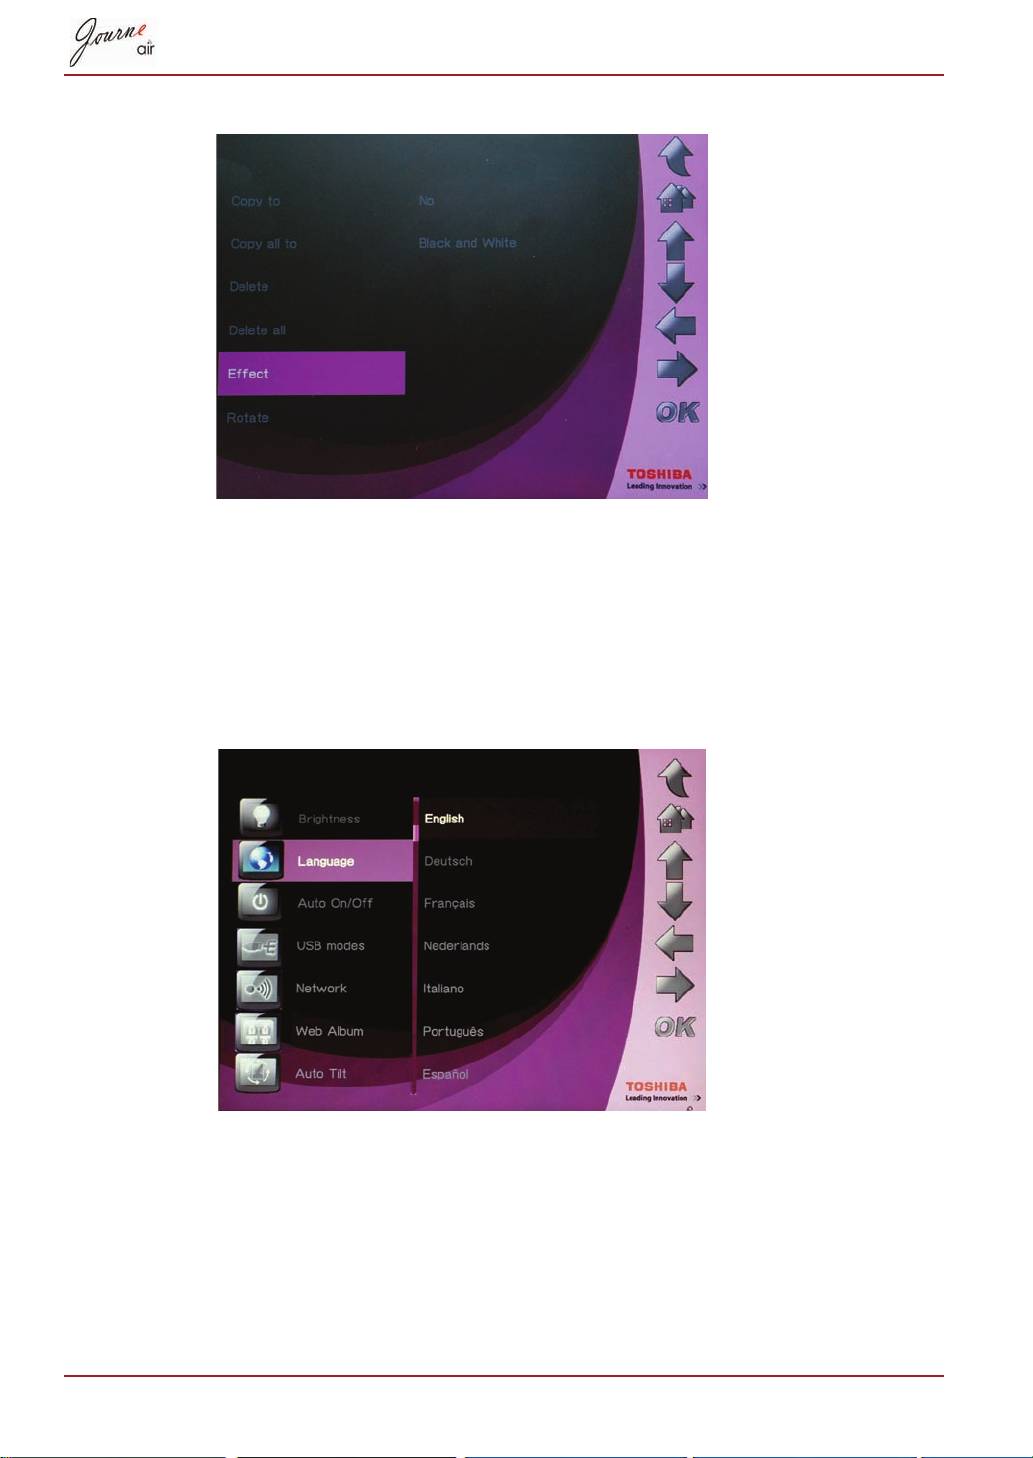
- Effect
- Rotate
- Browsing Photos Flickr / Picasa Activate an Account
- Add an Account
- Delete an Account
- Time and Date Mode Set Time and Date
- Time Setting Date Setting
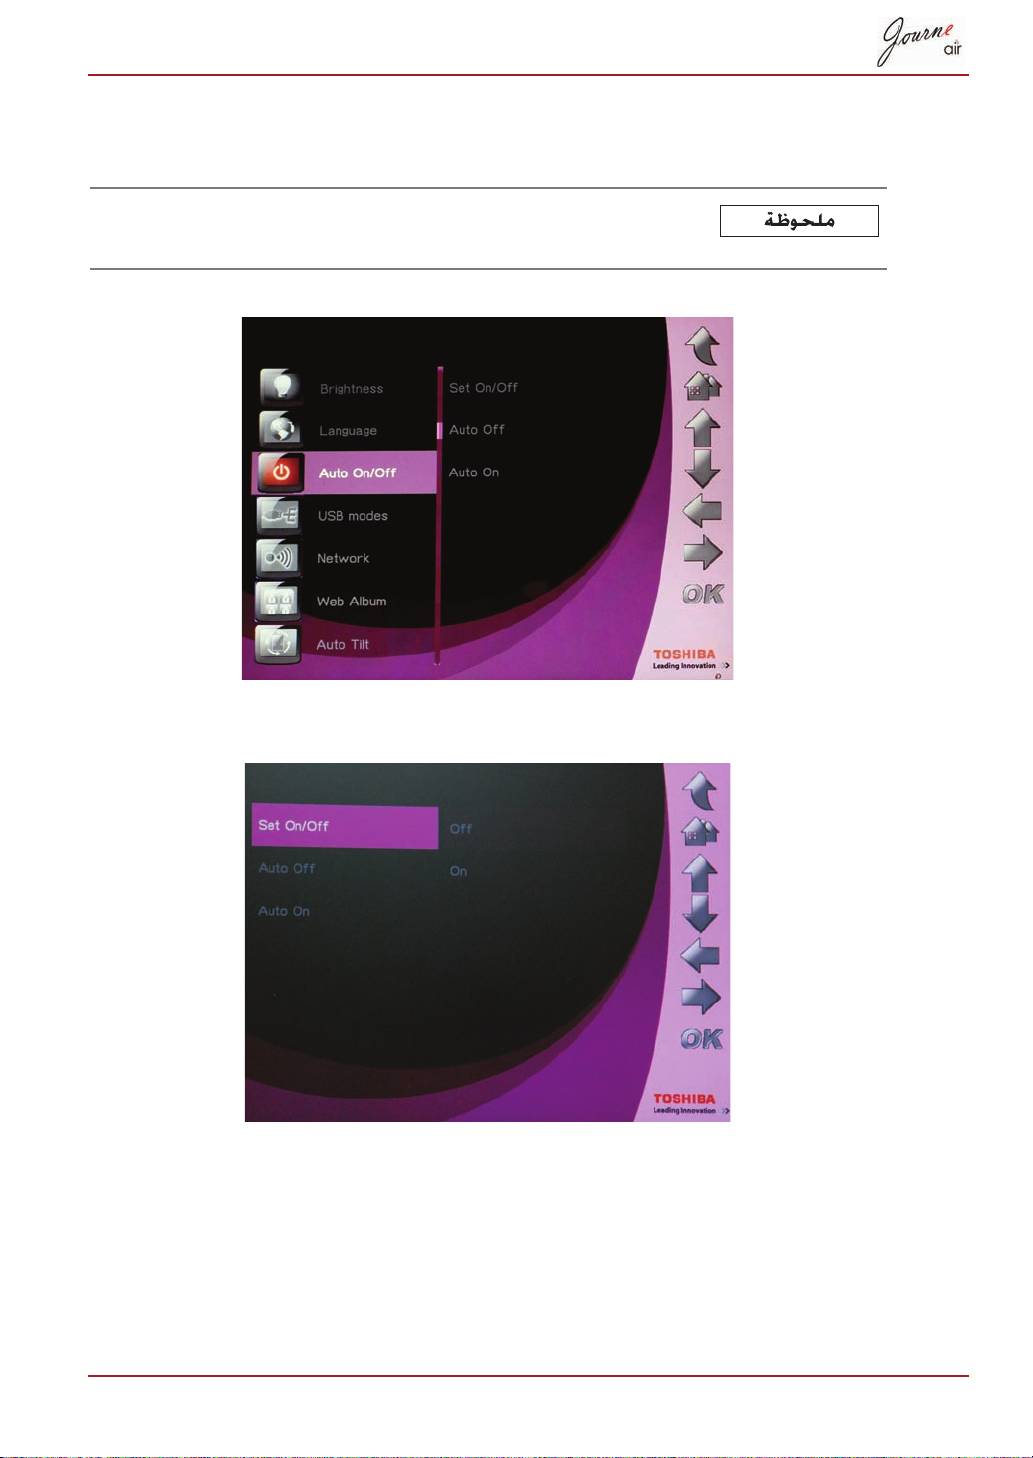
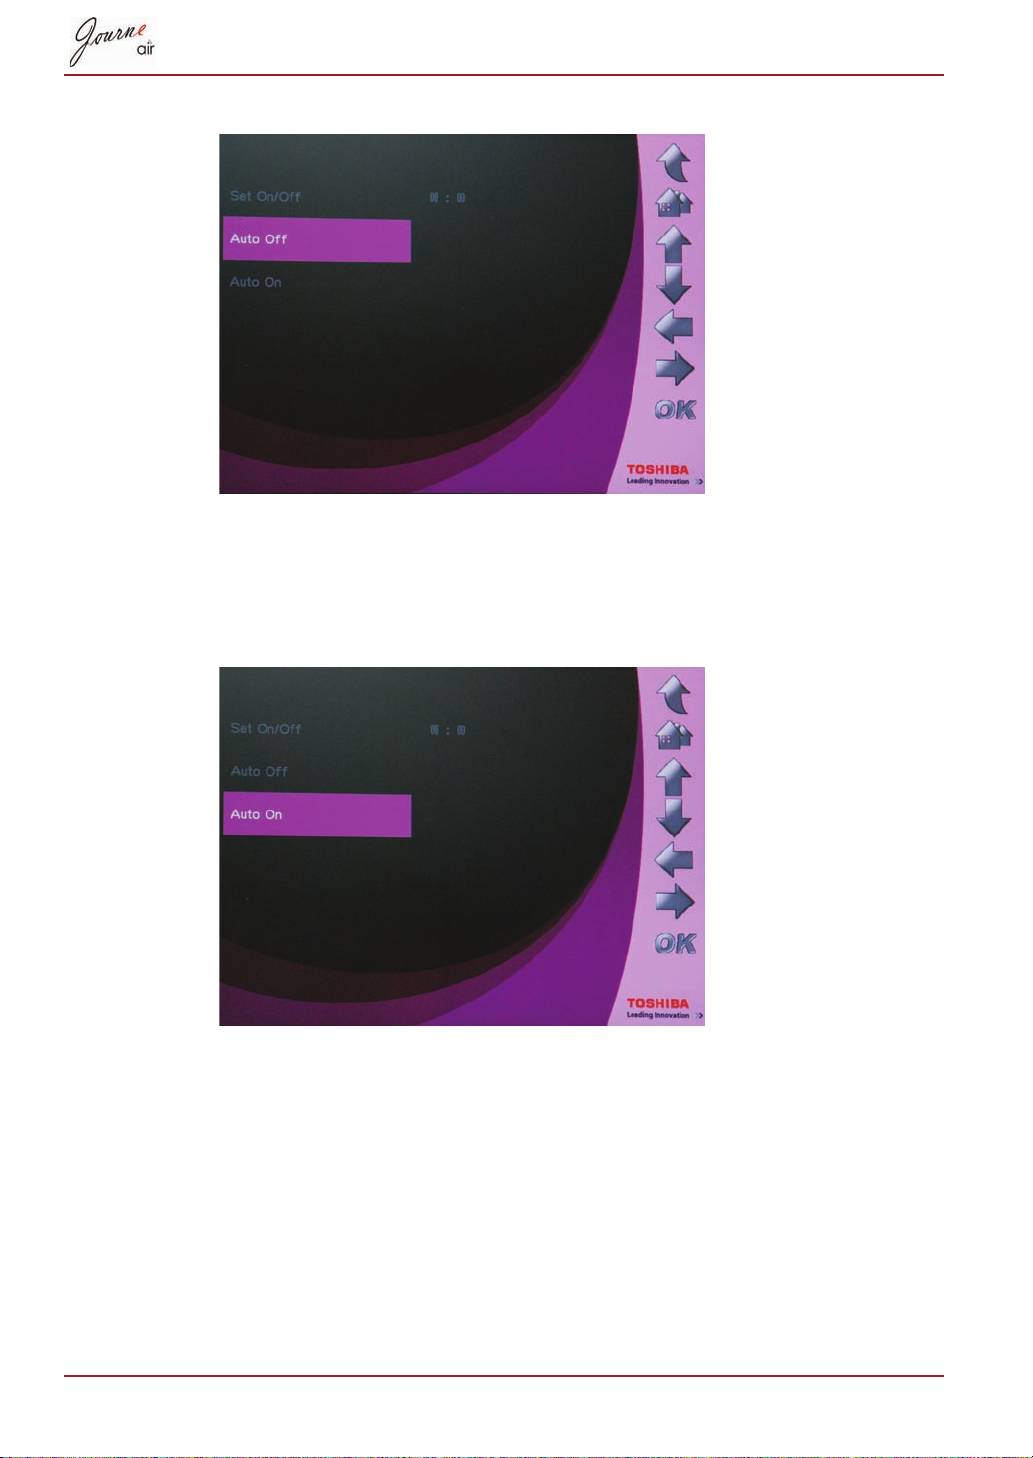
- Set Alarm Clock and Alarm Tone Set Alarm Clock Set On/Off
- Set Alarm Tone
- Put Photos in the Photo Calendar
- Photo + Audio Mode
- Video Mode
- Video Playback Mode Icons Definition
- Audio Mode
- One click playing
- Copy and Delete Files
- To copy files to another storage device: To copy all files in a storage device to another storage device:
- To delete files: To delete all files in a storage device:
- 3D Album Installing 3D Album 1. Insert the Software CD and select 3D Album Software. 2. Click Yes, I agree to accept the license agreement and continue the
- 3. Choose a location in the install path field to install 3D Album. (Note that 4. After the installation is complete, a QuickTime install window will pop up.
- 3D Album Functions Converting Photos
- Create a 3D-Album
- System Settings Brightness
- Language
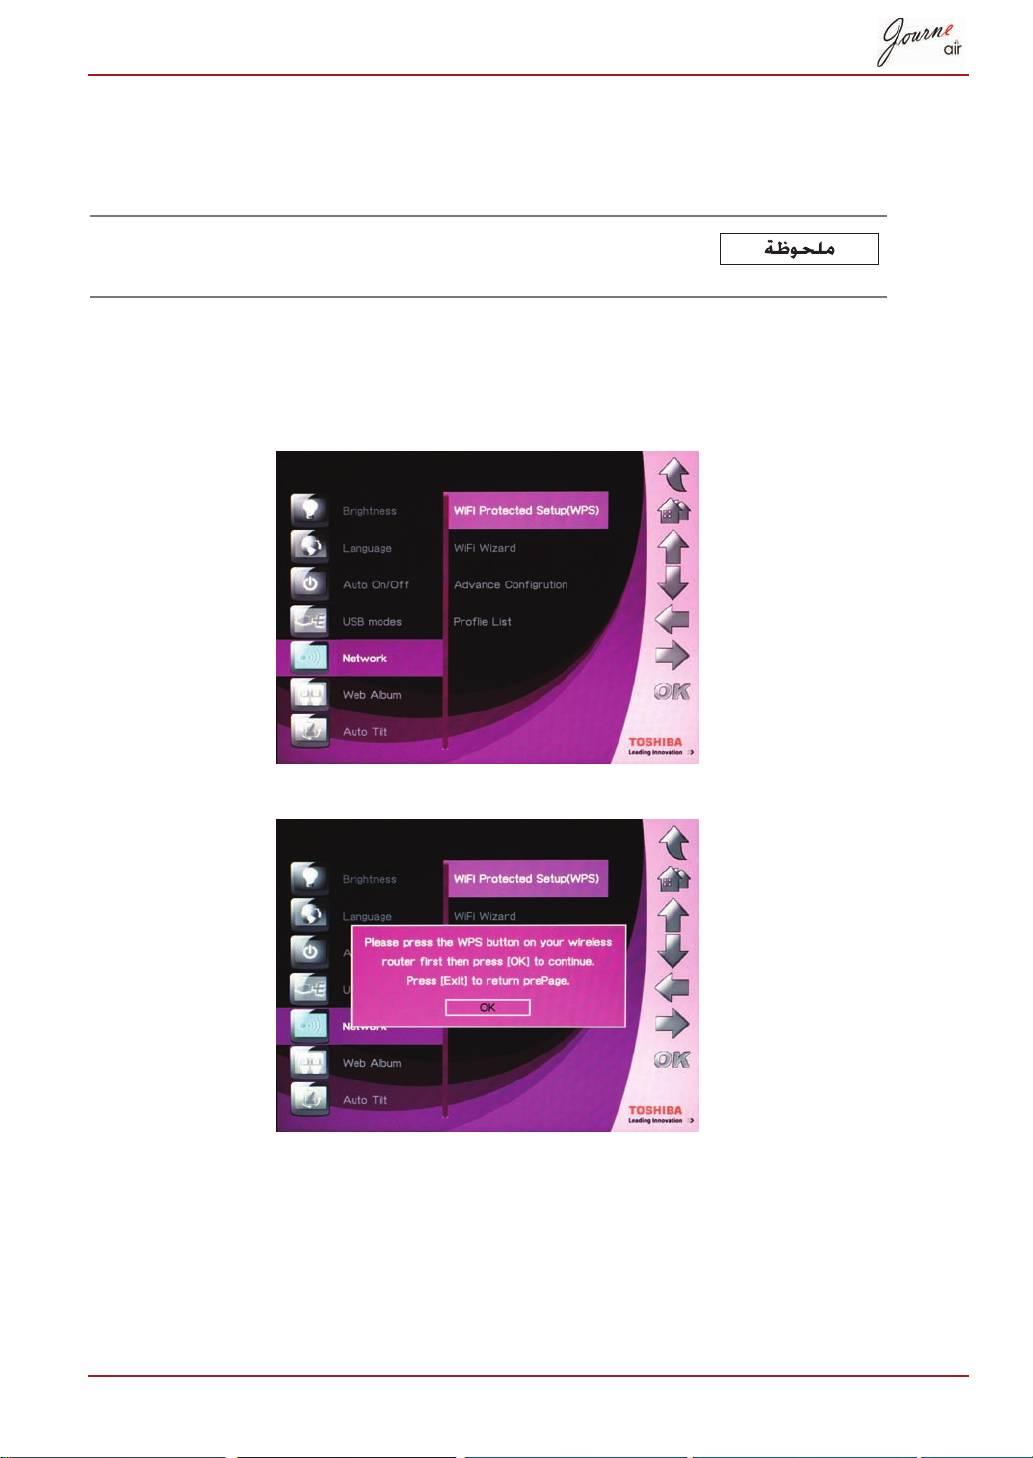
- Network WPS
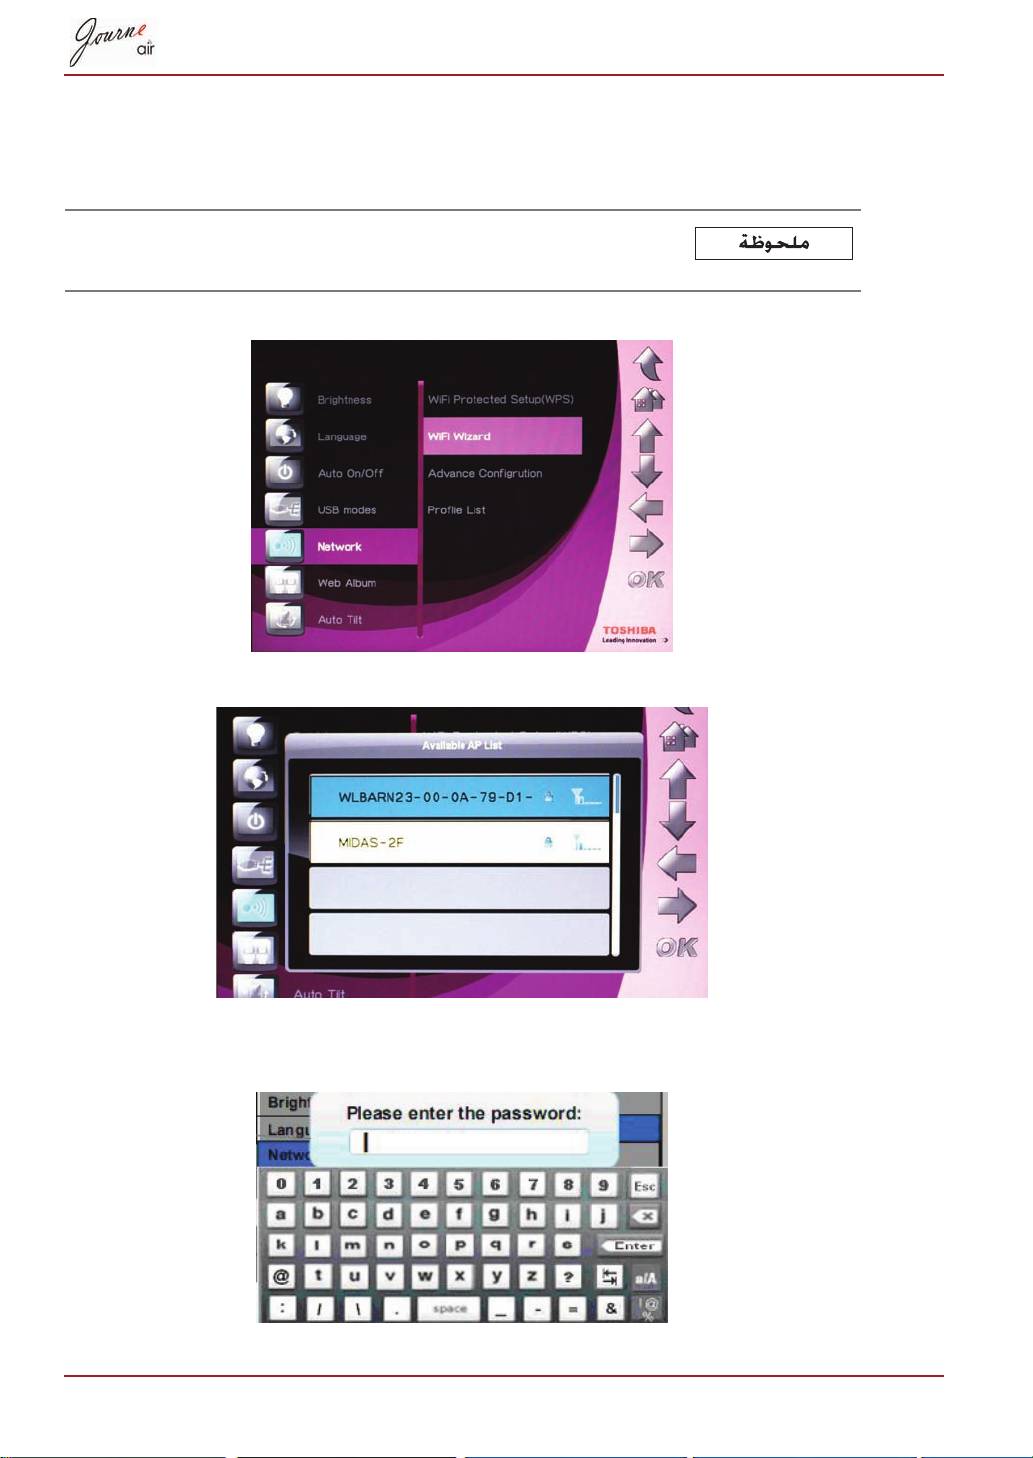
- Wi-Fi Wizard
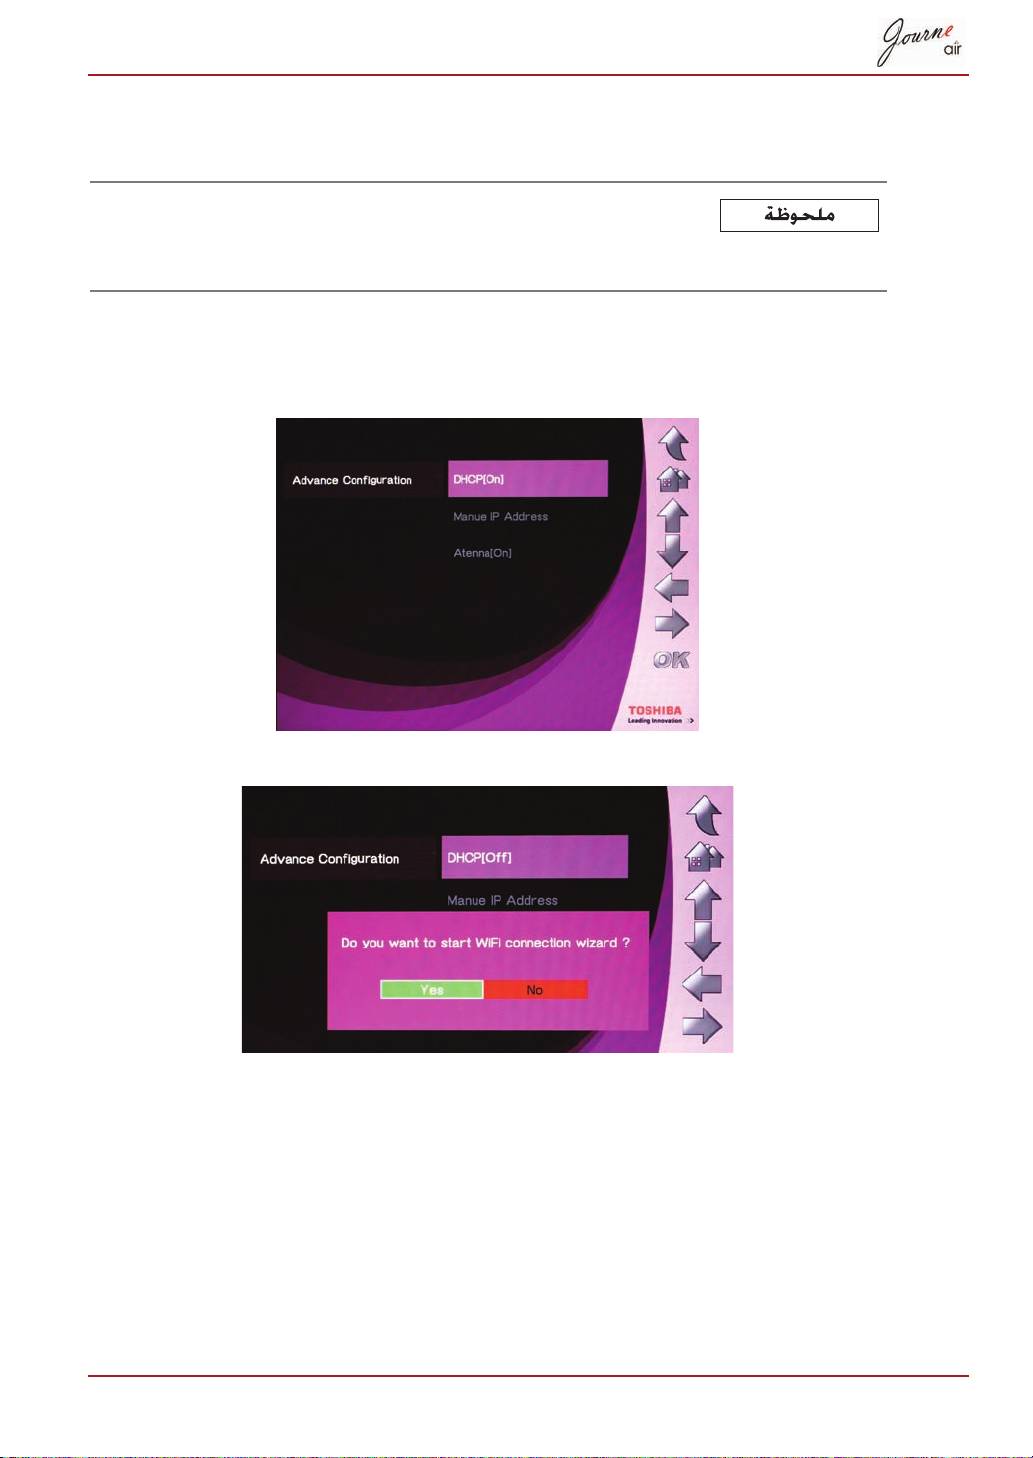
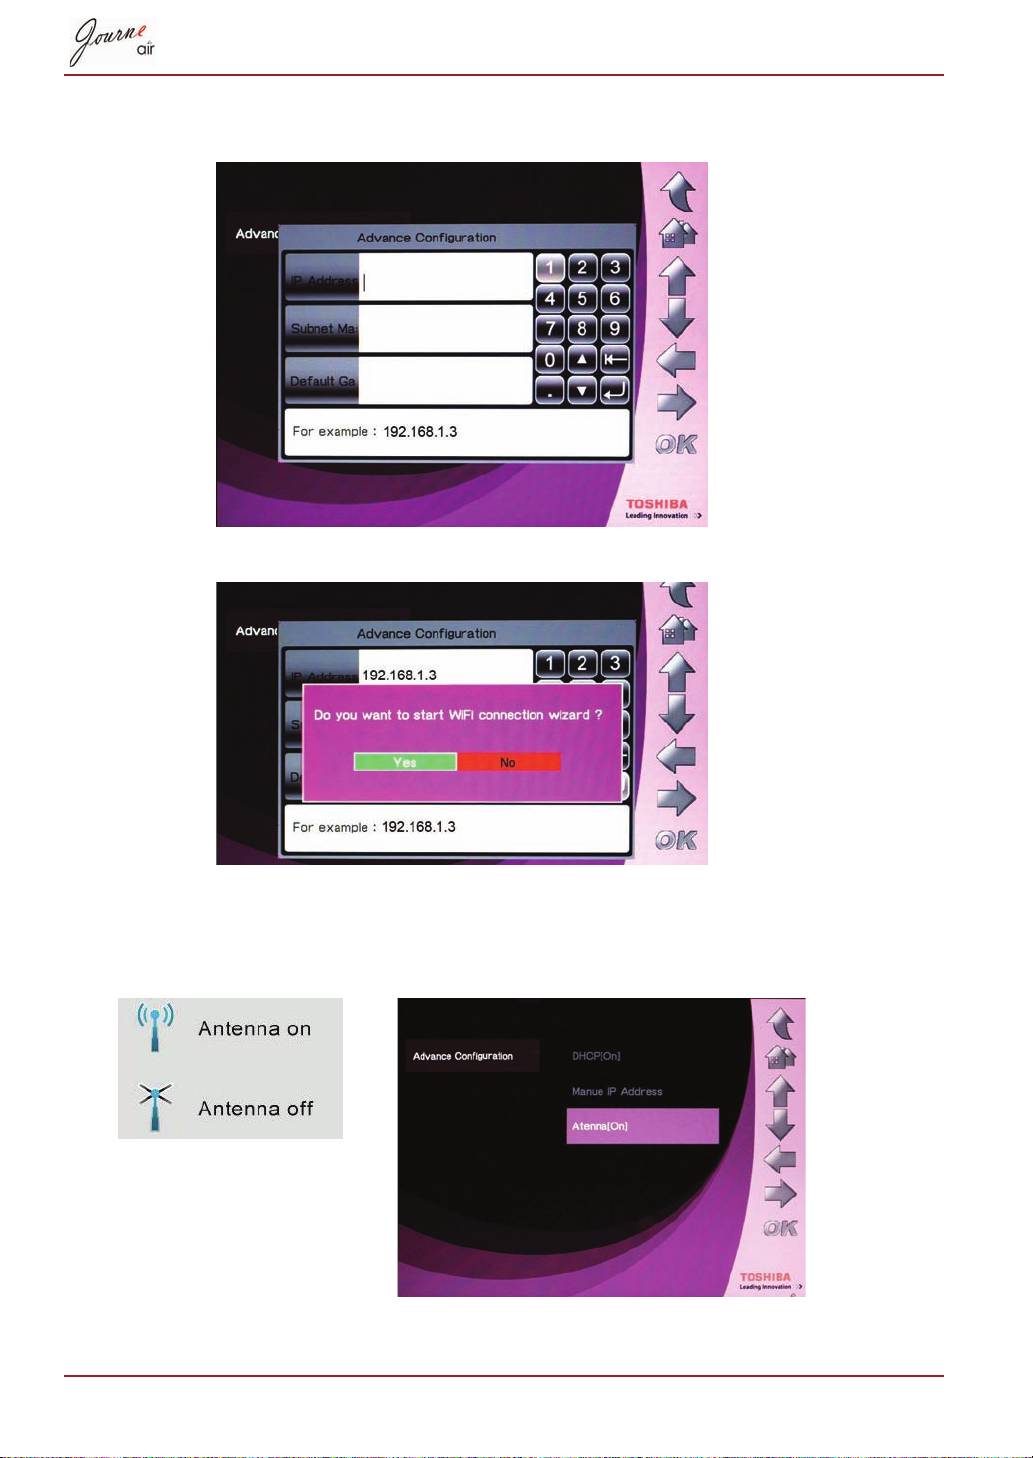
- Advance Configuration To configure settings manually:
- To turn the antenna on and off:
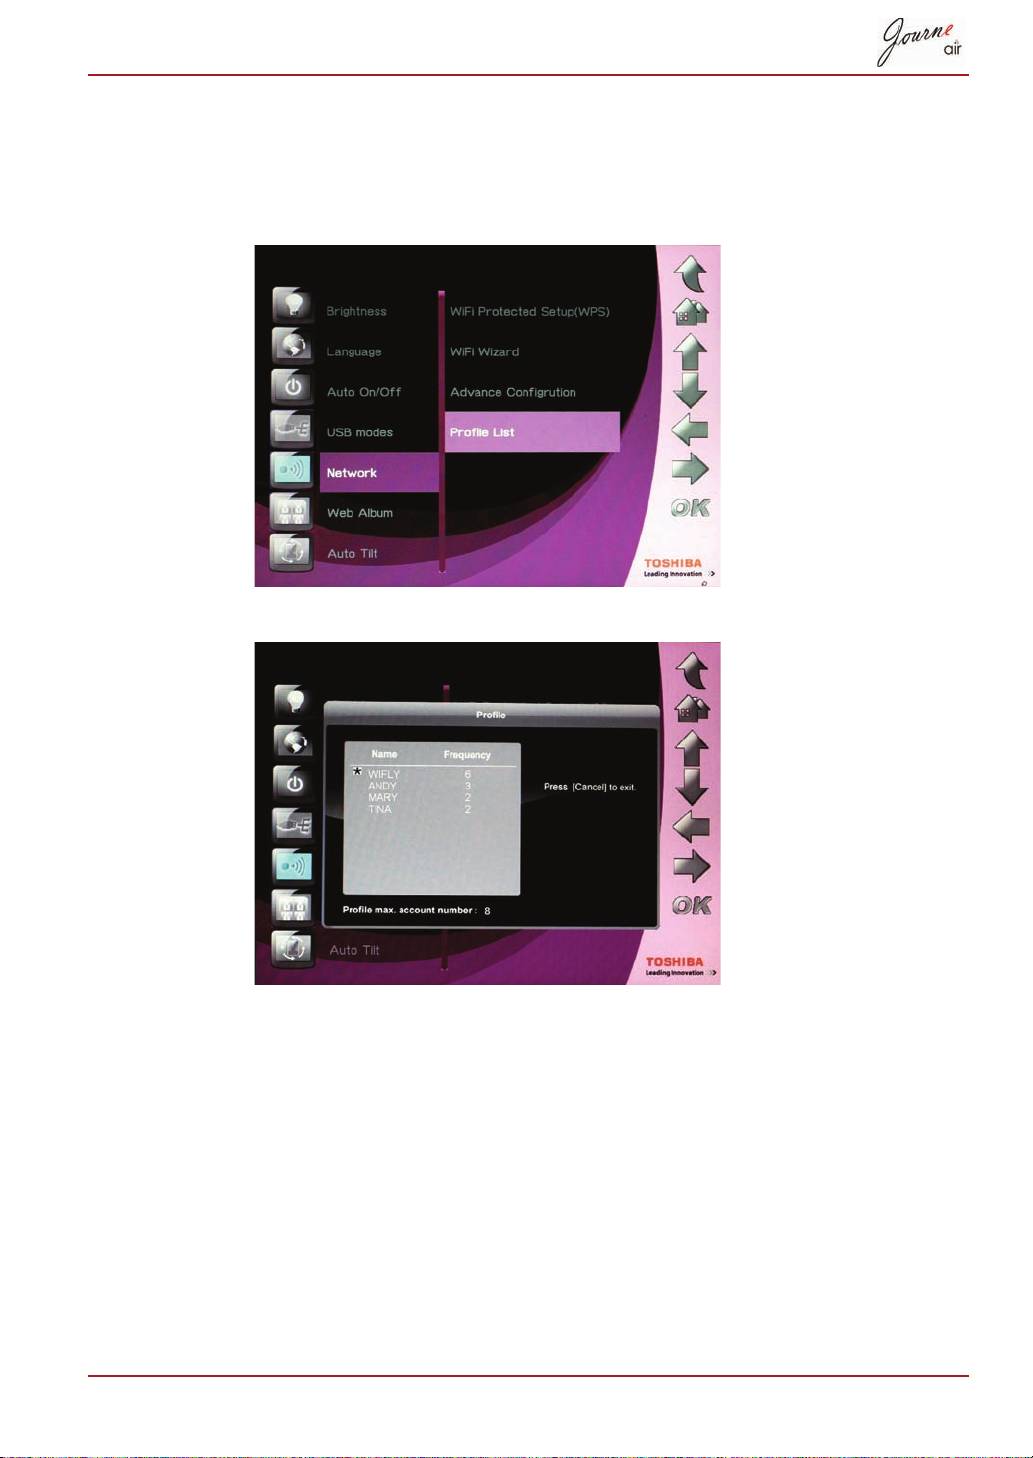
- Profile List
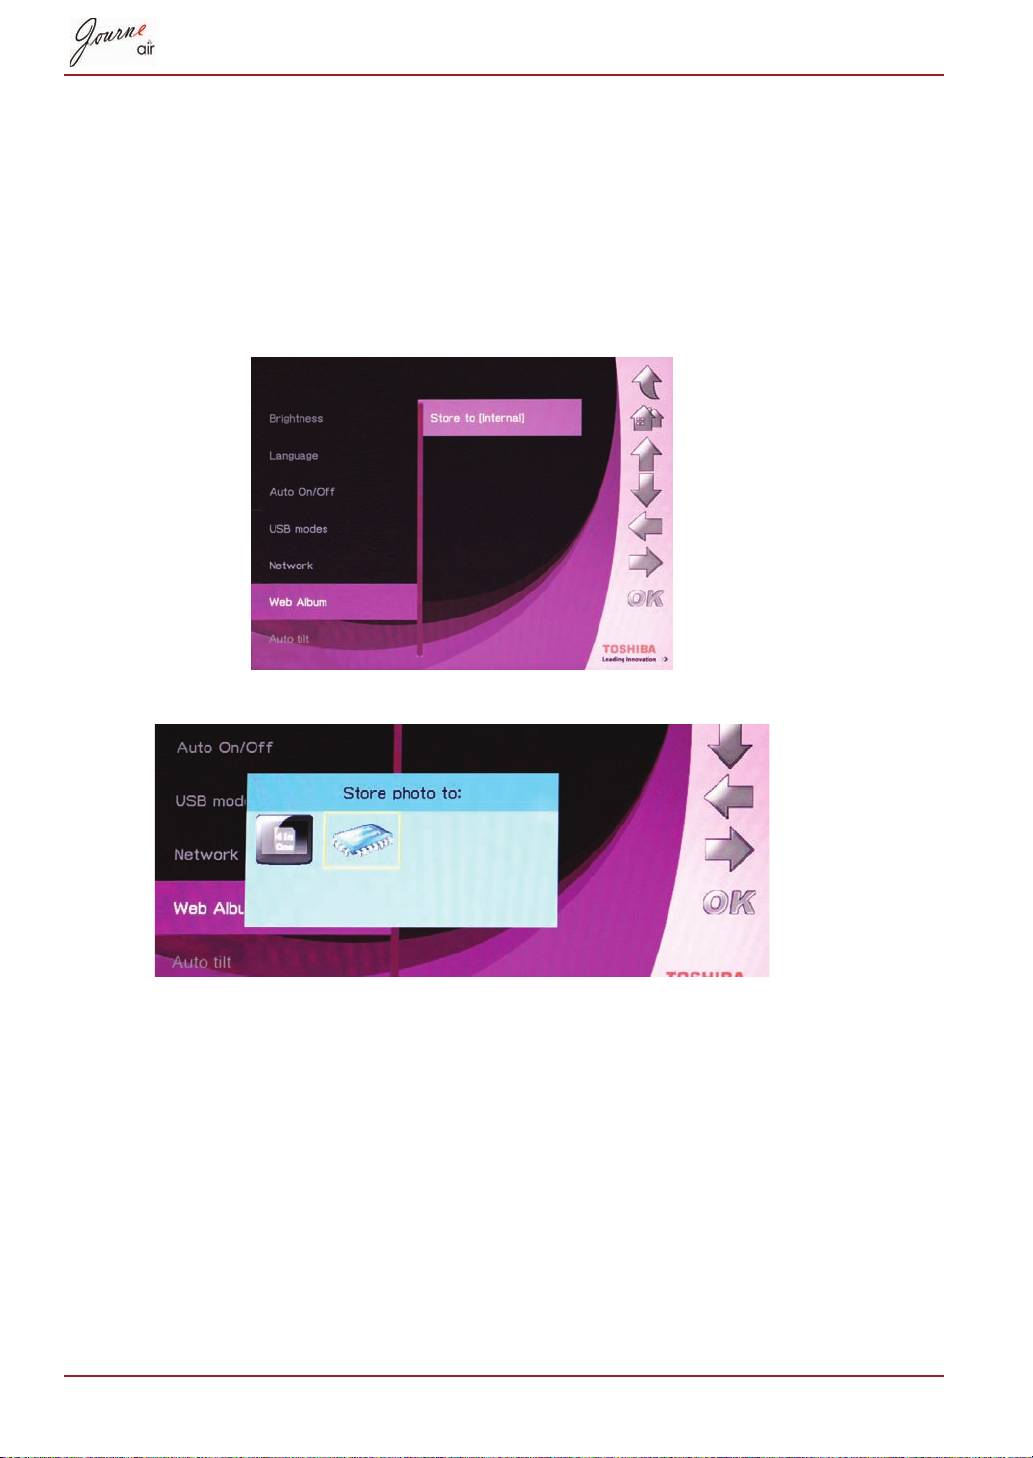
- Web Album Store to
- Timer Function (Auto On/Off)
- 10.When the time is set, press OK to confirm.
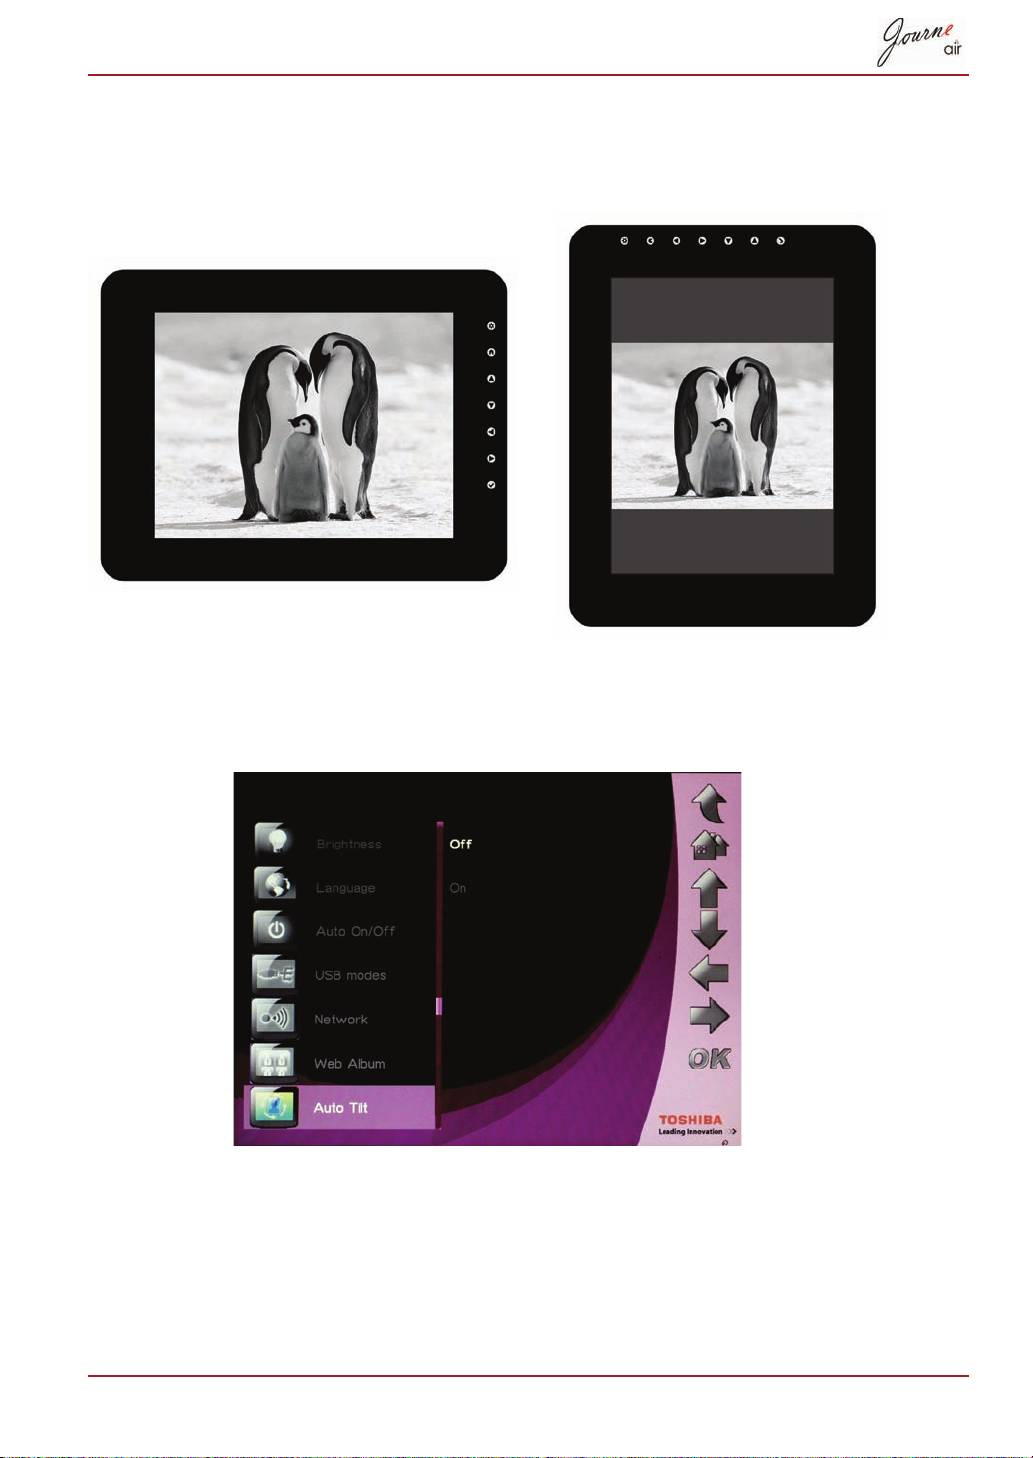
- Auto Tilt
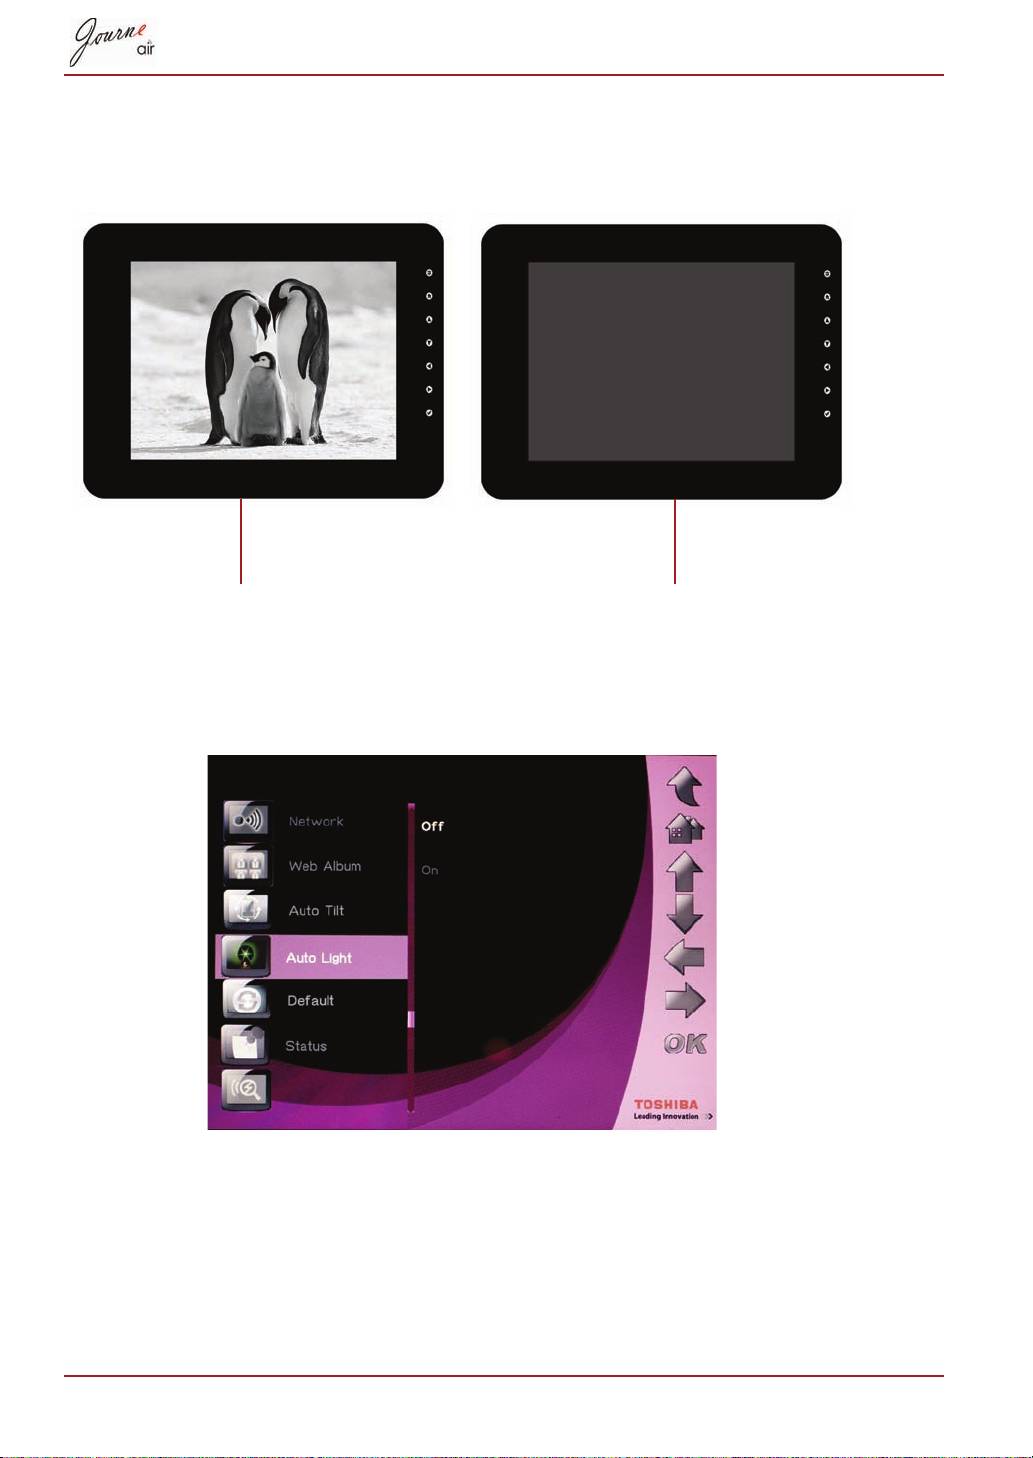
- Auto Light
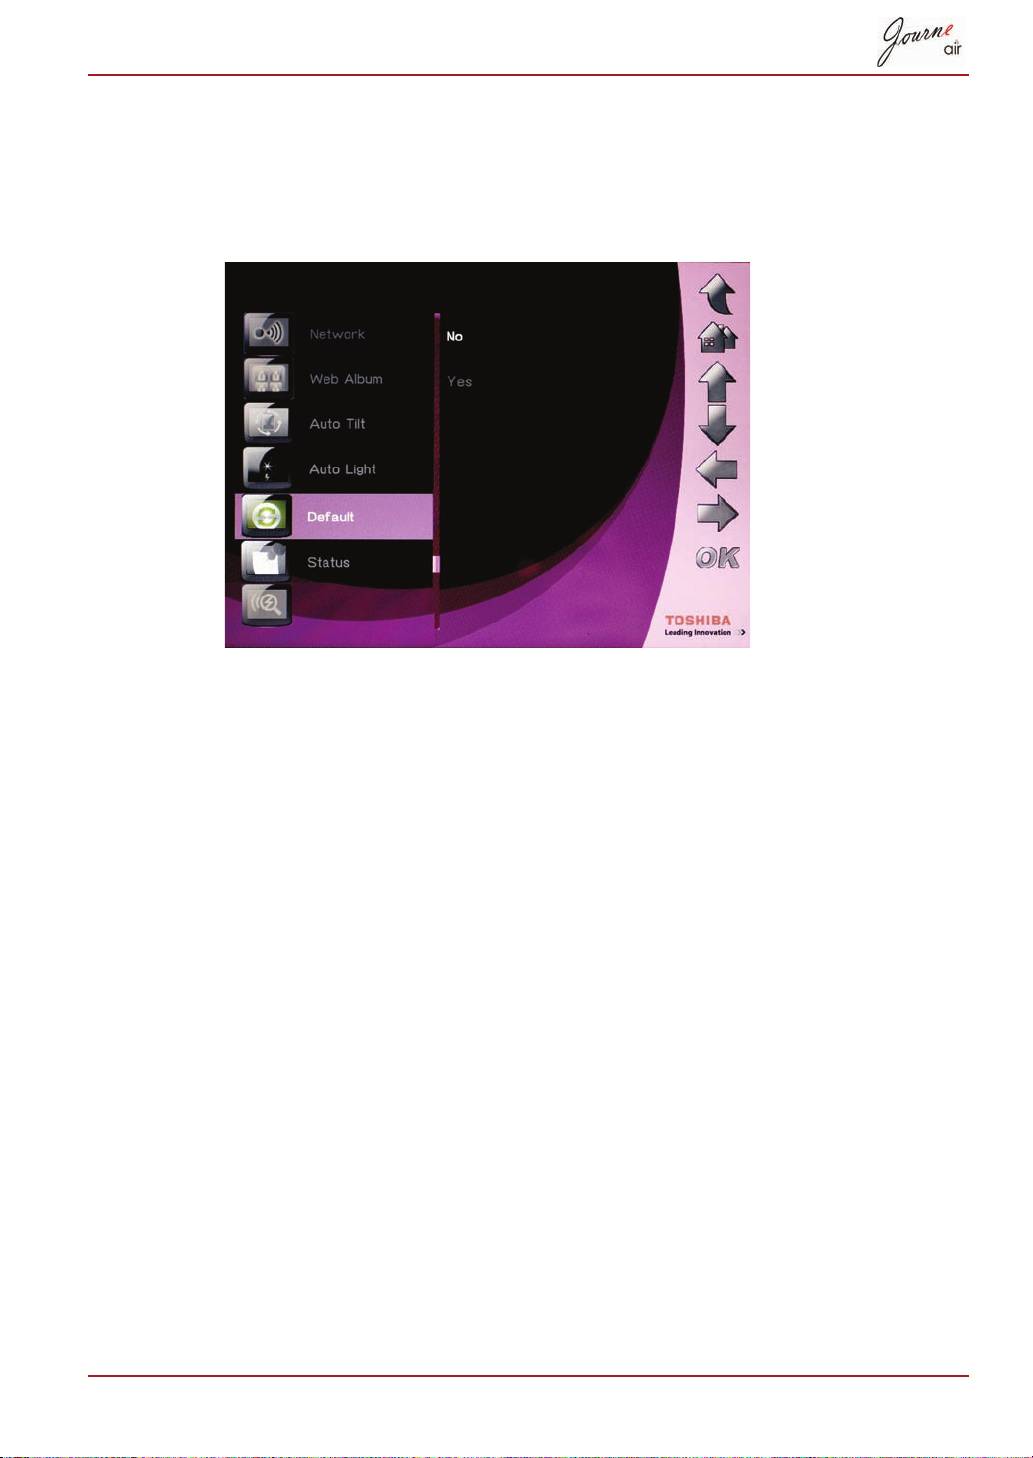
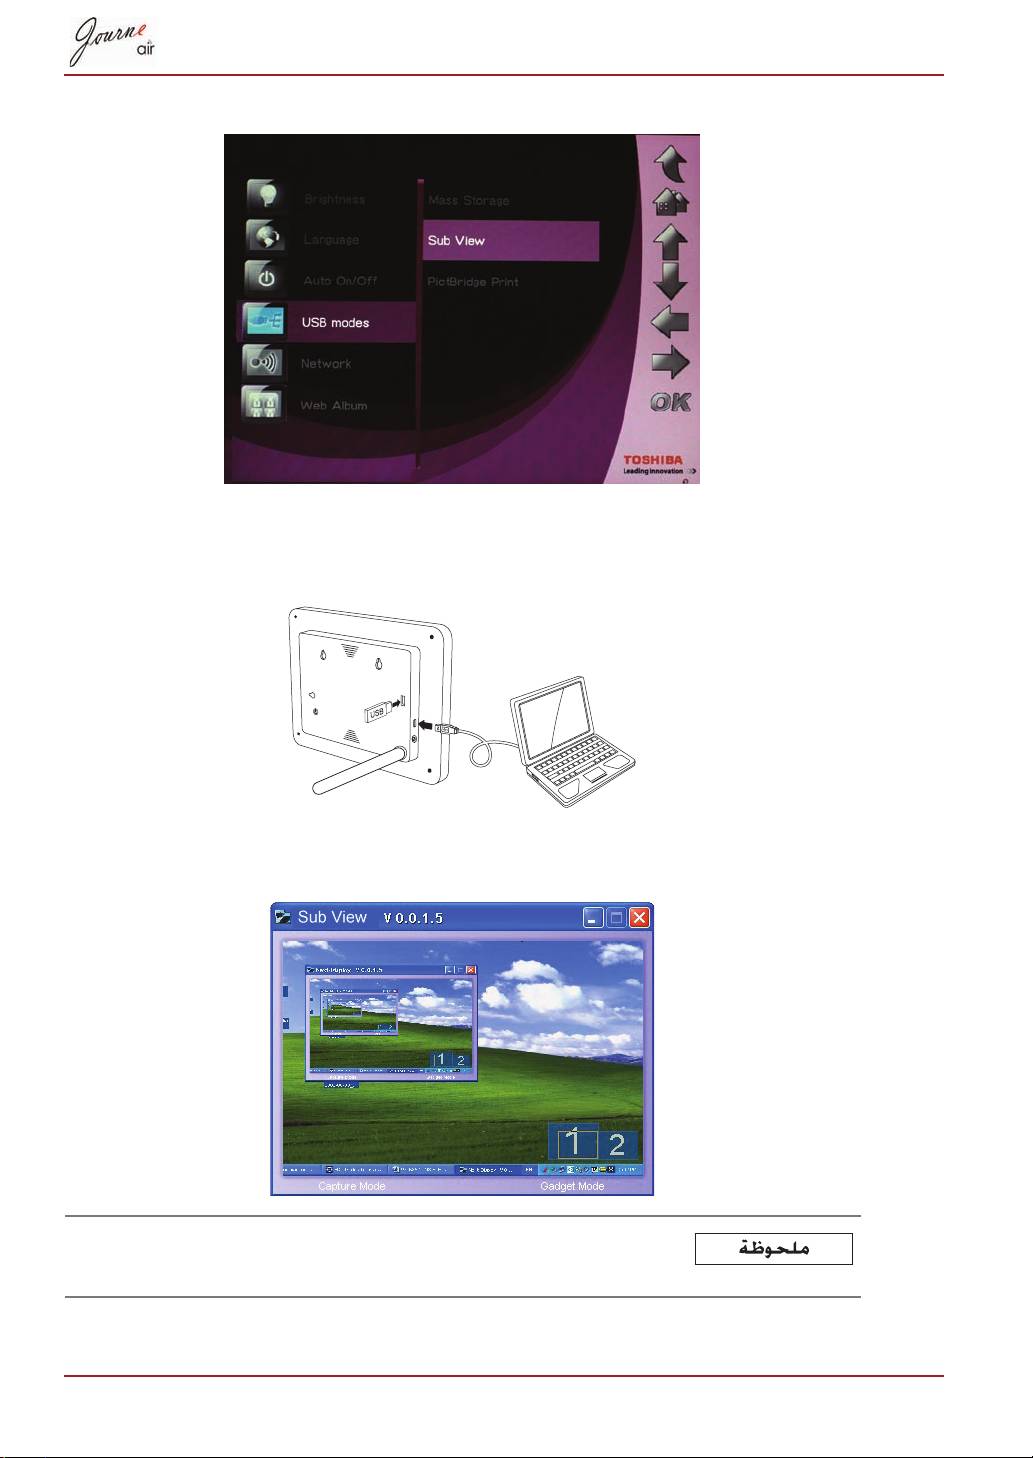
- Restore to Default Settings USB Mode Mass Storage Sub View
- 6. Launch the Sub View software installed on your PC.
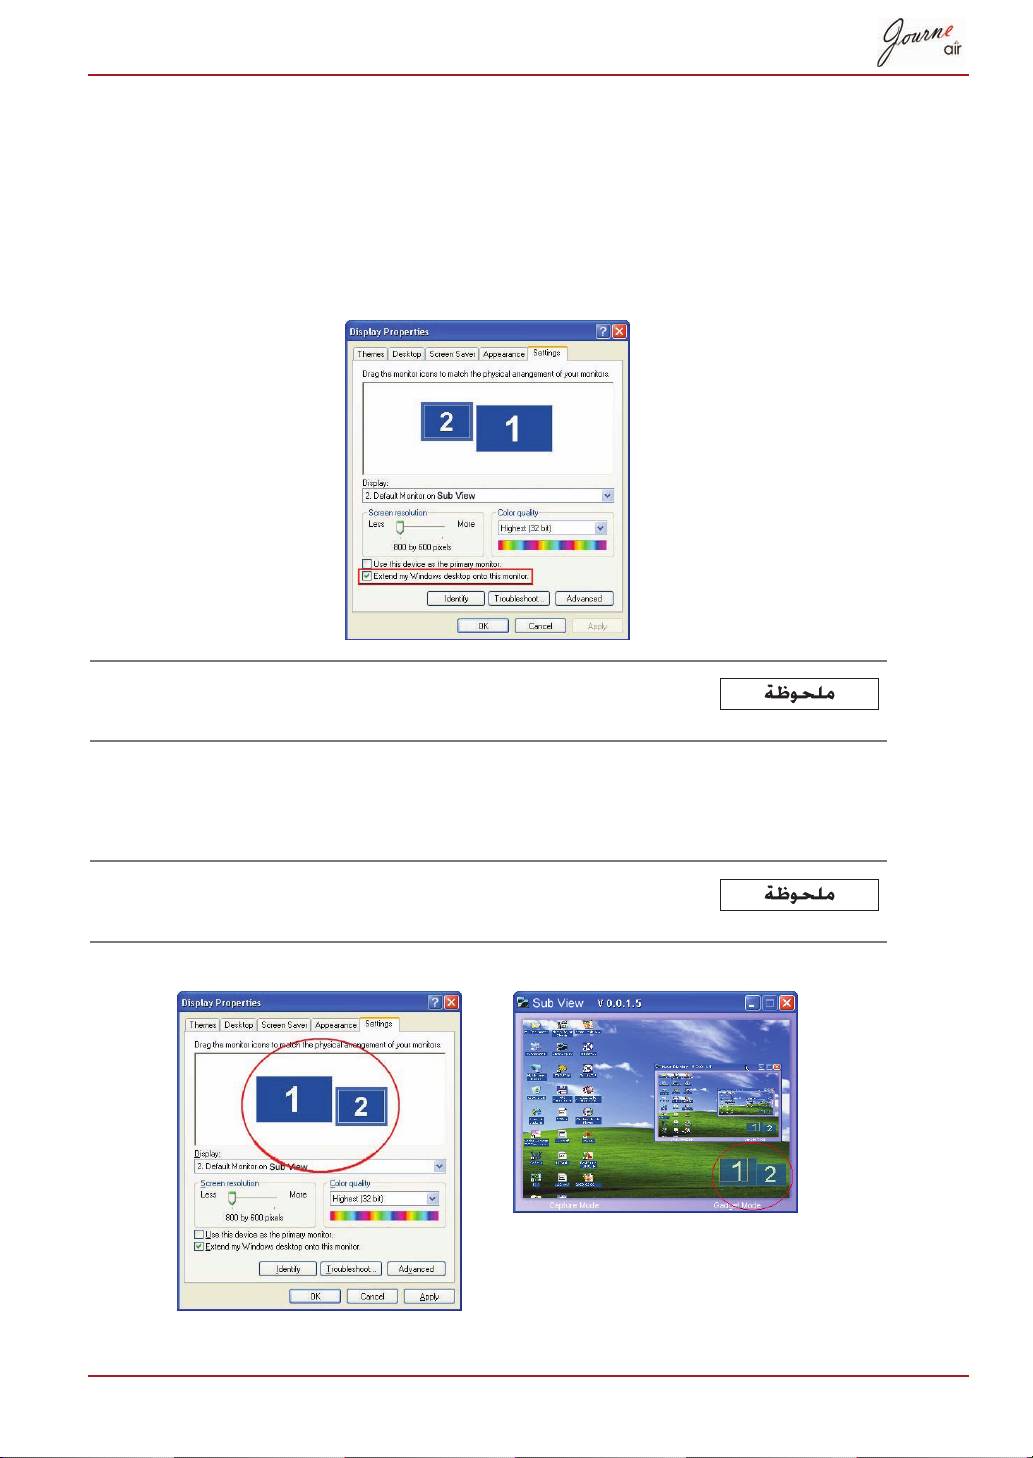
- To set the digital frame to Extended mode: To set the digital frame to Clone mode:
- To display a playing video file on the digital frame, you have to set the digital frame as the primary monitor.
- PictBridge Print Status Information
- Wi-Fi Status Information Firmware Upgrade
- Supported Video Format Frequently Asked Questions TOSHIBA Support
- Regulatory statements
- Working Environment
- Following information is only for EU-member states:
OK
Delete
OK
YES
OK
Delete all
OK
YES
35-AR

3D Album
3D Album
3D Album Software
AR-36
Continue
Install QuickTime
37-AR
3D Album
AR-
From Folder
To Folder
From Folder
Ctrl
Don't crop
Let me crop
Auto enhancement
Rename to option
To Folder
From Folder
Select Photo
39-AR
Select music
Select Style
Save
Save to file folder
×××
Settings
OK
OK
Brightness
Level5
Level 1
Down
Up
AR-
OK
OK
Language
Down
Up
OK
-AR
WPS
OK
Wi-Fi
OK
Exit
AR-42
Wi-Fi
OK
Wi-Fi
Wi-Fi Wizard
Down
Up
OK
43-AR
On
[
:
OK
Advance Configuration
OK
DHCP
OK
Yes
Wi-Fi
OK
Advance Configuration
OK
Manual IP Address
AR-44
Wi-Fi
OK
Yes
OK
Advance Configuration
OK
Antenna
45-AR
OK
Profile List
Cancel
AR-46
OK
Web Album Setting
OK
Store to
OK
47-AR
OK
Auto On/Off
OK
On
OK
OK
OK
AR-
OK
OK
OK
49-AR
OK
OK
On
AR-
OK
Auto Light
OK
On
-AR
OK
OK
YES
USB
USB
USB
OK
OK
USB
:)
OK
Settings
AR-52
OK
Sub View
OK
On
USB
53-AR
:)
Properties
Display Properties
Settings
Display
2. Default Monitor on Sub View
Extend my Windows desktop onto this monitor
:)
AR-54
