Nikon COOLSHOT: Target priority mode Distance display units Changing battery LED illumination
Target priority mode Distance display units Changing battery LED illumination: Nikon COOLSHOT
Table of contents
- Cautions before use SAFETY PRECAUTIONS SAFETY PRECAUTIONS CARE AND MAINTENANCE
- Key features Nomenclature/Composition
- Internal display Measurement display mode
- Target priority mode Distance display units Changing battery LED illumination
- Measurement
- Specifications
- Others Troubleshooting/Repair
- Troubleshooting/Repair
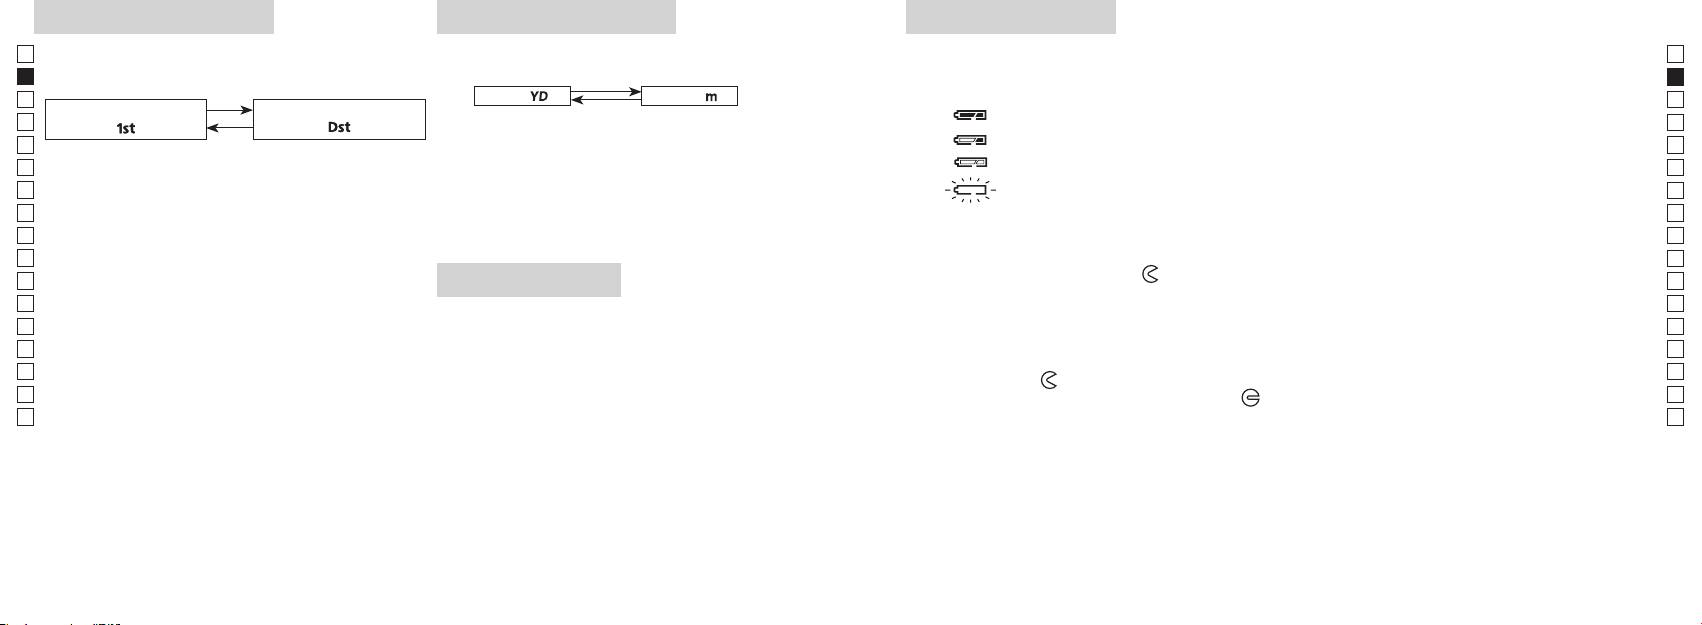
Target priority mode
Distance display units
Changing battery
Jp
Jp
Type of battery: 3V CR2 lithium battery x1
(Factory default setting is yard.)
En
Battery remaining amount indicators
En
Es
[ ]
Meter [ ]Yard
* Battery condition mark in the internal display warns when the battery needs to be replaced.
Es
: Battery has enough power for use.
Fr
1. Turn on the power (Confirm the internal display is
Fr
「
」
「
」
on).
De
De
1. Turn on the power (Confirm the internal display is on).
It
: Battery level is low. Battery should be replaced with a new one.
It
Se
release the button.
flashing : Battery is exhausted. After the indicator flashes three times, the laser rangefinder
Se
Continue to press and hold both buttons (more than
3. After the unit is set, results will be converted and
Nl
Nl
displayed in the selected distance display unit.
Ru
Ru
1. Open the battery chamber cover
Pt
3. Release both buttons when the mode is switched.
Using the ball of the thumb, etc. in the recessed part of the battery chamber cover, rotate the cover in
Pt
*
If the buttons are not pressed in the correct order,
the direction toward the
mark. It may not open easily due to its rubber packing for water resistance.
Pl
Pl
switching will not take place.
LED illumination
2. Replace the old battery with a new one
Fi
Fi
*
If switching fails to take place, repeat Step 2.
1. Turn on the power (Confirm the internal display is on).
No
No
not inserted correctly, the laser rangefinder will not operate.
Dk
Dk
3. Close the battery chamber cover
Cz
*
Cz
mode displays the distance of the closest subject and
Align the
mark with the indicator
●
and insert the battery chamber cover. Using the ball of the
to view the LCD panel.
Ro
Ro
thumb, etc., turn the cover towards the
mark. It may not close easily due to the rubber packing
*
Hu
subject.
for water resistance, but continue to turn it all the way until it stops. Confirm that the cover is securely
Hu
closed.
power is turned on again.
Battery life
Continuous operation: Approx. 13,000 times (at approx. 20°C)
This figure may differ according to condition, temperature, and other factors such as target shape, color, etc. Use
only as a guide.
* The battery supplied with this Laser Rangefinder is for operation checking. Due to natural electrical discharge, the life of this
battery will likely be shorter than that noted above.
* If water enters the battery chamber due to submersion, dry the battery chamber well, then replace the battery.
30 31
