Siemens IC60: Preparation - General information Language setting Start programming Clock setting Detectors Entry delay time Exit delay time Remote control
Preparation - General information Language setting Start programming Clock setting Detectors Entry delay time Exit delay time Remote control: Siemens IC60
Table of contents
- Preparation - General information Language setting Start programming Clock setting Detectors Entry delay time Exit delay time Remote control
- Telephone connection Telephone numbers Identification code Testing Installation
Siemens Building Technologies
Fire Safety & Security Products
01.2008
EN
x
Preparation - General information
–
Before connecting the battery or switching the main power supply on, unplug the in-
ternal siren for the time of the installation (small plug with cable, directly on the left
lower side of the display).
–
If the internal buzzer starts beeping: Press
to silence it.
–
To exit the system at any time: Press and hold the button
.
Reset back to factory setting:
–
Reset all pins and numbers: Press
200
9
.
–
Reset all individually changed parameters: Press
200
10
.
Language setting
1.
Press
Ctrl
simultaneously
t
the “Local Mode” opens.
2.
Scroll with the buttons
/
to the posi-
tion “Language” and press
to select.
3.
Scroll with the buttons
/
to the lan-
guage you prefer and press
to save.
4.
To exit press and hold the button
.
Start programming
Programming the system (steps 2 -10) is
only possible in installer mode. To get into
installer mode the system must be disarmed!
1.
Press
user code “
147258
”
t
the displays shows: “CLIENT:USER”.
2.
Press
installer code “
258369
”
t
the displays shows: “ISTALLER:USERS”.
Clock setting
1.
Set time: press
26
1
”
HHMM
”
2.
Set weekday: press
26
2
”
DAY
”
(Sunday =
1
, Monday =
2
…etc.)
3.
Set date: press
26
3
”
DDMMYY
”
4.
Activate automatic daylight saving (default
Europe GMT+1): press
26
4
1
Detectors
Learn the wireless detectors (max.16), be-
fore installing, to the panel. Default settings:
- Zones 1 and 2 are delayed for entry route.
- Zones 3 - 8 are set for normal zones.
- Zones 9 - 16 are set for Stay zones.
We recommend using:
- Zone 1: magnet contact from the entry
door.
- Zone 2: first motion detector for the surveil-
lance of the entry area (control panel).
1.
For zone 1: press
164
1
t
the keypad will start beeping to indicate
that learn mode has been activated.
2.
Press the tamper contact on the detector
or remove the magnet from the door
contact
t
it will send a transmission signal. The
panel will confirm if a detector is found
with the message “Found”.
3.
Press
to confirm.
4.
Repeat actions 1 - 3 to follow up for the
zones 2 - 16 (use the navigation button
to switch to the next zone).
If a detector could not be learned it is either
already learned to the panel, or the transmis-
sion signal was not received - try again.
Already learned detectors can be checked in
“Find Detector” mode: press
166
Entry delay time
The entry delay time is set by default to 20
sec. To change the time (0-9999 seconds)
per zone:
1.
Zone 1: press
144
1
”
seconds
”
2.
Zone 2: press
144
2
”
seconds
”
Exit delay time
The exit delay time is set by default to 30
sec. To change the time (0 - 255 seconds)
per area:
Area A: press
60
1
”
seconds
”
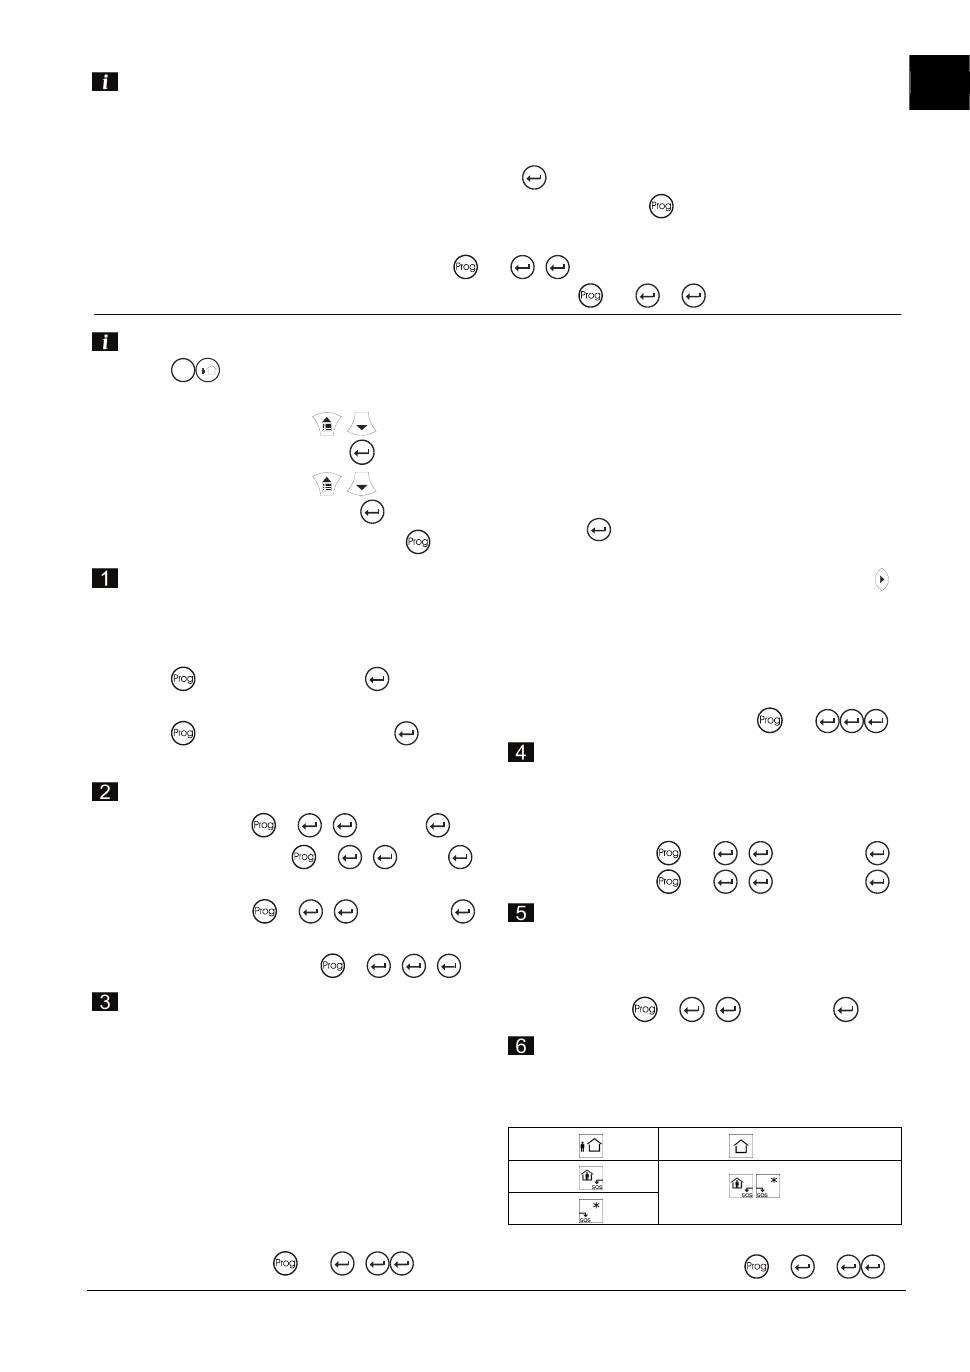
Remote control
Learn a remote control (max. 16) to the
system starting with user number 21 - 25.
Default setting:
User 21:
ARM User 22:
DISARM
User 23:
STAY
User 25:
FREE
User 24:
(
simultaneously ) PANIC/SOS
1.
Remote control 1: press
18
21
