ASRock b85m-itx: Chapter 4 UEFI SETUP UTILITY
Chapter 4 UEFI SETUP UTILITY: ASRock b85m-itx

Chapter 4 UEFI SETUP UTILITY
4.1 Introduction
ASRock Interactive UEFI is a blend of system conguration tools, cool sound eects
and stunning visuals. Not only will it make BIOS setup less dicult but also a lot
more amusing. is section explains how to use the UEFI SETUP UTILITY to
congure your system. You may run the UEFI SETUP UTILITY by pressing <F2>
or <Del> right aer you power on the computer, otherwise, the Power-On-Self-Test
(POST) will continue with its test routines. If you wish to enter the UEFI SETUP
UTILITY aer POST, restart the system by pressing <Ctl> + <Alt> + <Delete>, or
by pressing the reset button on the system chassis. You may also restart by turning
the system o and then back on.
Because the UEFI soware is constantly being updated, the following UEFI setup screens
and descriptions are for reference purpose only, and they may not exactly match what you
see on your screen.
4.1.1 UEFI Menu Bar
e top of the screen has a menu bar with the following selections:
Main
For setting system time/date information
OC Tweaker
For overclocking congurations
Advanced
For advanced system congurations
Tool
Useful tools
H/W Monitor
Displays current hardware status
Boot
For conguring boot settings and boot priority
English
Security
For security settings
Exit
Exit the current screen or the UEFI Setup Utility
44

B85M-ITX
4.1.2 Navigation Keys
Use < > key or < > key to choose among the selections on the menu bar, and
use < > key or < > key to move the cursor up or down to select items, then
press <Enter> to get into the sub screen. You can also use the mouse to click your
required item.
Please check the following table for the descriptions of each navigation key.
Navigation Key(s) Description
+ / -
To change option for the selected items
<Tab>
Switch to next function
<PGUP>
Go to the previous page
<PGDN>
Go to the next page
<HOME>
Go to the top of the screen
<END>
Go to the bottom of the screen
<F1>
To display the General Help Screen
<F4>
Toggle sound on/o
<F7>
Discard changes and exit the SETUP UTILITY
<F9>
Load optimal default values for all the settings
<F10>
Save changes and exit the SETUP UTILITY
<F12>
Print screen
<ESC>
Jump to the Exit Screen or exit the current screen
English
45
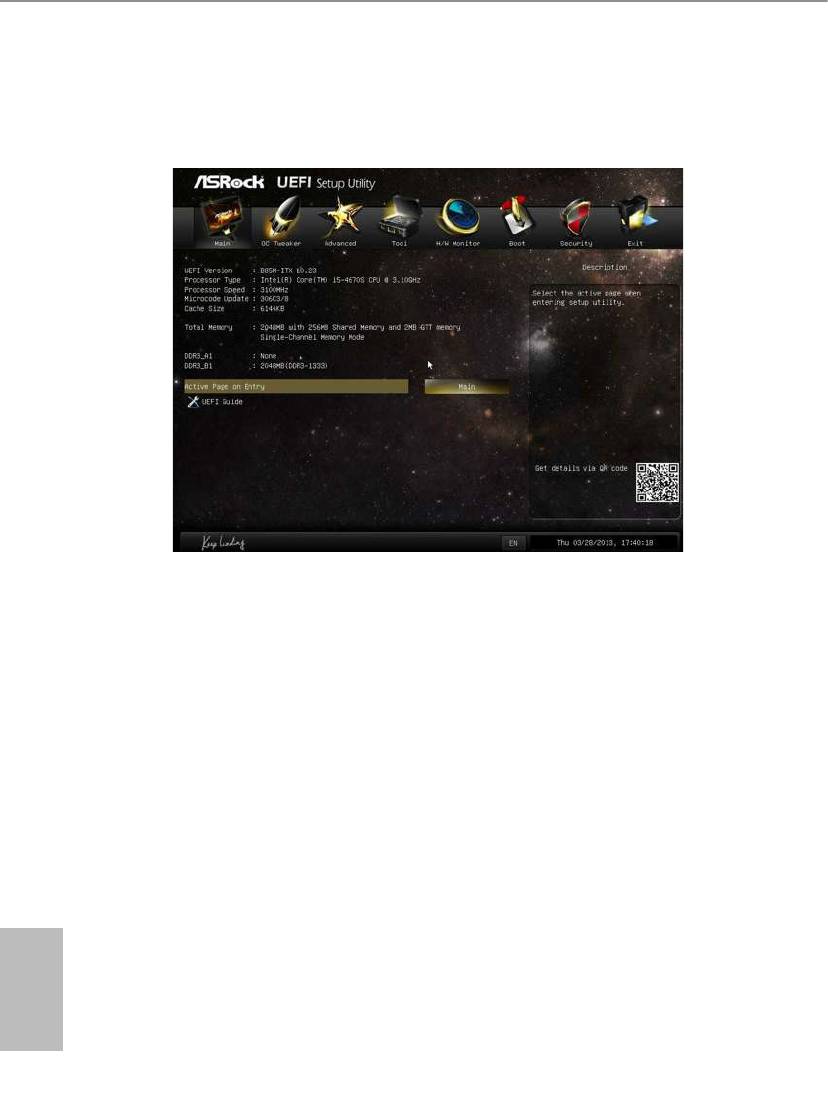
4.2 Main Screen
When you enter the UEFI SETUP UTILITY, the Main screen will appear and
display the system overview.
Active Page on Entry
Select the default page when entering the UEFI setup utility.
UEFI Guide
UEFI Guide is a quick tutorial for ASRock's UEFI setup Utility. You may abort the
tutorial by pressing "esc".
English
46
B85M-ITX
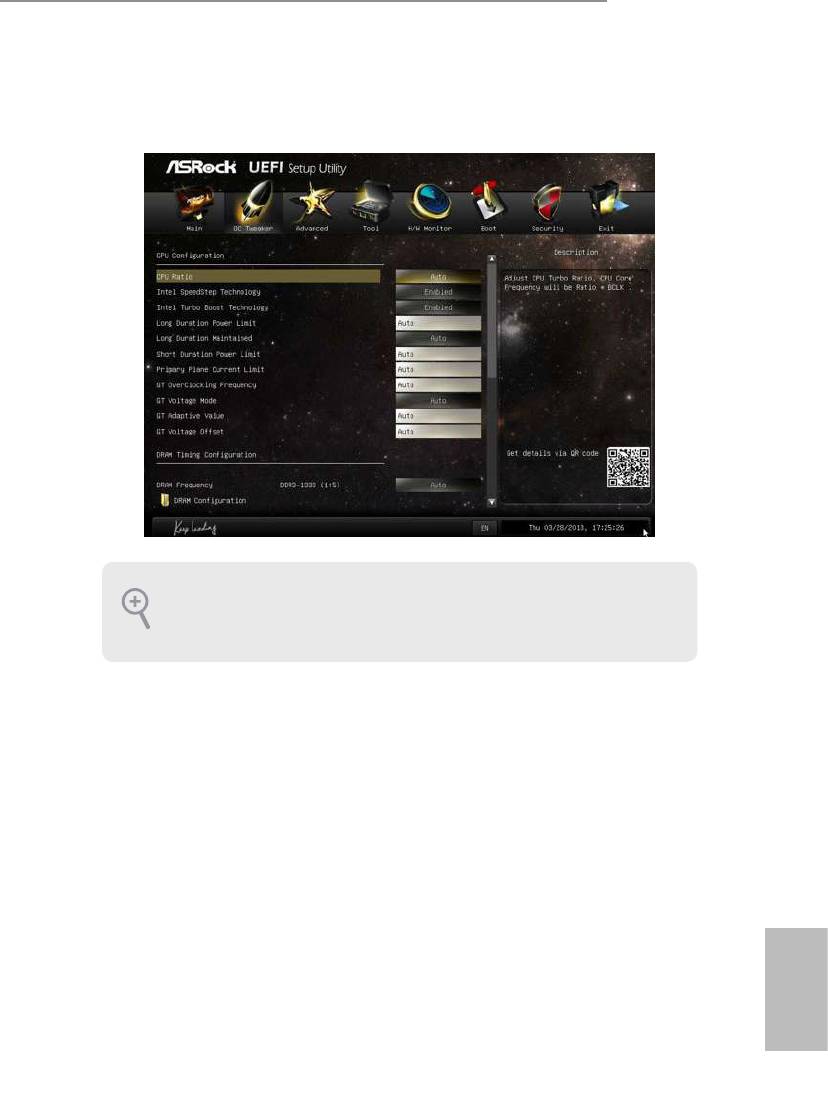
4.3 OC Tweaker Screen
In the OC Tweaker screen, you can set up overclocking features.
Because the UEFI soware is constantly being updated, the following UEFI setup screens
and descriptions are for reference purpose only, and they may not exactly match what you
see on your screen.
CPU Conguration
CPU Ratio
e CPU speed is determined by the CPU Ratio multiplied with the BCLK.
Increasing the CPU Ratio will increase the internal CPU clock speed without
aecting the clock speed of other components.
Intel SpeedStep Technology
Intel SpeedStep technology allows processors to switch between multiple frequen-
cies and voltage points for better power saving and heat dissipation.
Intel Turbo Boost Technology
Intel Turbo Boost Technology enables the processor to run above its base operating
frequency when the operating system requests the highest performance state.
English
47

Long Duration Power Limit
Congure Package Power Limit 1 in watts. When the limit is exceeded, the CPU
ratio will be lowered aer a period of time. A lower limit can protect the CPU and
save power, while a higher limit may improve performance.
Long Duration Maintained
Congure the period of time until the CPU ratio is lowered when the Long
Duration Power Limit is exceeded.
Short Duration Power Limit
Congure Package Power Limit 2 in watts. When the limit is exceeded, the CPU
ratio will be lowered immediately. A lower limit can protect the CPU and save
power, while a higher limit may improve performance.
Primary Plane Current Limit
Congure the current limit of the CPU under Turbo Mode in ampere. A lower
limit can protect the CPU and save power, while a higher limit may improve
performance.
GT Frequency
Congure the frequency of the integrated GPU.
GT Voltage Mode
Auto: For optimized settings.
Adaptive: Add voltage to the integrated GPU when the system is under heavy load.
Override: e voltage is xed.
GT Adaptive Voltage
Congure the xed voltage added to the integrated GPU.
GT Voltage Oset
Congure the voltage added to the integrated GPU when the system is under heavy load.
English
48
B85M-ITX
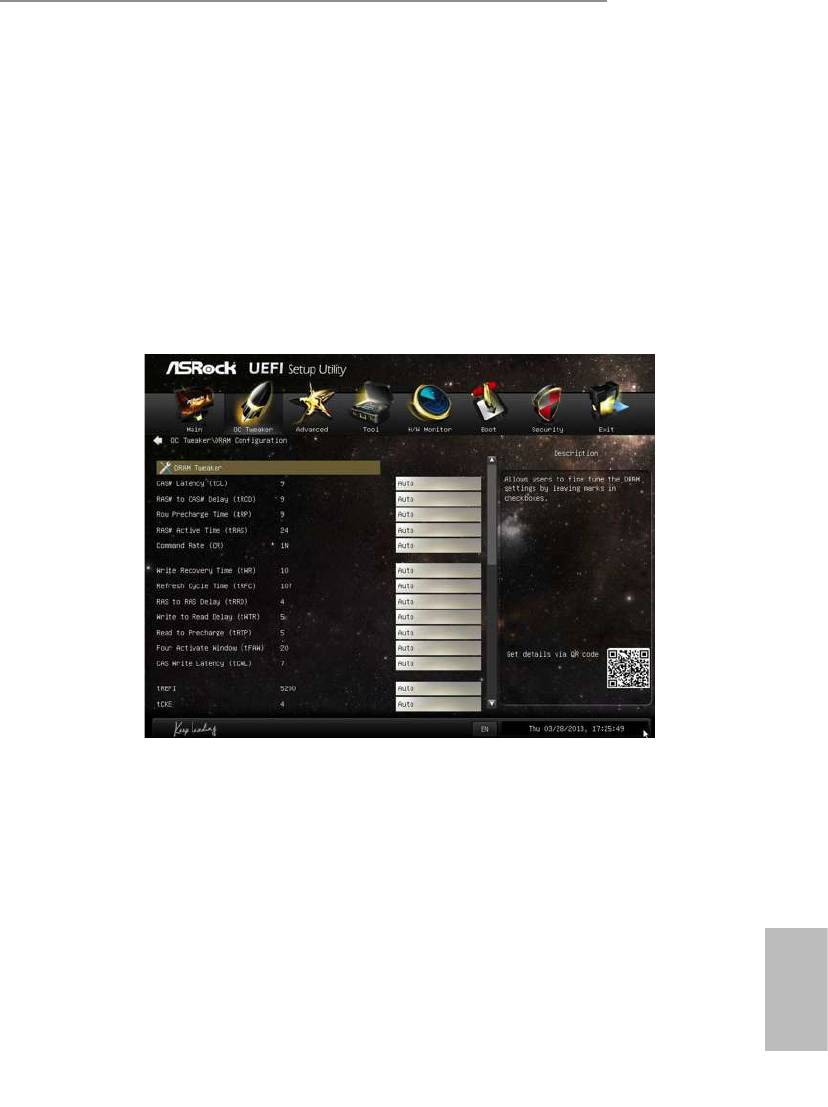
DRAM Timing Conguration
Load XMP Setting
Load XMP settings to overclock the DDR3 memory and perform beyond standard
specications.
DRAM Frequency
If [Auto] is selected, the motherboard will detect the memory module(s) inserted
and assign the appropriate frequency automatically.
DRAM Conguration
DRAM Tweaker
Fine tune the DRAM settings by leaving marks in checkboxes. Click OK to conrm and
apply your new settings.
CAS# Latency (tCL)
e time between sending a column address to the memory and the beginning of the data
in response.
RAS# to CAS# Delay (tRCD)
e number of clock cycles required between the opening of a row of memory and
English
accessing columns within it.
49

Row Precharge Time (tRP)
e number of clock cycles required between the issuing of the precharge command
and opening the next row.
RAS# Active Time (tRAS)
e number of clock cycles required between a bank active command and issuing the
precharge command.
Command Rate (CR)
e delay between when a memory chip is selected and when the rst active command can
be issued.
Write Recovery Time (tWR)
e amount of delay that must elapse aer the completion of a valid write operation,
before an active bank can be precharged.
Refresh Cycle Time (tRFC)
e number of clocks from a Refresh command until the rst Activate command to
the same rank.
RAS to RAS Delay (tRRD)
e number of clocks between two rows activated in dierent banks of the same
rank.
Write to Read Delay (tWTR)
e number of clocks between the last valid write operation and the next read
command to the same internal bank.
Read to Precharge (tRTP)
e number of clocks that are inserted between a read command to a row pre-
charge command to the same rank.
Four Activate Window (tFAW)
e time window in which four activates are allowed the same rank.
CAS Write Latency (tCWL)
English
Congure CAS Write Latency.
tREFI
Congure refresh cycles at an average periodic interval.
50

B85M-ITX
tCKE
Congure the period of time the DDR3 initiates a minimum of one refresh
command internally once it enters Self-Refresh mode.
tRDRD
Congure between module read to read delay.
tRDRDDR
Congure between module read to read delay from dierent ranks.
tRDRDDD
Use this to change DRAM tRWSR Auto/Manual settings. e default is [Auto].
tWRRD
Congure between module write to read delay.
tWRRDDR
Congure between module write to read delay from dierent ranks.
tWRRDDD
Use this to change DRAM tRRSR Auto/Manual settings. e default is [Auto].
Congure between module write to read delay from dierent DIMMs.
tWRWR
Congure between module write to write delay.
tWRWRDR
Congure between module write to write delay from dierent ranks.
tWRWRDD
Congure between module write to write delay from dierent DIMMs.
RTL (CHA)
Congure round trip latency for channel A.
RTL (CHB)
Congure round trip latency for channel B.
IO-L (CHA)
English
51

Congure IO latency for channel A.
IO-L (CHB)
Congure IO latency for channel B.
ODT WR (CHA)
Congure the memory on die termination resistors' WR for channel A.
ODT WR (CHB)
Congure the memory on die termination resistors' WR for channel B.
ODT NOM (CHA)
Use this to change ODT (CHA) Auto/Manual settings. e default is [Auto].
ODT NOM (CHB)
Use this to change ODT (CHB) Auto/Manual settings. e default is [Auto].
Command Tri State
Enable for DRAM power saving.
MRC Fast Boot
Enable Memory Fast Boot to skip DRAM memory training for booting faster.
FIVR Conguration
FIVR Switch Frequency Signature
Select whether to boost or lower the FIVR Switch Frequency.
FIVR Switch Frequency Oset
Congure the percentage of frequency boost or deduction.
CPU Override Voltage
Congure the voltage added to the CPU when the system is under heavy load.
CPU Voltage Oset
Congure the dynamic CPU voltage added to the CPU.
English
52

B85M-ITX
CPU Cache Override Voltage
Add voltage to the CPU Cache when the system is under heavy load.
CPU Cache Voltage Oset
Congure the voltage for the CPU Cache. Setting the voltage higher may increase
system stability when overclocking.
System Agent Voltage Oset
Congure the voltage for the System Agent. Setting the voltage higher may increase
system stability when overclocking.
CPU Analog IO Voltage Oset
CPU I/O Analog Voltage.
CPU Digital IO Voltage Oset
CPU I/O Digital Voltage.
CPU Integrated VR Faults
Disable FIVR Faults to raise the threshold to trigger CPU over current protection
and over voltage protection for better overclocking capabilities.
CPU Integrated VR Eciency Mode
Enable FIVR Eciency Management for power saving. Disable for better performance and
overclocking capabilities.
Voltage Conguration
DRAM Voltage
Use this to congure DRAM Voltage. e default value is [Auto].
PCH 1.05V Voltage
Chipset 1.05V Voltage. Use default settings for best performance.
PCH 1.5V Voltage
I/O 1.5V Voltage. Use default settings for best performance.
English
53

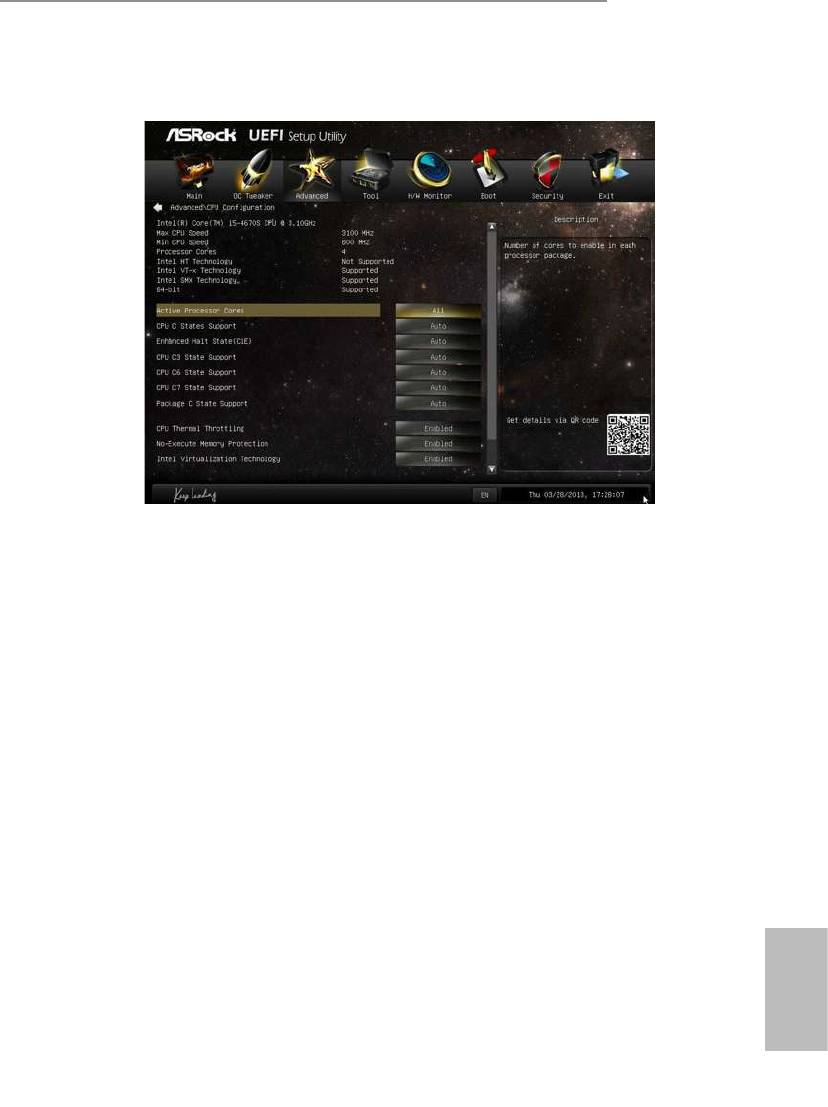
4.4 Advanced Screen
In this section, you may set the congurations for the following items: CPU Con-
guration, Chipset Conguration, Storage Conguration, Intel® Rapid Start Tech-
nology, Intel® Smart Connect Technology, ACPI Conguration, USB Conguration
and Trusted Computing.
Setting wrong values in this section may cause the system to malfunction.
English
54
B85M-ITX
4.4.1 CPU Conguration
Active Processor Cores
Select the number of cores to enable in each processor package.
CPU C States Support
Enable CPU C States Support for power saving. It is recommended to keep C3, C6
and C7 all enabled for better power saving.
Enhanced Halt State (C1E)
Enable Enhanced Halt State (C1E) for lower power consumption.
CPU C3 State Support
Enable C3 sleep state for lower power consumption.
CPU C6 State Support
Enable C6 deep sleep state for lower power consumption.
CPU C7 State Support
Enable C7 deep sleep state for lower power consumption.
Package C State Support
English
Enable CPU, PCIe, Memory, Graphics C State Support for power saving.
55

CPU Thermal Throttling
Enable CPU internal thermal control mechanisms to keep the CPU from overheat-
ing.
No-Execute Memory Protection
Processors with No-Execution Memory Protection Technology may prevent certain
classes of malicious buer overow attacks.
Intel Virtualization Technology
Intel Virtualization Technology allows a platform to run multiple operating systems
and applications in independent partitions, so that one computer system can
function as multiple virtual systems.
Hardware Prefetcher
Automatically prefetch data and code for the processor. Enable for better
performance.
Adjacent Cache Line Prefetch
Automatically prefetch the subsequent cache line while retrieving the currently
requested cache line. Enable for better performance.
English
56
B85M-ITX
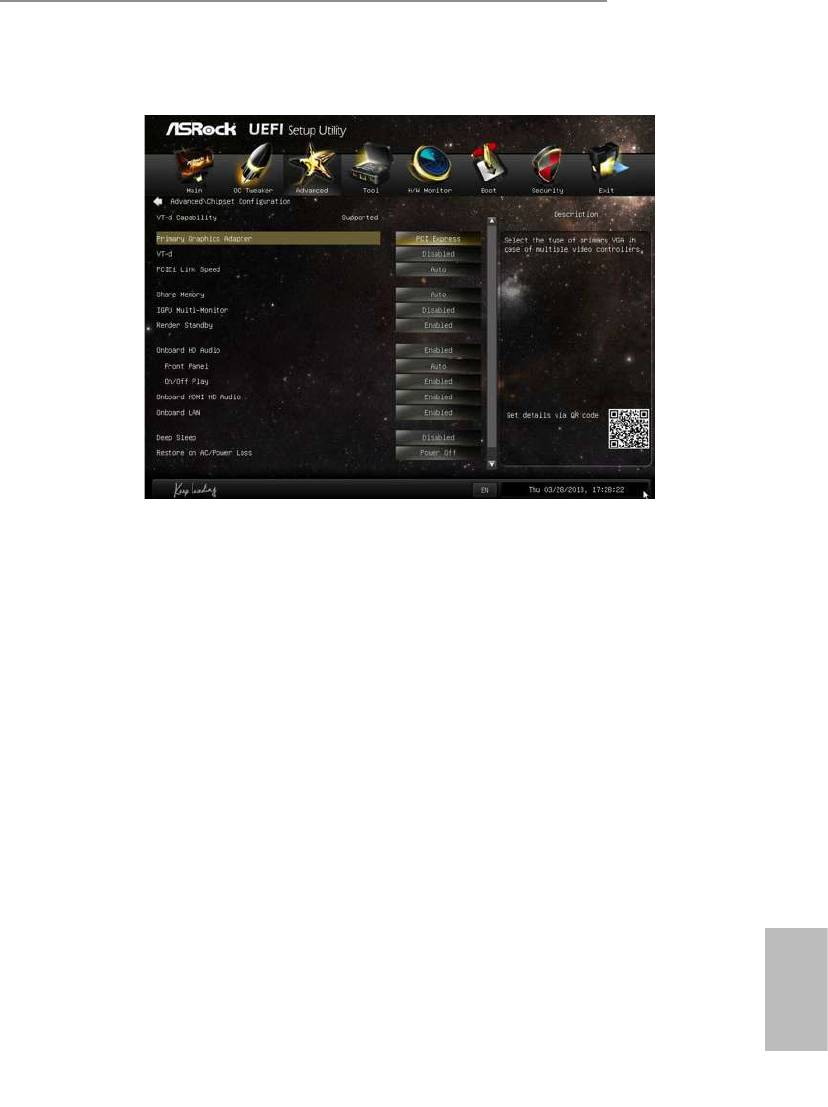
4.4.2 Chipset Conguration
Primary Graphics Adapter
Select a primary VGA.
VT-d
Intel® Virtualization Technology for Directed I/O helps your virtual machine
monitor better utilize hardware by improving application compatibility and
reliability, and providing additional levels of manageability, security, isolation, and
I/O performance.
PCIE1 Link Speed
Select the link speed for PCIE1.
Share Memory
Congure the size of memory that is allocated to the integrated graphics processor
when the system boots up.
IGPU Multi-Monitor
Select disable to disable the integrated graphics when an external graphics card is
installed. Select enable to keep the integrated graphics enabled at all times.
English
57

Render Standby
Power down the render unit when the GPU is idle for lower power consumption.
Onboard HD Audio
Enable/disable onboard HD audio. Set to Auto to enable onboard HD audio and
automatically disable it when a sound card is installed.
Front Panel
Enable/disable front panel HD audio.
On/O Play
With ASRock On/O Play users can connect their portable audio devices, such
as an MP3 player or a mobile phone to the PC and listen to music through the
computer's speakers even when the computer is turned o.
Onboard HDMI HD Audio
Enable audio for the onboard digital outputs.
Onboard LAN
Enable or disable the onboard network interface controller.
Deep Sleep
Congure deep sleep mode for power saving when the computer is shut down.
Restore on AC/Power Loss
Select the power state aer a power failure. If [Power O] is selected, the power will
remain o when the power recovers. If [Power On] is selected, the system will start
to boot up when the power recovers.
Good Night LED
By enabling Good Night LED, the Power/HDD LEDs will be switched o when the
system is on. It will also automatically switch o the Power and Keyboard LEDs
when the system enters into Standby/Hibernation mode.
English
58

B85M-ITX
4.4.3 Storage Conguration
SATA Controller(s)
Enable/disable the SATA controllers.
SATA Mode Selection
IDE: For better compatibility.
AHCI: Supports new features that improve performance.
AHCI (Advanced Host Controller Interface) supports NCQ and other new
features that
will improve SATA disk performance but IDE mode does not have these advantages.
SATA Aggressive Link Power Management
SATA Aggressive Link Power Management allows SATA devices to enter a low
power state during periods of inactivity to save power. It is only supported by AHCI
mode.
Dynamic Storage Accelerator
Keep this option enabled for higher HDD and SDD I/O performance, lower latency
and increased system responsiveness.
English
59

Hard Disk S.M.A.R.T.
S.M.A.R.T stands for Self-Monitoring, Analysis, and Reporting Technology. It is a
monitoring system for computer hard disk drives to detect and report on various
indicators of reliability.
English
60

B85M-ITX
4.4.4 Intel® Rapid Start Technology
®
Intel
Rapid Start Technology
Intel® Rapid Start Technology is a new zero power hibernation mode which allows
users to resume in just 5-6 seconds.
English
61

4.4.5 Intel® Smart Connect Technology
®
Intel
Smart Connect Technology
®
Intel
Smart Connect Technology automatically updates your email and social
networks, such as Twitter, Facebook, etc. while the computer is in sleep mode.
English
62
B85M-ITX
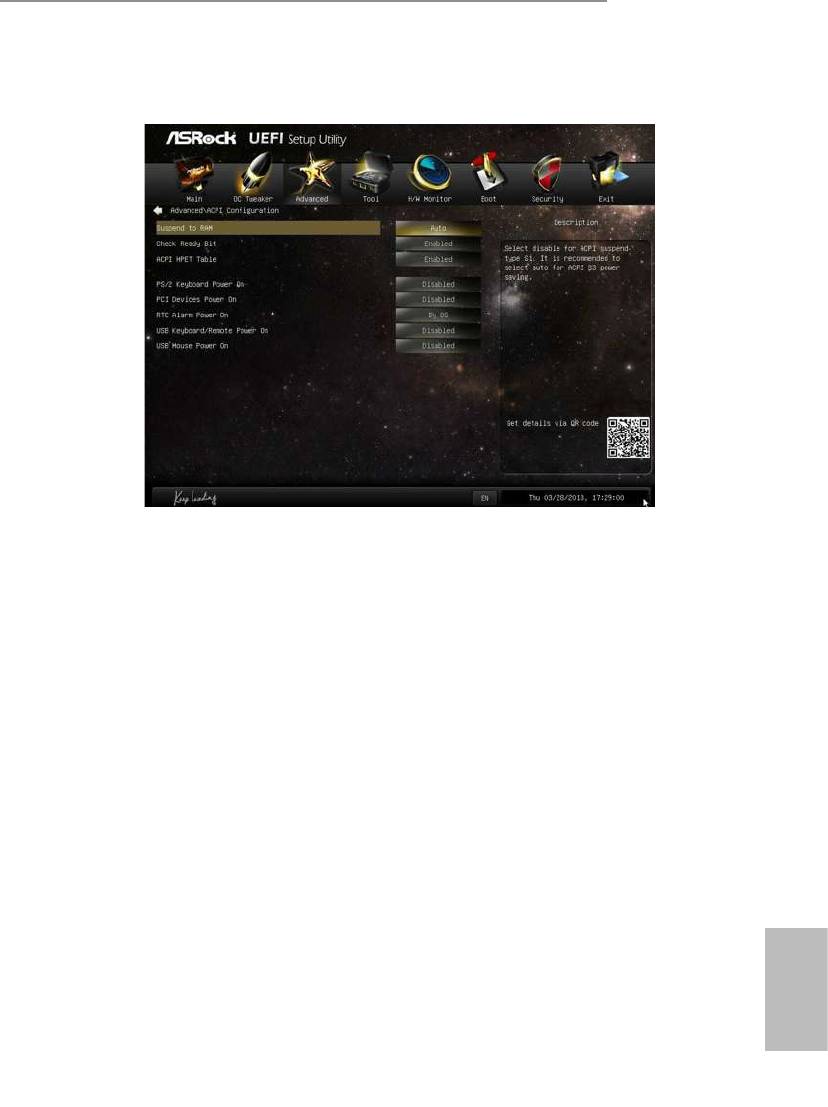
4.4.6 ACPI Conguration
Suspend to RAM
Select disable for ACPI suspend type S1. It is recommended to select auto for ACPI
S3 power saving.
Check Ready Bit
Enable to enter the operating system aer S3 only when the hard disk is ready, this
is recommended for better system stability.
ACPI HPET Table
Enable the High Precision Event Timer for better performance and to pass WHQL
tests.
PS/2 Keyboard Power On
Allow the system to be waked up by a PS/2 Keyboard.
PCI Devices Power On
Allow the system to be waked up by a PCI device and enable wake on LAN.
RTC Alarm Power On
Allow the system to be waked up by the real time clock alarm. Set it to By OS to let
English
it be handled by your operating system.
63

USB Keyboard/Remote Power On
Allow the system to be waked up by an USB keyboard or remote controller.
USB Mouse Power On
Allow the system to be waked up by an USB mouse.
English
64
B85M-ITX
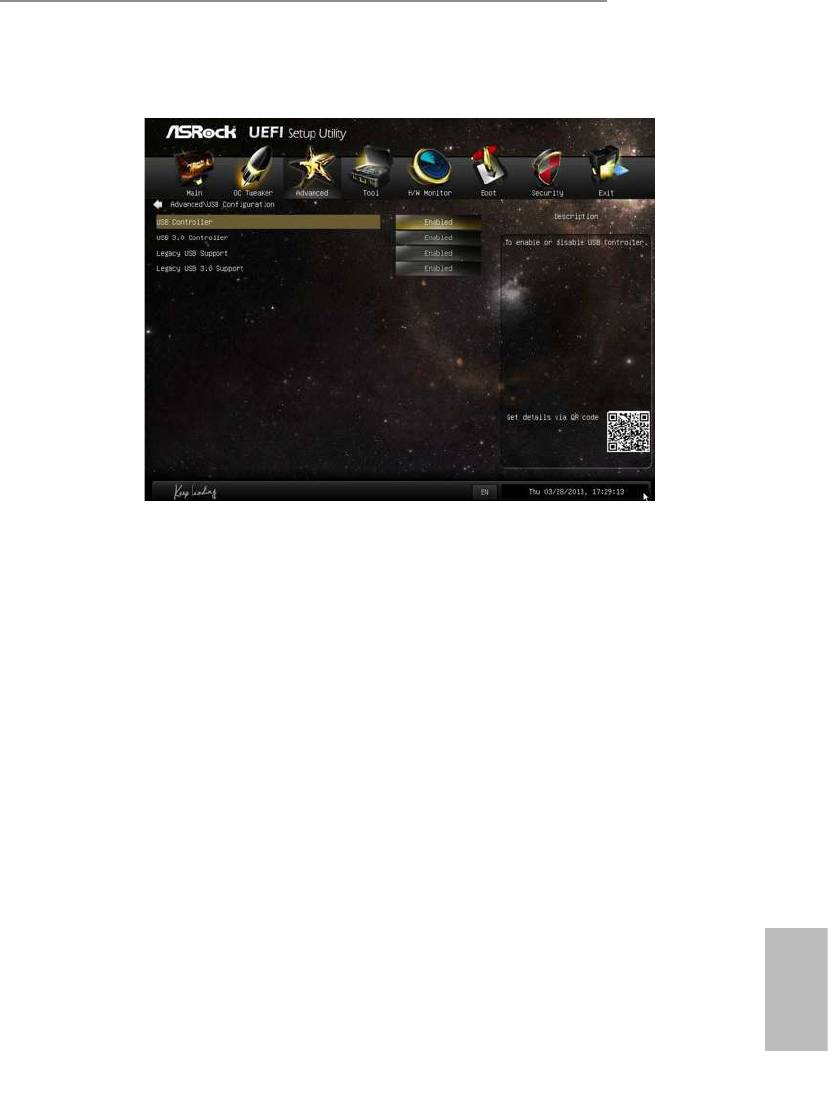
4.4.7 USB Conguration
USB Controller
Enable or disable all the USB ports.
USB 3.0 Controller
Enable or disable all the USB 3.0 ports.
Legacy USB Support
Enable or disable Legacy OS Support for USB 2.0 devices. If you encounter USB
compatibility issues it is recommended to disable legacy USB support. Select UEFI
Setup Only to support USB devices under the UEFI setup and Windows/Linux
operating systems only.
Legacy USB 3.0 Support
Enable or disable Legacy OS Support for USB 3.0 devices.
English
65

4.4.8 Trusted Computing
Security Device Support
Enable or disable BIOS support for security device.
English
66
B85M-ITX
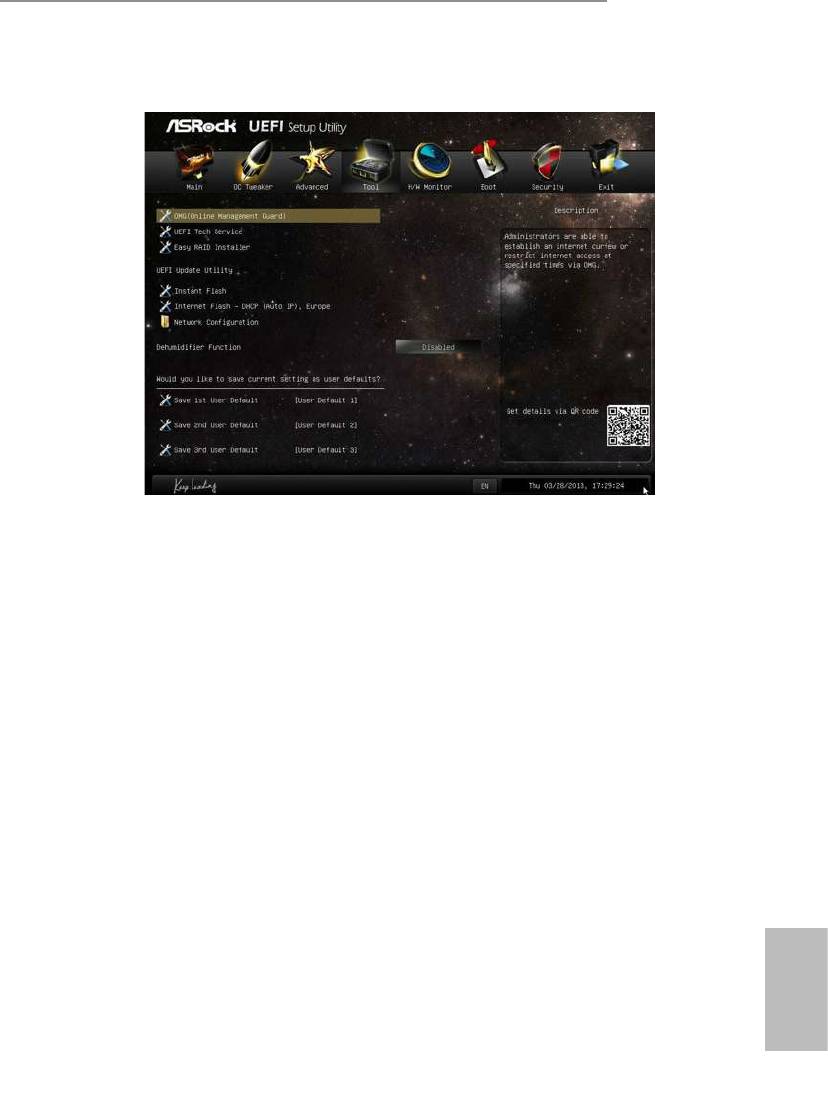
4.5 Tools
OMG (Online Management Guard)
Administrators are able to establish an internet curfew or restrict internet access
at specied times via OMG. You may schedule the starting and ending hours of
internet access granted to other users. In order to prevent users from bypassing
OMG, guest accounts without permission to modify the system time are required.
UEFI Tech Service
Contact ASRock Tech Service if you are having trouble with your PC. Please setup
network conguration before using UEFI Tech Service.
Easy RAID Installer
Easy RAID Installer helps you to copy the RAID driver from the support CD to
your USB storage device. Aer copying the drivers please change the SATA mode to
RAID, then you can start installing the operating system in RAID mode.
Easy Driver Installer
For users that don’t have an optical disk drive to install the drivers from our support
CD, Easy Driver Installer is a handy tool in the UEFI that installs the LAN driver
to your system via an USB storage device, then downloads and installs the other
required drivers automatically.
English
67
Instant Flash
Save UEFI les in your USB storage device and run Instant Flash to update your
UEFI.
Internet Flash
ASRock Internet Flash downloads and updates the latest UEFI rmware version
from our servers for you. Please setup network conguration before using Internet
Flash.
*For BIOS backup and recovery purpose, it is recommended to plug in your USB
pen drive before using this function.
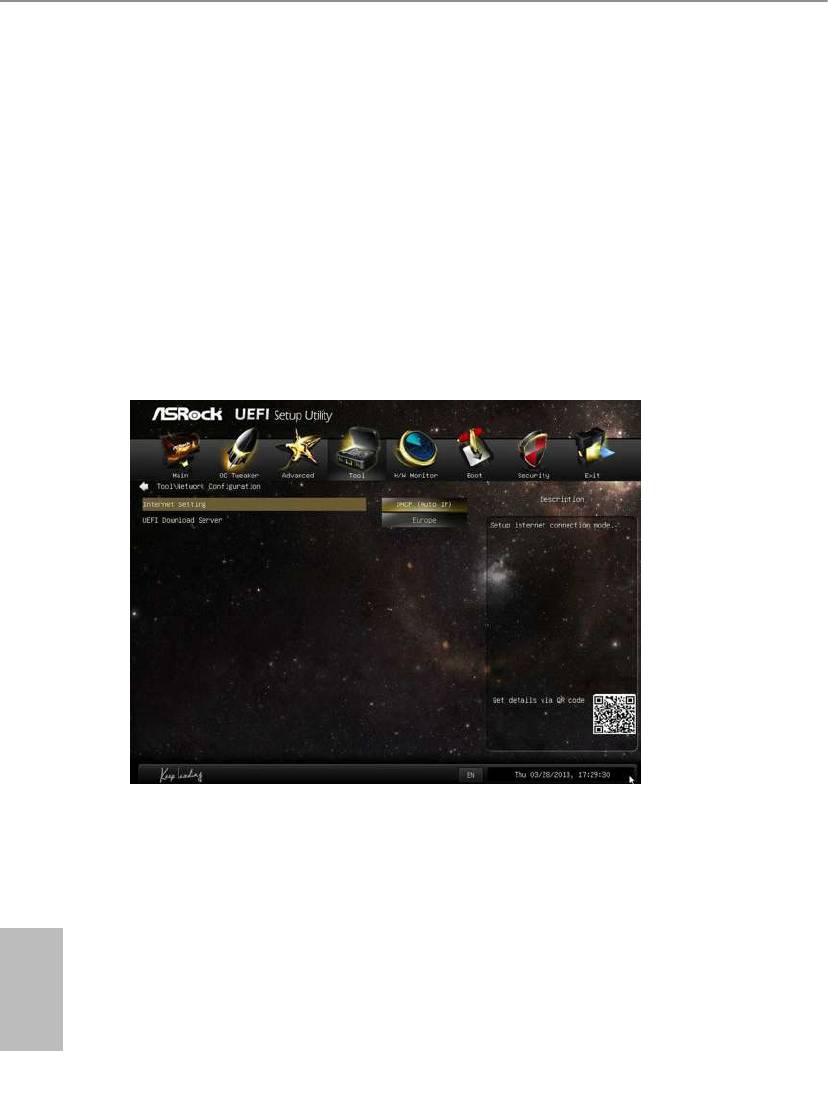
Network Conguration
Use this to congure internet connection settings for Internet Flash.
Internet Setting
Enable or disable sound eects in the setup utility.
UEFI Download Server
Select a server to download the UEFI rmware.
English
Dehumidier Function
If Dehumidier Function is enabled, the computer will power on automatically to
dehumidify the system aer entering S4/S5 state.
68

B85M-ITX
Dehumidier Period
Congure the period of time until the computer powers on and enables
Dehumidier aer entering S4/S5 state.
Dehumidier Duration
Congure the duration of the dehumidifying process before it returns to S4/S5
state.
Dehumidier CPU Fan Setting
Congure the speed of the CPU fan while Dehumidier is enabled. e higher the
value, the faster the fan speed.
Max: 255
Min: 1
Save User Default
Type a prole name and press enter to save your settings as user default.
Load User Default
Load previously saved user defaults.
English
69
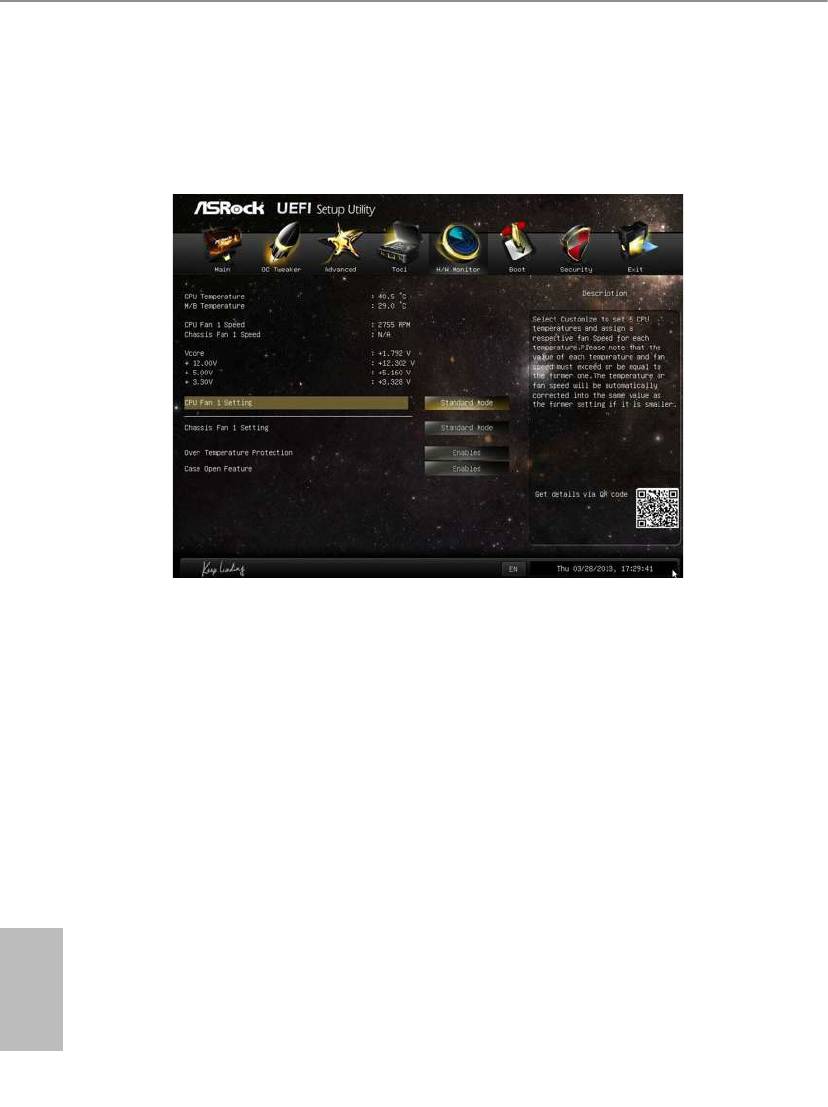
4.6 Hardware Health Event Monitoring Screen
is section allows you to monitor the status of the hardware on your system,
including the parameters of the CPU temperature, motherboard temperature, fan
speed and voltage.
CPU Fan 1 Setting
Select a fan mode for CPU Fans 1, or choose Customize to set 5 CPU temperatures
and assign a respective fan speed for each temperature.
Chassis Fan 1 Setting
Select a fan mode for Chassis Fan 1, or choose Customize to set 5 CPU temperatures
and assign a respective fan speed for each temperature.
Over Temperature Protection
When Over Temperature Protection is enabled, the system automatically shuts
down when the motherboard is overheated.
Case Open Feature
Enable or disable Case Open Feature to detect whether the chassis cover has been
English
removed.
70
B85M-ITX
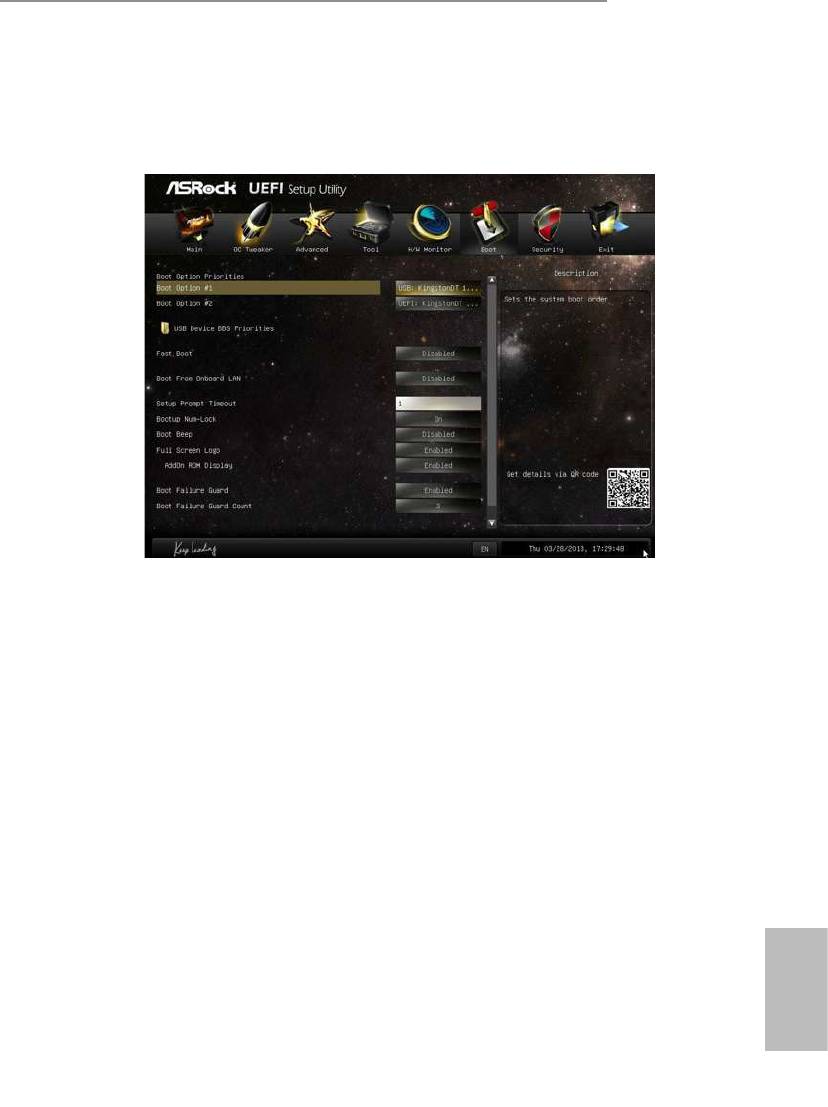
4.7 Boot Screen
is section displays the available devices on your system for you to congure the
boot settings and the boot priority.
Fast Boot
Fast Boot minimizes your computer's boot time. In fast mode you may not boot
from an USB storage device. Ultra Fast mode is only supported by Windows 8 and
the VBIOS must support UEFI GOP if you are using an external graphics card.
Please notice that Ultra Fast mode will boot so fast that the only way to enter this
UEFI Setup Utility is to Clear CMOS or run the Restart to UEFI utility in Windows.
Boot From Onboard LAN
Allow the system to be waked up by the onboard LAN.
Setup Prompt Timeout
Congure the number of seconds to wait for the setup hot key.
Bootup Num-Lock
Select whether Num Lock should be turned on or o when the system boots up.
Boot Beep
Select whether the Boot Beep should be turned on or o when the system boots up. Please
English
note that a buzzer is needed.
71
Full Screen Logo
Enable to display the boot logo or disable to show normal POST messages.
AddOn ROM Display
Enable AddOn ROM Display to see the AddOn ROM messages or congure the
AddOn ROM if you've enabled Full Screen Logo. Disable for faster boot speed.
Boot Failure Guard
If the computer fails to boot for a number of times the system automatically restores
the default settings.
Boot Failure Guard Count
Congure the number of attempts to boot until the system automatically restores
the default settings.
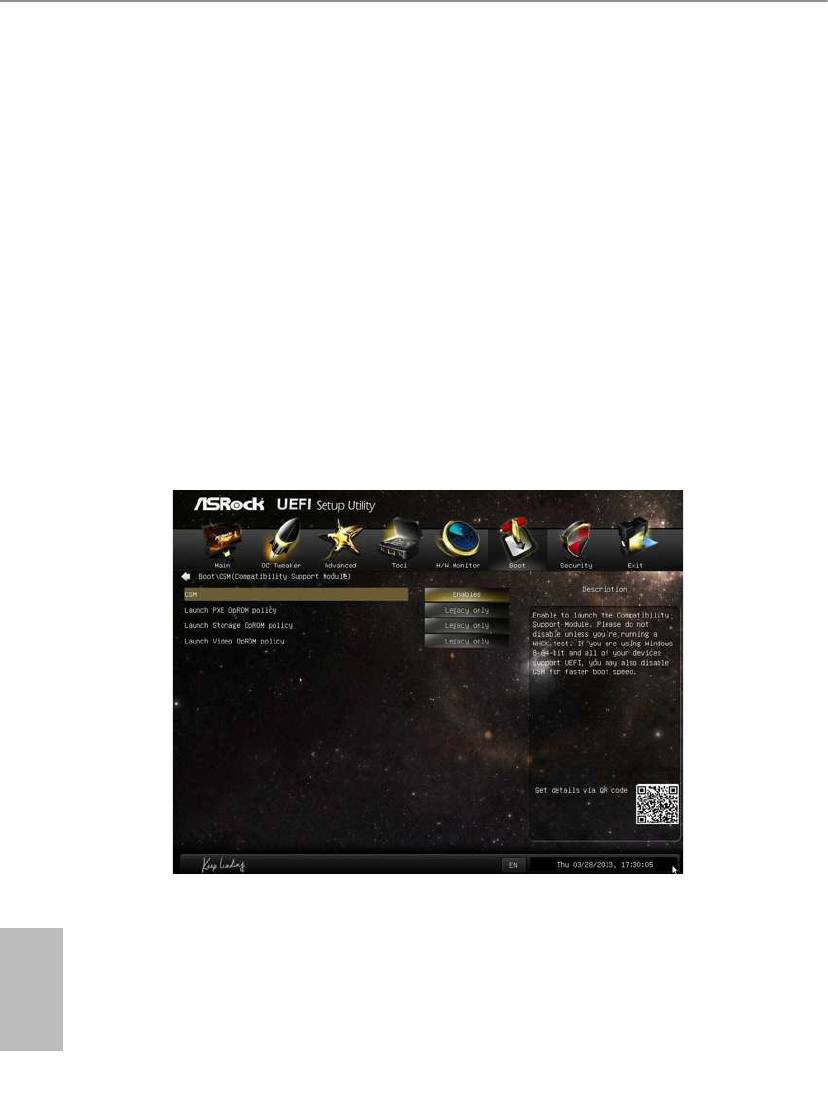
CSM (Compatibility Support Module)
CSM
Enable to launch the Compatibility Support Module. Please do not disable unless
English
you’re running a WHCK test. If you are using Windows 8 64-bit and all of your
devices support UEFI, you may also disable CSM for faster boot speed.
72

B85M-ITX
Launch PXE OpROM Policy
Select UEFI only to run those that support UEFI option ROM only. Select Legacy
only to run those that support legacy option ROM only. Do not launch?
Launch Storage OpROM Policy
Select UEFI only to run those that support UEFI option ROM only. Select Legacy
only to run those that support legacy option ROM only. Do not launch?
Launch Video OpROM Policy
Select UEFI only to run those that support UEFI option ROM only. Select Legacy
only to run those that support legacy option ROM only. Do not launch?
English
73

4.8 Security Screen
In this section you may set or change the supervisor/user password for the system.
You may also clear the user password.
Supervisor Password
Set or change the password for the administrator account. Only the administrator
has authority to change the settings in the UEFI Setup Utility. Leave it blank and
press enter to remove the password.
User Password
Set or change the password for the user account. Users are unable to change the
settings in the UEFI Setup Utility. Leave it blank and press enter to remove the
password.
Secure Boot
Enable to support Windows 8 Secure Boot.
English
74
B85M-ITX
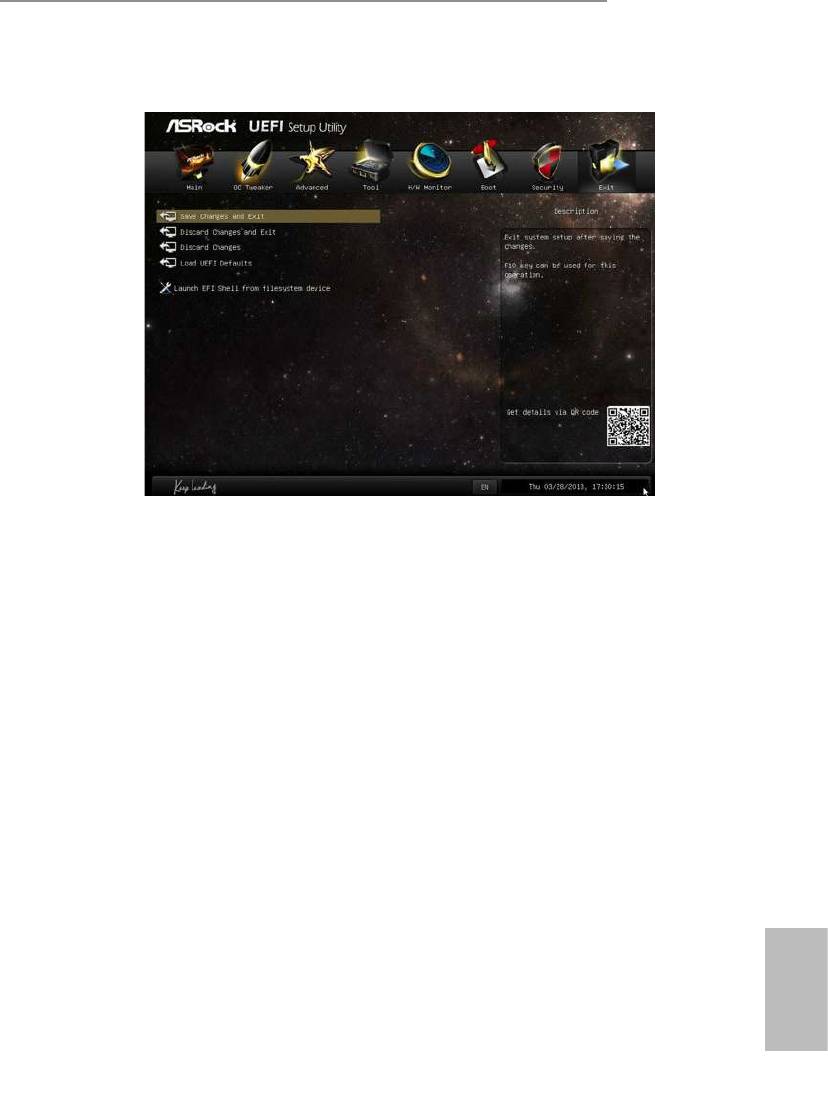
4.9 Exit Screen
Save Changes and Exit
When you select this option the following message, “Save conguration changes
and exit setup?” will pop out. Select [OK] to save changes and exit the UEFI SETUP
UTILITY.
Discard Changes and Exit
When you select this option the following message, “Discard changes and exit
setup?” will pop out. Select [OK] to exit the UEFI SETUP UTILITY without saving
any changes.
Discard Changes
When you select this option the following message, “Discard changes?” will pop
out. Select [OK] to discard all changes.
Load UEFI Defaults
Load UEFI default values for all options. e F9 key can be used for this operation.
Launch EFI Shell from lesystem device
Copy shellx64.e to the root directory to launch EFI Shell.
English
75

Contact Information
If you need to contact ASRock or want to know more about ASRock, you’re welcome
to visit ASRock’s website at http://www.asrock.com; or you may contact your dealer
for further information. For technical questions, please submit a support request
form at http://www.asrock.com/support/tsd.asp
ASRock Incorporation
2F., No.37, Sec. 2, Jhongyang S. Rd., Beitou District,
Taipei City 112, Taiwan (R.O.C.)
ASRock EUROPE B.V.
Bijsterhuizen 3151
6604 LV Wijchen
e Netherlands
Phone: +31-24-345-44-33
Fax: +31-24-345-44-38
ASRock America, Inc.
13848 Magnolia Ave, Chino, CA91710
U.S.A.
Phone: +1-909-590-8308
Fax: +1-909-590-1026
English
76
Оглавление
- Chapter 1 Introduction
- Chapter 2 Installation
- Chapter 3 Software and Utilities Operation
- Chapter 4 UEFI SETUP UTILITY


