Toshiba Gigaframe L80-81: Converting Photos
Converting Photos: Toshiba Gigaframe L80-81
Table of contents
- Table of Contents
- 3D Album.............................................................................................. 32
- Introduction Check the components What else you’ll need:
- Important Information Safety Instructions System Requirements
- Gigaframe Overview Front View Bottom View
- Rear View Left View
- Getting Started Placing the Unit Connecting to the A/C Power Turning on the Gigaframe Charging the battery (included with some models)
- Connections
- Basic Operations Photo Mode Slideshow Sequence
- Transition Effect
- Frequency
- Background Color
- Effect
- Rotate
- Time and Date Mode Set Time and Date
- Time Setting
- Date Setting Set Alarm Clock and Alarm Tone Set Alarm Clock
- Set On/Off Set Alarm Tone
- Adding Photos to the Photo Calendar
- Photo + Audio Mode
- Video Mode
- Video Playback Mode Icons Definition
- Audio Mode
- One click playing
- Copy and Delete Files
- To copy all files in a storage device to another storage device:
- To delete files: To delete all files in a storage device:
- Sub View Function
- To set the Gigaframe to Extended mode:
- To set the Gigaframe to Clone mode:
- To play a video on the Gigaframe, it must be selected as your primary monitor. 3D Album Installing the 3D Album
- 2. Click Yes, I agree to accept the license agreement and continue the installation. 3. Choose a location in the install path field where you would like to
- 4. After the installation is complete, a QuickTime install window will pop 3D Album Functions
- Converting Photos
- Create a 3D-Album
- System Settings Brightness
- Language
- Timer Function (Auto On/Off) 1. Select Auto On/Off and press OK. To turn on the timer:
- To set the Auto Off time: To set the Auto On time:
- Restore to Default Settings Checking the Status of the Gigaframe
- Auto Tilt (included with some models)
- Auto Light (included with some models)
- Firmware Upgrades Supported Video Format Frequently Asked Questions
- TOSHIBA Support Regulatory statements
- Working Environment
- Following information is only for EU-member states: Disposal of batteries and/or accumulators
- Copyright Statement Trademarks
Gigaframe L80 / L81
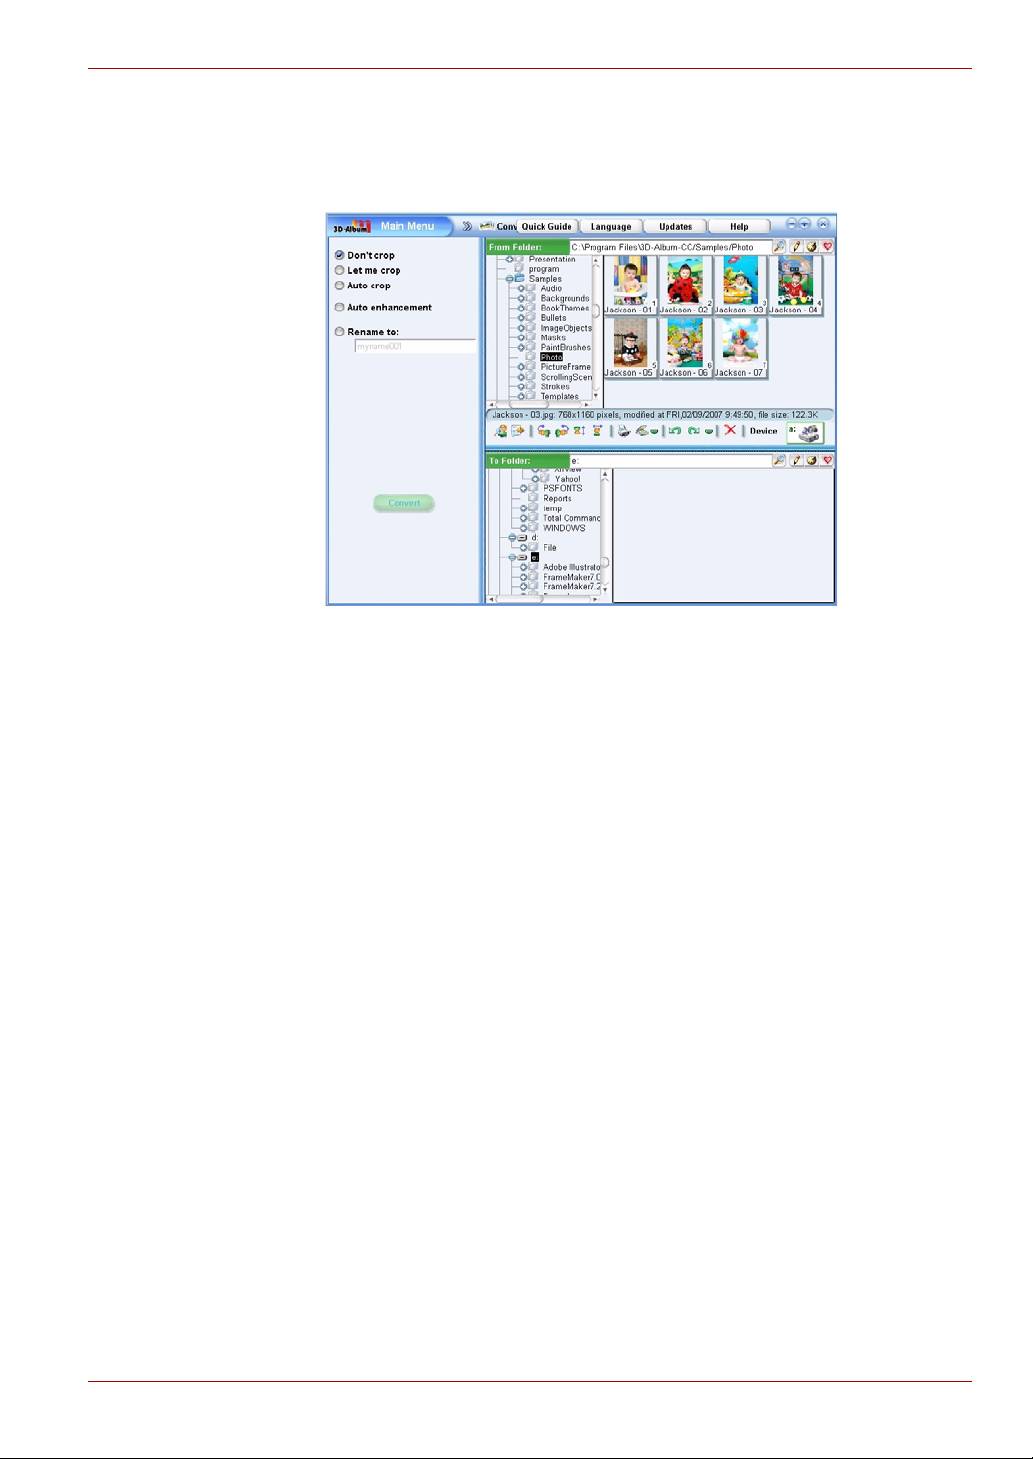
Converting Photos
This function allows you to crop and rename your photos and enhance
their quality.
1. Choose the folder where your photos are located in the From Folder
field.
2. Choose a destination location in the To Folder field. This is where
your converted photos will be saved
3. Select the photos to be converted in the From Folder section. To
select multiple photos, press and hold the Ctrl button to select
multiple photos.
4. If you do not want to crop your photos, check Don’t crop.
5. If you want to crop your photos, check Let me crop. After selecting
this option, you have to manually crop every photo you selected
during conversion.
6. To enhance the quality of your photos, check Auto enhancement.
This option will improve the color and brightness of the photos.
7. To rename your photos, check the Rename to option and enter a
name in the field below. If there are multiple photos selected, the
name of the converted photos will be the name you entered followed
by a sequential number.
8. After all the settings are done, click Convert. All the photos selected in
the From Folder will be converted and placed in the To Folder.
User’s Manual EN-35
