Elica ELEKTRA: 12 Operation
12 Operation: Elica ELEKTRA
12 Operation
Use the high suction speed in cases of concentrated kitchen
vapours. It is recommended that the cooker hood suction is
switched on for 5 minutes prior to cooking and to leave in
operation during cooking and for another 15 minutes
approximately after terminating cooking.
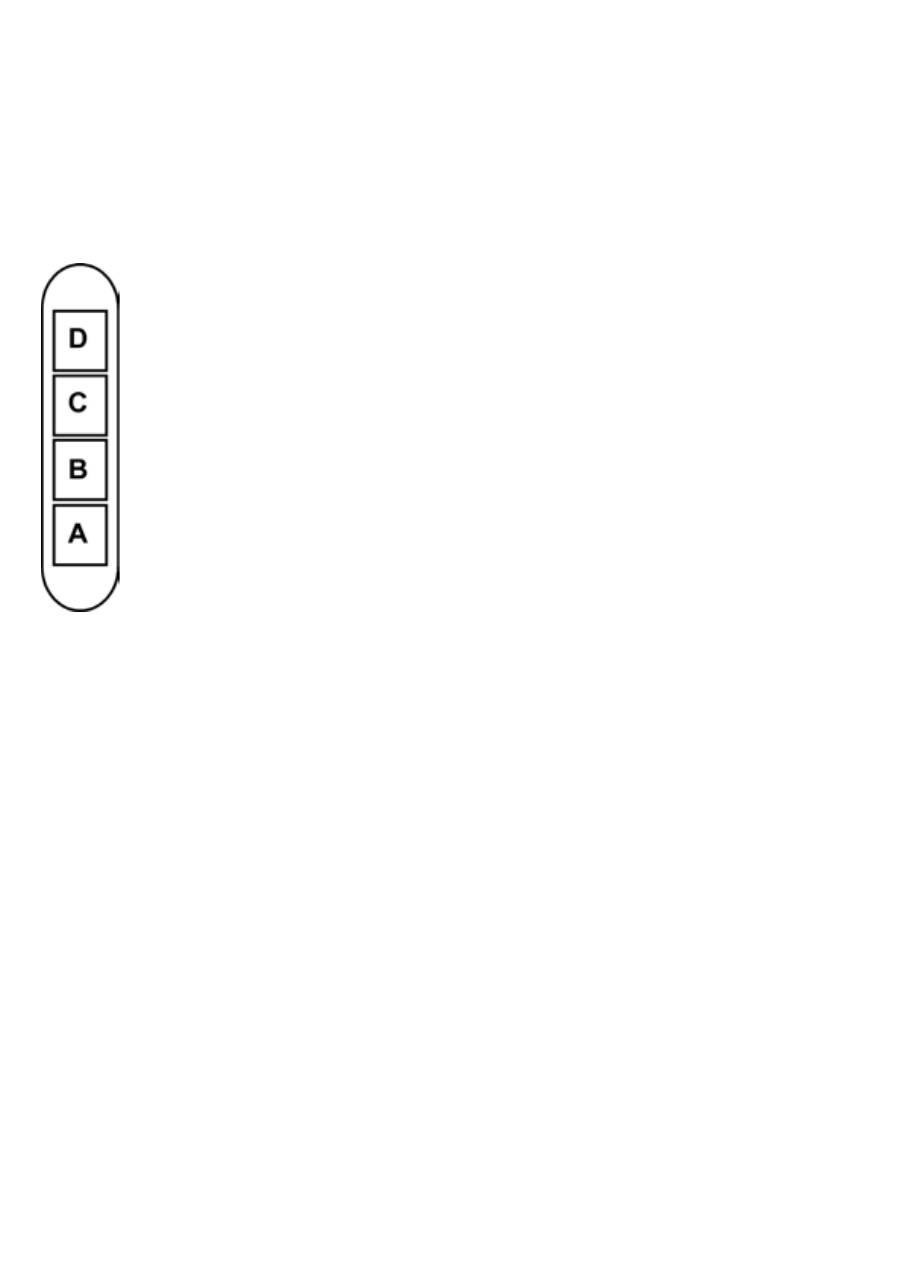
Model with switch-board having 4 push-buttons
A. on/off light switch.
B. on/off aspiration switch and minimum
power selection
B+C. medium power selection aspiration
switch
B+D. maximum power selection aspiration
switch
Maintenance
ATTENTION! Before performing any maintenance operation,
isolate the hood from the electrical supply by switching off at
the connector and removing the connector fuse.
Or if the appliance has been connected through a plug and
socket, then the plug must be removed from the socket.
Cleaning
The cooker hood should be cleaned regularly (at least with the
same frequency with which you carry out maintenance of the
fat filters) internally and externally. Clean using the cloth
dampened with neutral liquid detergent. Do not use abrasive
products. DO NOT USE ALCOHOL!
WARNING: Failure to carry out the basic cleaning
recommendations of the cooker hood and replacement of the
filters may cause fire risks.
Therefore, we recommend oserving these instructions.
The manufacturer declines all responsibility for any damage to
the motor or any fire damage linked to inappropriate
maintenance or failure to observe the above safety
recommendations.
Steam screen
The steam screen must always be left closed and
opened only for maintenance (e.g. cleaning or changing
filters).
Grease filter
Traps cooking grease particles.
This must be cleaned once a month using non aggressive
detergents, either by hand or in the dishwasher, which must
be set to a low temperature and a short cycle. When washed
in a dishwasher, the grease filter may discolour slightly, but
this does not affect its filtering capacity.
Open the steam screen.
Pull the handle downwards and extract the filter. Fig. 2
Charcoal filter (filter version only)
It absorbs unpleasant odours caused by cooking.
The charcoal filter can be washed once every two months
using hot water and a suitable detergent, or in a dishwasher at
65°C (if the dishwasher is used, select the full cycle function
and leave dishes out).
Eliminate excess water without damaging the filter, then put it
in the oven for 10 minutes at 100° C to dry completely.
Replace the mattress every 3 years and when the cloth is
damaged.
Fig. 3
•
Montage
Open the steam screen and remove the grease filter.
Install the carbon filter on the back of the grease filter and
fix with two rods.
Attention! The rods are included in the carbon filter
packing and not on the hood.
•
To dismantle the filter act in the reverse manner.
Replacing lamps
Disconnect the hood from the electricity.
Warning! Prior to touching the light bulbs ensure they are
cooled down.
Fig. 4
1. Using a flat head screwdriver or equivalent tool, carefully
pry loose the light cover.
2. Remove the damaged light and replace with a new 12
Volt, 20 Watt (Maximum) halogen light made for a G-4
base SUITABLE FOR USE IN OPEN LUMINAIRES.
Follow package directions and do not touch new light
with bare hands.
3. Reinstall the light cover. (it will snap shut).
If the lights do not work, make sure that the lamps are fitted
properly into their housings before you call for technical
assistance.
Оглавление
- _______________ 6 - 9_____________ 10 - 12_____________ 13 - 16_____________ 17 - 20_____________ 21 - 24_____________ 25 - 28_____________ 29 - 32_____________ 33 - 36_____________ 37 - 40_____________ 41 - 44_____________ 45 - 47_____________ 48 - 50_____________ 51 - 53_____________ 54 - 56_____________ 57 - 59_____________ 60 - 62_____________ 63 - 65_____________ 66 - 68_____________ 69 - 71_____________ 72 - 74_____________ 75 - 77
- 6 DE - Montage- und Gebrauchsanweisung
- 7
- 8
- 9 Wartung
- 10 EN - Instruction on mounting and use
- 11 Installation
- 12 Operation
- 13 FR - Prescriptions de montage et mode d’emploi
- 14
- 15
- 16 Filtre à charbon actif (uniquement pour version recyclage)
- 17 NL - Montagevoorschriften en gebruiksaanwiizing
- 18
- 19 Beschrijving van de wasemkap
- 20 Vervanging lampjes
- 21 ES - Montaje y modo de empleo
- 22 Instalación
- 23 Descripción de la campana
- 24 Sustitución de la lámpara
- 25 IT - Istruzioni di montaggio e d'uso
- 26 Installazione
- 27 Descrizione della cappa
- 28 Sostituzione Lampade
- 29 PT - Instruções para montagem e utilização
- 30
- 31
- 32 Substituição das lâmpadas
- 33 RU - Инструкция по монтажу у эксплуатации
- 34
- 35
- 36
- 37 EL - ΟΔΗΓΙΕΣ ΣΥΝΑΡΜΟΛΟΓΗΣΗΣ ΚΑΙ ΧΡΗΣΗΣ
- 38
- 39
- 40
- 41 PL - Instrukcja monta ż u i obs ł ugi
- 42
- 43
- 44 Wymiana lampek
- 45 HU - Felszerelési és használati utasítás
- 46
- 47 Az elszívó leírása
- 48 CS - Návod na montáž a používání
- 49 Instalace
- 50 Pohled na digesto ř
- 51 TR - Montaj ve kullanım talimatları
- 52 Elektrik ba ğ lantısı
- 53 Davlumbazın tanımı
- 54 NO - Instrukser for montering og bruk
- 55 Installasjon
- 56 Beskrivelse av ventilatorhetten
- 57 FI - Asennus- ja käyttöohjeet
- 58
- 59 Tuulettimen kuvas
- 60 SV - Monterings- och bruksanvisningar
- 61 Installation
- 62 Beskrivning av fläkten
- 63 DA - Bruger- og monteringsvejledning
- 64 Installering
- 65 Beskrivelse af emhætten
- 66 RO - INSTRUCTII DE MONTAJ SI FOLOSIRE
- 67
- 68 Descrierea hotei
- 69 SK - Návod na použitie a montáž
- 70
- 71 Opis odsáva č a pary
- 72 SL - Navodila za montažo in uporabo
- 73 Elektri č na povezava
- 74 Opis nape
- 75 HR - Uputstva za montažu i za uporabu
- 76 Povezivanje s elektri č nom strujom
- 77 Opis kuhinjske nape
