I.R.I.S. IRISCan Book Executive: instruction
Class: Office Equipment
Type: Scanner
Manual for I.R.I.S. IRISCan Book Executive

English English
This Quick User Guide helps you get started with the IRIScan™ Book Executive 3
scanner.
This scanner is supplied with the software applications Readiris™ Pro 14,
IRIScan™ Direct and IRISCompressor™. Corresponding Quick User Guides can
be found on the IRIScan™ Book CD-ROM. For detailed information about their full
range of features, consult the latest User Guides on www.irislink.com/support.
The descriptions in this guide are based on the Windows 7, Mac OS Lion and iOS 6
Operating Systems. Please read this guide before operating this scanner and its
software. All information is subject to change without prior notice.
Table of Contents
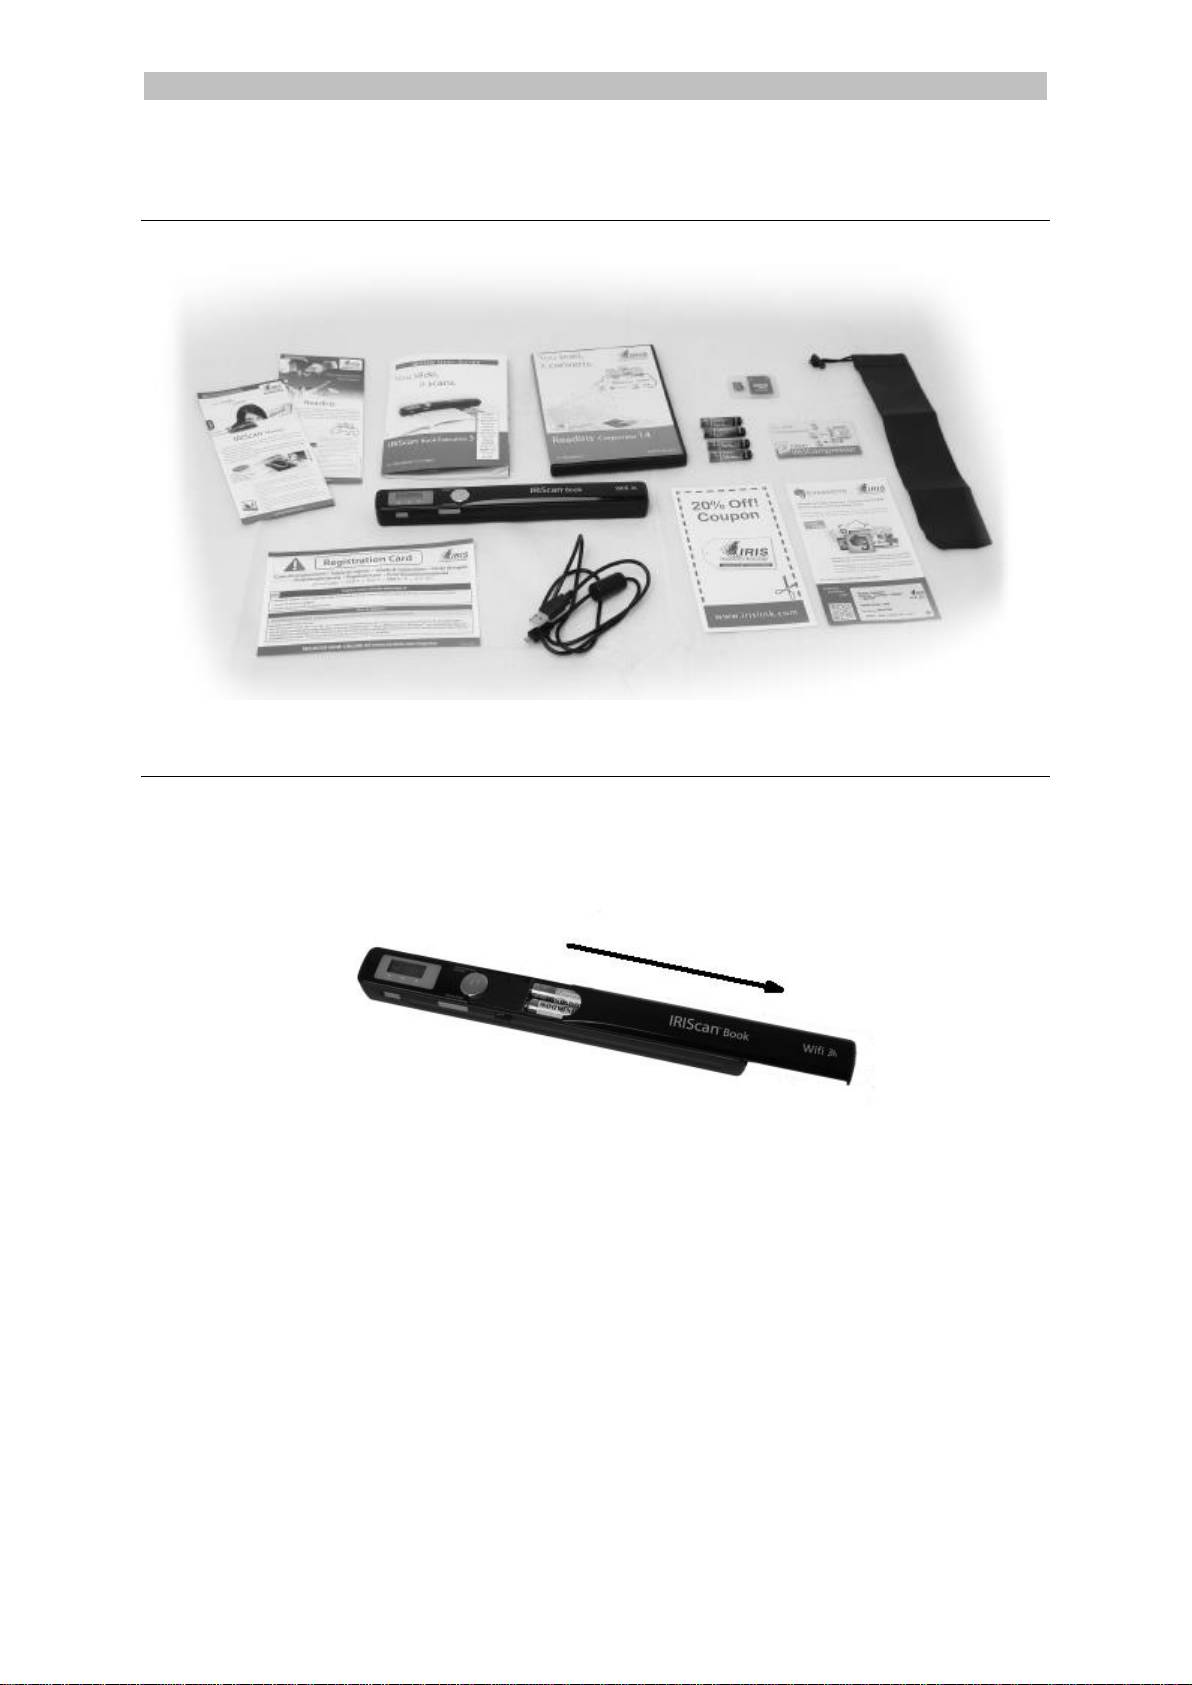
1. Check the Accessories
2. Prepare the Scanner
3. Choose the Scanner Settings
4. Scan Documents
5. Transfer Documents to your Computer / Tablet
6. Transfer Documents to your Computer / Tablet via WiFi
7. Download and Edit Documents in the IRIScan™ Book App
8. Scan with IRIScan™ Direct (Windows only)
9. Tips
10. Technical Info
11. Troubleshooting Info
1
English English
1. Check the Accessories
2. Prepare the Scanner
Insert the included batteries
Open the battery compartment as shown in the image.
Insert the 4 alkaline* batteries, minding the correct polarity.
The correct polarity is shown inside the scanner.
*Since NiMH batteries operate at 1.2 V per cell, somewhat lower than conventional 1.5 V cells, we
recommend alkaline batteries for longer usage.
3

English English
Insert the included microSD card
1. Insert the microSD card gently into the card slot until the card is latched.
Note: on a Windows PC, the IRIScan™ Book can also be used without batteries or
microSD card. See section 8. Scan Images with IRIScan Direct.
Format the microSD card
Some new microSD cards can only be used after formatting them. To format the
card follow the instructions below.
Attention: formatting the microSD card erases all files from the card.
1. Press the Scan button for 2 seconds to power on the scanner.
2. Open the battery compartment.
3. Insert a pointy object, like a paper clip, in the Format hole.
4. 'F' appears on the display. Press the Scan button once to confirm the
formatting.
When the formatting is completed, the number of scans on the display is 0.
4
English English
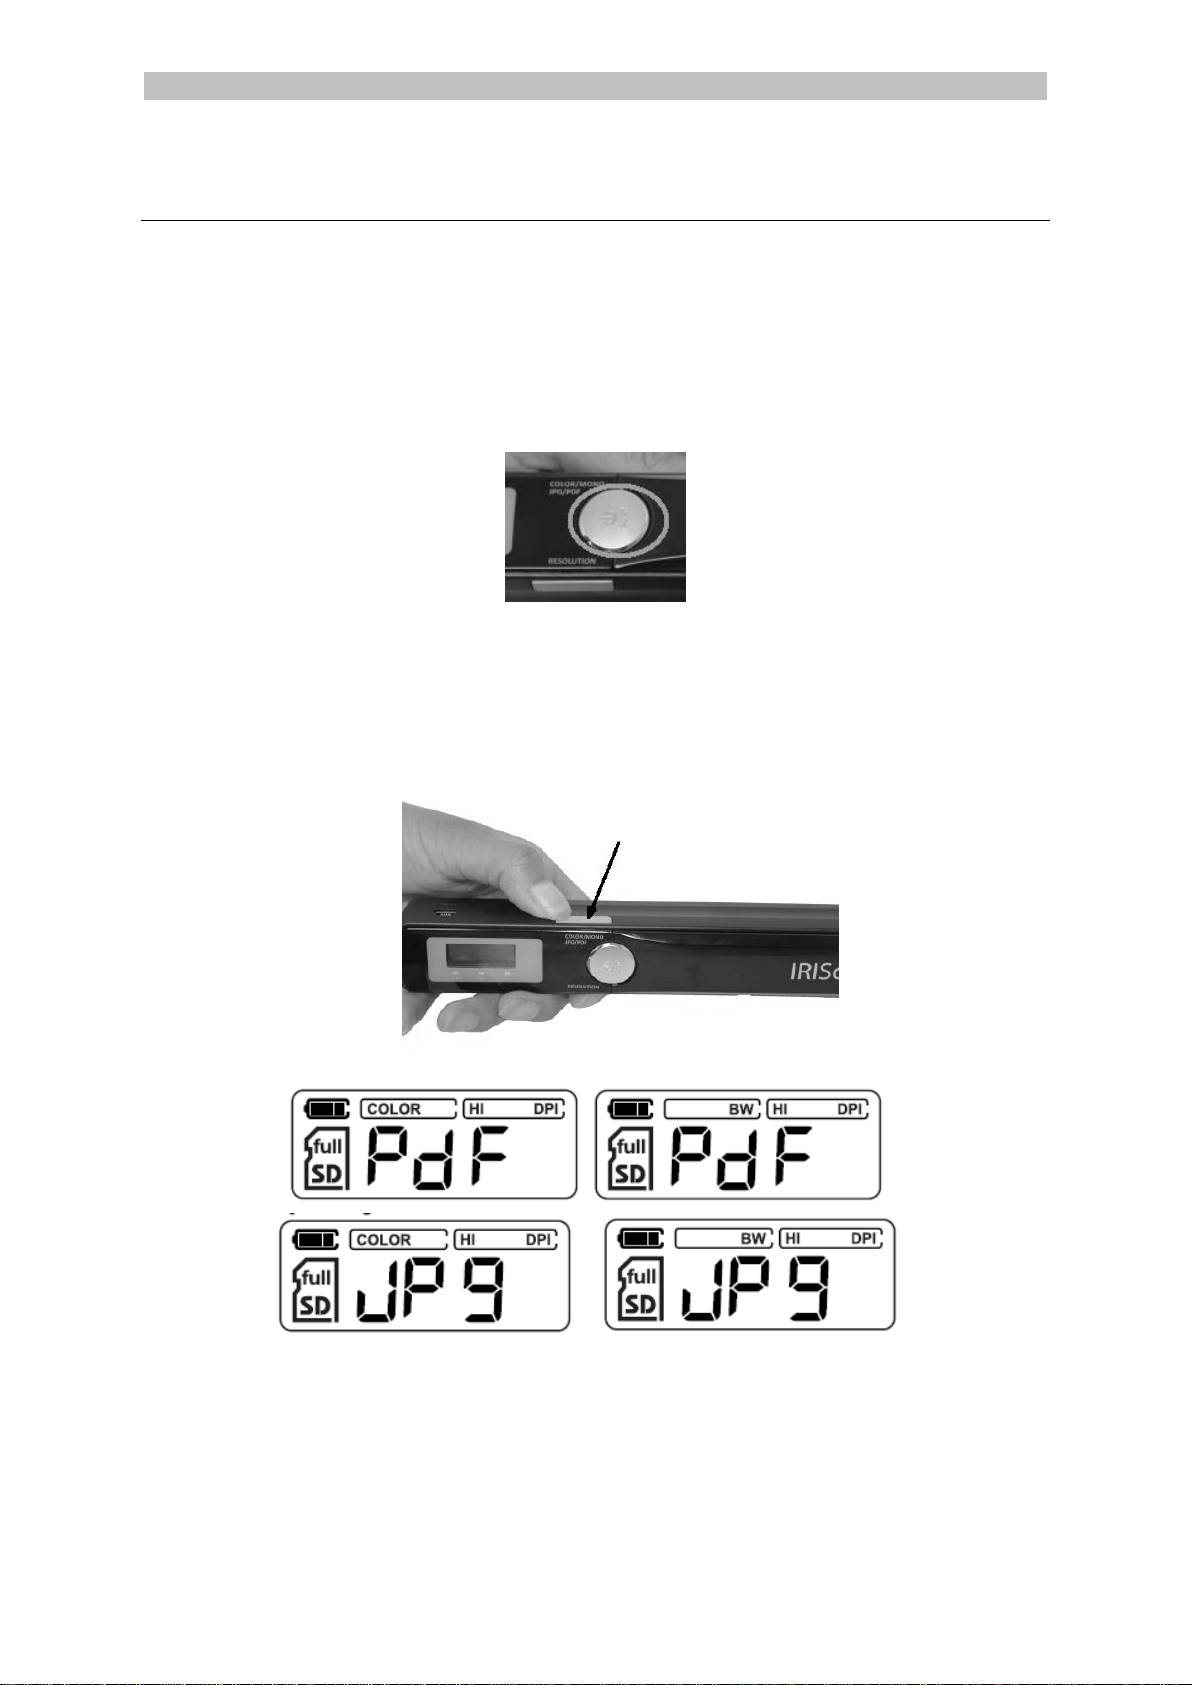
3. Choose the Scanner Settings
Note: before you try to access the scanner settings, make sure the provided
microSD card is inserted in the card slot.
Scanner Settings
To access the scanner settings:
1. Press the Scan for 2 seconds to power on the scanner. The display lights up.
2. Press the Color/mono JPG/PDF button repeatedly to select the required
output format and color mode:
PDF + Color
JPG + BW
PDF + Color
PDF + BW
The settings you select are shown on the display.
3. Press the Resolution button to select the resolution:
Lo = 300 dpi
Mi = 600 dpi
Hi = 900 dpi
5
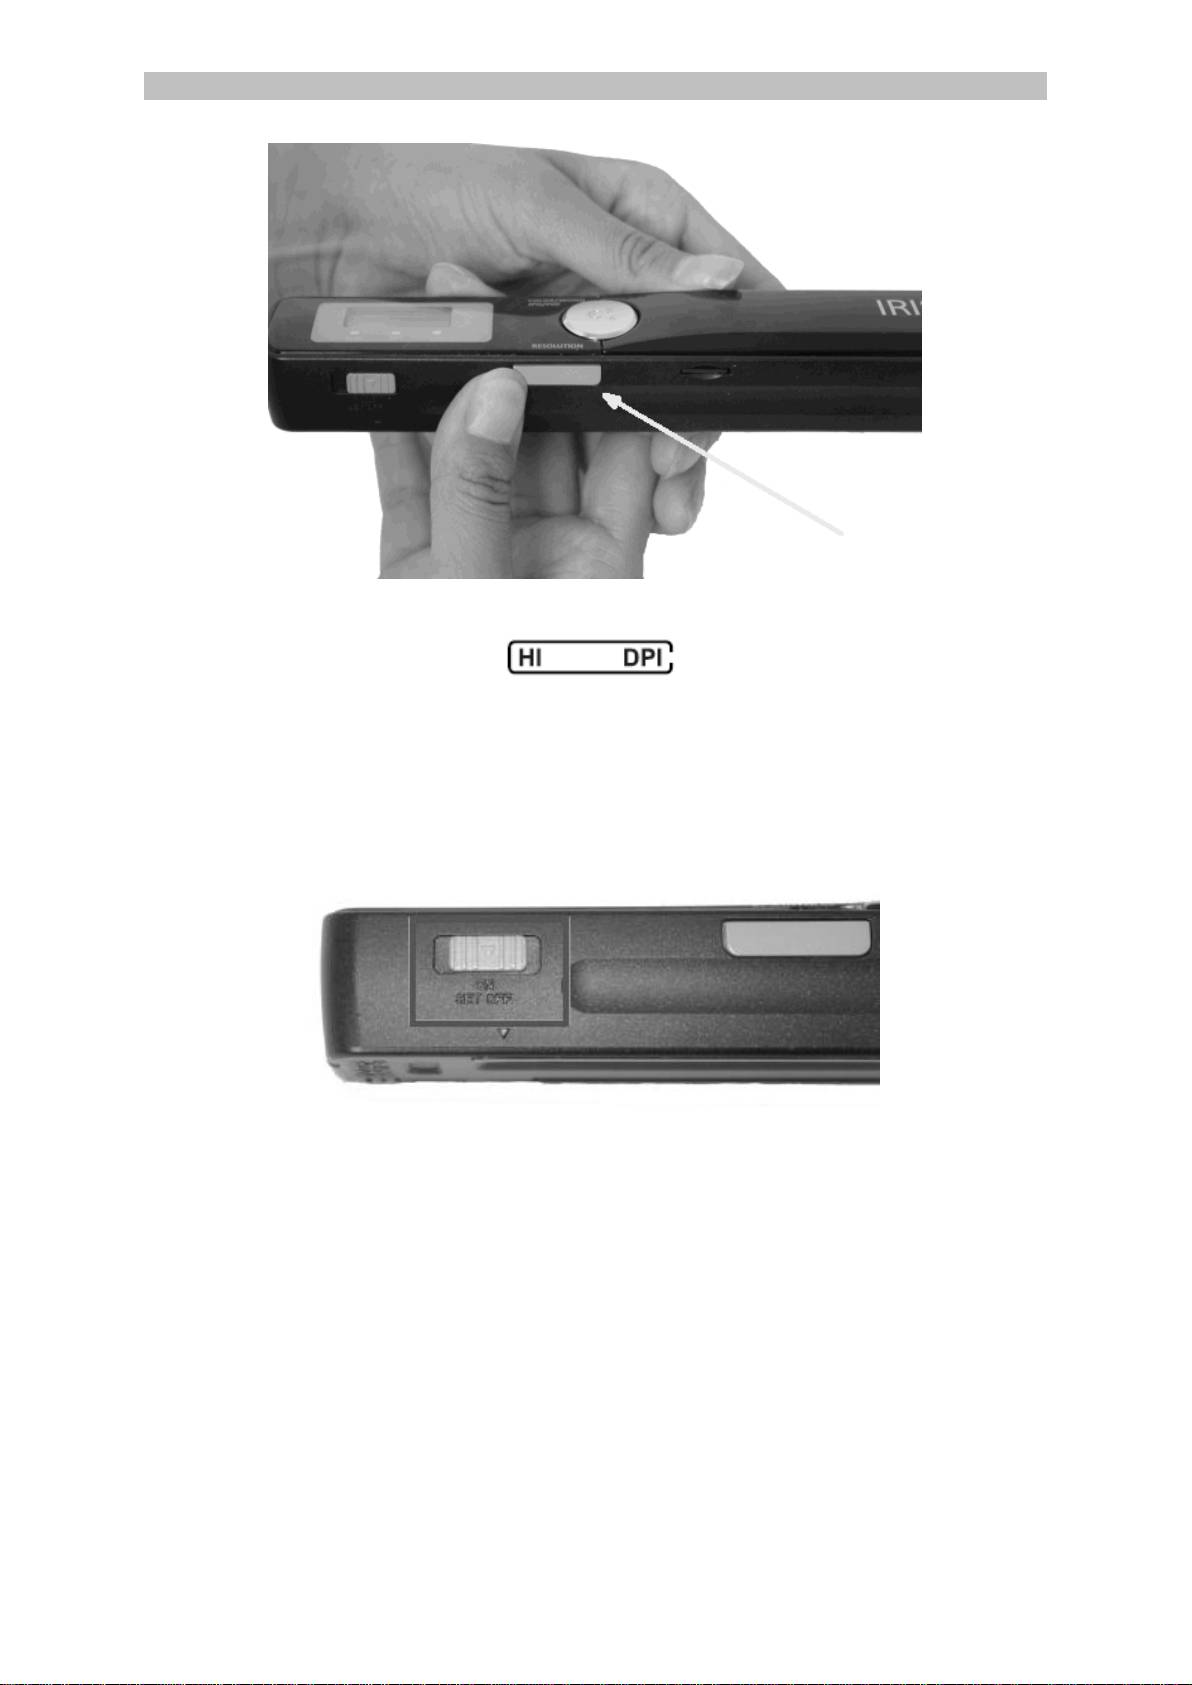
English English
The resolution you select is shown in the top right corner of the
display..
WiFi Settings
The IRIScan™ Book Executive 3 supports transferring documents via WiFi. To do
so, you must activate the WiFi feature.
Switch the WiFi button to the middle position to activate the WiFi feature. The
WiFi led now lights up.
Switch the WiFi button to the right to deactivate the WiFi feature. This is
required when using IRIScan™ Direct.
Switch the WiFi button to the left position to change the WiFi password. (Not
recommended. In case you still want to change it, see the FAQ on our
website). The WiFi led now starts to blink.
6
