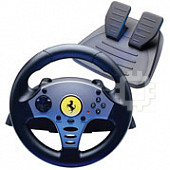
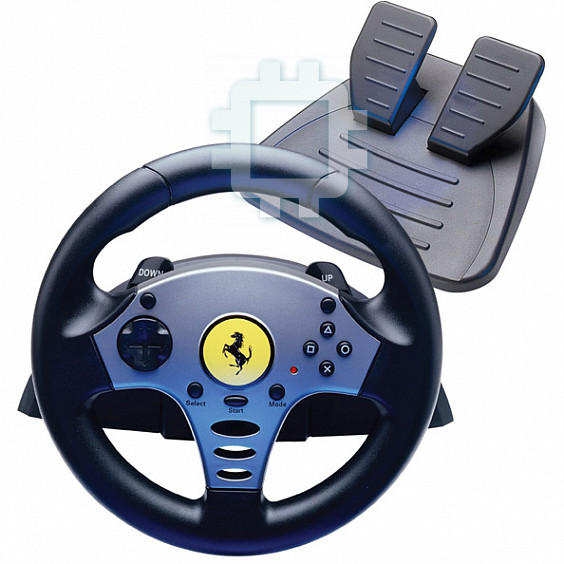
Thrustmaster Universal Challenge 5 in 1: инструкция
Раздел: Компьютерная техника, комплектующие, аксессуары
Тип: Руль для игровой приставки

Характеристики, спецификации
Инструкция к Рулю для игровой приставки Thrustmaster Universal Challenge 5 in 1
- PODRĘCZNIK UŻYTKOWNIKA
1/10
User Manual
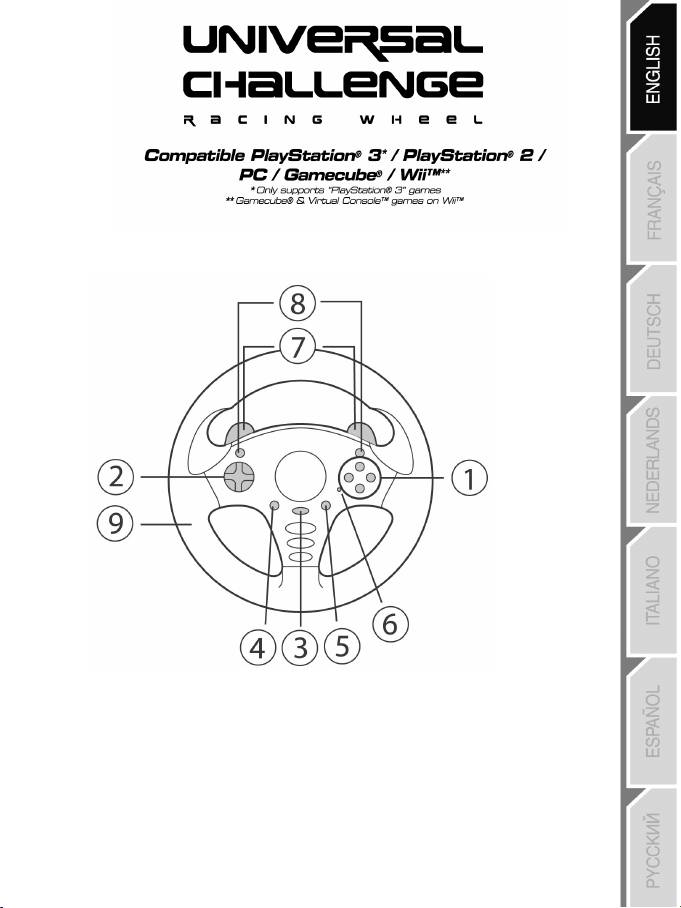
TECHNICAL FEATURES
1 Action buttons
2 D-Pad
3 MAPPING button (for programming)
4 Select button
5 Start button
6 LED
7 2 digital gearshift levers
8 Action buttons

2/10
10 Pedal set
11 Pedal set connector
12 Table clamp
13 NGC connector (for GameCube™ and Wii™)
14 USB connector (for PC and PlayStation®3)
15 GAMEPORT connector (for PlayStation®2)
INSTALLING THE WHEEL
Fixing the wheel in place (12)
1. Place the wheel on a table or other flat surface.
2. Insert the shorter end of the threaded rod into the hole at the base of the wheel.
3. Slide the V-shaped piece onto the threaded rod so that the jaws of the V clamp against the table.
4. Place the clamp screw on the threaded rod and tighten the screw until the wheel is perfectly stable.
Be careful not to turn the screw too tightly, as you risk damaging the table clamp or the table.
Connecting the pedal set
1. Connect the pedal set (10) to the pedal set connector (11).
3/10
ADVANCED FUNCTIONS
ADJUSTING THE WHEEL’S SENSITIVITY
Your wheel’s steering has 2 sensitivity modes:
- Normal sensitivity (the default mode)
- High sensitivity (must be selected)
• Selecting “High sensitivity” mode:
Action
LED
Simultaneously press and release:
the D-Pad (2) + the 2 UP and DOWN levers (7)
OFF
Your wheel’s steering is now more sensitive.
(You must repeat this procedure after each restart or disconnection of your wheel.)
• Selecting “Normal sensitivity” mode (the default mode):
Action
LED
Simultaneously press and release:
the D-Pad (2) + the 2 UP and DOWN levers (7)
ON
Your wheel’s steering has now returned to normal sensitivity (the default mode).
PROGRAMMING THE WHEEL AND PEDALS
Your wheel is fully programmable:
- All buttons, the D-pad and the Up and Down levers can be switched between themselves.
- All buttons, the D-pad and the Up and Down levers can be programmed onto the 2 pedals.
• Examples of possible applications:
- On PS2 and PS3: Program L2/R2 onto the 2 Up and Down digital levers.
- Switch different buttons for greater accessibility.
- On PS3: Program Cross/Square or L2/R2 onto the pedals.
- On GameCube™ and Wii™: Program L/R onto the pedals.
- Program a button(s) onto one or both of the 2 pedals.
• Programming procedure
Steps
Action
LED
1 Press and release the MAPPING button (3)
FLASHES
SLOWLY
2 Press and release the button to be programmed.
FLASHES
QUICKLY
3
Press and release the button or pedal onto which you wish to
place your function.
ON
Your programming is now effective.
Оглавление
- User Manual
- ADVANCED FUNCTIONS
- TROUBLESHOOTING AND WARNING
- NINTENDO ® WII™ & GAMECUBE™
- PLAYSTATION® 2
- PLAYSTATION® 3
- PC
- TECHNICAL SUPPORT
- Manuel de l’utilisateur
- FONCTIONS AVANCEES
- DEPANNAGE ET AVERTISSEMENT
- NINTENDO ® WII™ & GAMECUBE™
- PLAYSTATION® 2
- PLAYSTATION® 3
- PC
- Benutzerhandbuch
- ERWEITERTE FUNKTIONEN
- FEHLERBESEITIGUNG UND WARNUNGEN
- NINTENDO ® WII™ & GAMECUBE™
- PLAYSTATION® 2
- PLAYSTATION® 3
- PC
- TECHNISCHER SUPPORT
- Handleiding
- GEAVANCEERDE FUNCTIES
- PROBLEMEN OPLOSSEN EN WAARSCHUWINGEN
- NINTENDO ® WII™ & GAMECUBE™
- PLAYSTATION® 2
- PLAYSTATION® 3
- PC
- Manuale d’uso
- FUNZIONI AVANZATE
- RISOLUZIONE DEI PROBLEMI E AVVISI
- NINTENDO ® WII™ E GAMECUBE™
- PLAYSTATION® 2
- PLAYSTATION® 3
- PC
- COPYRIGHT
- Manual del usuario
- FUNCIONES AVANZADAS
- ADVERTENCIAS Y RESOLUCIÓN DE PROBLEMAS
- NINTENDO ® WII™ Y GAMECUBE™
- PLAYSTATION® 2
- PLAYSTATION® 3
- PC
- SOPORTE TÉCNICO
- Руководство пользователя
- ФУНКЦИИ ДЛЯ ОПЫТНЫХ ПОЛЬЗОВАТЕЛЕЙ
- ПОИСК, УСТРАНЕНИЕ НЕИСПРАВНОСТЕЙ И ПРЕДУПРЕЖДЕНИЯ
- NINTENDO ® WII™ И GAMECUBE™
- PLAYSTATION® 2
- PLAYSTATION® 3
- ПК
- Podręcznik użytkownika
- FUNKCJE ZAAWANSOWANE
- ROZWIĄZYWANIE PROBLEMÓW I OSTRZEŻENIE
- NINTENDO® WII™ I GAMECUBE™
- PLAYSTATION®2
- PLAYSTATION®3
- PC


