HP 8270: How to scan from the automatic document feeder (ADF) Choose acceptable media for the ADF Load originals in the ADF
How to scan from the automatic document feeder (ADF) Choose acceptable media for the ADF Load originals in the ADF: HP 8270
Table of contents
- How to use the scanner Scanner setup Where to get additional information How to use the HP Photosmart Software
- Front panel and accessories overview Front panel buttons
- Chapter 1 Transparent materials adapter (TMA) Automatic document feeder (ADF) Scanning overview Scan from the scanner front panel buttons Scan from HP Solution Center
- Scan from other software programs Select original type–document or picture Scan documents Scan pictures
- Scan multiple pictures with one scan Scan text for editing Save a document to a drive, disk, or CD
- E-mail a scanned document or picture Make copies
- Cancel a scan in progress Change scan settings Use the Power Save button
- How to scan from the automatic document feeder (ADF) Choose acceptable media for the ADF Load originals in the ADF
- Scan two-sided documents from the ADF Make copies from the ADF
- How to scan from the transparent materials adapter (TMA) Tips for scanning transparent items Scan slides
- Chapter 3
- Scan negatives
- Chapter 3
- Care and maintenance Clean the scanner glass Clean the transparent materials adapter (TMA) Clean and maintain the automatic document feeder (ADF)
- Clean the ADF scan glass Maintain the ADF Order maintenance and scanner supplies
- Troubleshooting 5 Scanner installation or setup problems Uninstall and reinstall the software Check the cables
- Cable type Action Scanner initialization or hardware problems Scanner is off Reset the scanner Test the scanner hardware
- Scanner has stopped working properly Paper jams Additional troubleshooting information Scanner operation problems
- Scanner will not turn on Scanner lamp stays on Scanner does not scan right away Buttons appear not to work
- Resolve issues with scanning documents or text (OCR) Scanned image is fuzzy Scanner is scanning items very slowly Scanner glass needs to be cleaned
- Slides, negatives, and TMA issues The image cannot be enlarged Incorrect colors print, or the image is too light or dark Dots or streaks appear in the scanned image The scanned images are dark The TMA does not work at all
- No light or only dim light is visible in the TMA after selecting slides or negatives in the Scan dialog box
- Product support 6 Accessibility Web site HP Scanjet Web site Support process
- Regulatory information and 7 product specifications Scanner specifications
- Name Description Transparent materials adapter (TMA) specifications Automatic document feeder (ADF) specifications
- Environmental specifications for the scanner, ADF, and TMA
How to scan from the automatic
2
English
document feeder (ADF)
This section explains how to use the automatic document feeder (ADF) for the HP
Scanjet 8270 Document Flatbed Scanner. Cleaning and maintenance accessories are
available for the ADF. For information, see Clean and maintain the automatic
document feeder (ADF) on page 17.
Choose acceptable media for the ADF
The ADF works best when the originals meet the following specifications:
● Standard media of A4-, U.S. letter-, and legal-sized paper
● Nonstandard media ranging in size from 88.9 by 127 mm (3.5 by 5 inches) to 216
by 356 mm (8.5 by 14 inches)
2
●
Media weights from 60 to 90 g/m
(16 to 24 lbs)
● Media that is square- or rectangular-shaped and in good condition
● Media that is free of perforations or punch holes
● Media that is free of wet glue, correction fluid, or ink
Note Avoid putting multipart forms, transparencies, magazine pages,
gum-backed pages, and lightweight paper in the ADF.
Before placing an original in the ADF, check for and remove:
● Curls or wrinkles
● Staples, paper clips, and any other attached material
If the originals do not meet these criteria, scan from the scanner glass.
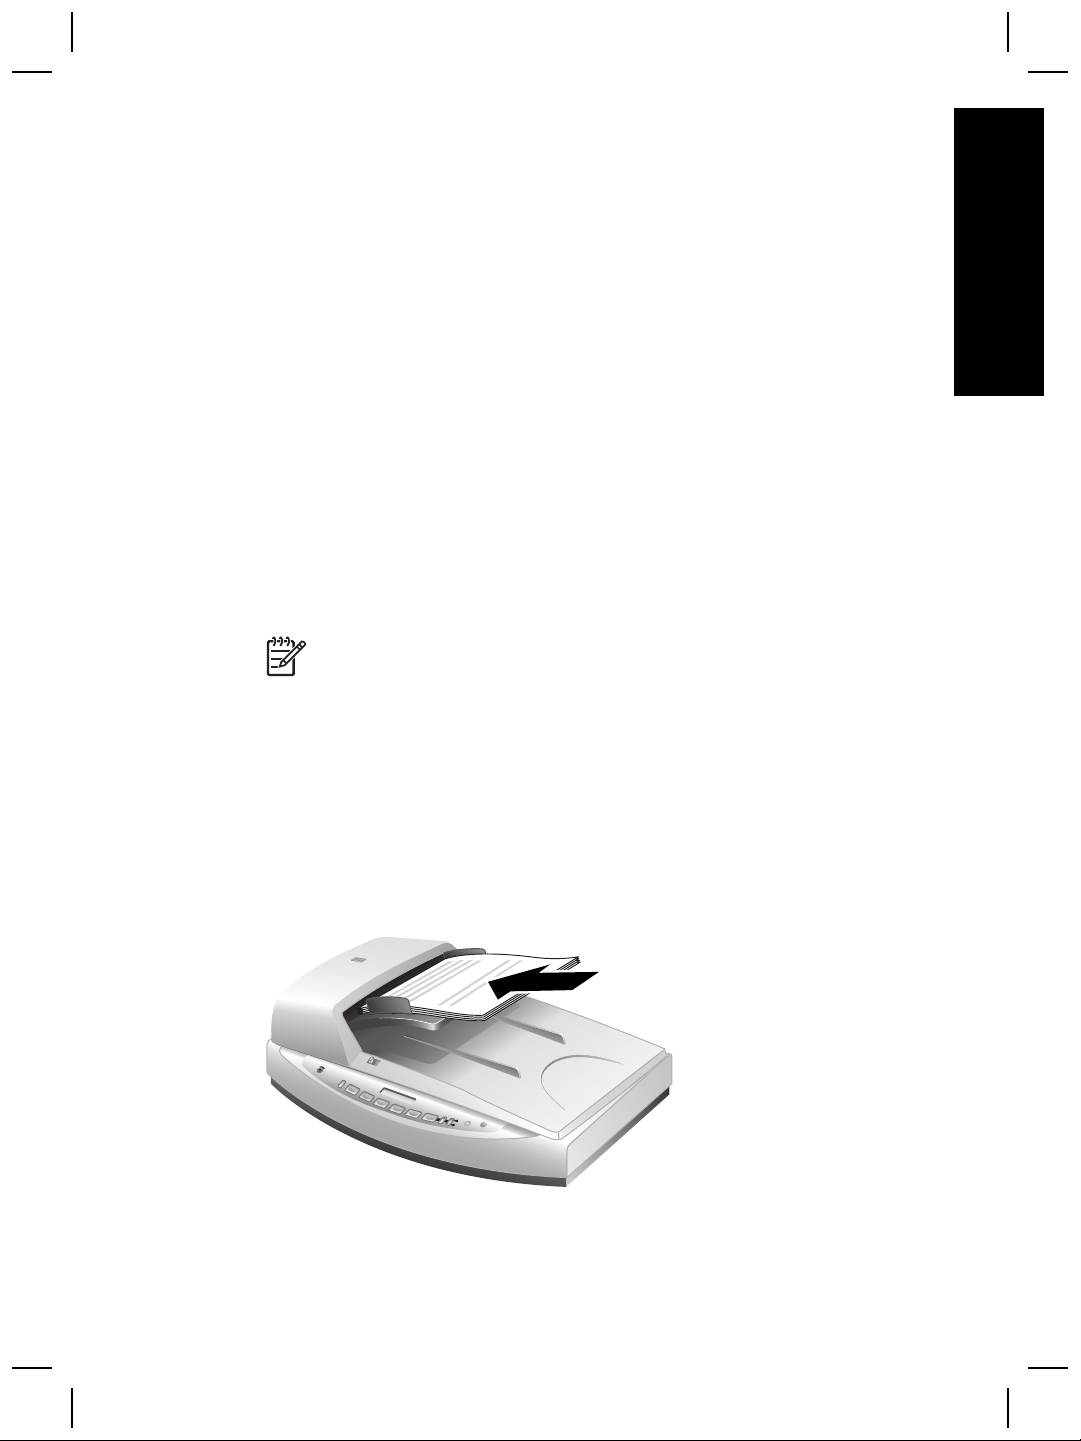
Load originals in the ADF
1. Place a stack of similarly sized pages face up in the document input tray, with the
first page on top.
2. Adjust the paper guides to center the stack.
3. Press a front panel button or use HP Solution Center to begin scanning.
4. Follow the onscreen instructions to finish scanning.
User Guide
11
