Elta 6698RB: CAUTION
CAUTION: Elta 6698RB
14.
THIS CD PLAYER IS A CLASS I LASER PRODUCT. HOWEVER, THIS CD PLAYER USES A
VISIBLE/INVISIBLE LASER BEAM, WHICH COULD CAUSE HAZARDOUS RADIATION EXPOSURE. BE
SURE TO OPERATE THE CD PLAYER CORRECTLY AS INSTRUCTED.
INVISIBLE LASER RADIATION WHEN COVER IS OPEN OR THE SECURITY INTERLOCK DEFEATED.
DO NOT EXPOSE TO BEAM!
DO NOT TOUCH THE LASER LENS.
USE OF CONTROLS OR ADJUSTMENTS OR PERFORMANCE OF PROCEDURES OTHER THAN
THOSE SPECIFIED HEREIN MAY RESULT IN HAZARDOUS RADIATION EXPOSURE.
TO REDUCE THE RISK OF FIRE OR ELECTRIC SHOCK AND ANNOYING INTERFERENCE USE ONLY
THE RECOMMENDED ACCESSORIES.
Setting a safe volume level
• If you continually listen to loud music, your hearing gradually adapts to it and gives you the impression that
the volume is lower.
• What seems normal to you can actually be damaging.
• To protect yourself from this, set the volume to a low level.
• Increase the volume slowly, until you can hear clearly and without problems.
• Damage to your hearing can be extensive and cannot be reversed.
• If you notice a hearing problem, please consult a doctor.
Further information
• If the device will be used for long periods of time, it will become warm. This is absolutely normal.
• Always close the CD-door to keep the CD drive free from dust. When cleaning, wipe the CD drive
compartment with a soft, dry cloth.
• The mechanic parts of the unit contain self-lubricating bearings. Do not oil or lubricate!
• Operate the unit under moderate climate conditions only.
• Not suitable for children under three years.
Condensation
Condensation may occur when moving the device from a cold to a warm environment. If there is moisture
inside the player, it may not operate properly.
Please turn on the power supply and wait about one hour for the moisture to evaporate.
Protect the device from rain and moisture, sand, dust and extreme heat (e.g. in a parked vehicle in summer)
and from direct sunlight.
Moving of the device
• Remove the CD before moving the device.
• It is suggested to remove the CD and to turn off the device for periods of non use.
14. CLEANING –
Disconnect from mains power supply before cleaning. Do not use liquid or spray
cleaners, only use a damp cloth. Follow the care and maintenance instructions in this manual.
15. LIGHTNING –
During lightning and longer periods of non-use please disconnect from mains power supply
and antenna.
16. SAFETY CHECK –
After servicing the unit ask the customer service for a safety check.
17. OVERLOAD –
To avoid fire and electric shock do not overload wall outlets and convenience receptacles.
18. ELECTROSTATIC DISCHARGE –
Disconnect from mains power supply and remove batteries if unit
malfunctions. Reconnect after a short time.
CAUTION
15.
Setting up location of the device
• Avoid vibrations, impact or tilted surfaces as the internal parts may be seriously damaged.
• Do not place heavy objects on the player.
• Never place the player on amplifiers or other devices, which can become hot.
Unpacking:
• Take out carefully the device from the packing and remove all packing materials.
• Keep the packing for further use, if the device must be returned to the customer service.
• If you want to dispose the packing material, adhere to the disposal regulations.
• Carefully remove the laser lens protection from the CD drive.
Power Supply
Whenever possible, connect the unit to the mains power supply to conserve battery lifetime. Disconnect the
mains plug before inserting the batteries.
Battery Operation (Batteries Not Included)
Open the battery compartment and insert 6 batteries type LR-14, UM-2 or C (preferably Alkaline). Please
observe correct polarities which are marked with “+” and “-“ in the battery compartment.
For battery operation disconnect the small mains plug at the rear of the unit.
When connecting the mains cord the unit is automatically set to mains operation.
Battery Safety Precautions:
- Always follow the safety and use precautions of the battery manufacturer.
- Keep batteries away from children and pets.
- Never throw batteries into the fire. Do not expose batteries to fire or other heat sources.
- Battery disposal: exhausted batteries must be properly disposed of and recycled in compliance with all
applicable laws. For detailed information contact your local municipality’s waste authority.
- Do not mix new and exhausted batteries.
- Do not mix different battery types, such as Alkaline and zinc/carbon. Only use batteries of the same type.
- Remove the batteries when the device will not be used for extended periods of time to prevent damage due
to rusted or corroded batteries.
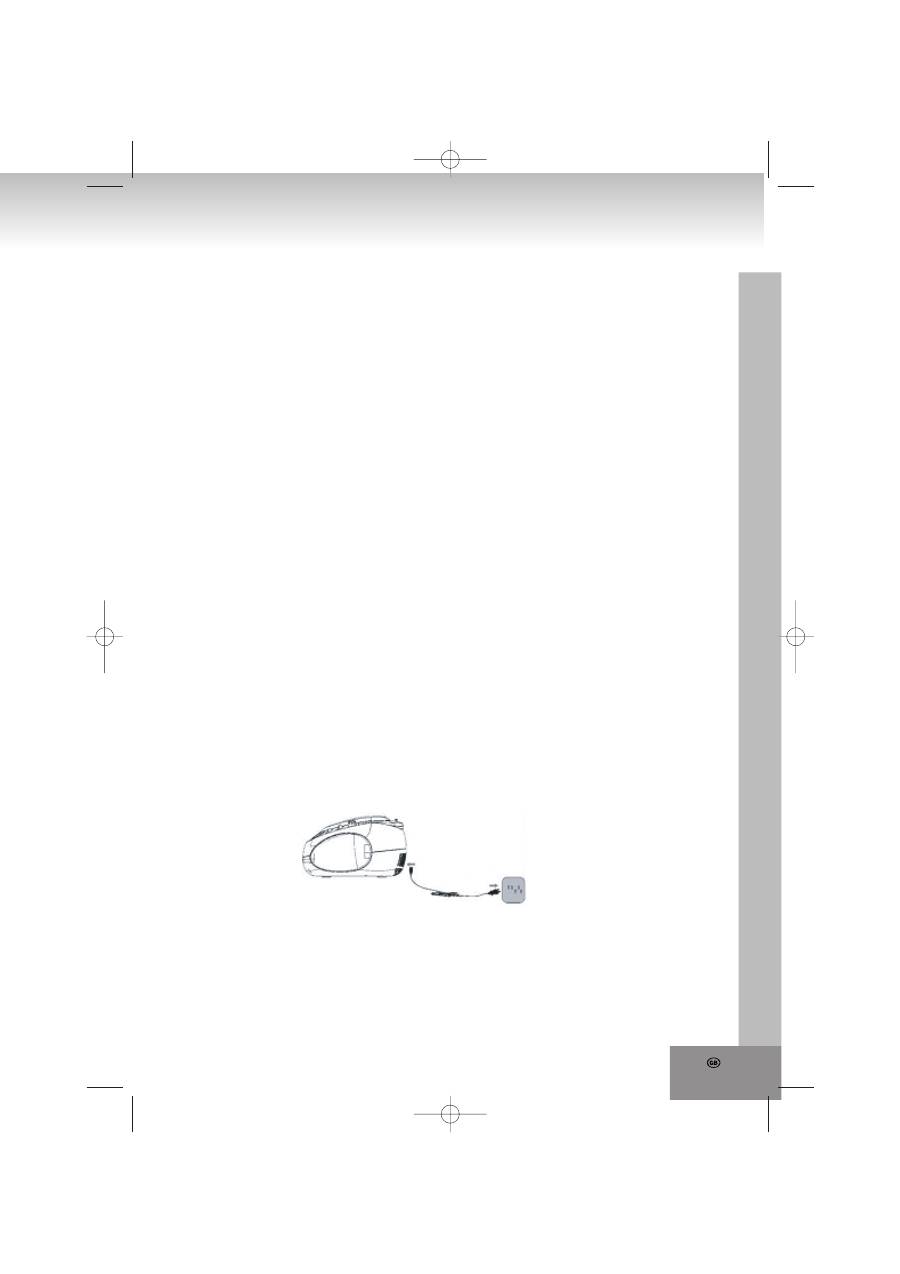
Mains Operation
- Connect the mains power cable to an AC 230V~50Hz wall outlet.
- Operate the unit only with power supply that corresponds with the specifications on the type label.
- Insert the smaller plug of the power cord into the AC~ jack at the rear. Make sure the plug is completely
inserted.
16.
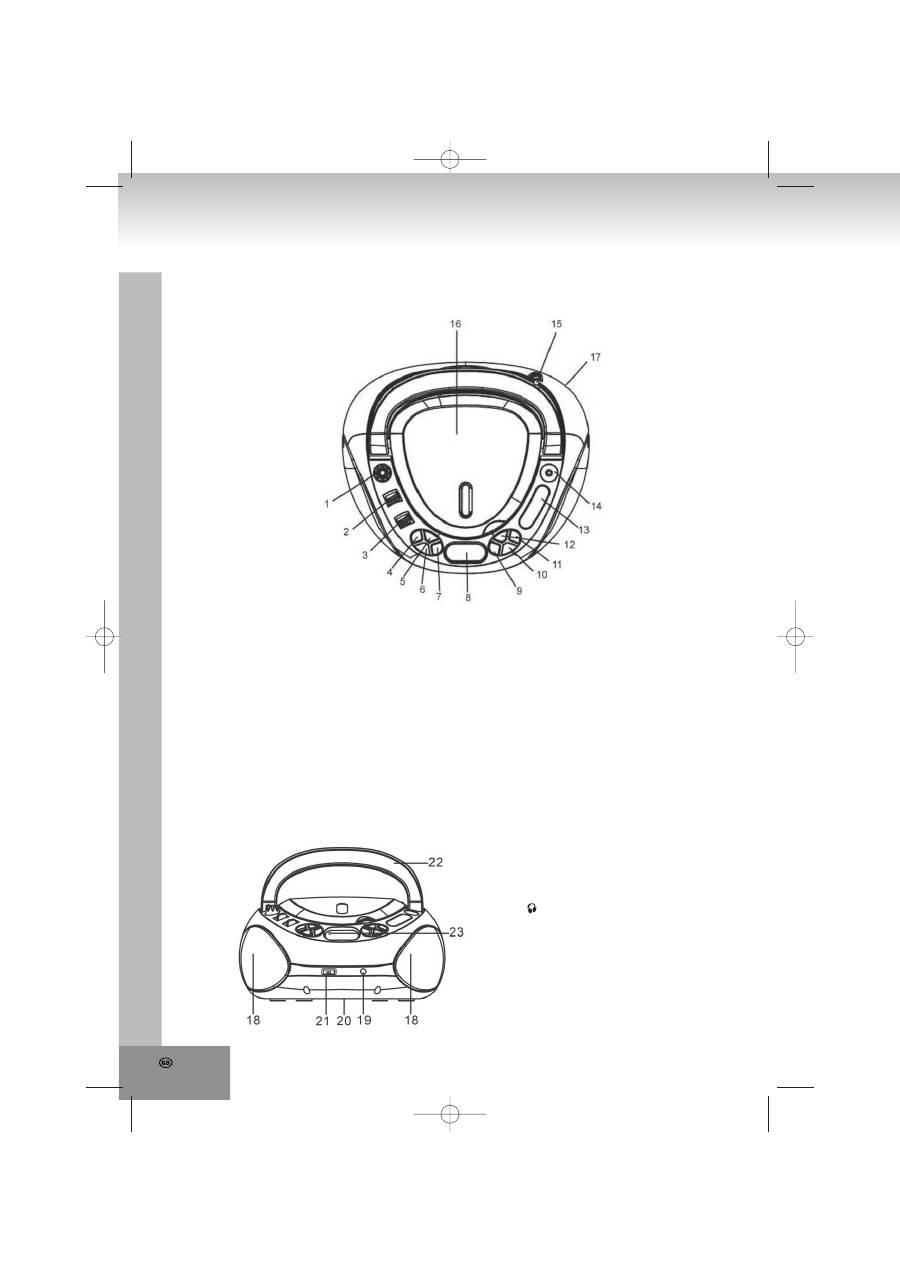
Location Of Controls
Top View
1. VOLUME MIN/MAX
2. Band selector AM/FM
Select radio reception between FM and AM
3. Function selector MP3/USB/RADIO/OFF
Select between Audio CD/MP3 CD, USB and
radio modes and turn the unit off
4. STOP
5. REPEAT
Select repeat modes
6. SKIP-
Skip to previous track and rewind
7. -10
Skip 10 tracks/files back
8. LCD display
9. +10
Skip 10 tracks/files forward
10. SKIP+
Skip to next track and fast forward
11. PLAY/PAUSE
12. PROGRAM
Track sequence
13. Dial scale
14. TUNING control
15. Telescopic antenna
16. Door CD drive
17. AC~ mains power jack
(rear of the unit)
18. Speakers
19. Earphone jack
20. Battery compartment (bottom of the unit)
21. USB port
22. Handle
23. POWER indicator
Front View
17.
Basic Operation
On/Off
To avoid unnecessary power consumption, please set function selector to OFF position when the unit is not in
use. In ON mode the POWER indicator turns red.
1. Select the desired mode with the function selector: RADIO, MP3/USB or OFF.
2. Set the desired volume with VOLUME MIN/MAX.
3. Set the function selector to OFF position to turn off the unit.
On the front of the unit you have an earphones jack for private listening (earphones not supplied). Connect
the earphones with a 3.5mm stereo jack. Upon connection the speakers are automatically muted.
Radio
Recommendations for better reception
FM: Fully extend the telescopic antenna. If the reception signal is too strong (e.g. near a station), shorten
the telescopic antenna.
AM: The unit has a built-in AM antenna; change the position of the unit if reception is poor.
Radio Operation
1. Set the function selector to RADIO position.
2. Select the desired frequency band with the band selector: FM or AM.
3. Tune into your favorite radio station with TUNING control.
4. Set the desired volume with VOLUME MIN/MAX.
5. Set the function selector to OFF position to turn off the unit.
Audio CD and MP3 CD Playback
The CD player can only read Audio CDs and MP3 CDs. Do not attempt to play Data CD or VCD/DVD discs.
1. Set the function selector to MP3/USB position. The display shows “- - -“ for a short moment, afterwards it
shows 000.
2. Open the CD compartment manually with the recessed grip; OP is displayed.
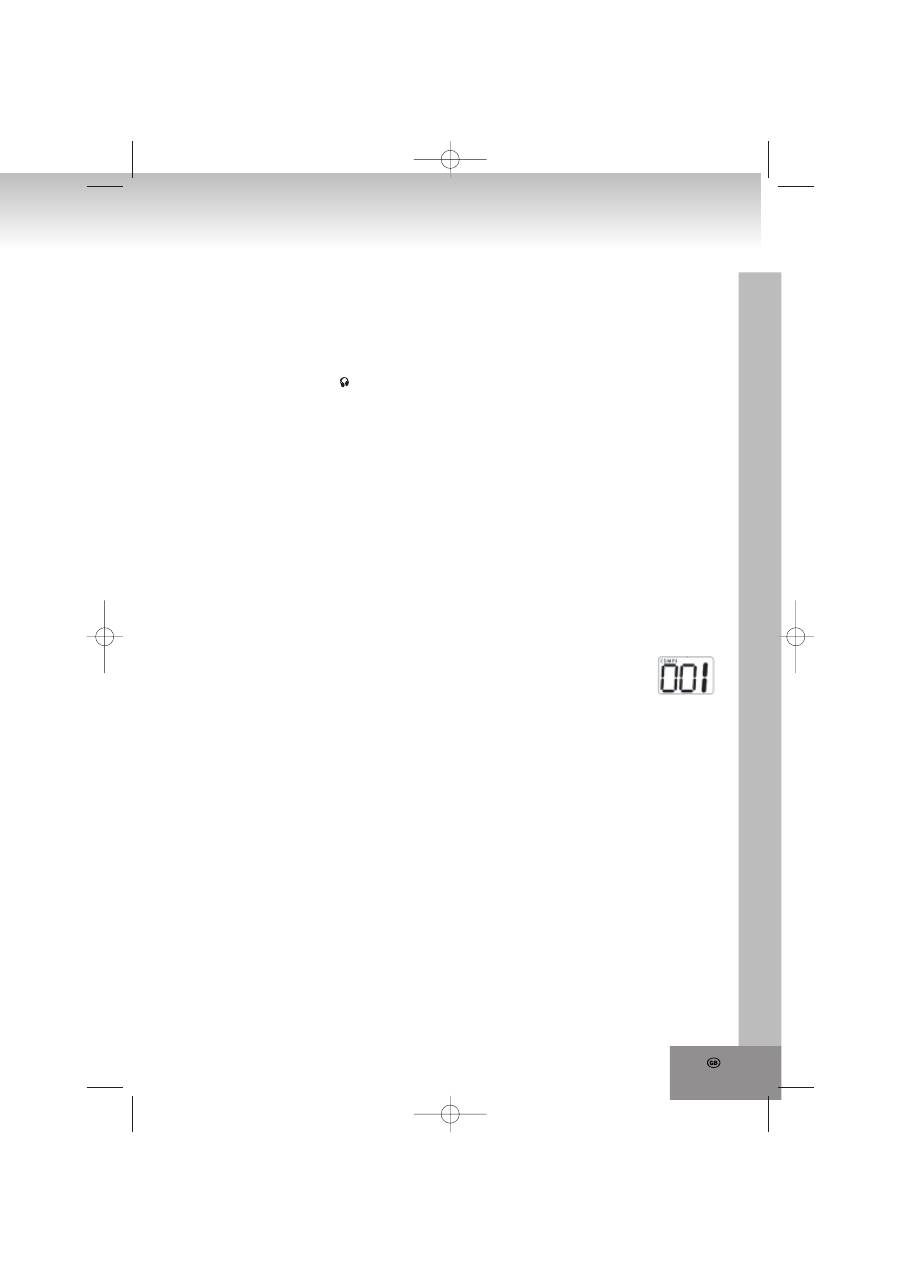
3. Insert a disc with the label up and close the CD compartment again manually. At first
“- - -“ is displayed, afterwards the total number of tracks and CD. The display changes
to 001 and CD. And playback starts automatically. The corresponding track number is displayed.
4. In case playback does not start (depending on the disc), please press PLAY/PAUSE to start playback of
the first track manually.
5. Press PLAY/PAUSE to pause playback; press again to continue playback. In pause mode ► flashes.
6. Press STOP to stop playback; the display again shows the total number of tracks.
Notes:
CD playback is also stopped when:
a. opening the CD compartment;
b. sliding the function selector to RADIO or OFF positions;
c. all tracks on the CD have besen played.
Skip Mode
In playback mode press SKIP-, SKIP+, -10 or +10 to skip to the previous or next track or 10 tracks forward or
back.
1. Select the track in playback, stop or pause modes with SKIP-, SKIP+, -10 or +10 and start playback by
pressing PLAY/PAUSE.
2. Press SKIP+ repeatedly to skip to the next track(s), until the desired track number is displayed. Press
SKIP+ during playback of the last track to skip to the first track of the disc.
3. Press SKIP- repeatedly to skip to the previous track(s). Press SKIP- during playback of the first track to
skip to the last track of the disc.
4. Briefly press +10 to skip ten tracks forward. If less than 10 tracks are left on the disc you skip to the last
track. Press +10 during playback of the last track to skip to the first track of the disc.
5. Briefly press -10 to skip ten tracks back. If you are within the first 10 tracks of the disc you skip to the first
track. Press -10 during playback of the first track to skip to the last track of the disc.
18.
Fast Forward and Rewind
Press and hold SKIP+ or SKIP- to access fast forward or rewind functions through the track to search for a
certain position. The volume is decreased.
Program Playback
Up to 20 tracks can be programmed in your desired sequence; any track can be programmed more than
once.
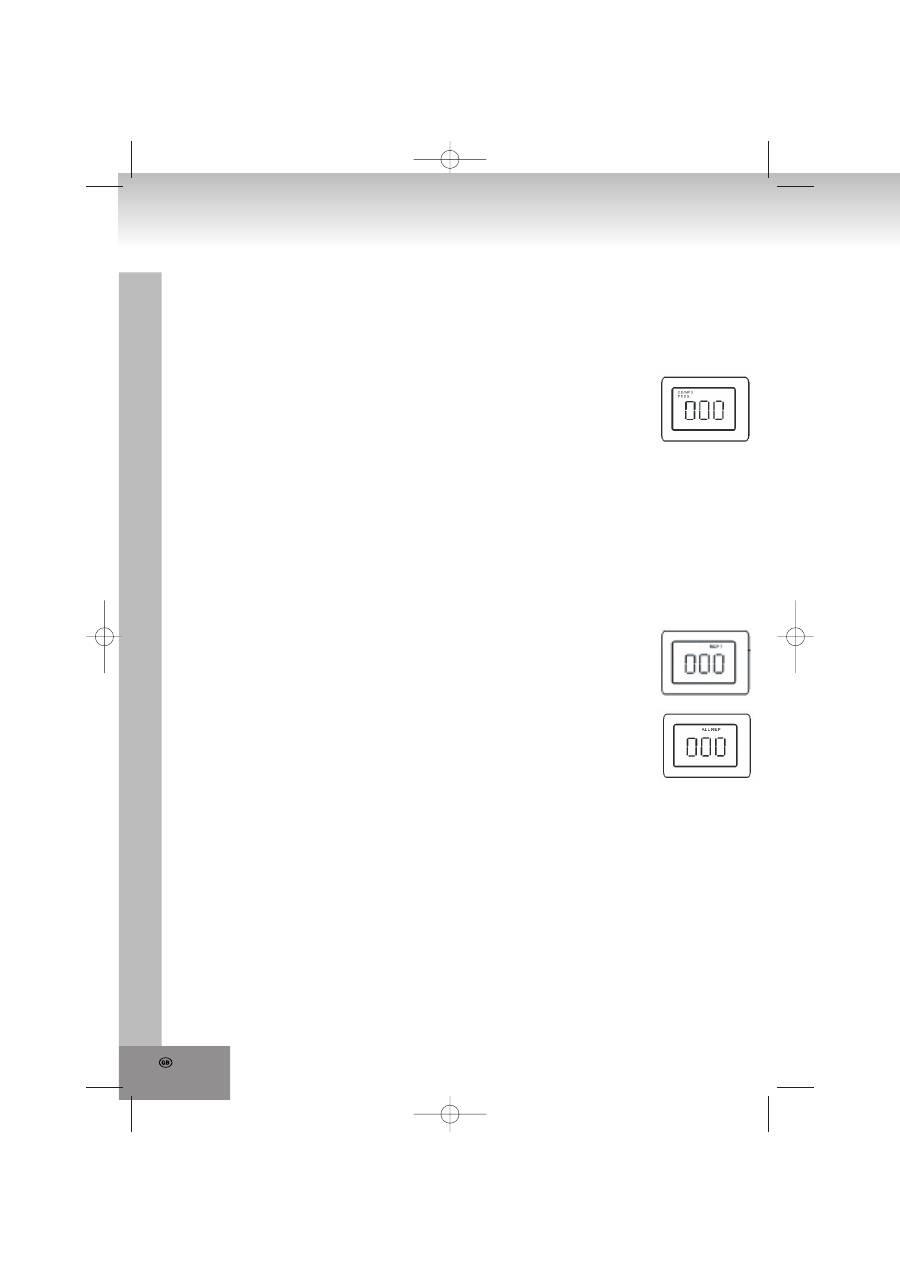
1. Before programming, please press STOP and PROGRAM. The display shows
also 000 and PROG besides CD .
2. Select the first desired track with SKIP+, SKIP-, +10 or -10.
3. Save the track with PROGRAM. The display shows besides CD and PROG also
P01. Now select the next track.
4. Repeat steps 2 and 3 to program further tracks, the maximum number of tracks is 20.
5. Press PLAY/PAUSE to start playback of the tracks in your desired sequence. In program mode the track
number, CD and PROG are displayed.
6. In program mode the repeat function for the complete program is available, see details under
Repeat
Modes
point 4.
Delete Program
Follow these steps to delete the program:
1. Open the CD compartment.
2. Set the function selector to RADIO or OFF positions.
3. Press STOP.
Repeat Modes
Several repeat modes are available on the unit; press REPEAT to access and select.
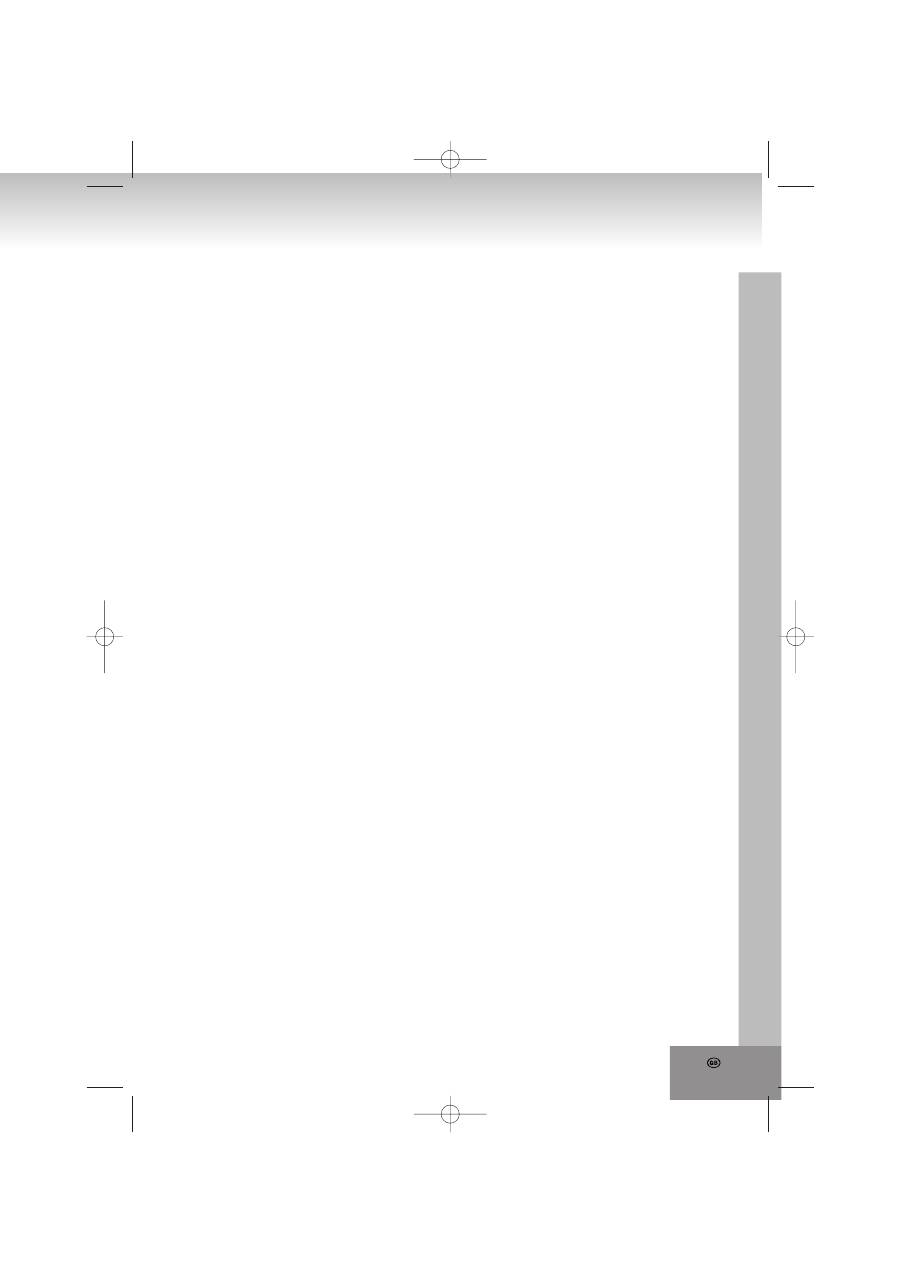
1. Press REPEAT once to repeat the current track. The display shows REP 1
besides track number and CD.
2. Press REPEAT twice to repeat the disc in its original sequence. The display
shows ALL REP besides track number and CD.
3. Press REPEAT again to return to normal playback mode. The display shows again
track number and CD.
4. You may also use the repeat function during program playback. In program mode
press REPEAT once to repeat the complete program. The display shows besides
the track number and PROG also ALL REP.
MP3 Playback from USB Device
Connect your USB device (USB stick, MP3 player, etc.) to the USB port on the front. Remove the disc from
the drive. Press STOP to toggle between disc and USB modes.
1. The display shows briefly USB, during reading “- - -“ and the number of files is displayed. Playback starts
automatically.
2. In case playback does not start automatically, please press PLAY/PAUSE to start playback of the first file
manually.
3. Press PLAY/PAUSE to pause playback; press again to continue playback. In pause mode the file number
flashes.
4. Press STOP to stop playback; the display shows again the total number of files.
Notes:
USB playback is also stopped when:
a. Opening the CD compartment;
b. Sliding the function selector to RADIO or OFF positions;
c. All files on the USB device have been played.
19.
Skip Mode
In playback mode press SKIP-, SKIP+, -10 or +10 to skip to the previous or next file or 10 files forward or
back.
1. Select the file in playback, stop or pause modes with SKIP-, SKIP+, -10 or +10 and start playback by
pressing PLAY/PAUSE.
2. Press SKIP+ repeatedly to skip to the next file(s), until the desired file number is displayed. Press SKIP+
during playback of the last file to skip to the first file of the USB device.
3. Press SKIP- repeatedly to skip to the previous file(s). Press SKIP- during playback of the first file to skip to
the last file of the USB device.
4. Briefly press +10 to skip ten files forward. If less than 10 files are left on the USB device you skip to the
last file. Press +10 during playback of the last file to skip to the first file of the USB device.
5. Briefly press -10 to skip ten files back. If you are within the first 10 files of the USB device you skip to the
first file. Press -10 during playback of the first file to skip to the last file of the USB device.
Fast Forward and Rewind
In USB playback, no fast-forward or rewind function is available.
Program Playback
Up to 20 files can be programmed in your desired sequence; any file can be programmed more than once.
1. Before programming, please press STOP and PROGRAM. The display shows besides CD also 000 and
PROG.
2. Select the desired file with SKIP+, SKIP-, +10 or -10.
3. Save the file with PROGRAM. The display shows PROG and P01. Now select the next file.
4. Repeat steps 2 and 3 to save further files, the maximum number of files is 20.
5. Press PLAY/PAUSE to start playback of the files in your desired sequence. In program mode the file
number and PROG are displayed.
6. In program mode the repeat function for the complete program is available, see details unter
Repeat
Modes
point 4.
Delete Program
Follow these steps to delete the program:
1. Open the CD compartment.
2. Set the function selector to RADIO or OFF positions.
3. Press STOP.
Repeat Modes
Several repeat modes are available on the unit; press REPEAT to access and select.
1. Press REPEAT once to repeat the current file. The display shows REP 1 besides the file number.
2. Press REPEAT twice to repeat the all files on the USB device. The display shows ALL REP besides the file
number.
3. Press REPEAT again to return to normal playback mode. The display shows again the file number.
4. You may also use the repeat function during program playback. In program mode press REPEAT once to
repeat the complete program. The display shows besides the file number and PROG also ALL REP.
20.
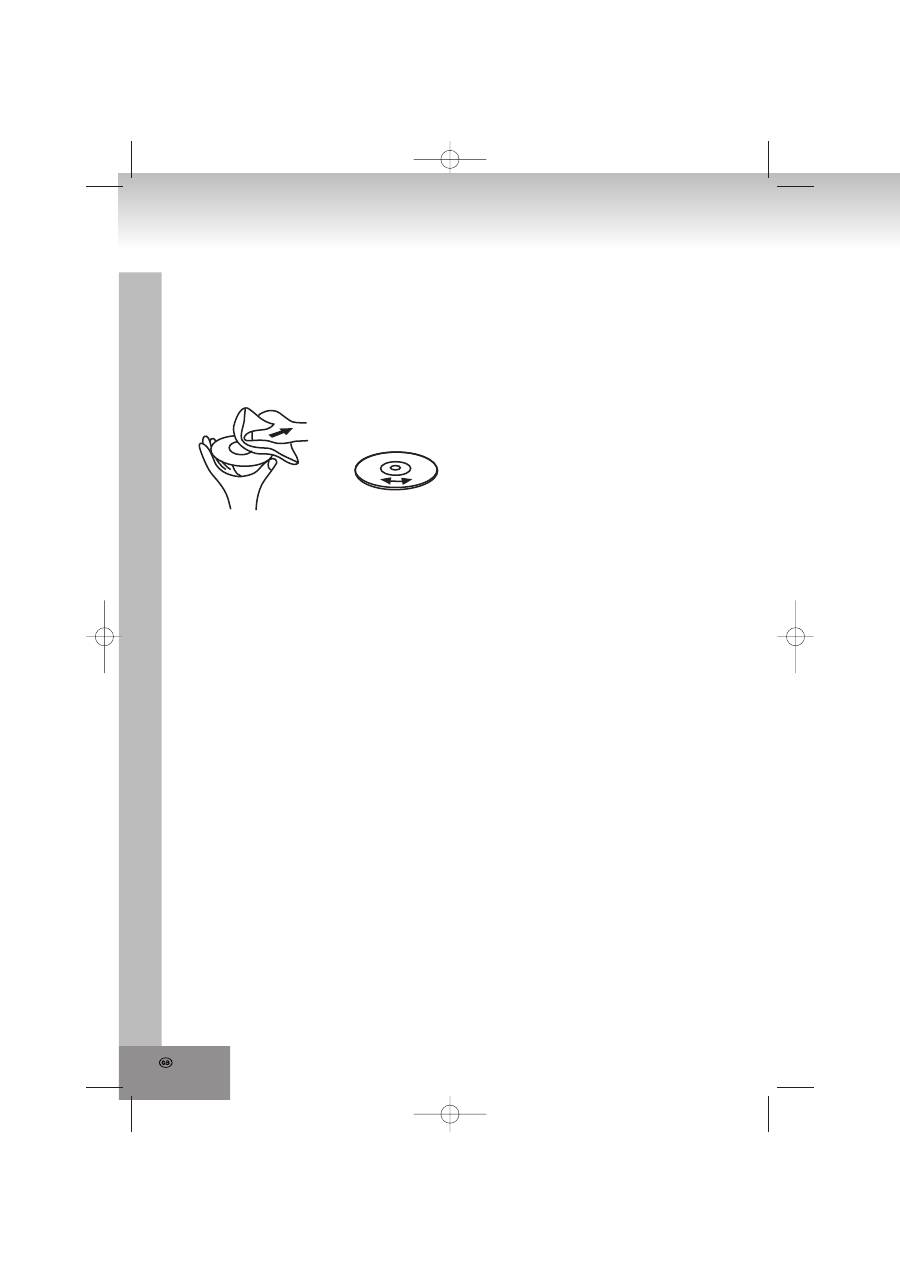
FROM THE CENTRE TO THE EDGE
CORRECT
INCORRECT
Storage
* Always store CD´s in their cover.
* Do not subject to direct sunlight, high temperatures, humidity or dust.
Cleaning CD’s
* Clean CD´s with a soft cloth.
* Clean CD´s from the centre to the edge.
Handling And Cleaning Of Discs
HANDLING OF CD´s
* Remove the CD from its cover.
* Do not touch on the surfaces.
* Do not attach stickers on CD´s and do not write on them.
* Do not bend CD´s.
21.
TROUBLESHOOTING
If you experience any problem with this system, review the list below before you contact the customer
service.
WARNING: Never open the device. Always refer service or maintenance to authorized customer
service personnel.
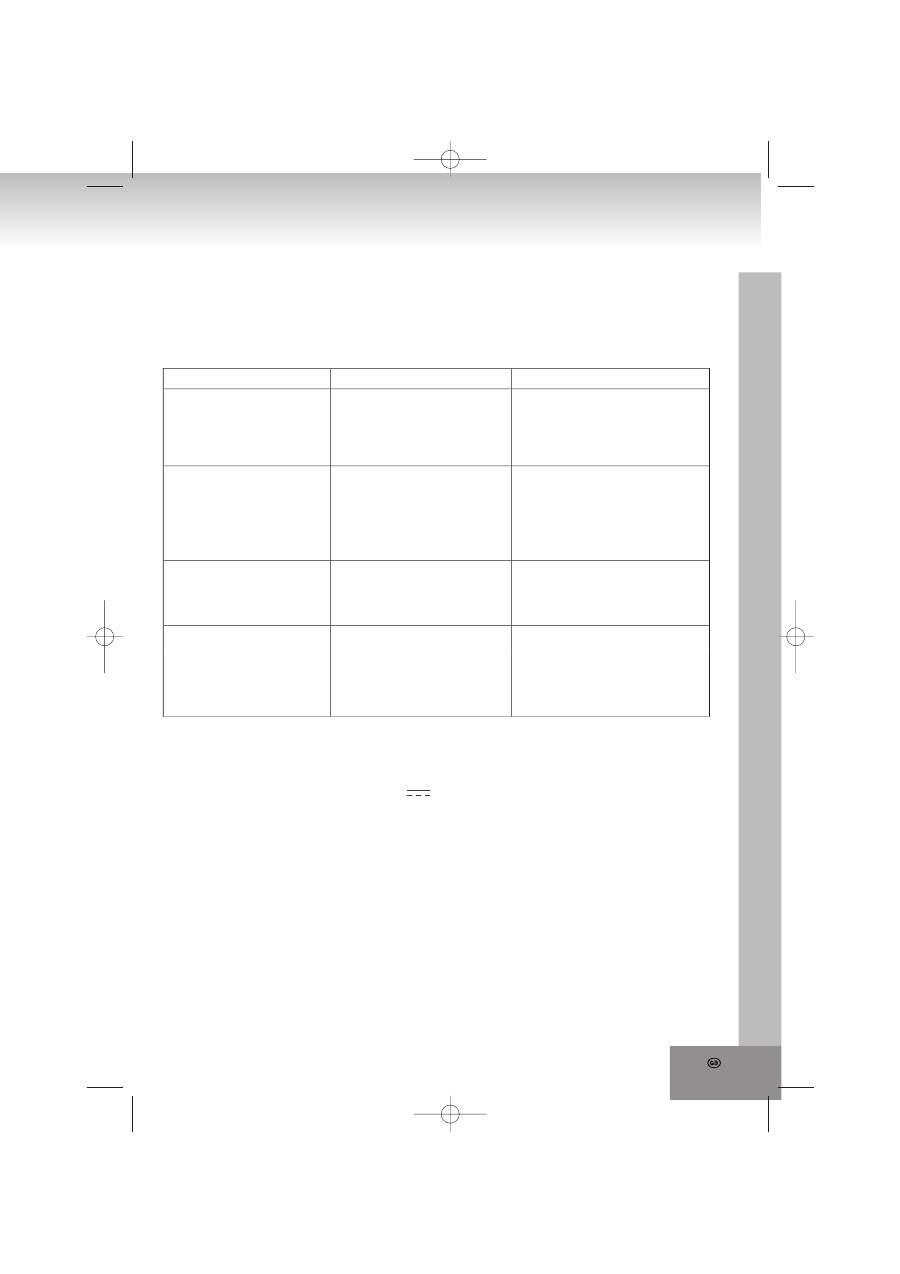
SYMPTOM
POSSIBLE CAUSE
SOLUTION
GENERAL
No sound
Volume is set too low.
Batteries exhausted.
Batteries inserted incorrectly.
Mains cable not connected.
Adjust the volume.
Change the batteries.
Observe polarity.
Connect mains cable correctly.
CD/MP3
CD skips
CD/MP3 dirty or damaged.
The unit was jolted.
Replace or clean the disc.
Keep the unit steady during
operation or put it down.
Display: - - -
No CD inserted.
CD is dirty or damaged.
Condensation in laser lens.
CD-R/RW is empty or not
finalized.
Insert a CD, CD-R or CD-RW.
Replace or clean the CD.
Wait until the laser lens is
completely dry (approx. 1 hour).
Finalize the CD-R/RW.
RADIO
Poor reception
Weak signal.
Interferences by other
appliances (TV sets, VCRs,
computers, etc.).
Adjust antenna:
FM: Telescopic antenna.
AM: adjust unit.
Keep distance to other
appliances.
SPECIFICATIONS
General
Power Supply:
AC 230V~50Hz
DC 9V (6 batteries type LR14 / UM-2 / C, 1.5V)
(batteries not supplied)
Power Consumption:
13 Watt
Frequency range: AM 525 – 1615kHz
FM 87.5 – 108MHz
Audio
Speaker impedance:
8 Ohm
Dimensions:
approx 239 x 205 x 121 mm
Weight:
approx 1,4 kg
Subject to change without prior notice.
22.
MODELE: 6698RB
Radio design avec lecteur CD/MP3/WMA et port USB
MESURES DE SECURITE
Un triangle avec point
d’exclamation attire
l’attention de l’utilisateur sur
la présence dans le manuel
d’instructions importantes
concernant l’utilisation et la
maintenance, et devant être
consultées.
Un triangle avec symbole
d’éclairattire l’attention de
l’utilisateur sur la présence de
"voltage dangereux" non isolé
dans le coffrage, pouvant être
assez puissant pour
provoquerune électrocution.
Prenez garde aux petites pièces et piles, ne les avalez pas. Cela pourrait être dangereux pour
votre santé et mener à l’étouffement. Prêtez l’attention la plus élevée pour garder les petits
appareils et piles hors de la portée des enfants.
Conseil important pour la protection de l’ouïe
Attention:
Nous tenons à votre ouïe autant que vous.
Par conséquent, prenez vos précautions lors de l’usage de cet appareil.
Notre recommandations: Evitez les volumes forts.
Dans le cas où des enfants utilisent l’appareil, assurez-vous que le volume n’est pas sur la
position éleve.
Attention!
Les volumes élevés peuvent irrémédiablement endommager l’ouïe des enfants.
NE JAMAIS laisser une personne ou surtout un enfant mettre des objets dans les trous, fentes ou
autres ouvertures de l’appareil. Cela pourrait entraîner la mort par décharge électrique. L’appareil
doit être ouvert uniquement par un assistant qualifié.
Veuillez utiliser l’appareil uniquement aux fins pour lesquelles il a été créé.
Cet appareil est exclusivement destiné à l’usage dans des locaux privés ou à usage commercial.
Veuillez conserver ce mode d`emploi pour utilisation ultérieure.
Indications relatives à la protection de l’environnement
Au terme de sa durée de vie, ce produit ne doit pas être éliminé avec les ordures ménagères
mais doit être remisà un point de collecte destiné au recyclage des appareils électriques et
électroniques. Le symbole figurant sur le produit, la notice d’utilisation ou l’emballage vous
indique cela.
Les matériaux sont recyclables conformément à leur marquage. Vous apportez une large
contribution à la protection de l’environnement par le biais du recyclage, de la réutilisation
matérielle ou par les autres formes de réutilisation des appareils usagés.
Veuillez vous adresser à la municipalité pour connaître la déchetterie compétente.
PLUS D’INFORMATIONS
AVERTISSEMENT
RISQUE D’ELECTROCUTION
NE PAS OUVRIR
ATENTION: AFIN DE REDUIRE LES
RISQUES D’ELECTROCUTION, NE
PAS RETIRER LE COFFRAGE
(AVANT OU ARRIERE). NE
CONTIENT AUCUNE PIECE
REMPLACABLE. CONFIER TOUTE
REPARATION A DU PERSONNEL
QUALIFIE.

23.
Ne gênez pas la ventilation du dispositif. Assurez-vous que rideaux, journaux, couvertures ou
meubles ne bloquent en aucun cas les fentes de ventilation de l’appareil. La ventilation doit être
assurée à tout moment! La surchauffe peut causer à l’appareil des dommages sérieux et réduire sa
performance et sa durée de vie.
La chaleur et sources de chaleur
Veuillez ne pas exposer l’appareil à la lumière directe (du soleil). Assurez-vous que l’appareil n’est
pas en contact direct avec des sources de chaleur telles qu’un chauffage ou un feu. Assurez-vous
que les fentes d’aération de l’appareil ne sont pas fermées.
Humidité et nettoyage
L’appareil n’est pas étanche! Ne plongez pas l’appareil dans l’eau. Evitez son contact avec l’eau.
De l’eau dans l’appareil pourrait sérieusement l’endommager. N’employez pas de détergents
contenant de l’alcool, de l’ammoniaque, du benzène ou des abrasifs. Ces produits pourraient
endommager votre appareil. Pour nettoyer l’appareil, utilisez un chiffon doux et humide.
Recyclage professionnel
Les piles et l’emballage n’appartiennent pas à la catégorie des ordures ménagères. Les piles
doivent être dirigées vers un centre collectant les piles usagées. Les matériaux de l’emballage sont
écologiques.
MESURES DE SÉCURITÉ
1. LISEZ CES INSTRUCTIONS -
Toutes les instructions de sécurité et d’utilisation doivent êtres lues avant
de faire fonctionner l’appareil.
2. CONSERVER LES INSTRUCTIONS –
Les mesures de sécurité et de fonctionnement doivent être
conservées pour références ultérieures.
3. RESPECTER TOUS LES AVERTISSEMENTS –
Tous les avertissements sur l’appareil et dans le mode
d’emploi doivent être respectés.
4. SUIVRE LES INSTRUCTIONS –
Toutes les instructions de fonctionnement doivent être suivies.
5. EAU ET HUMIDITE -
L’appareil ne doit pas être utilisé à proximité d’eau, par exemple : une baignoire, un
lavabo, un évier, une lessiveuse, une piscine ou un sous-sol humide.
6. VENTILATION-
Les ouvertures de l’appareil permettent une bonne ventilation, elles sont nécessaires pour
un bon fonctionnement de l’appareil et pour empêcher les surchauffes. L’appareil doit être placé afin que
son emplacement ou sa position n’interfère avec la bonne ventilation. Ne placez pas l’appareil sur un lit,
sofa, tapis ou une autre surface similaire qui pourrait bloquer les trous de ventilation. Le placer dans un
meuble encastré, comme une bibliothèque ou une étagère encastrée, empêchera également une bonne
circulation de l’air.
7. CHALEUR –
L’appareil doit être tenu à l’écart des sources de chaleur comme les radiateurs, fours ou
autres appareils émettant de la chaleur (y compris les amplificateurs).
8. SOURCE D’ALIMENTATION -
L’appareil doit être branché sur une alimentation de même type que celle
décrite dans le mode d’emploi ou comme indiqué sur l’unité.
9. PROTECTION DU CORDON D’ALIMENTATION –
Les cordons d’alimentation doivent être acheminés
afin que l’on ne marche pas dessus ou qu’ils ne soient pas pincés par des éléments placés dessus ou
contre eux.Toujours tenir la prise lorsque vous débranchez l’appareil de la prise murale et ne débranhchez
pas avec le câble d’alimentation, ne jamais tirer sur le câble.
10. PERIODE DE NON UTILISATION -
Pendant ces périodes de non utilisation de l’appareil, veuillez
débrancher l’appareil sur l’alimentation principale et l’antenne.
11. INSERTION D’OBJET et de LIQUIDE –
Une extrême vigilance est de rigueur afin qu’aucun objet ou
liquide n’entrent dans le châssis par les ouvertures.
12. DOMMAGES NECESSITANT UNE REPARATION –
L’unité doit être réparée par du personnel de
réparation qualifié lorsque:
a. Le cordon d’alimentation ou la prise d’alimentation ont été endommagé.
b. Un liquide a été projeté sur l’appareil ou si un objet est tombé dans l’appareil.
c. Si l’unité a été exposée à la pluie ou à l’humidité,
d. L’appareil est tombé ou l’enceinte est endommagée. N’utilisez que les commandes et les
réglages comme spécifié dans ce manuel.
