Rotel RCD-06: AC Power and Control
AC Power and Control: Rotel RCD-06
6
AC Power and Control
AC Power Input
e
Your RCD-06 is configured at the factory for
the proper AC voltage in the country where
you purchased it (either 120 volts or 230 volts).
The AC line configuration is noted on a decal
on the back panel.
NOTE:
Should you move your CD player to
another country, it may be possible to re-
configure it for use on a different line volt-
age. Do not attempt to perform this
conversion yourself. Opening the enclosure
of the RCD-06 exposes you to dangerous
voltages. Consult a qualified service person
or the Rotel factory service department for
information.
The RCD-06 should be plugged directly into a
2-pin polarized wall outlet or into the switched
outlet on another component in your audio
system. Do not use an extension cord.
Be sure the power switch on the front panel of
the RCD-06 is turned off (in the “out” position).
Then, connect the supplied power cord to the
AC power receptacle on the rear of the unit
and the AC power outlet.
If you are going to be away from home for an
extended period of time such as a month-long
vacation, it is a sensible precaution to unplug
your CD player (as well as other audio and
video components) while you are away.
Power Switch
1
and Power
Indicator
2
The power switch is located on the front panel
of your CD player. To turn the CD player on,
push the switch in. The LED indicator above the
switch and the Display will light up, indicating
that the CD player is turned on. To turn the CD
player off, push the button again and return it
to the “out” position.
NOTE:
If you are using a switched outlet to
turn on and off your CD player, you should
leave the power switch in the “on” position.
When AC power is applied to the unit, it will
power up in fully active mode.
Output Connections
The RCD-06 gives you a choice of two dif-
ferent kinds of output connections — an
analog output signal from the built-in D/A
converter for use with conventional analog
audio components and a coax digital output
which provides an unprocessed digital data
signal for use with outboard D/A converters
or digital processors.
NOTE:
To prevent loud noises that neither
you nor your speakers will appreciate, make
sure the CD player is turned off when you
make any signal connections.
Analog Outputs
-
[See Figure 3 for wiring illustration]
A pair of standard RCA jacks supplies an
analog output signal from the RCD-06 to the
source inputs of an audio preamplifier, in-
tegrated amplifier, or receiver.
Select high quality audio interconnect cables.
Connect the left channel output of the RCD-06 to
the left channel source input on the preamplifier
or other component. Connect the right output
of the RCD-06 to the right channel source input
on the preamplifier or other component.
Digital Output
=
[See Figure 4 for wiring illustration]
If you are using an outboard D/A converter
or other digital processor, you will need an
unprocessed digital data stream from the
RCD-06, taken before the built-in D/A con-
verter. This signal is supplied by the RCD-
06’s back-panel digital output jack. Using a
standard 75 ohm coax digital cable, connect
the RCD-06’s coax digital output to the coax
digital input connector on the outboard D/A
converter.
Operation
The RCD-06 can be operated using its front
panel buttons or from corresponding buttons
on the supplied infrared remote control. Spe-
cific instructions for each of these controls are
detailed below. Most of the buttons are dupli-
cated on the front panel and on the IR remote
control. However, there are a few exceptions
where the buttons are only available on one
or the other. These exceptions are noted in
the instructions.
Infrared Remote Control
4
Before using the IR remote control, it is neces-
sary to install two “UM-4/AAA” batteries
(supplied). Remove the plastic cover on the
back of the IR remote, install the batteries
(observing the + and – polarity indications),
and reinstall the cover.
To use the IR remote control, aim it at the IR
sensor
4
located in the Display area on the
front panel of the RCD-06.
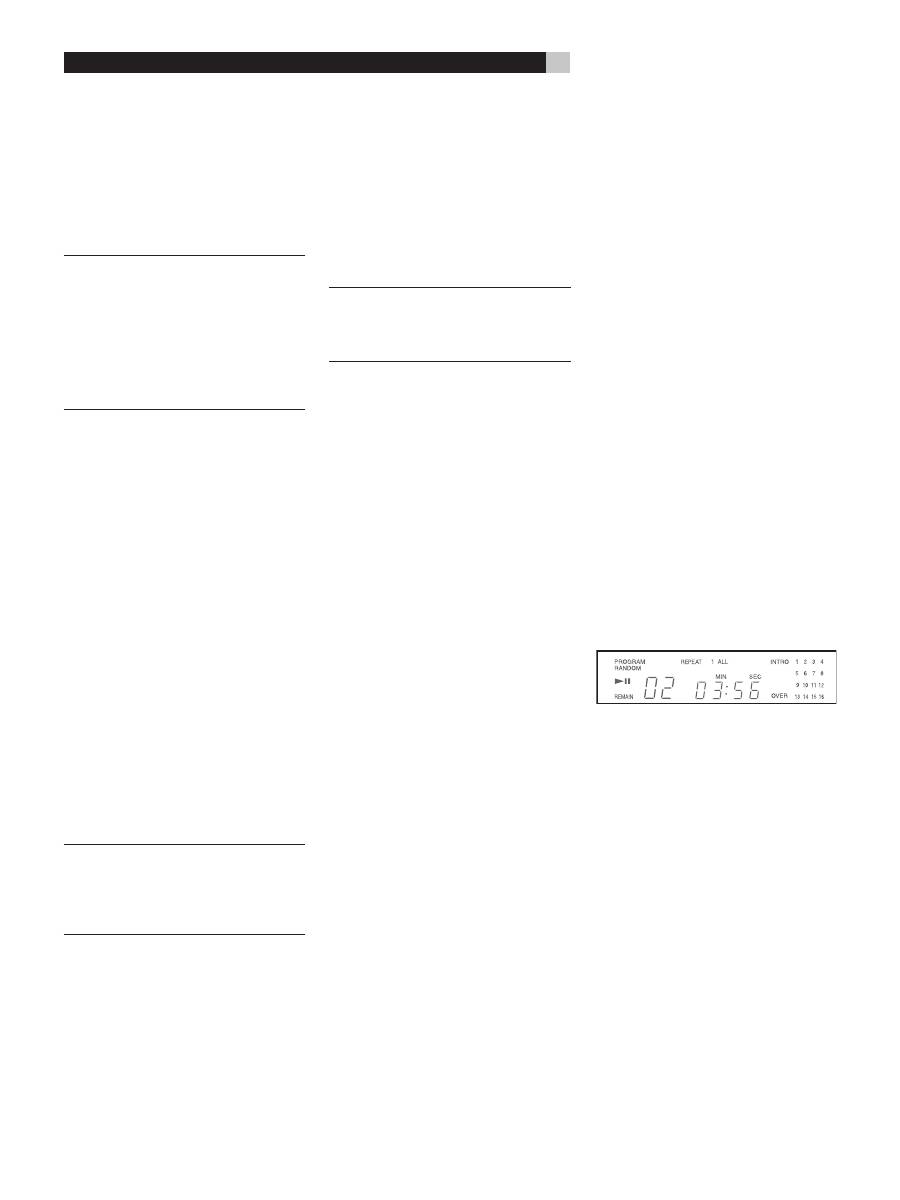
Display
5
A lighted Display on the front panel of the
RCD-06 provides useful information about
the status of the unit, activation of special
features, and track/time information for the
disc being played. Each of these indicators is
described in the detailed operating instructions
that follow.
Disc Drawer
3
A motor-driven disc drawer, located in the
center of the RCD-06, slides out to accept a
compact disc and retracts to play the disc. Place
the compact disc in the drawer label-side up.
Make sure the disc is properly centered in the
tray. The drawer can be closed in two ways:
pushing the OPN/CLS button or pushing the
PLAY button.
RCD-06
Stereo Compact Disc Player
Оглавление
- Important Safety Instructions
- About Rotel
- AC Power and Control
- Transport Control Buttons
- External Remote Input
- Troubleshooting
- Instructions importantes concernant la sécurité
- Sommaire
- mise sous tension
- Commandes du transport du disque
- Entrée pour télécommande externe
- Prise de commutation TRIGGER 12 V
- Wichtige Sicherheitshinweise
- Inhaltsverzeichnis
- Netzspannung und Bedienung
- Laufwerksbedienung
- EXT REM IN-Buchse
- Bei Störungen
- Importanti instruzioni di Sicurezza
- Indice
- Alimentazione AC e Comandi
- Comandi per il Controllo della riproduzione
- Ingresso del Telecomando Esterno
- Caratteristiche
- Instrucciones Importantes Relacionadas con la Seguridad
- Contenido
- Alimentación y Control
- Teclas de Control del Sistema de Transporte
- Funciones y Prestaciones Adicionales
- Características Técnicas
- Waarschuwing
- Inhoud
- Het aansluiten op het lichtnet
- De toetsen voor de afspeelfuncties
- De externe afstandsbedieningaansluiting “EXT REM IN”
- De “12V Trigger” aansluiting
- Viktig säkerhetsinstruktion
- Innehåll
- Ström och strömfunktionerr
- Ytterligare funktioner
- Ingång för extern styrning
- Specifikationer
- Важные инструкции по безопасности
- О компании ROTEL
- Подсоединение выходов
- Дополнительные функции
- External Remote
- Технические характеристики
")