Toshiba JournE Scan: Scanning to a Digital Photo Frame Connecting the Scanner to a Computer System requirements (for computer)
Scanning to a Digital Photo Frame Connecting the Scanner to a Computer System requirements (for computer): Toshiba JournE Scan
Table of contents
- Important Safety Instructions
- n When handling the power cable/cord, follow these precautions:
- n Attaching the power cable/cord
- Introduction Checking the Components Parts of the Scanner and Their Functions Front view
- No. Name Function/description No. Name Function/description Rear view
- Using the Scanner Preparation
- Making a Scan
- Scanning to a Digital Photo Frame Connecting the Scanner to a Computer System requirements (for computer)
- Making connection More Information Suitable and unsuitable types of originals
- Orientation of the original and scanned image Cropping on scanned images
- Care and Maintenance Cleaning the Scanner Cleaning the roller
- Cleaning the image sensor Calibrating the Scanner
- Troubleshooting
- Specifications
- TOSHIBA Support Copyright Statement Disclaimer Trademarks
- Regulatory Statements Working Environment
- Additional Environments not Related to EMC Following Information is Only for EU-member States
10 User’s Manual
EN
UM_EEMEA_Scan_1108.book Page 10 Monday, December 15, 2008 2:26 PM
n This scanner only supports output images in JPEG (.jpg) format, and the
date/time mark will not be added.
n For more information on how this scanner stores the scanned image files on
the memory card, see “Orientation of the original and scanned image” on
page 12.
n If the memory card is near full (lower than 1MB), the Status/card indicator
blinks. Use another card or delete some files on it if necessary.
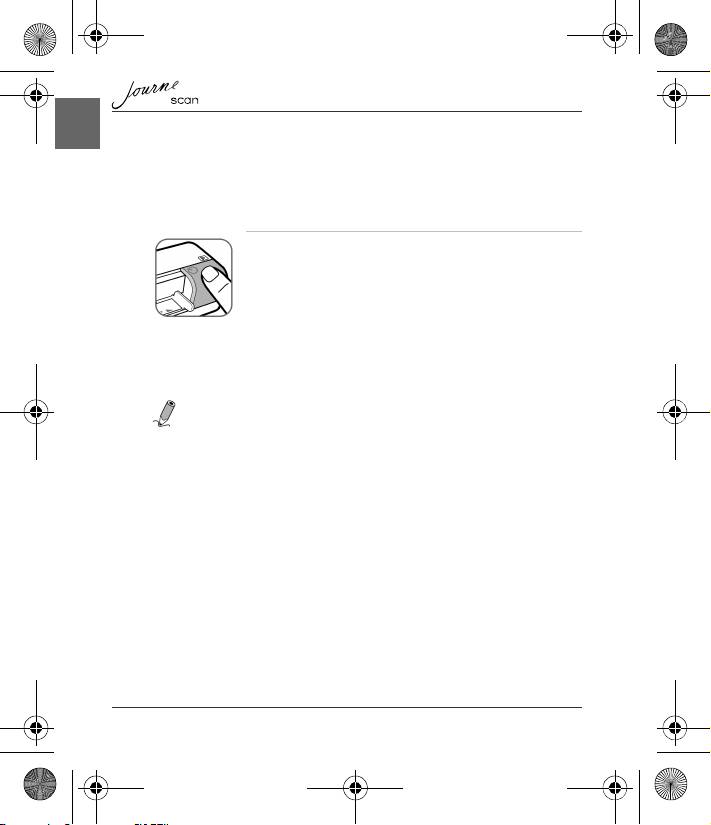
4. To turn off the scanner after all originals are scanned, press
and hold the Power button for 1 second. The power indicator
will blink and then go off.
Scanning to a Digital Photo Frame
By connecting this photo scanner to a compatible digital photo frame, the
scanned images will be transferred to and displayed on the digital photo frame
automatically.
NOTE: This function requires a compatible digital photo frame (visit
www.computers.toshiba-europe.com for information about purchasing the digital
frame and using this function).
Connecting the Scanner to a Computer
By connecting the scanner to a computer, you can access the scanned images on
the memory card directly, or use the scanner as a memory card reader.
System requirements (for computer)
n Operating system: Windows: Windows 2000, XP or Vista.
n An available USB 1.1 or 2.0 port
