Nikon Andere-Fernsteuerung: Using the MC-36 Timed Photography (1/7)
Using the MC-36 Timed Photography (1/7): Nikon Andere-Fernsteuerung
Table of contents
- For Your Safety (1/2)
- For Your Safety (2/2) Notices (1/2)
- Body
- When the MC-36 Is Not in Use
- Parts of the MC-36 (3/3) Connecting the MC-36
- Using the MC-36 Timed Photography (1/7)
- Timed Photography (2/7)
- Timed Photography (3/7)
- Timed Photography (4/7)
- Timed Photography (5/7) 3. Start the Timer
- 4. End Shooting
- Timed Photography (7/7)
- Manual Release
- Precautions for Use Caring for the MC-36
- Speci cations
Using the MC-36
Timed Photography (1/7)
The MC-36 functions as:
1. Adjust Camera Settings
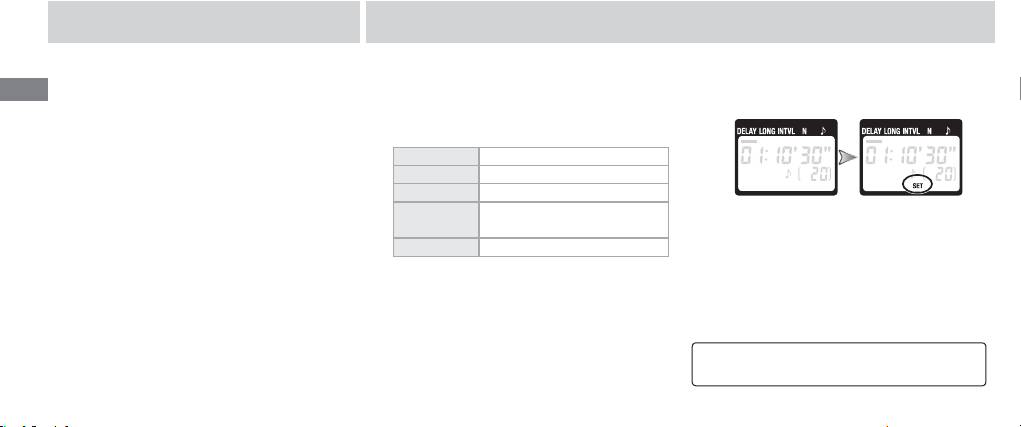
2. Set the Timer
• An automatic timer (pp. 8–14). Choose the de-
1.1 Connect the MC-36 (pg. 7) and turn the
2.1 Press the SET button (). “SET” will fl ash in
En
lay (time before shooting starts), exposure
camera on.
the control panel.
time, interval, and number of shots for timed
1.2 Adjust camera settings as follows (see the
interval photography. Shutter speed can be
camera manual for details):
selected with the camera if desired (pg. 14).
Exposure mode M (manual)
• A manual release (pg. 15). Take photographs
Shutter speed Bulb
manually using the shutter-release button on
Interval timer Off
the MC-36. Photographs can be taken manu-
Focus mode AFC (continuous-servo autofo-
*
cus)
or M (manual)
ally even when the timer is running.
Continuous S (single frame)
* Select “release priority” if available.
The MC-36 can be connected to the camera af-
ter the timer has been set.
8
