Canon i-SENSYS MF8540Cdn: Setting Wireless LAN Push Button Mode Setting the Access Point Manually
Setting Wireless LAN Push Button Mode Setting the Access Point Manually: Canon i-SENSYS MF8540Cdn
Table of contents
- Contents
- Checking Before the Setup Switching the Connection Method to Wireless LAN Checking the Wireless Router
- Setting Wireless LAN Push Button Mode Setting the Access Point Manually
- Checking That the Wireless LAN Setting is Completed
- Installing the Driver / Software Checking SSID or Network Key for a Wireless Router
7
En
Setting Wireless LAN
Push Button Mode
1
Press
.
2
Select <Network Settings>, and then press [OK].
3
Select <Wireless LAN Settings>, and then press
[OK].
4
Press [OK].
If <Do you want to enable the wireless LAN?> is
displayed, press [▲] to highlight <Yes>, and then press
[OK].
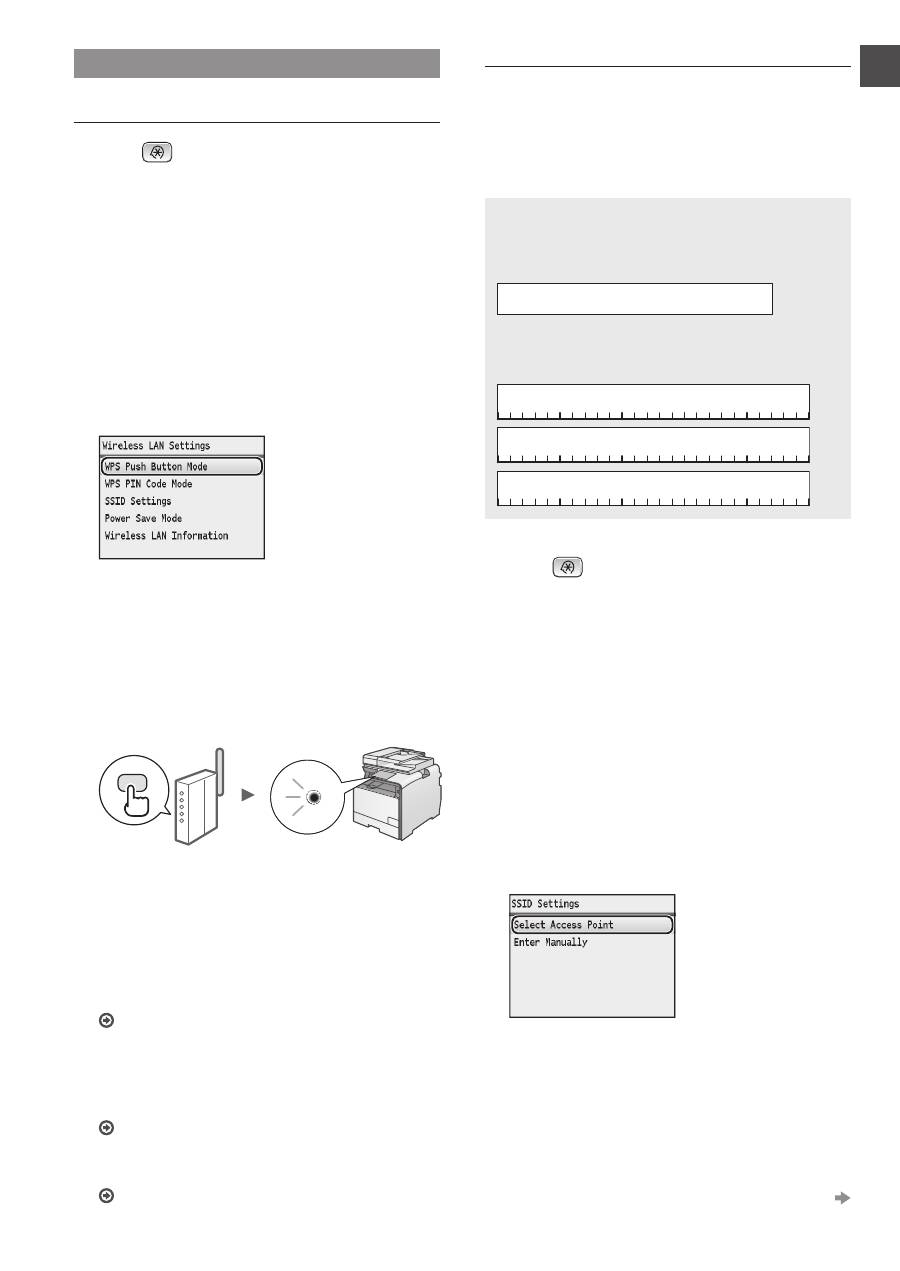
5
Select <WPS Push Button Mode>, and then
press [OK]
6
Select <Yes>, and then press [OK].
7
You should press the WPS button within 2
minutes after you select <Yes> in step 6.
Press and hold* the button until the WPS lamp
lights or blinks.
* The time that you should hold the button may vary depending
on the wireless router you are using.
Wait approximately 2 minutes after the connection.
IP address is set during this period of time.
When an error message appears:
Press [OK] to close the screen, check whether or not
the WPS function of the wireless router is correctly set,
and then retry the settings. If the access point cannot be
detected even after retrying, see the following.
e-Manual "When an Error Message Appears"
When checking the network connection:
You can check if the machine is properly connected
to the network using a computer that connected to the
same network.
"Checking That the Wireless LAN Setting is Completed"
(P.8)
To set IP address manually:
e-Manual "Setting IP Addresses"
Setting the Access Point Manually
If you do not know SSID (access point name) and network
key that you are using, check a label attached on the
wireless router or use "Canon MF/LBP Wireless Setup
Assistant" ("Checking SSID or Network Key for a Wireless
Router" (P.9)) to know your SSID and network key. Write
down the SSID and network key below, for reference.
SSID
It is sometimes written as name of network, or name of
access point. If there are multiple SSIDs, please write
down all.
Network Key
It is sometimes written as PIN, WEP key, WPA/WPA2
passphrase, PSK or preshared key.
1
Press
.
2
Select <Network Settings>, and then press [OK].
3
Select <Wireless LAN Settings>, and then press
[OK].
4
Press [OK].
If <Do you want to enable the wireless LAN?> is
displayed, press [▲] to highlight <Yes>, and then press
[OK].
5
Select <SSID Settings>, and then press [OK].
6
Select <Select Access Point>, and then press
[OK].
7
Select the access point that you wrote down, and
then press [OK].
If multiple matched SSIDs are displayed, select the ID
that is listed first (the one with the strongest signal).
Proceed to the next page
