Bang & Olufsen BeoConnect (for Mac): Daily use
Daily use: Bang & Olufsen BeoConnect (for Mac)
4
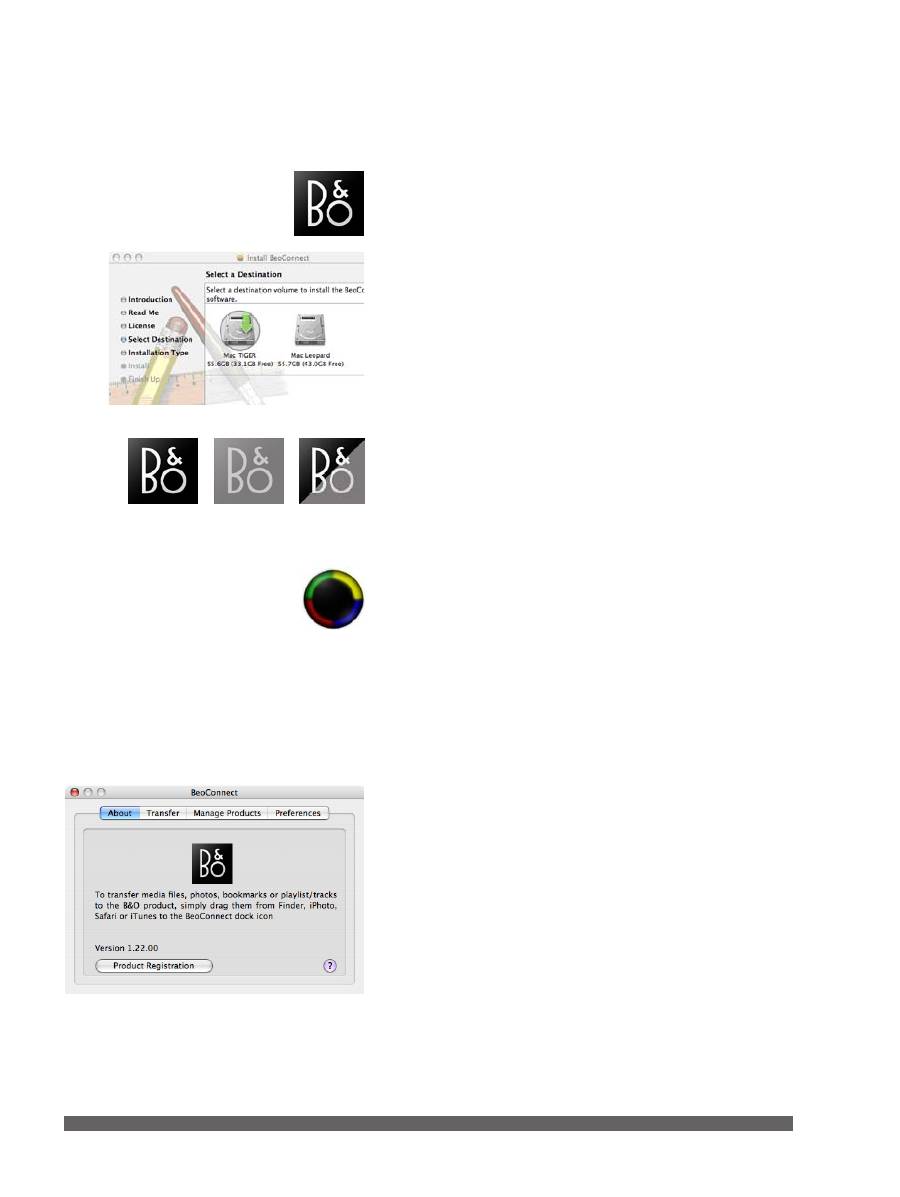
After successful installation, BeoConnect will launch automatically
on the dock of your Mac. A BeoConnect window will appear
when you click on the BeoConnect icon on the dock.
When BeoConnect is installed, a registration page opens.
You can register by entering the required details. You can also
register later by clicking the ‘Product registration’ button on
the ‘About’ tab. If you do not register, you can not use
N.RADIO on your Bang & Olufsen product. However, you are
still able to transfer content from the Mac.
When the connection is established, you can see that the
Bang & Olufsen icon at the bottom of the screen is black.
The icon is grey if there is no connection to the Bang & Olufsen
product. And when BeoConnect is not running, the icon is half
grey, half black.
When you transfer content from the Mac, the Bang & Olufsen
icon flickers between black and grey.
Transfer music
To transfer tracks and playlists from iTunes, select the track or
playlist you want to transfer and drag and drop it to the black icon.
A round-shaped figure appears with a colour for each of the
coloured lists. Simply drop your item to one of the coloured
lists or drop it to the black region, which will transfer the
content to BeoMaster 5/BeoSound 5.
A coloured list on BeoMaster 5/BeoSound 5 consists of either
albums or a playlist. This means that if you drag a cover from
iTunes to a coloured list which consists of a playlist, the playlist
is replaced by the album. If you drag a playlist into a coloured
list consisting of an album, the album is replaced by the playlist.
– A coloured list based on cover-transfers is limited to nine
items
– A coloured list based on a playlist-transfer is limited to 99
single tracks
Remember that ‘first-in-first-out’ applies, when you add items or
tracks, regardless if the limit of the list is nine items or 99 tracks.
Daily use
5
No coloured lists in BeoMedia 1
If you own a BeoMedia 1, note that it holds no coloured lists.
When you drag a playlist onto a coloured region in the dock
icon, the drag-and-drop behaves as if you drag it to the black
region. There are no limits for the number of entries in playlists
on the BeoMedia 1.
The transfer tab
To see transfer progress look under the transfer tab.
From iTunes to a coloured list …
– When you drag a cover from iTunes to a coloured list, you
create an album on that list with all the tracks from the cover
– If you want a coloured list with several albums, drag covers
to a playlist in iTunes and drag the playlist to one of the
coloured lists
From iTunes to the black region …
– When you drag a cover to the black region, you can view
the content in the different views on BeoMaster 5 and
BeoSound 5, but the cover does not show in any coloured list
– Playlists with identical names do not overwrite each other
For all transfers, the transferred content immediately shows on
your television or on BeoSound 5.
If some of the content does not transfer, for example, DRM
protected music files, you will be notified in the ‘Messages’
box on the Mac.
Note that named playlists are not available on BeoSound 5.
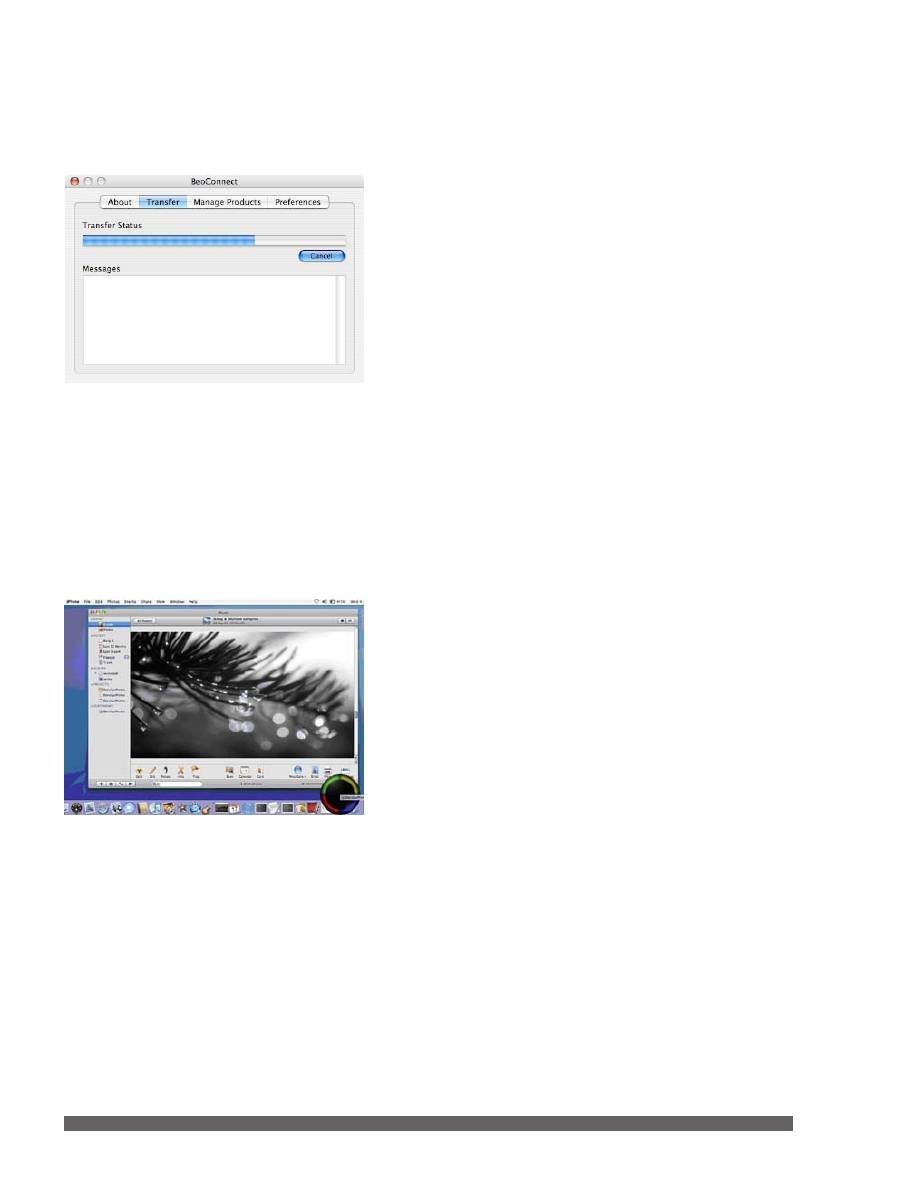
Transfer photos and web bookmarks
You can transfer content from `Finder’ and `iPhoto’, and you
can transfer bookmarks with `Bookmark Manager’ in the
browser `Safari’.
Transfer from iPhoto …
When you drag photos from iPhoto, you can add the photos to
a coloured list on the round icon, and you can view the photos
on the television.
The following files can be transferred to BeoMaster 5:
Audio files:
MP3, AAC, WMA, WAV, above 5 MB, and M4A
(if not Applelossless)
Photo files:
JPG, JPEG, BMP, PNG, TIFF, GIF and TIF.
Video:
AVI, MPEG, MPG, M1V, MPE, ASF and WMV.

6
If you drop a photo to the black region of the round icon, the
photo will be available on BeoMaster 5. You can add it to a
coloured list afterwards, if you want.
Note that named playlists are not available on BeoSound 5.
We recommend that you always keep a copy of your music
files and photos either on the Mac or on a storage media.
Transfer bookmarks from ‘Bookmark Manager’ in Safari
…
Open your bookmarks. Simply drag and drop the bookmarks
to the black region. On the television screen, activate WEB and
click
GO
on the bookmark to view it.
Note that the coloured lists do not support bookmarks.
Оглавление
- English – Content Introduction, 3 Daily use, 4 Connect to products, 7 Manage products, 8 Preferences, 9 About, 10 BeoConnect (For Mac)
- Introduction
- Daily use
- Connect to products
- Manage products
- Preferences
- About
- Indhold Indledning, 12 Daglig brug, 13 Opret forbindelse til produkter, 16 Produkthåndtering, 17 Indstillinger, 18 Om, 19 BeoConnect (til Mac)
- Indledning
- Daglig brug
- Opret forbindelse til produkter
- Produkthåndtering
- Indstillinger
- Om
- Deutsch – Inhalt Einleitung, 21 Täglicher Gebrauch, 22 Verbindung zu Geräten herstellen, 25 Geräte verwalten, 26 Präferenzen, 27 Info, 28 BeoConnect (für Mac)
- Einleitung
- Täglicher Gebrauch
- Verbindung zu Geräten herstellen
- Geräte verwalten
- Präferenzen
- Info
- Nederlands – Inhoud Inleiding, 30 Dagelijks gebruik, 31 Verbinden met producten, 34 Producten beheren, 35 Voorkeuren, 36 Info, 37 BeoConnect (Voor Mac)
- Inleiding
- Dagelijks gebruik
- Verbinden met producten
- Producten beheren
- Voorkeuren
- Info
- Français – Table des matières Introduction, 39 Utilisation quotidienne, 40 Se connecter aux produits, 43 Gérer les produits, 44 Préférences, 45 A propos, 46 BeoConnect (Pour Mac)
- Introduction
- Utilisation quotidienne
- Se connecter aux produits
- Gérer les produits
- Préférences
- A propos
- Italiano – Indice Introduzione, 48 Uso quotidiano, 49 Connessione ai prodotti, 52 Gestione dei prodotti, 53 Preferenze, 54 Info, 55 BeoConnect (Per Mac)
- Introduzione
- Uso quotidiano
- Connessione ai prodotti
- Gestione dei prodotti
- Preferenze
- Info
- Español – ÍndiceIntroducción, 57 Uso habitual, 58 Conexión de equipos, 61 Administración de equipos, 62 Preferencias, 63 Acerca de, 64 BeoConnect (para Mac)
- Introducción
- Uso habitual
- Conexión de equipos
- Administración de equipos
- Preferencias
- Acerca de
- Português – Índice Introdução, 66 Utilização diária, 67 Ligar a aparelhos, 70 Gerir aparelhos, 71 Preferências, 72 Acerca de, 73 BeoConnect (Para Mac)
- Introdução
- Utilização diária
- Ligar a aparelhos
- Gerir aparelhos
- Preferências
- Acerca de
- Svenska – Innehåll Inledning, 75 Daglig användning, 76 Ansluta till produkter, 79 Hantera produkter, 80 Inställningar, 81 Om, 82 BeoConnect (För Mac)
- Inledning
- Daglig användning
- Ansluta till produkter
- Hantera produkter
- Inställningar
- Om
- Suomi – sisältö Johdanto, 84 Päivittäinen käyttö, 85 Muodosta yhteys laitteisiin, 88 Laitteiden hallinta, 89 Preferences, 90 Tietoja, 91 BeoConnect (Mac-tietokoneelle)
- Johdanto
- Päivittäinen käyttö
- Muodosta yhteys laitteisiin
- Laitteiden hallinta
- Preferences
- Tietoja
- Русский – Содержание Вступление, 93 Повседневное использование, 94 Подключение к устройствам , 97 Управление устройствами, 98 Предпочтения , 99 О программе , 100 BeoConnect (Для Mac)
- Вступление
- Повседневное использование
- Подключение к устройствам
- Управление устройствами
- Предпочтения
- О программе
- Eλληνικά – Περιεχόμενα Εισαγωγή, 102 Καθημερινή χρήση, 103 Σύνδεση με προϊόντα, 106 Διαχείριση προϊόντων, 107 Προσωπικές ρυθμίσεις, 108 Σχετικά με, 109 BeoConnect ( Για Mac)
- Εισαγωγή
- Καθημερινή χρήση
- Σύνδεση με προϊόντα
- Διαχείριση προϊόντων
- Προσωπικές ρυθμίσεις
- Σχετικά με
- 中文 – 目录 简介 , 111 日常使用 , 112 连接到产品 , 115 管理产品 , 116 首选项 , 117 关于 , 118 BeoConnect ( 适用于 Mac)
- 简介
- 日常使用
- 连接到产品
- 管理产品
- 首选项
- 关于
- 繁體中文-目錄 簡介 , 120 日常使用 , 121 連接產品 , 124 產品管理 , 125 好用語言 , 126 關於 , 127 BeoConnect ( 適用于 Mac)
- 簡介
- 日常使用
- 連接產品
- 產品管理
- 偏好語言
- 日本語 - 目次 はじめに, 129 日常的な操作, 130 製品の接続, 133 製品の管理, 134 プリファレンス, 135 ソフトウェアについて, 136 BeoConnect (Mac 用 )
- はじめに
- 日常的な操作
- 製品の接続
- 製品の管理
- プリファレンス
- ソフトウェアについて
- 한국어 – 목차 제품 소개 , 138 제품 사용하기 , 139 제품에 연결하기 , 142 제품 관리 , 143 기본 설정 , 144 정보 , 145 BeoConnect (Mac용)
- 제품 소개
- 제품 사용하기
- 제품에 연결하기
- 제품 관리
- 기본 설정
- 정보
- Polski – Zawartość Wprowadzenie, 147 Codzienne czynności, 148 Podłączenie do urządzeń, 151 Zarządzanie urządzeniami, 152 Preferencje, 153 Informacje o programie, 154 BeoConnect (Dla komputerów Mac)
- Wprowadzenie
- Codzienne czynności
- Podłączenie do urządzeń
- Zarządzanie urządzeniami
- Preferencje
- Informacje o programie
- Česky – Obsah Úvod, 156 Každodenní používání, 157 Připojení k zařízení, 160 Správa zařízení, 161 Předvolby, 162 O aplikaci, 163 BeoConnect (Pro zařízení Mac)
- Úvod
- Každodenní používání
- Připojení k zařízení
- Správa zařízení
- Předvolby
- O aplikaci
- Magyar – Tartalom Bevezetés, 165 Mindennapi használat, 166 Csatlakozás a készülékekhez , 169 Készülékek menedzselése, 170 Beállítások, 171 Általános feltételek, 172 BeoConnect (Mac-hez)
- Bevezetés
- Mindennapi használat
- Csatlakozás a készülékekhez
- Készülékek menedzselése
- Beállítások
- Általános feltételek
- Latviešu – saturs Ievads, 174 Ikdienas lietošana, 175 Kā izveidot savienojumu ar izstrādājumiem, 178 Izstrādājumu pārvaldība, 179 Prioritārie iestatījumi, 180 Apraksts, 181 BeoConnect (Mac datoriem)
- Ievads
- Ikdienas lietošana
- Kā izveidot savienojumu ar izstrādājumiem
- Izstrādājumu pārvaldība
- Prioritārie iestatījumi
- Apraksts
- Slovenčina - Obsah Uvod, 183 Vsakodnevna uporaba, 184 Povezovanje z napravami, 187 Upravljanje naprav, 188 Nastavitve, 189 O programu, 190 BeoConnect (za računalnike Mac)
- Uvod
- Vsakodnevna uporaba
- Povezovanje z napravami
- Upravljanje naprav
- Nastavitve
- O programu
- Lietuvių k. – Turinys Įžanga, 192 Kasdienis naudojimas, 193 Gaminių prijungimas, 196 Gaminių tvarkymas, 197 Pasirinkimai, 198 Apie, 199 BeoConnect (Skirta Mac)
- Įžanga
- Kasdienis naudojimas
- Gaminių prijungimas
- Gaminių tvarkymas
- Pasirinkimai
- Apie
- Slovensko – Vsebina Úvod, 201 Bežné používanie, 202 Prepojenie so zariadeniami, 205 Správa zariadení, 206 Preferencie, 207 Informácie o produkte, 208 BeoConnect (Pre počítač Mac)
- Úvod
- Bežné používanie
- Prepojenie so zariadeniami
- Správa zariadení
- Preferencie
- Informácie o produkte
