Toshiba JournE F800-F801: Step 5: Turn on the unit. Step 6: Operate the unit.
Step 5: Turn on the unit. Step 6: Operate the unit.: Toshiba JournE F800-F801
Table of contents
- Safety Instructions
- Follow the instructions below to install and operate the unit. Step 1: Check the components
- Controls on the front Controls on the back
- Step 2: Install the adjustable foot stand.
- Step 3: Connect the AC power.
- Step 4: (Optional) Insert a memory card.
- Step 5: Turn on the unit. Step 6: Operate the unit.
- Using the Photo mode Using the Calendar mode
- Using the Music mode Using the Video mode
- Additional features (available on PA3702*-1ET2 only) Built-in battery
- Built-in tilt sensor Built-in light sensor
- Frequently asked questions
- TOSHIBA support Regulatory Information
- Working Environment Additional environments not related to EMC
- Following information is only valid for EU-member states Disposal of products Disposal of batteries and/or accumulators
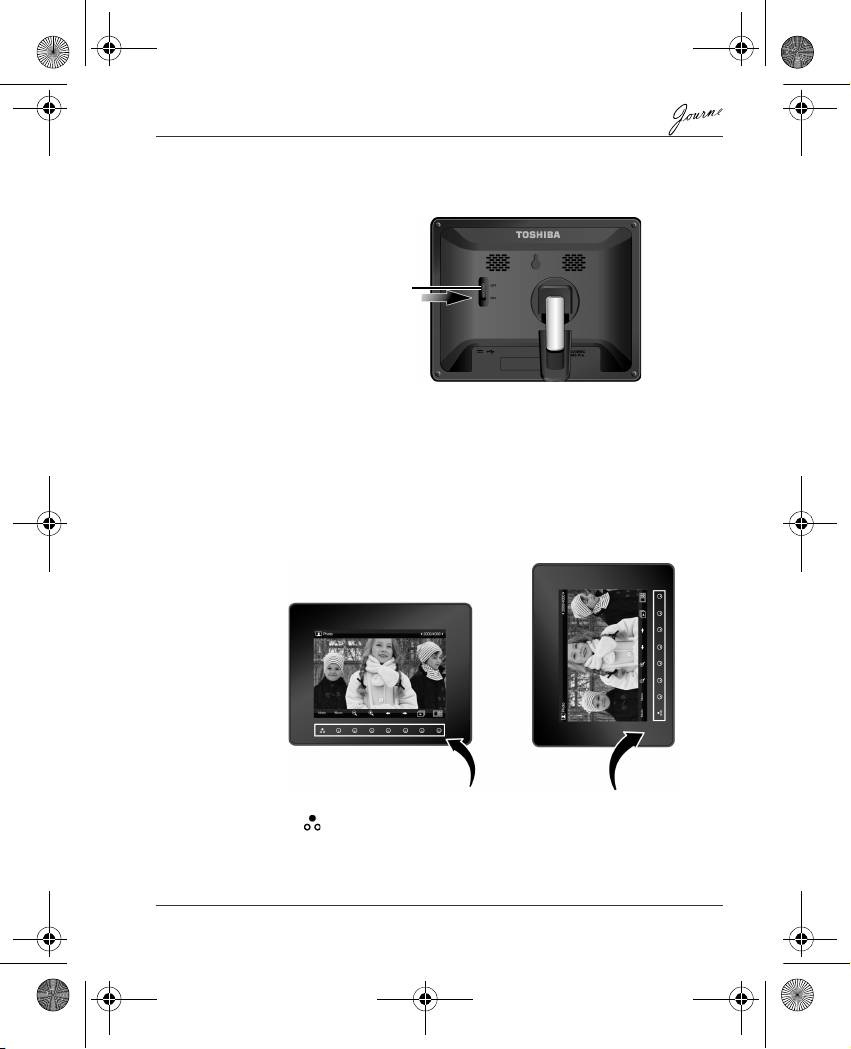
Step 5: Turn on the unit.
Sliding the power switch to ON turns on the unit.
Step 6: Operate the unit.
After the unit is turned on, available functions (represented by name
or icon) show on the screen. Their corresponding buttons also light
up on the control panel for a period of time.
Simply press the corresponding button below (if the unit is placed
horizontally) or beside (if the unit is placed vertically) the name or
icon indicating the function you want to use.
n To toggle among Photo, Calendar, Music, and Video modes,
press under Mode.
n If the control panel is unused for a certain period of time, the LED
turns off automatically. To turn on the backlight again, press
anywhere on the control panel.
User’s Manual EN-9
Power switch
Control panel
GMH300056020.book Page 9 Tuesday, September 2, 2008 10:46 PM
