Eneo NXC-1404F03W: DE
DE: Eneo NXC-1404F03W
Note: The default administrator username and password is “admin”. If the
password is lost, the Network Camera must be reset to the factory default
settings. See “Resetting to the Factory Default Settings”.
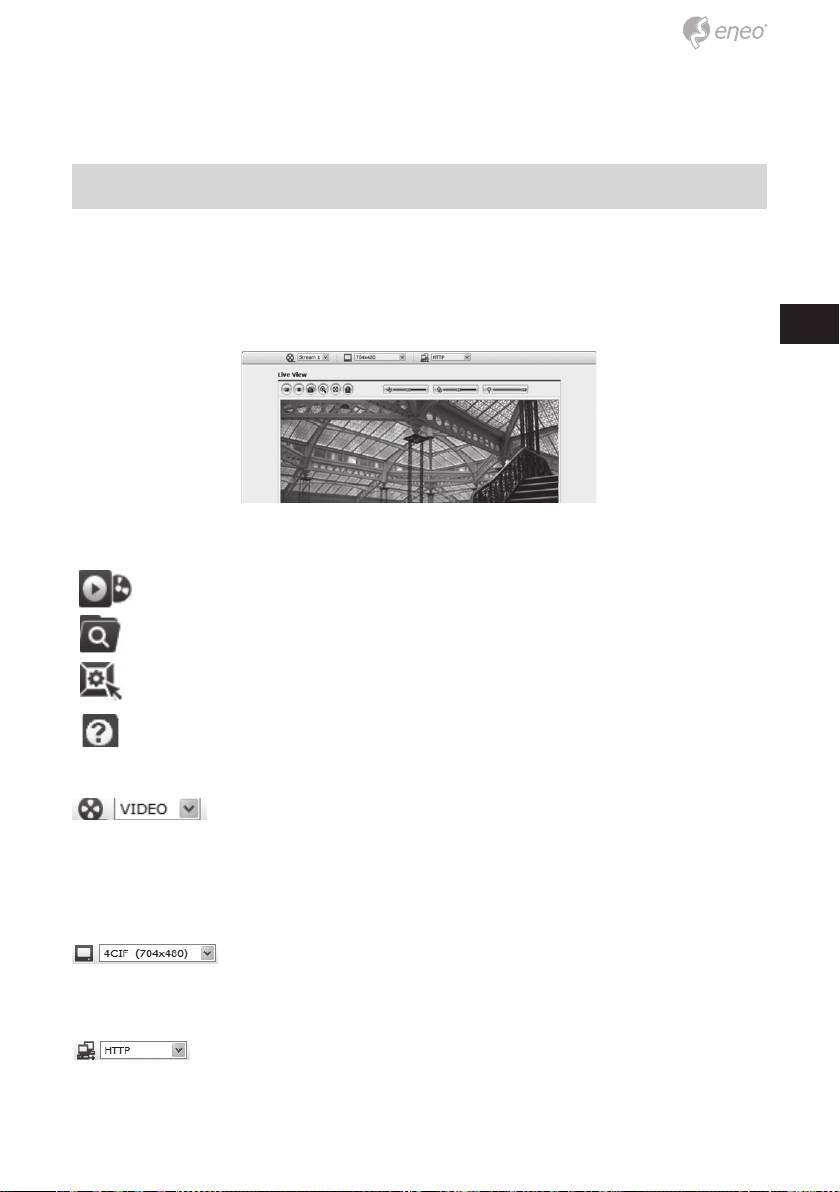
Live View Page
The live view page comes in several screen modes: 1600x1200,
1280x1024, 1280x720, 800x600, 704x480(576), 640x480, 352x240(288)
and 320x240. Users are allowed to select the most suitable one out of
DE
those modes. Please, adjust the mode in accordance with your PC specifi-
EN
cations and monitoring purposes.
FR
PL
RU
1. General controls
Live View Page
Search & Playback Page
Setup Page
Help Page
The video drop-down list allows you to select a customized
or pre-programmed video stream on the live view page. Stream profiles are
configured under Setup > Basic Configuration > Video & Image. For more
information, please see “3.5.1 Basic Configuration > Video & Image” of
User’s Manual.
The resolution drop-down list allows you to select the
most suitable one out of video resolutions to be displayed on live view
page.
The protocol drop-down list allows you to select which combi-
nation of protocols and methods to use depends on your viewing require-
ments, and on the properties of your network.
23

2. Control toolbar
The live viewer toolbar is available in the web browser page only. It displays
the following buttons:
The Stop button stops the video stream being played. Pressing the key
again toggles the start and stop. The Start button connects to the network
camera or start playing a video stream.
The Pause button pause the video stream being played.
The Snapshot button takes a snapshot of the current image. The loca-
tion where the image is saved can be specified.
The digital zoom activates a zoom-in or zoom-out function for video
image on the live screen.
The Full Screen button causes the video image to fill the entire screen
area. No other windows will be visible. Press the ‚Esc‘ button on the compu-
ter keyboard to cancel full screen view.
The Manual Trigger button activates a pop-up window to manually start
or stop the event.
Use this scale to control the volume of the speakers.
Use this scale to control the volume of the microphone.
Use this scale to control the volume of the speakers and microphones.
3. Video Streams
The network camera provides several images and video stream formats.
Your requirements and the properties of your network will determine the
type you use.
The Live View page in the network camera provides access to H.264,
MPEG-4 and Motion JPEG video streams, and to the list of available vi-
deo streams. Other applications and clients can also access these video
streams/images directly, without going via the Live View page.
24
Network Camera Setup
This section describes how to configure the network camera, and is inten-
ded for product Administrators, who have unrestricted access to all the
Setup tools; and Operators, who have access to the settings for Basic, Live
View, Video & Image, Audio, Event, and System Configuration.
You can configure the network camera by clicking Setup in the top right-
hand corner of the Live View page. Click on this page to access the online
DE
help that explains the setup tools
EN
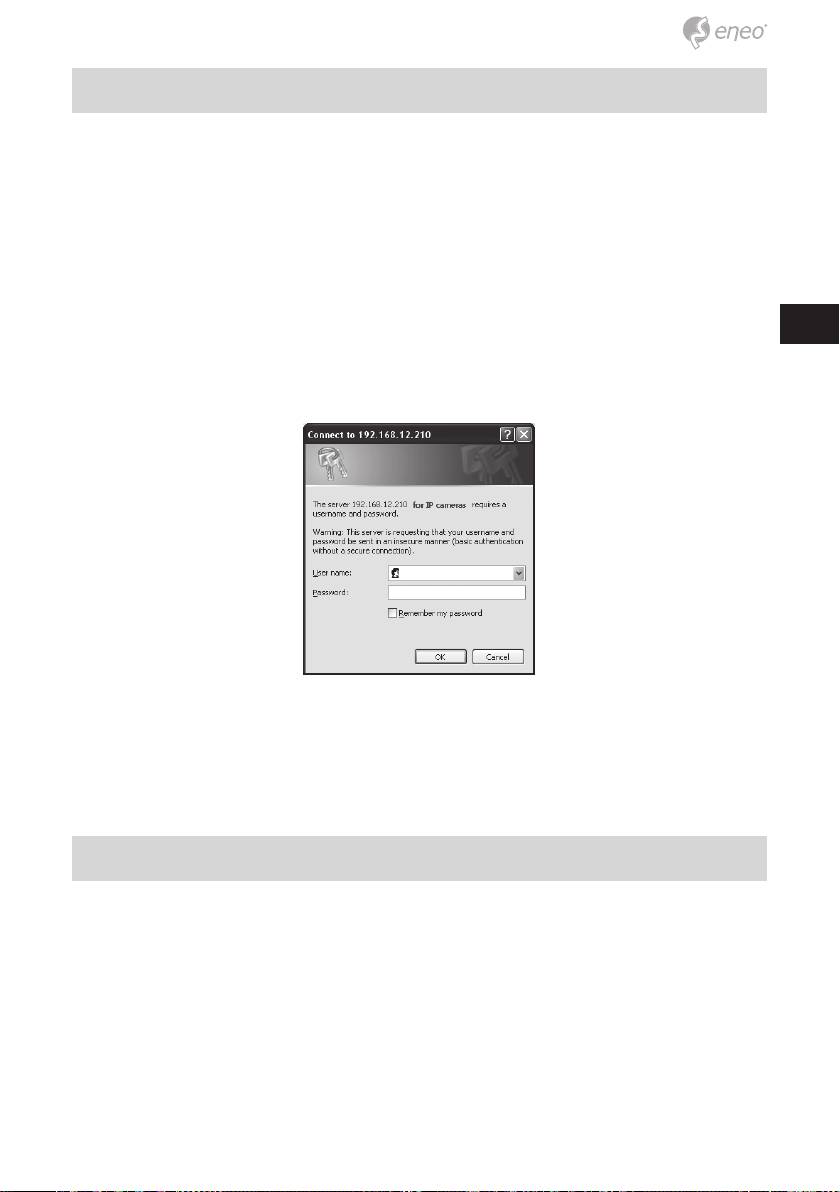
When accessing the Network Camera for the first time, the “Admin Pass-
FR
word” dialog appears. Enter your admin name and password, set by the
administrator.
PL
RU
Note: If the password is lost, the Network Camera must be reset to the
factory default settings.
See “3.6 Resetting to the Factory Default Settings”.
Resetting to the factory settings
To reset the Network Camera to the original factory settings, go to the
Setup>System> Maintenance web page (described in “3.5.4 System >
Maintenance”) or use the Reset button on the network camera, as descri-
bed below:
t
25
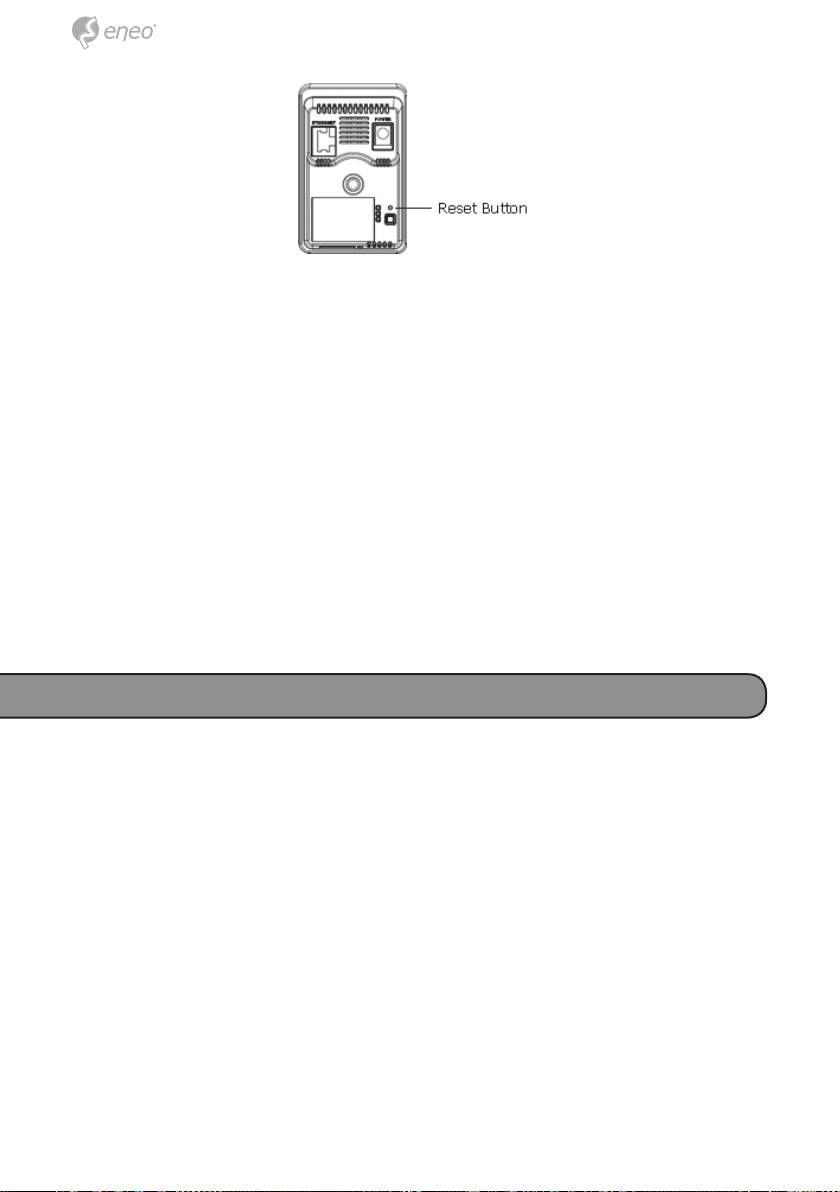
Using the Reset Button
Follow the instructions below to reset the Network Camera to the factory
default settings using the Reset button.
1. Switch off the Network Camera by disconnecting the power adapter.
2. Press and hold the Reset button with a straightened paperclip while
reconnecting the power.
3. Keep the Reset button pressed during about 2 seconds.
4. Release the Reset button, and wait for the Status LED to turn off.
5. The network camera resets to factory defaults and restarts after comple-
ting the factory reset.
Caution: When performing a Factory Reset, you will lose any settings you
have saved.
(Default IP 192.168.1.10)
Further information
The Full Manual is available from the eneo web site at
www.eneo-security.com or from the CD supplied with this product.
26
Оглавление
- DE EN FR PL RU
- DE DE EN EN
- DE DE
- DE DE EN EN
- DE DE EN EN FR FR PL PL
- DE DE EN EN
- DE DE
- DE
- DE EN FR PL
- DE EN
- DE EN FR PL RU
- DE
- DE DE EN EN
- DE DE EN EN FR FR PL PL
- DE DE
- DE DE EN EN
- DE DE EN EN FR FR PL PL RU RU
- DE DE
- DE DE EN EN
- DE DE
- DE DE EN EN
- DE DE EN EN FR FR PL PL
- DE DE
- DE DE EN EN FR FR
- DE DE EN EN
- DE DE EN EN FR FR PL PL
- DE DE EN EN FR FR PL PL RU RU
- DE DE EN EN
- DE DE EN EN FR FR PL PL RU RU
- DE DE EN EN
- DE DE
- DE DE EN EN FR FR PL PL RU RU
