Eneo HDB-2080MIR: DE EN FR PL RU
DE EN FR PL RU: Eneo HDB-2080MIR
Installation
DE
EN
FR
PL
RU
CAUTION: Never use this camera
1) in water.
2) in area where has shock or vibration which results in the prob-
lems for Auto Focus operation.
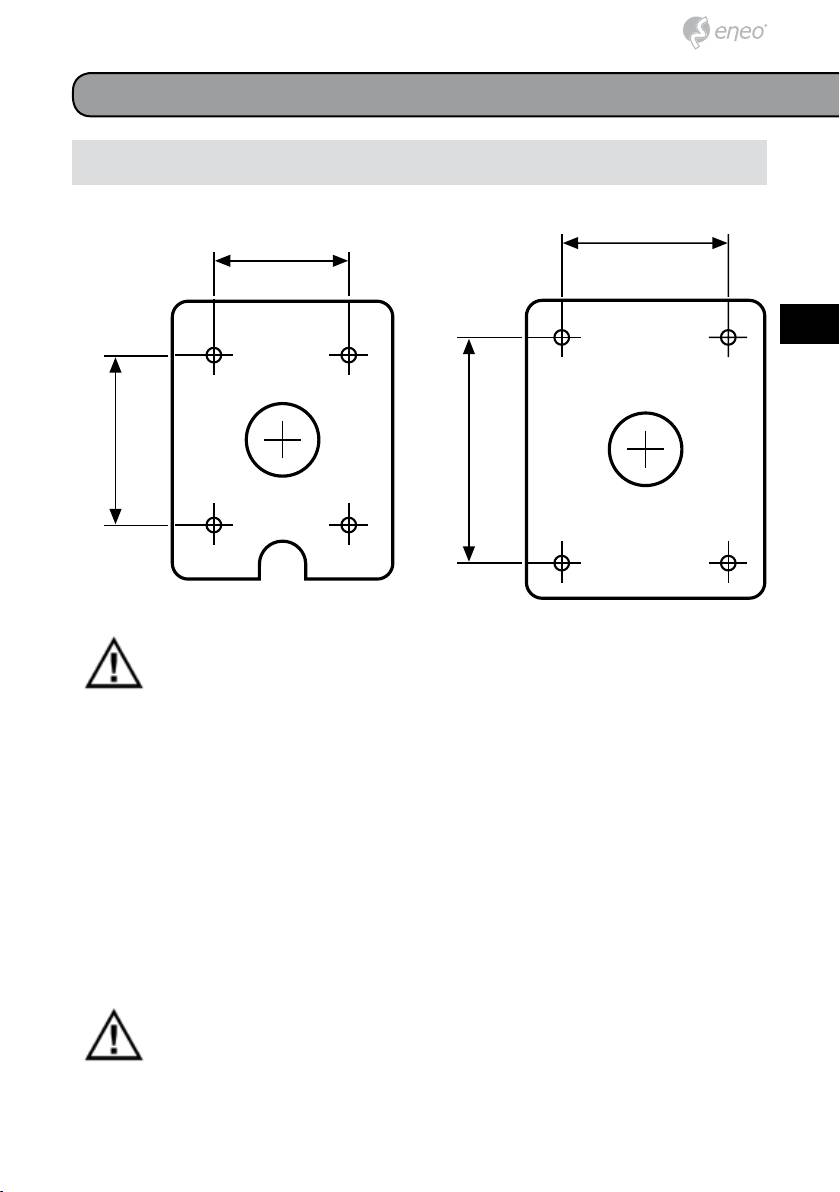
1) Drill the holes on wall using a supplied template.
2) Insert the anchors to the drilled holes.
2a) Easy Bracket: Match the EASY
BRACKET to the drilled position.
Fix the EASY BRACKET by using
Wall fixing screws.
3. Route cables to the installtion position and connect cables as required.
Care should be taken the cable is NOT to be damaged, kinked or
exposed in the hazardous area.
The camera can work with either 24AC or 12VDC, dual voltage power.
17
56
76
56
45
57
76
45
57
Easy Bracket and Standard Bracket
When using a 12VDC or 24VAC power supply please proceed as follows:
• Make sure the power is removed before the installation.
• Follow the order for applying power.
First, connect the low voltage (AC24V or DC12V), then plug the AC
adapter to AC outlets to avoid an improper reset from power jitter and a
damage from the surge voltage when no load. It is strongly required the
polarity-matched connection for 12VDC supply, otherwise IR LEDs will not
operate.
Primary and secondary grounds are completely isolated to avoid possible
ground-loop problems.
4a) Easy Bracket: Connect hook ⓛ
4b) Standard Bracket: Match Foot
to peg ⓝ.
mount Hole (4x) ⓔ to the drilled
position.
5a) Easy Bracket: Fix Bracket Foot ⓓ
to EASY BRACKET by using wrench
5b) Standard Bracket: Fix the bracket
bolts through Foot mount Hole (4x)
by using Wall fixing screws.
ⓔ.
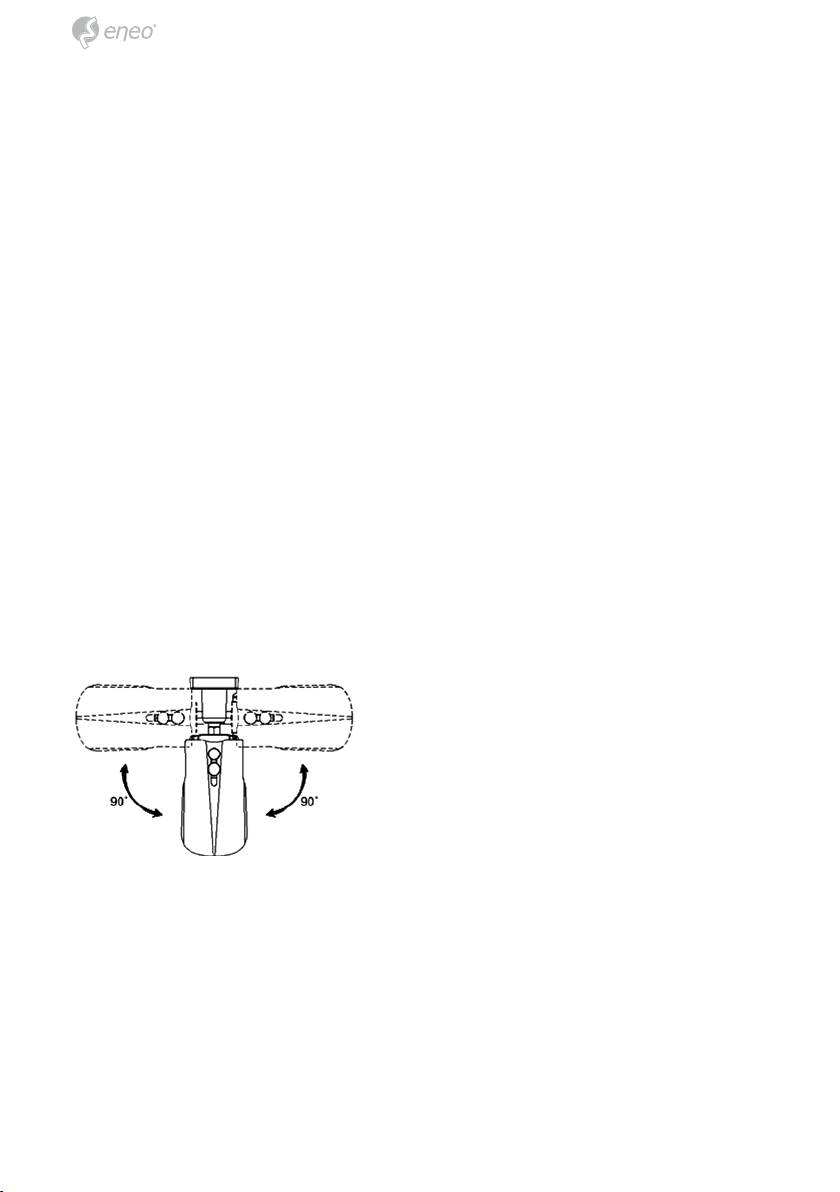
6. Set the camera’s angle (Pan, Tilt, inclination).
Pan is limited to +/- 90°.
Tilt is limited to 0°(2°) min ~ 90° max. for wall(ceiling) installation respec-
tively with reference to the ceiling when the inclination of camera module is
0°, that is, the image is aligned horizontally.
18
