Eizo FlexScan S2201W: инструкция
Раздел: Компьютерная техника, комплектующие, аксессуары
Тип: Монитор
Инструкция к Монитору Eizo FlexScan S2201W
English Deutsch Français Español Italiano Svenska Greece Russia
Setup Manual
Important: Please read this Setup Manual and the User’s Manual stored on the CD-
ROM carefully to familiarize yourself with safe and effective usage. Please
retain this manual for future reference.
Installationshandbuch
Wichtig: Lesen Sie dieses Installationshandbuch und das Benutzerhandbuch (auf der
CD-ROM) aufmerksam durch, um sich mit der sicheren und effizienten
Bedienung vertraut zu machen. Bewahren Sie dieses Handbuch zum
späteren Nachschlagen auf.
Manuel d’installation
Important : Veuillez lire attentivement ce manuel d’installation, ainsi que le manuel
d’utilisation inclus sur le CD-ROM, pour vous familiariser avec une utilisation
efficace et en toute sécurité. Veuillez conserver ce manuel pour référence
ultérieure.
Manual de instalación
Importante: Lea detenidamente este Manual de instalación y el Manual del usuario (en el
CD-ROM) para familiarizarse con las normas de seguridad y procedimientos
de uso. Conserve este manual para consultas posteriores.
Manuale di installazione
Importante: si consiglia di leggere con attenzione il presente Manuale di installazione e il
Manuale dell’utente (sul CD-ROM in dotazione) per acquisire le informazioni
necessarie per un utilizzo sicuro ed efficace. Conservare il manuale per
consultazioni future.
Installationshandboken
Viktigt: Läs den här installationshandboken och bruksanvisningen som finns på CD-
skivan noggrant så att du känner dig säker och får ett effektivt användande
av produkten. Behåll manualen för framtida behov.
Εγχειρίδιο εγκατάστασης
Σημαντικό: Διαβάστε προσεκτικά αυτό το εγχειρίδιο εγκατάστασης και το εγχειρίδιο
χρήσης που είναι αποθηκευμένο στο CD-ROM για να εξοικειωθείτε με την
ασφαλή και αποτελεσματική χρήση της μονάδας. Διατηρήστε αυτό το
εγχειρίδιο για μελλοντική χρήση.
Руководство по установке
Важно! Внимательно прочитайте настоящее Руководство по установке и
Руководство пользователя на диске CD-ROM для получения сведений о
безопасной и эффективной эксплуатации. Сохраните это руководство
для справки.
设定手册
重要事项: 请仔细阅读储存在光盘片中的设定手册和用户手册,以便熟悉安全有效使用本
显示器的信息。请保留本手册,以便今后参考。
中文
Compatible Resolutions/Frequencies Kompatibla upplösningar/frekvenser
Kompatible Auflösungen/Bildwiederholfrequenzen
Συμβατές αναλύσεις/Συχνότητες
Résolutions/Fréquences compatibles
Поддерживаемые разрешения/частоты
Frecuencias y resoluciones compatibles
兼容的分辨率/频率
Risoluzioni/Frequenze compatibili:
The monitor supports the following resolutions. Skärmen stöder följande upplösningar.
Der Monitor unterstützt die nachfolgend aufgeführten Auflösungen.
Η οθόνη υποστηρίζει τις παρακάτω αναλύσεις.
Le moniteur est compatible avec les résolutions suivantes. Монитор поддерживает следующие разрешения.
El monitor admite las siguientes resoluciones.
本显示器支持下列分辨率。
Il monitor supporta le seguenti risoluzioni.
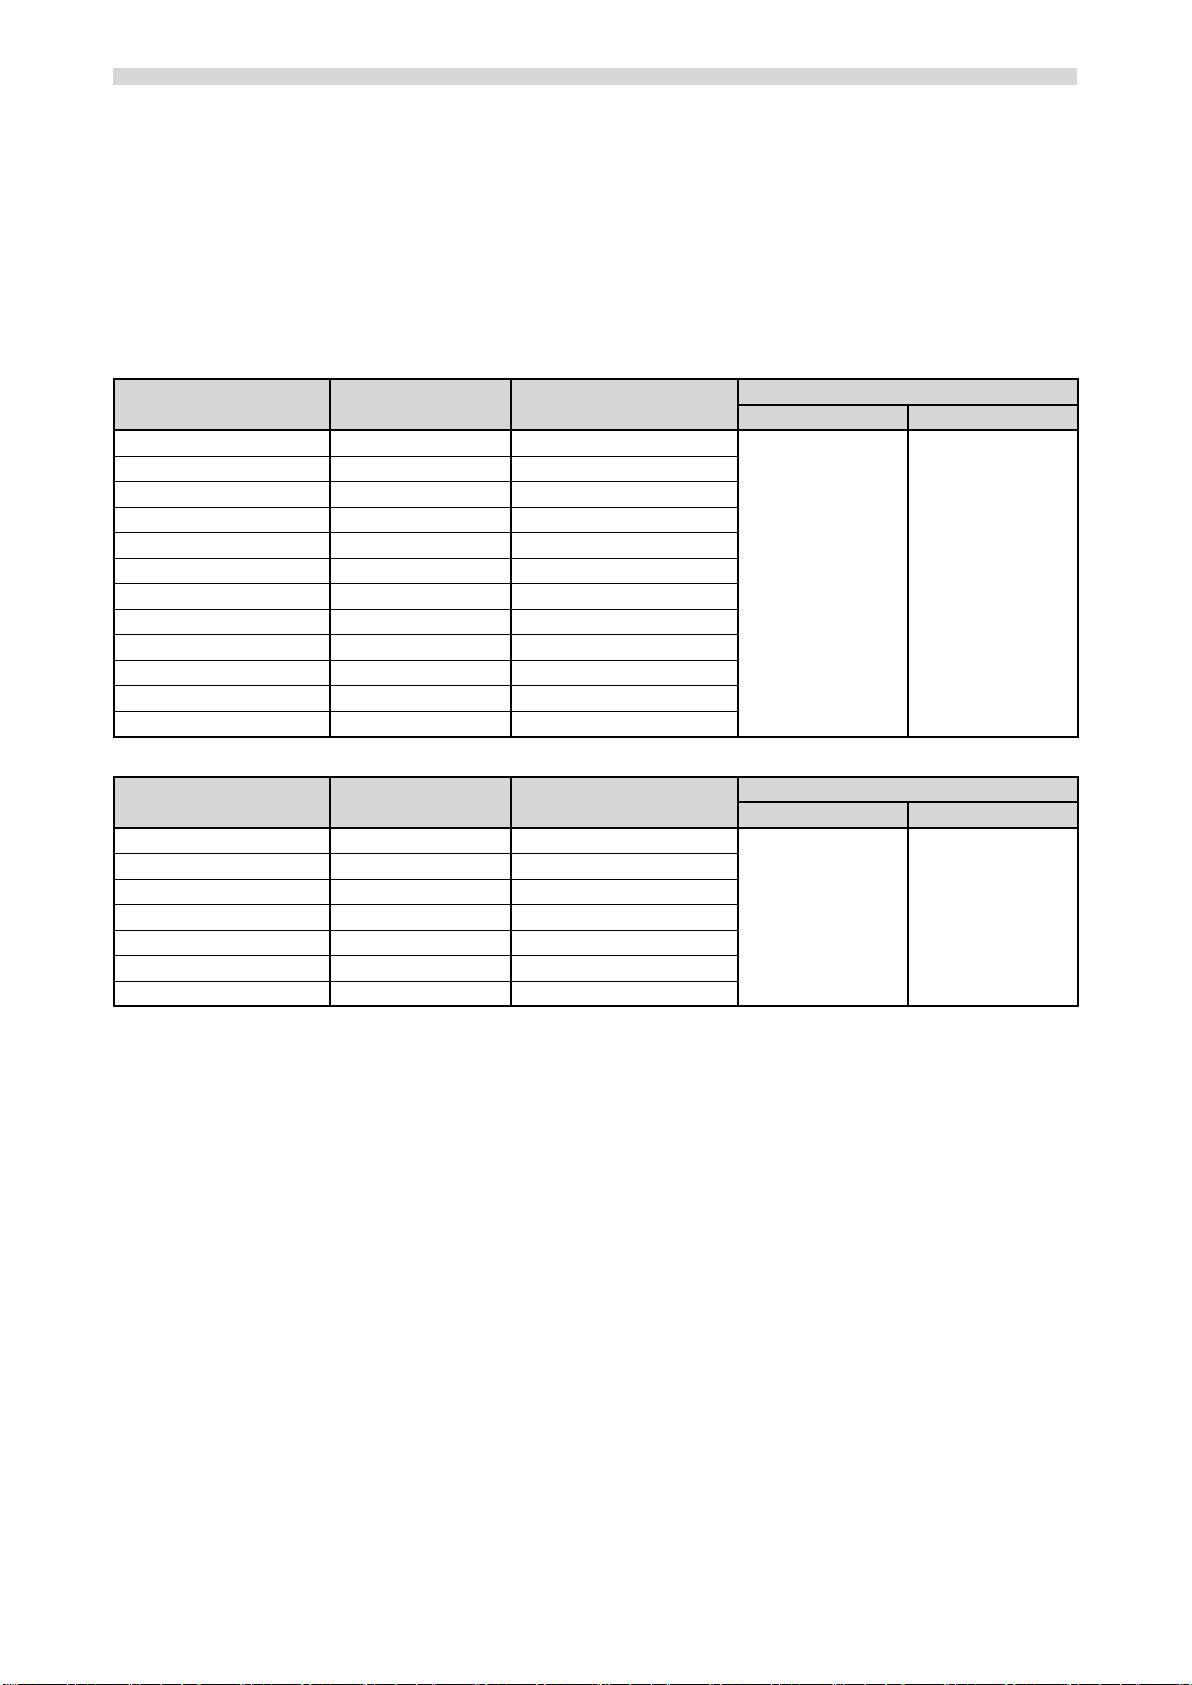
Analog Input
Dot Clock
Resolution Frequency Mode
S2001W S2201W
640 × 480 67 Hz Apple Macintosh
640 × 480 ~85 Hz VGA, VESA
720 × 400 70 Hz VGA TEXT
800 × 600 ~85 Hz VESA
832 × 624 75 Hz Apple Macintosh
1024 × 768 ~85 Hz VESA
150 MHz (Max.) 150 MHz (Max.)
1152 × 864
75 Hz VESA
1152 × 870
75 Hz Apple Macintosh
1280 × 960 60 Hz VESA
1280 × 960 75 Hz Apple Macintosh
1280 × 1024 ~75 Hz VESA
*
1
*
2
1680 × 1050 60 Hz VESA CVT, VESA CVT RB
Digital Input
Dot Clock
Resolution Frequency Mode
S2001W S2201W
640 × 480 60 Hz VGA
720 × 400 70 Hz VGA TEXT
800 × 600 60 Hz VESA
1024 × 768 60 Hz VESA
120 MHz (Max.) 120 MHz (Max.)
1280 × 960 60 Hz VESA
1280 × 1024 60 Hz VESA
*
1
*
2
1680 × 1050 60 Hz VESA CVT RB
*
1
Recommended resolution (Set this resolution)
*
1
Empfohlene Auflösung (diese Auflösung festlegen)
*
1
Résolution recommandée (Réglez votre appareil sur cette résolution)
*
1
Resolución recomendada (ajuste esta resolución)
*
1
Risoluzione consigliata (impostare questo valore di risoluzione)
*
1
Rekommenderad upplösning (Ställ in den här upplösningen)
*
1
Προτεινόμενη ανάλυση (Επιλέξτε αυτή την ανάλυση)
*
1
Рекомендованное разрешение (Установите данное разрешение)
*
1
推荐的分辨率 (设定此分辨率)
*
2
When displaying the wide format input signal, a graphics board in conformance with VESA CVT standard is required.
*
2
Zur Anzeige des Eingangssignals für das Breitbild ist eine Grafikkarte erforderlich, die die Anforderungen des Standards VESA CVT erfüllt.
*
2
Lors de l’affichage du signal d’entrée format large, une carte vidéo conforme à la norme VESA CVT est requise.
*
2
Se necesita una tarjeta gráfica compatible con el estándar VESA CVT para visualizar la señal de entrada con formato panorámico.
*
2
Per visualizzare il segnale di ingresso in formato ampio, è necessaria una scheda grafica conforme allo standard VESA CVT.
*
2
Vid visning med ingångssignalen för bredbildsformat, krävs ett grafikkort som uppfyller VESA CVT-standard.
*
2
Όταν εμφανίζεται το σήμα εισόδου οθόνης μεγάλου μεγέθους, απαιτείται κάρτα γραφικών συμβατή με το πρότυπο VESA CVT.
*
2
Для отображения широкоформатного входного сигнала графическая карта должна соответствовать стандарту VESA CVT.
2
*
当显示宽荧幕格式输入信号时,需要符合VESA CVT标准的显卡。
Copyright© 2007 EIZO NANAO CORPORATION All rights reserved.
Copyright© 2007 EIZO NANAO CORPORATION. Alle Rechte vorbehalten.
Copyright© 2007 EIZO NANAO CORPORATION. Tous droits réservés.
Copyright© 2007 EIZO NANAO CORPORATION Todos los derechos reservados.
Copyright© 2007 EIZO NANAO CORPORATION Tutti i diritti riservati.
Copyright© 2007 EIZO NANAO CORPORATION Med ensamrätt.
Copyright© 2007 EIZO NANAO CORPORATION Με την επιφύλαξη παντός δικαιώματος.
© EIZO NANAO CORPORATION, 2007. Все права защищены.
© 2007 EIZO NANAO CORPORATION 版权所有。
Color LCD Monitor
English
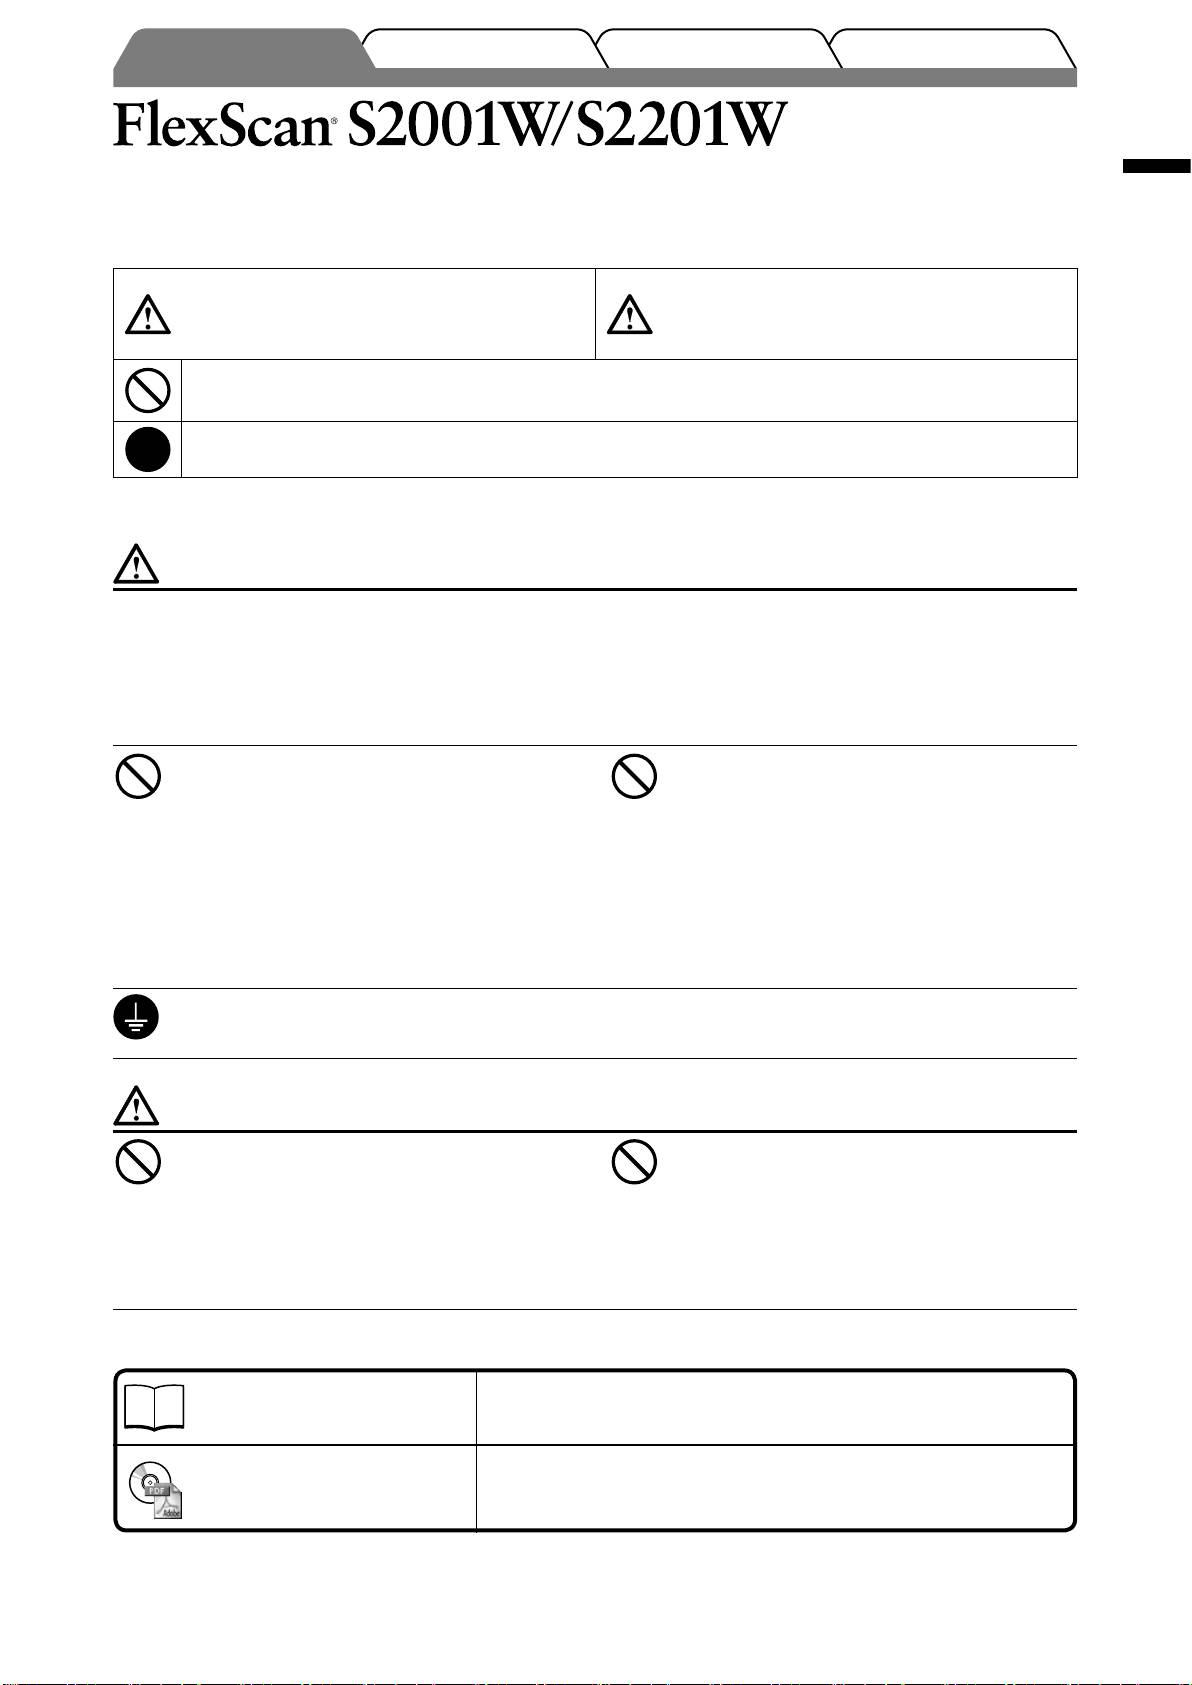
SAFETY SYMBOLS
This manual uses the safety symbols below. They denote critical information. Please read them carefully.
WARNING
CAUTION
Failure to abide by the information in a WARNING
Failure to abide by the information in a CAUTION
may result in serious injury and can be life threatening.
may result in moderate injury and/or property or
product damage.
Indicates a prohibited action.
Indicates a mandatory action that must be followed.
PRECAUTIONS
WARNING
If the unit begins to emit smoke, smells like
Use the enclosed power cord and connect to
something is burning, or makes strange
the standard power outlet of your country.
noises, disconnect all power connections
Be sure to remain within the rated voltage of the power
immediately and contact your dealer for
cord. Not doing so may result in fire or electric shock.
advice.
Power Supply: 100-120/200-240 Vac 50/60Hz
Attempting to use a malfunctioning unit may result in
fire, electric shock, or equipment damage.
Keep small objects or liquids away from the
Set the unit in an appropriate location.
unit.
Not doing so may result in fire, electric shock, or
Small objects accidentally falling through the
equipment damage.
ventilation slots into the cabinet or spillage into the
• Do not place outdoors.
cabinet may result in fire, electric shock, or equipment
• Do not place in the transportation system (ship,
damage. If an object or liquid falls/spills into the
aircraft, trains, automobiles, etc.).
cabinet, unplug the unit immediately. Have the unit
• Do not place in a dusty or humid environment.
checked by a qualified service engineer before using it
• Do not place in a location where the steam comes
again.
directly on the screen.
• Do not place near heat generating devices or a
humidifier.
The equipment must be connected to a
Lamps contain mercury, dispose according to
grounded main outlet.
local, state or federal laws.
Not doing so may result in fire or electric shock.
CAUTION
Do not block the ventilation slots on the
Use an easily accessible power outlet.
cabinet.
This will ensure that you can disconnect the power
• Do not place any objects on the ventilation slots.
quickly in case of a problem.
• Do not install the unit in a closed space.
• Do not use the unit laid down or upside down.
Blocking the ventilation slots prevents proper airflow
and may result in fire, electric shock, or equipment
damage.
1
TroubleshootingSetting/AdjustmentInstallationPrior to use
About Setup Manual and User’s Manual
Setup Manual
Describes basic information ranging from connection of the monitor to a
(this manual)
PC to using the monitor.
Describes application information such as screen adjustments, settings,
User’s Manual
and specifications.
(PDF file on the CD-ROM*)
* Installation of Adobe Reader is required.
• Product specifications vary with sales areas. Confirm that the manual is written in the language of the area of purchase.
English
2
TroubleshootingSetting/AdjustmentInstallationPrior to use
Package Contents
Check that all the following items are included in the packaging box. If any items are missing or damaged, contact your local dealer.
NOTE
• Please keep the packaging box and materials for future movement or transport of the monitor.
□ Monitor
□ Stereo mini jack cable
□ Power cord
□ EIZO LCD Utility Disk (CD-ROM)
• User’s Manual
□ Digital signal cable: FD-C39
□ Setup Manual (this manual)
□ Limited warranty
□ Recycling Information
□ Mounting Screws (M4 x 12mm, 4 pcs)
□ Analog signal cable: MD-C87
□ Cable holder (for EZ-UP stand)
□ EIZO USB cable: MD-C93
Controls and Functions
1 Sensor Detects ambient brightness. BrightRegulator function (page 6).
2 Volume control buttons Displays the volume adjustment menu to volume up or down.
3 Input Signal Selection button Switches input signals for display when two PCs are connected to the monitor.
4 Mode button Allows you to switch the display mode.
5 Enter button
Displays the Adjustment menu, determines an item on the menu screen, and
saves values adjusted.
6 Control buttons (Left, Down,
• Chooses an adjustment item or increases/decreases adjusted values for
Up, Right)
advanced adjustments using the Adjustment menu (page 6).
• or button: Displays the brightness adjustment window (page 6).
7 Power button Turns the power on or off.
8 Power indicator
Indicates monitor’s operation status.
Blue: Operating Orange: Power saving Off: Power off
9 Security lock slot Complies with Kensington’s MicroSaver security system.
10 Power connector Connects the power connector.
11
Stereo mini jack Connects the stereo mini jack cable.
12 Input signal connectors DVI-I Connector/D-Sub mini 15-pin connector
13 USB port (Up)
Connects the USB cable to use the ScreenManager Pro for LCD software (for
Windows). For how to use it, refer to the User’s Manual on the CD-ROM.
USB Port (Down) Connects a peripheral USB device.
14 Stand Used to adjust the height and angle of the monitor screen.
15 Cable holder Covers the monitor cables.
16
Option speaker (i·Sound L3)
Used to attach the option speaker (i·Sound L3). (May not allowed to attach the
mounting holes
option speaker depending on the stand type.)
®
*
ScreenManager
is an EIZO’s nickname of the Adjustment menu. (For how to use ScreenManager, refer to the User’s Manual on the CD-ROM.)
14
15
16
9
1
2
3 4 5 6 7 8 10 11 12 13
Example of height adjustable stand
Adjustment menu
®
(*ScreenManager
)
English
3
TroubleshootingSetting/AdjustmentPrior to use Installation
Installation/storage of the monitor with EZ-UP stand
If you have purchased the monitor with EZ-UP stand, please perform the following procedures when installing and
storing.
The stand of the monitor is locked with a lock metal fitting at the packing. Remove the lock metal fitting after placing
the monitor on the desk or the stand may be unfolded suddenly. Keep the lock metal fitting for future movement or
transportation of the monitor.
Installing the monitor
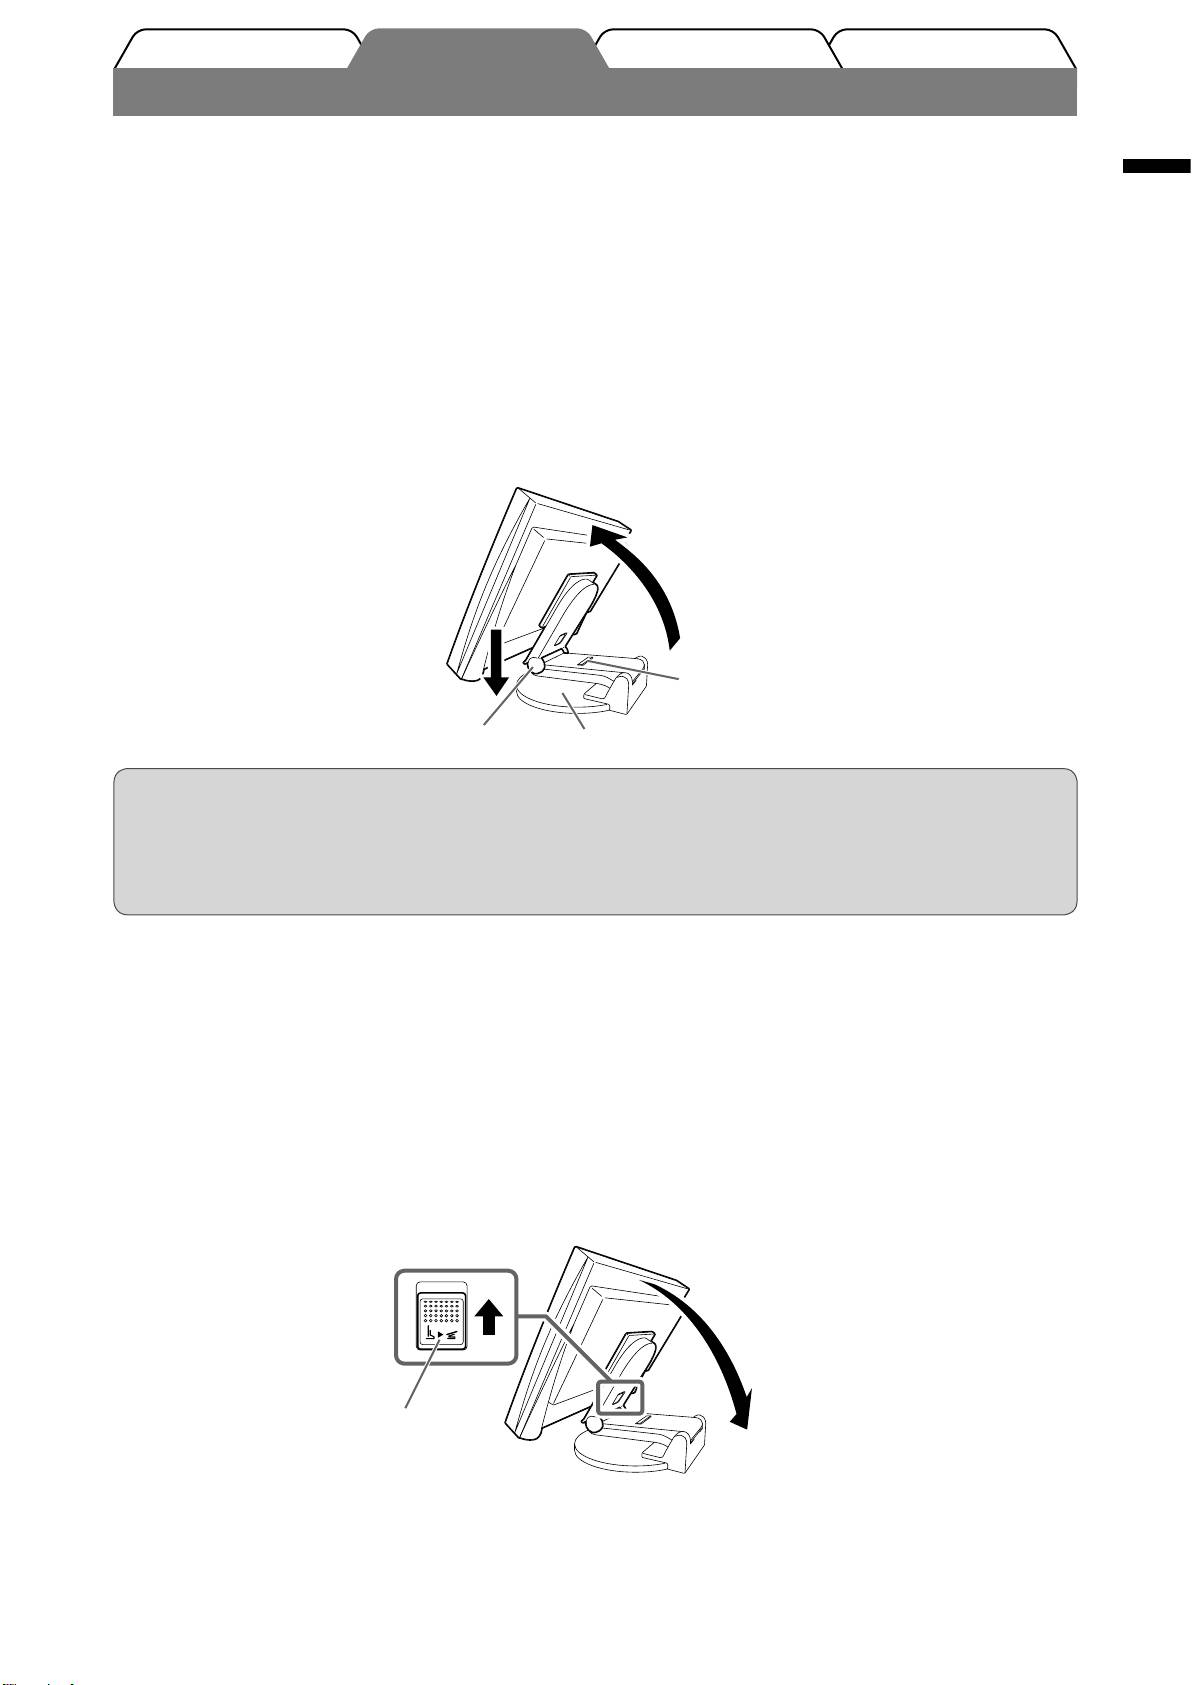
Lift the monitor screen in the arrow direction.
1
Lift it by holding the panel portion with both hands, until you may hear the “click”. If it clicks, the monitor
stand lock is surely functioned to use the monitor.
Lower the monitor screen position, and remove the lock metal fitting.
2
1
2
Lock metal fitting
Hinge
Stand Base
Attention
• Removing the lock metal fitting may allow the stand unfolding suddenly.
• Do not use the monitor when the EZ-UP stand is folded.
• After releasing the lock, take care not to catch your fingers when lowering the monitor. This may cause
injury or damage the monitor.
Storage the monitor
Remove the cable holder.
1
Lower the monitor screen position until the hinge of the stand touches the stand
2
base, and attach the lock metal fitting.
Adjust the monitor angle so as the monitor screen not to touch the stand base.
Fall the monitor screen backward with keeping slide-up the “Unlock” knob.
3
When maximally tilting (25º) the monitor screen backward, the “Unlock” knob may be hard to be slid-up.
Then, slightly tilt up the monitor to vertical direction and slide-up the “Unlock” knob.
“Unlock” knob
Оглавление
- Controls and Functions
- Installation/storage of the monitor with EZ-UP stand
- Connecting Cables
- Displaying the Screen
- Adjusting Brightness
- No-Picture Problem
- Memo
- Bedienelemente und Funktionen
- Installation/Lagerung des Monitors mit EZ-UP-Fuß
- Kabel anschließen
- Anzeigemodus auswählen
- Bildschirmhelligkeit einstellen
- Problem: Kein Bild
- Memo
- Commandes et fonctions
- Installation/rangement du moniteur avec le pied EZ-UP
- Connexion des câbles
- Affichage de l’écran
- Problème de non-affichage d’images
- Memo
- Controles y funciones
- Instalación/almacenamiento del monitor con soporte EZ-UP
- Conexión de los cables
- Visualización de la pantalla
- Ajuste del brillo
- Si no se muestra ninguna imagen
- Memo
- Comandi e funzioni
- Installazione/conservazione del monitor con supporto EZ-UP
- Collegamento dei cavi
- Visualizzazione dello schermo
- Regolazione della luminosità
- Problema Nessuna immagine
- Memo
- Reglage och funktioner
- Installation/lagring av skärm med EZ-UP stativ
- Att ansluta kablarna
- Visa skärmen
- Ställa in skärmens ljusstyrka
- Ingen bild visas
- Memo
- Χειριστήρια και λειτουργίες
- Εγκατάσταση/φύλαξη της οθόνης με βάση EZ-UP
- Σύνδεση καλωδίων
- Εμφάνιση της οθόνης
- Ρύθμιση φωτεινότητας
- Πρόβλημα "Καθόλου εικόνα"
- Memo
- Средства управления и их назначение
- Установка/хранение монитора с подставкой EZ-UP
- Подключение кабелей
- Отображение экрана
- Настройка яркости экрана
- Отсутствует изображение на экране
- Memo
- 控制和功能
- 安装/存放带EZ-UP底座的显示器
- 连接电缆
- 显示屏幕
- 调整亮度
- 无图片的问题
- Memo
