Asus P4P8X: 1.8 Central Processing Unit (CPU)
1.8 Central Processing Unit (CPU): Asus P4P8X
1.8 Central Processing Unit (CPU)
1.8.1 Overview
The motherboard comes with a surface mount 478-pin Zero Insertion Force (ZIF)
®
®
socket. The socket is designed for the Intel
Pentium
4 Processor in the 478-pin
package with 512KB L2 cache. This processor supports 533/400MHz front side
bus (FSB), and allows data transfer rates of up to 3.2GB/s. The socket will also
support the Intel Prescott CPU when available.
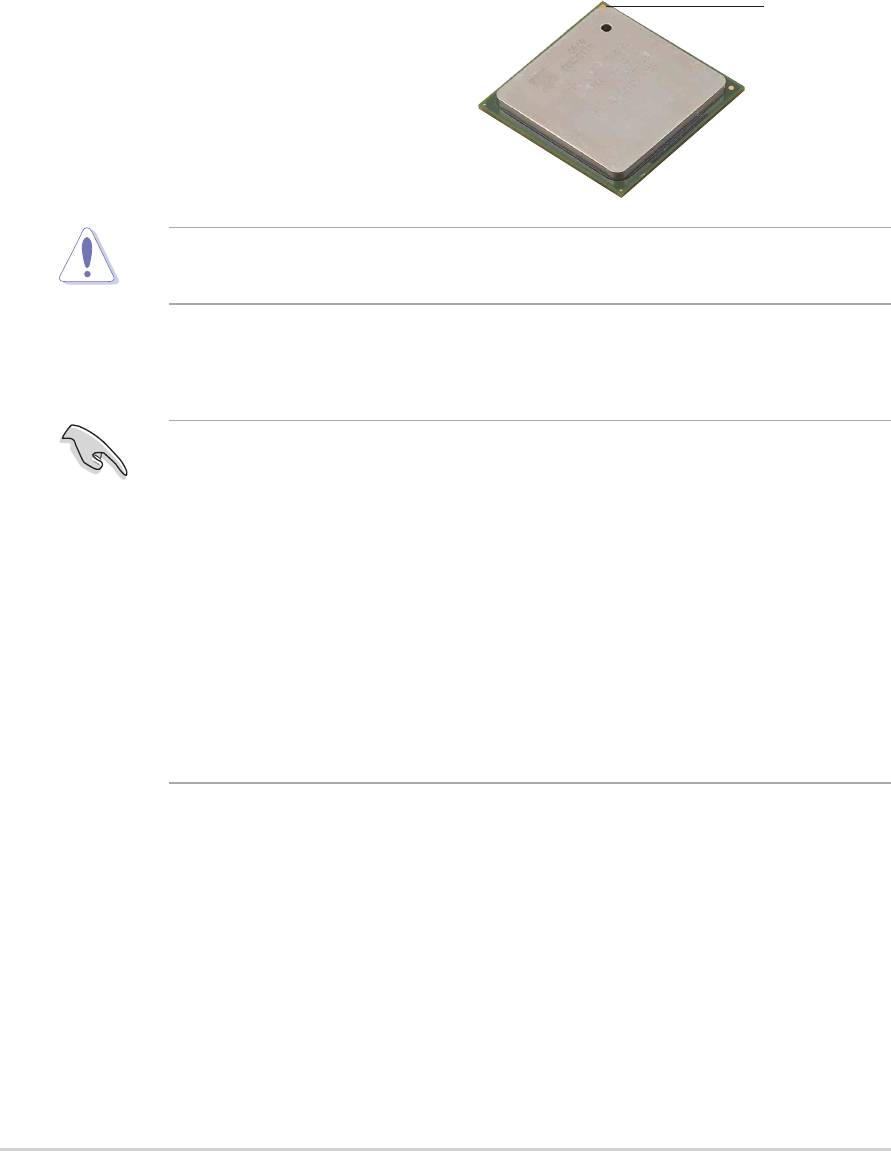
Gold Mark
Note in the illustration that the CPU has a
gold triangular mark on one corner. This
mark indicates the processor Pin 1 that
should match a specific corner of the
CPU socket.
Incorrect installation of the CPU into the socket may bend the pins and
severely damage the CPU!
®
Notes on Intel
Hyper-Threading Technology
1. This motherboard supports Intel Pentium 4 CPUs with Hyper-Threading
Technology.
2. Hyper-Threading Technology is supported under Windows XP and later
versions only. If you are using any other operating systems, disable the
Hyper-Threading Techonology item in BIOS to ensure system stability and
performance.
3. It is recommended that you install WinXP Service Pack 1.
4. Make sure to enable the Hyper-Threading Technology item in BIOS before
installing a supported operating system.
5. For more information on Hyper-Threading Technology, visit www.intel.com/
info/hyperthreading.
To use the Hyper-Threading Technology on this motherboard:
1. Buy an Intel Pentium 4 CPU that supports Hyper-Threading Technology. Install
the CPU.
2. Power up the system and enter BIOS Setup (see Chapter 2). Under the
Advanced Menu, make sure that the item Hyper-Threading Technology is set
to Enabled. The item appears only if you installed a CPU that supports Hyper-
Threading Techonology.
3. Reboot the computer.
1-12
Chapter 1: Product introduction
1.8.2 Installing the CPU
Follow these steps to install a CPU.
1. Locate the 478-pin ZIF socket on the motherboard.
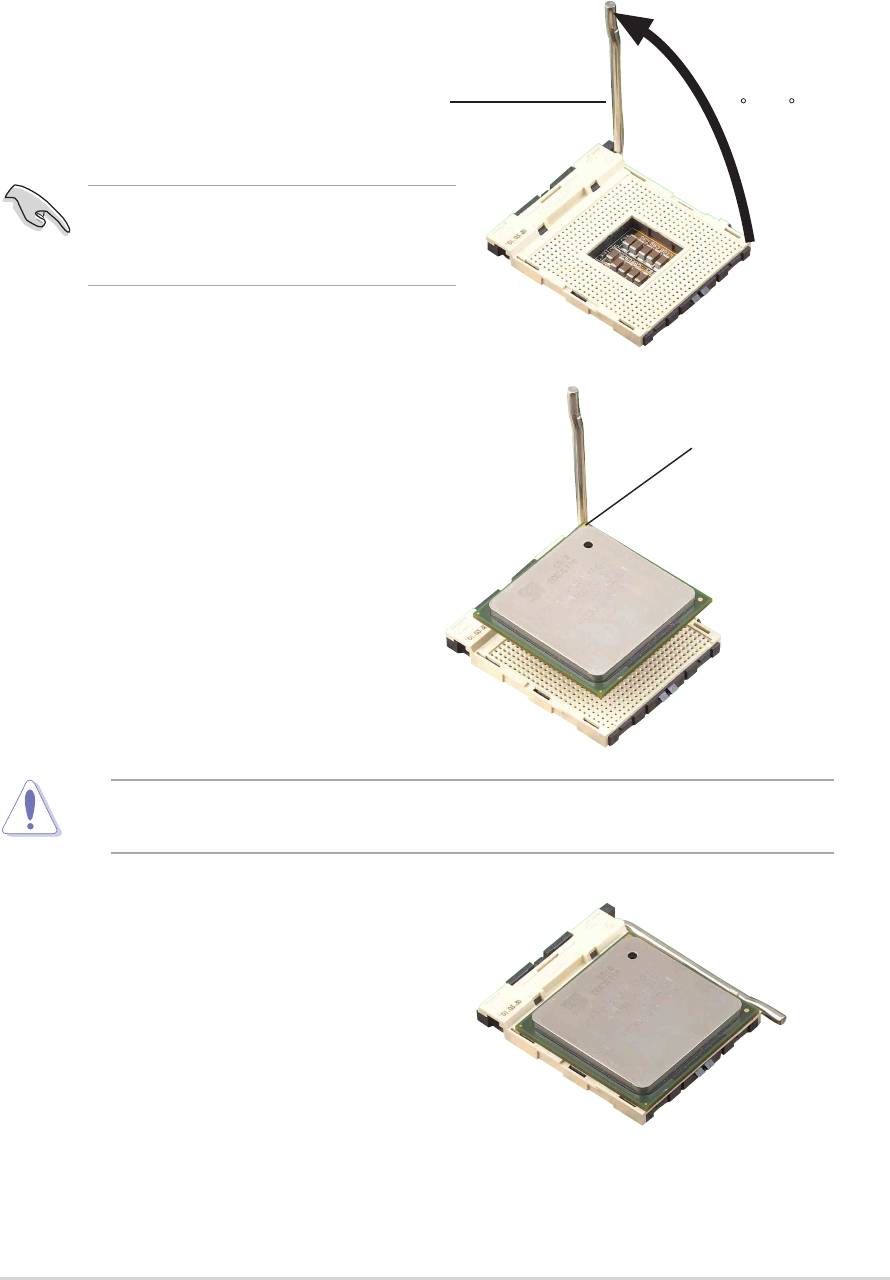
2. Unlock the socket by pressing the
lever sideways, then lift it up to a 90°-
100° angle.
Socket Lever
90 -10
Make sure that the socket lever is lifted
up to 90°-100° angle, otherwise the
CPU does not fit in completely.
3. Position the CPU above the socket
such that its marked corner matches
the base of the socket lever.
4. Carefully insert the CPU into the
socket until it fits in place.
The CPU fits only in one correct orientation. DO NOT force the CPU into the
socket to prevent bending the pins and damaging the CPU!
5. When the CPU is in place, push
down the socket lever to secure the
CPU. The lever clicks on the side tab
to indicate that it is locked.
ASUS P4P8X motherboard user guide
1-13
0
Gold Mark
6. Install a CPU heatsink and fan
following the instructions that came
with the heatsink package.
7. Connect the CPU fan cable to the
CPU_FAN1 connector on the
motherboard.
Оглавление
- Contents
- Notices
- Safety information
- About this guide
- ASUS contact information
- P4P8X specifications summary
- P4P8X specifications summary
- 1.1 Welcome!
- 1.3 Special features
- 1.4 Motherboard components
- 1.5 Motherboard layout
- 1.6 Before you proceed
- 1.7 Motherboard installation
- 1.8 Central Processing Unit (CPU)
- 1.9 System memory
- 1.10 Expansion slots
- 1.11 Jumpers
- 1.12 Connectors
- 2.1 Managing and updating your BIOS
- 2.2 BIOS Setup program
- 2.3 Main menu
- 2.4 Advanced menu
- 2.5 Power menu
- 2.6 Boot menu
- 2.7 Exit menu
- 3.1 Install an operating system
- 3.3 Software information
