Leadtek Teradici APEX 2800: инструкция
Раздел: Бытовая, кухонная техника, электроника и оборудование
Тип: Программное Обеспечение
Инструкция к Программному Обеспечение Leadtek Teradici APEX 2800
TM
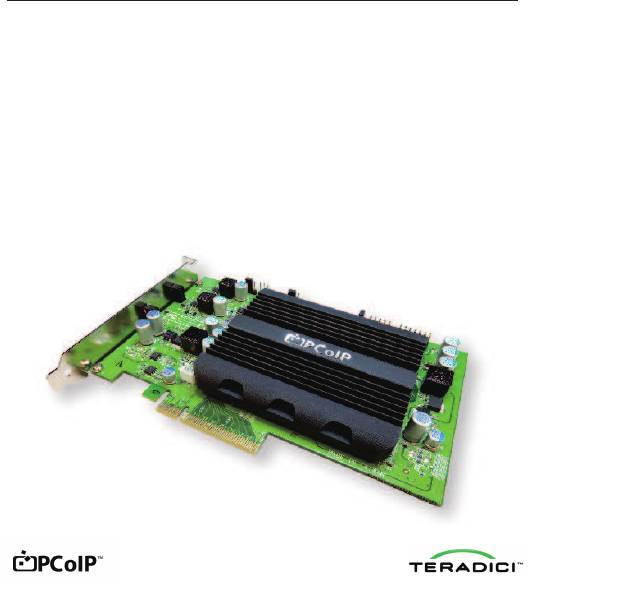
Teradici APEX 2800
Server Offload Card
Quick Start Guide
Distributed by Leadtek Research Inc.
Copyright© 2012 Leadtek Research Inc. All rights reserved.
No part of this document may be copied or reproduced in any form or by any means without the prior written
consent of Leadtek Research Inc.
Leadtek makes no warranties with respect to this documentation and disclaims any implied warranties of
merchantability, quality, or fitness for any particular purpose. The information in this document is subject to
change without notice. Leatek reserves the right to make revisions to this publication without obligation to
notify any person or entity of any such changes.
Licensed by Teradici Corporation.
© 2004-2012 Teradici Corporation. All rights reserved.
Teradici, PCoIP, PC-over-IP, and APEX are trademarks of Teradici Corporation and may be registered in the
United States and/or other countries.
All other trademarks are properties of their respective owners. Specifications are subject to change without
notice.
International Headquarters
18F, No.166, Jian-Yi Rd., Chung-Ho Dist.,
New Taipei City 23511, Taiwan
Tel:+886 2 8226 5800 Fax: +886 2 8226 5801
http://www.leadtek.com E-Mail: contact@leadtek.com
TM
Teradici APEX 2800 Server Offload Card Quick Start Guide
Version B Model Number: LR291C
March 2012
P/N: W0501G00464
Table of Contents
English ...................................................... 1
Русский
.................................................... 7
Român .................................................... 13
Magyar ................................................... 19
Español .................................................. 25
Português ............................................... 31
Française
................................................ 37
Deutsch ................................................... 43
Italiano .................................................... 49
=>?
..................................................... 55
!"# .............
.. ................................... 61
|O}A
................................................. 67
yOzA
................................................. 74

Thank you for purchasing the Teradici APEX 2800 server offload card.
This Quick Start Guide will help you to install and configure your APEX 2800 card.
Package Contents
Apex 2800 Card
English
Quick Start Guide (this document)
System Requirements
PCI Express x8 compatible card slot
VMware ESXi 4.1 or 5.0
VMware View™ 4.6 or 5.0
PCoIP Zero Client (3.4.x or later) or VMware View client (4.6 or later)
Supported virtual machine operating systems:
Windows XP
Windows Vista
Windows 7 (32 and 64-bit)
®
PCoIP protocol optimized network
Maximum of two (2) Teradici APEX 2800 cards per server
Obtain the latest drivers by registering at
http://pcoip.leadtek.com
Warranty
This product is covered by a three (3) year warranty period from the time of purchase.
You must register your card to activate the warranty.
For more information, go to or contact your reseller.
pcoip.leadtek.com
The Teradici APEX 2800 server offload card is specifically designed to offload PCoIP
image encoding from the server's CPU, significantly reducing CPU utilization and
ensuring consistent application performance.
WARNING
1. Always power down and disconnect devices from AC power before
handling them, as some circuitry on the server PC can continue to
operate even though the front panel power switch is OFF.
Failure to disconnect the device from AC power can result in
personal injury or equipment damage.
2. Always ensure correct anti-static handling is observed to avoid
potential ESD damage in the card.
1
Оглавление
- Quick Start Guide
- Table of Contents
- 1 Install the APEX 2800 card
- 3 Install the virtual machine driver
- 5 View the APEX 2800 status
- 1 Установкакарты 2800APEX
- 3 Установитедрайвервиртуальногомашины
- 5 Просмотрстатуса 2800APEX
- 1 Instalarea placii APEX 2800
- 3 Instalarea driverului pentru masina virtuala
- 5 Verificarea statusului placii APEX 2800
- 1 Az APEX 2800 kártya telepítése
- 3 A virtuális gép driver telepítése
- 5 Az APEX 2800 státusz megtekintése
- 1 Instalación de la tarjeta APEX 2800
- 3 Instalar el controlador de la máquina virtual
- 5 Ver el estado de la tarjeta APEX 2800
- 1 Instale a placa APEX 2800
- 3 Instale o driver da máquina virtual
- 5 Visualize o estado da placa APEX 2800
- 1 Installez la carte de l'APEX 2800
- 3 Installez le pilote de machine virtuelle
- 5 Voir le statut de l'APEX 2800
- 1 Installation der APEX 2800 Karte
- 3 Installation des virtuellen Gerätetreibers
- 5 Überprüfen Sie den APEX 2800 Status
- 1 Installare la scheda APEX 2800
- 3 Installare il driver della macchina virtuale
- 5 Visualizzare lo stato della scheda APEX 2800
- 1 APEX 2800 カードのインストール
- 3 _`マシン ドライバのインストール
- 5 View the APEX 2800 status
- 1 APEX 2800 '& 9:
- 3 8O SS &M3" 9:
- 5 APEX 2800 Oø qS
- 1 34 >-APEX 2800
- 3 34RSJjklm
- 5 ~ ghAPEX 2800
- 1 34 >-APEX 2800
- 3 34RSK(ijkl
- 5 {? deAPEX 2800
