Eneo PXD-5362F01IR: DE
DE: Eneo PXD-5362F01IR

Step 3: Click the <Security> tab and select “Internet”, and click <Custom
level> to change ActiveX settings.
Step 4: Set “ActiveX controls and plug-ins” items to <Prompt> or
<Enable>.
Internet Security Level
Step 1: Start the IE.
DE
Step 2: Select <Tools> from the main menu of the browser.
EN
Then Click <Internet Options>.
Step 3: Click the <Security> tab and select “Internet.”
FR
Step 4: Down the page, press “Default Level” and click “OK” to confirm
the setting. Close the browser window, and open a new one later
PL
for accessing the IP Dome Camera
RU
Accessing the camera
The IP Dome Camera’s default IP address is: 192.168.1.10. Therefore, to
access the IP Dome Camera for the first time, set the PC’s IP address as:
192.168.1.XXX; for example:
IP Address: 192.168.1.20
Subnet Mask: 255.255.255.0
Login ID & Password
• Key in the IP Dome Camera’s IP address in the URL bar of the Web
browser window and press “Enter.”
• Enter the default user name (admin) and password (admin) in the
prompt request dialogue. Note that user name is case sensitive.
Install the ActiveX control
• After connecting to the IP Dome Camera, the request for installing
17
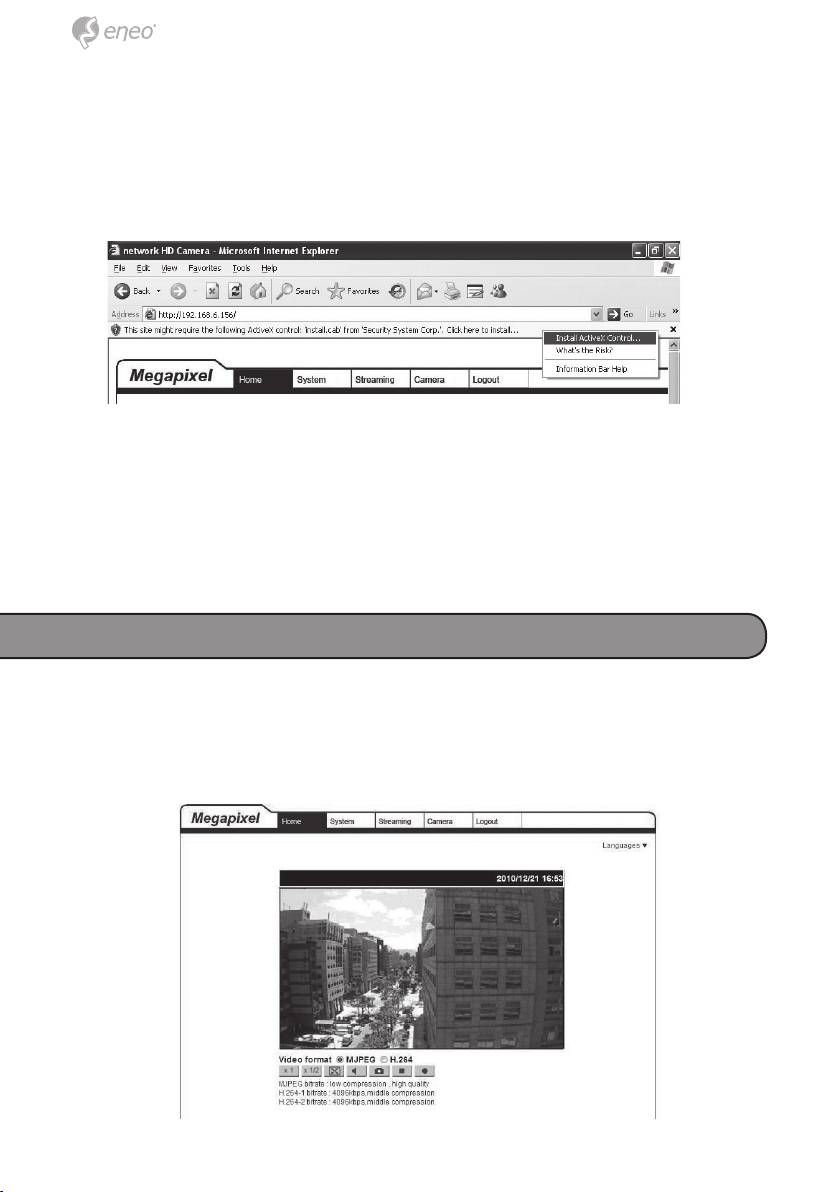
the ActiveX control will appear just below the URL bar.
• Right Click on the information bar, and press “Install ActiveX Con-
trol…” to permit ActiveX control installation.
• In the pop-up security warning window, click “Install” to start down-
loading DC Viewer software on the PC.
• Press “Finish” when DC Viewer installation is complete.
Browser-based viewer
The main page of the IP Camera user interface is as shown below. Please
note that the function buttons will vary depending on the camera model.
18
