Eizo FlexScan M1900: Displaying Screen
Displaying Screen: Eizo FlexScan M1900
Prior to use Installation TroubleshootingSetting/Adjustment
Displaying Screen
Press to turn on the monitor.
1
English
Turn on the PC.
2
The monitor’s Power indicator lights up blue and the screen image appears.
When using analog input signals, perform the Auto Adjustment function. (Refer
3
to “Performing Auto Adjustment function” below.)
The Auto Adjustment function is not necessary when digital signals are input because images are
displayed correctly based on the preset data of the monitor.
Attention
• Turn off the monitor and PC after using them.
• For the maximum power saving, it is recommended that the Power button be turned off. Unplugging the
power cord completely shuts off power supply to the monitor.
Performing Auto Adjustment Function (Analog input only)
When analog signals are input, the Auto Adjustment function enables the automatic adjustment of clock, phase, screen
position, and resolution.
For details of the Auto Adjustment function, refer to the User’s Manual on the CD-ROM.
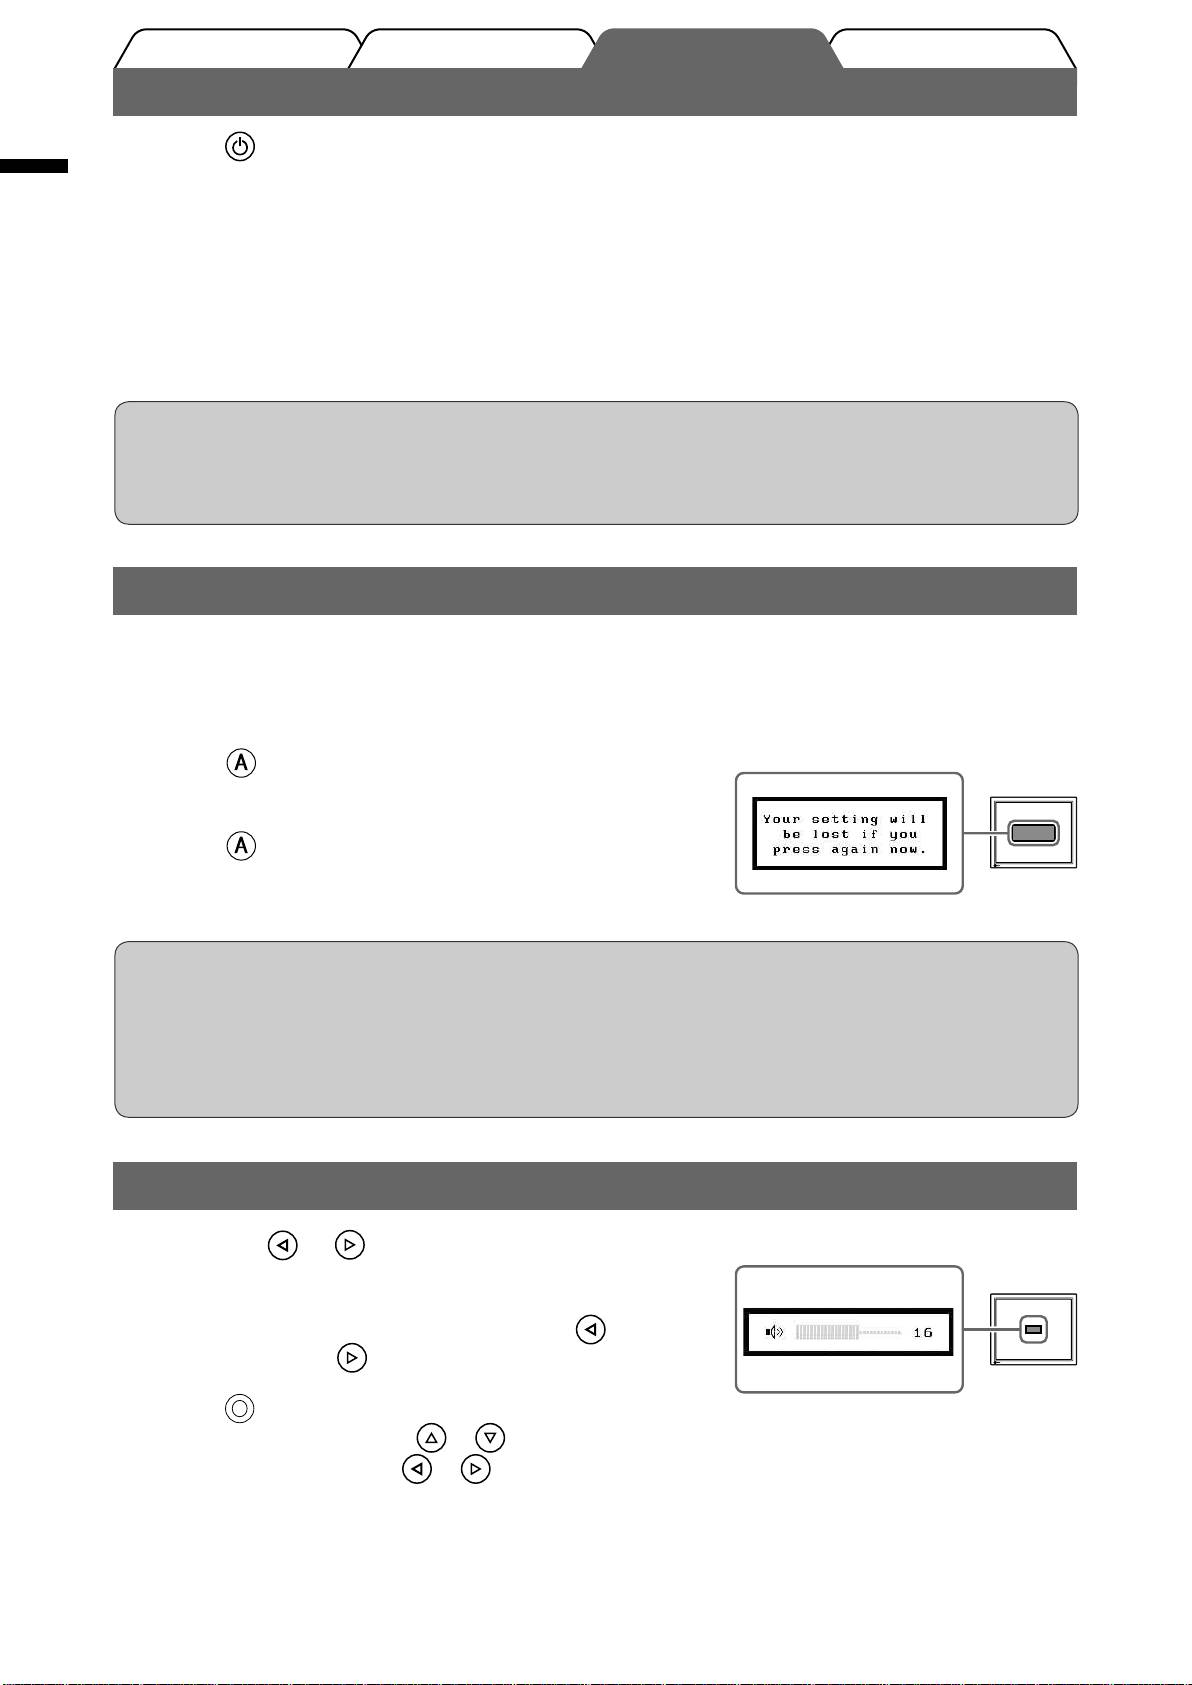
Message window
Press .
1
A message window appears.
Press again while the message is displayed.
2
The Auto Adjustment function is activated and clock, phase,
screen position, and resolution are adjusted automatically.
Attention
• The Auto Adjustment function works correctly when an image is fully displayed over the display area of a
Macintosh or Windows PC screen.
It does not work properly when an image is displayed only on a part of the screen (DOS prompt window,
for example) or when a black background (wallpaper, etc.) is in use.
• The Auto Adjustment function may not work properly with some graphics boards.
Adjusting Speaker Volume
Press the or button.
Volume adjustment window
1
The volume adjustment window appears.
Change the speaker volume with the to
2
decrease or the
to increase.
Press at the desired volume.
3
To mute the sound, press the or while the volume adjustment menu is displayed.
To cancel muting, press the or button.
4
Оглавление
- Controls and Functions
- Connecting Cables
- Displaying Screen
- Selecting Display Mode
- No-Picture Problem
- Bedienelemente und Funktionen
- Kabel anschließen
- Bild wiedergeben
- Anzeigemodus auswählen
- Problem: Kein Bild
- Commandes et fonctions
- Connexion des câbles
- Affi chage de l’écran
- Sélection du mode d’écran
- Problème de non-affi chage d’images
- Controles y funciones
- Conexión de los cables
- Visualización de la pantalla
- Selección del modo de pantalla
- Sin problemas con las imágenes
- Comandi e funzioni
- Collegamento dei cavi
- Visualizzazione dello schermo
- Selezione della modalità schermo
- Problema Nessuna immagine
- Reglage och funktioner
- Att ansluta kablarna
- Visa skärmen
- Välja skärmläge
- Ingen bild visas
- Χειριστήρια και λειτουργίες
- Σύνδεση καλωδίων
- Εμφάνιση της οθόνης
- Επιλογή λειτουργίας οθόνης
- Πρόβλημα "Καθόλου εικόνα"
- Средства управления и их назначение
- Подключение кабелей
- Отображение экрана
- Выбор рабочего режима экрана
- Отсутствует изображение на экране
- ࠊࡳ㛑
- 䖲⬉㓚
- ᰒ⼎ሣᐩ
- 䗝ᢽᰒ⼎ᓣ
- ᮴⠛ⱘ䯂乬
- MEMO
