Medela Harmony: инструкция
Раздел: Красота, здоровье, спорт. туризм, хобби
Тип: Молокоотсос ручной
Характеристики, спецификации
Инструкция к Молокоотсосу ручной Medela Harmony
®
Harmony
EN Instructions for use | RU Инструкция по применению
HU Használati utasítás | TR Kullanım talimatları
PL Instrukcja obsługi

Thank you for choosing the Harmony breastpump. Breastmilk is the natural choice for your baby, but
there are reasons and situations where breastfeeding is not possible. For over 50 years, it has been
Medela’s conviction that these mothers and babies can be supported. In close cooperation with breast-
feeding experts, Medela, one of the market leaders, has researched and developed breastpumps that
perfectly meet the needs of breastfeeding mothers. For mothers who insist on the best for their babies
and themselves. Because you care.
Благодарим Вас за покупку молокоотсоса Harmony. Материнское молоко — лучшее питание для Ваше-
го ребенка, но существует ряд причин, по которым грудное вскармливание может быть невозможно.
Более 50 лет компания Medela помогает мамам и малышам в таких ситуациях. В тесном сотрудничест-
ве с экспертами по грудному вскармливанию компания Medela, один из лидеров рынка, провела
исследования и разработала молокоотсосы, которые идеально подходят женщинам, кормящим
грудью. Для матерей, которые хотят лучшего для себя и своих детей. Потому что Вам не все равно.
Köszönjük, hogy a Harmony mellszívót választotta. Gyermeke számára az anyatej a természetes választás, de
adódhatnak olyan körülmények és helyzetek, amikor a szoptatás nem lehetséges. A Medelának már több mint
50 éve meggyőződése, hogy segíthet ezeknek az anyáknak és gyermekeiknek. Az ágazat egyik piacvezető
vállalata, a Medela szoptatási szakértők bevonásával kutatásokat végzett, és olyan mellszívókat fejlesztett ki,
amelyek tökéletesen megfelelnek a szoptató anyák igényeinek. Termékeinket azoknak az anyáknak alkottuk
meg, akik babáiknak és saját maguknak a legjobbat szeretnék. Mert Önnek fontos.
Harmony sütpompasını seçtiğiniz için teşekkür ederiz. Annesütü bebeğiniz için en doğal tercihtir; ancak
doğrudan emzirmenin mümkün olmadığı nedenler ve durumlar vardır. Medela 50 yılı aşkın bir süredir bu
durumdaki anne ve bebekleri desteklemektedir. Pazar liderlerinden biri olan Medela, emziren annelerin
gereksinimlerini en mükemmel şekilde karşılayacak sütpompalarını emzirme konusunda uzman kişilerle
yakın işbirliği içinde araştırmakta ve geliştirmektedir. Bebekleri ve kendileri için en iyi çözümü isteyen
annelere. Çünkü sizin için önemli.
Dziękujemy za wybranie odciągacza pokarmu Harmony. Mleko matki jest najlepsze dla każdego dziecka,
jednak czasami z różnych przyczyn bezpośrednie karmienie piersią nie jest możliwe. Już od ponad 50 lat rma
Medela z wielkim zaangażowaniem wspiera matki i ich nowonarodzone dzieci w takiej sytuacji. Firma Medela,
jeden z liderów rynku, przeprowadziła badania we współpracy z ekspertami w dziedzinie karmienia piersią
i opracowała odciągacze pokarmu, które są optymalnie dostosowane do potrzeb kobiet karmiących piersią.
Dla matek, które pragną tego, co najlepsze dla siebie i swoich niemowląt. Bo Tobie zależy.

EN
4–31
RU
32–59
HU
60–87
TR
88–115
PL
116 –142

Table of Contents
1. Intended Use / Population – Contraindication 5
4
2. Meaning of symbols 6
3. Important safety information 8
4. Product description 10
4.1 Harmony - light, convenient, clever 10
4.2 Product parts 11
5. Cleaning 12
5.1 Before using for the rst time and after every use 12
5.2 Before using for the rst time and once a day 14
5.3 Cleaning - summary 16
6. Preparing for pumping 18
6.1 Assembling the handle 18
6.2 Assembling the pump set 18
6.3 Placing the breastshield 20
7. Expression 22
8. Storing and thawing breastmilk 24
8.1 Storage 24
8.2 Freezing 24
8.3 Thawing 24
9. Feeding breastmilk 25
10. Troubleshooting 26
11. Disposal 27
12. Complete care during breastfeeding time 28
13. Technical specifications 143

1. Intended use / Population – Contraindication
5
The intended use and indications of breastpumps
Breastpumps are intended to be used by lactating women in the hospital or home
environment for expressing breastmilk. Breastpumps are indicated to alleviate
the symptoms of engorgement by expressing milk. In case of mastitis, breastpumps
support the healing process by removing breastmilk from the affected breast.
Breastpumps are indicated to relieve sore and cracked nipples and to bring out at
or inverted nipples. Also breastpumps enable mothers to provide breastmilk
for babies who cannot feed directly at the breast for a variety of reasons such as
latch-on problems, cleft palate or premature babies.
Intended patient population / user
Adolescent paediatric or adult lactating women. Many women nd it convenient, or
even necessary, to use a breastpump to express and store their breastmilk once they
have returned to work, are travelling or are otherwise separated from their baby.
Women are often delighted to learn that a breastpump can be used as a supplement
to breastfeeding and that some pumps are designed to mimic the sucking of a
nursing baby.
Contraindications
There are no known contraindications for the Harmony breastpump.

2. Meaning of symbols
The warning symbol identies all instructions that are important for safety. Failure to
6
follow these instructions can lead to injury or damage to the Harmony breastpump!
There are several warning symbols. Each symbol is used together with a specic
word. The warning symbol/word combinations stand for:
Caution
Failure to follow instructions of this type can lead to (minor) injury or
contamination/growth of bacteria.
i
Note
Failure to follow instructions of this type can lead to material damage.
Info
i
Useful or important information that is not related to safety.
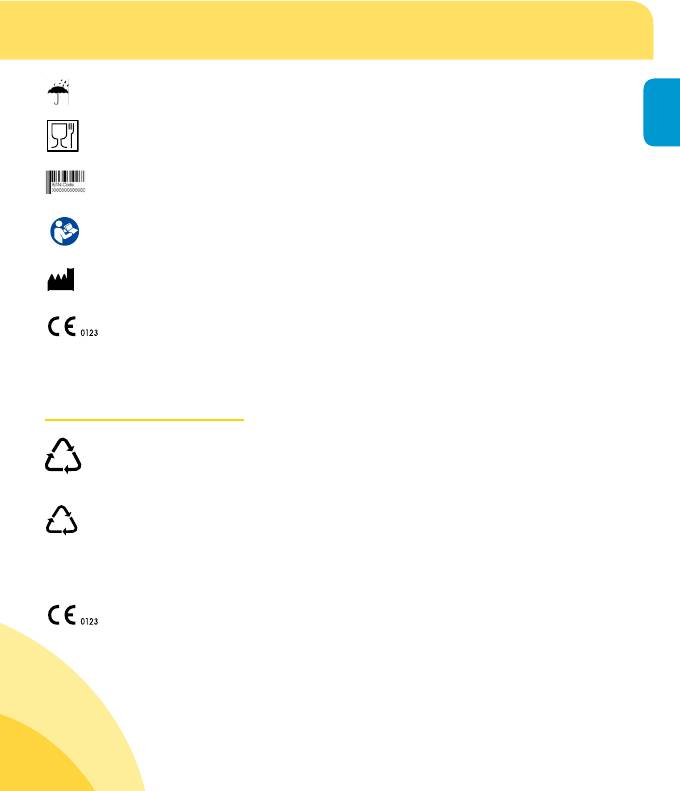
Symbols on the packaging
This symbol indicates that the material is part of a recovery/recycling
process.
This symbol indicates a carton package.
This symbol indicates to keep the device away from sunlight.
This symbol indicates to handle the fragile device with care.
This symbol indicates the temperature limitation for operation, transport
°C
and storage.
This symbol indicates the humidity limitation for operation, transport and
storage.
This symbol indicates the atmospheric pressure limitation for operation,
transport and storage.
This symbol indicates to keep the device dry.
7
This symbol indicates that the packaging contains products intended
to come in contact with food according to regulation 1935/2004.
This symbol indicates the unique GSI Global Trade Item Numbers (GTIN).
This symbol indicates to follow the instructions for use.
This symbol indicates the manufacturer.
This CE symbol indicates the compliance of the Harmony breastpump with
the essential requirements of the Council Directive 93/42/EEC of 14 June
1993 concerning medical devices.
Symbols on the device
This symbol indicates the recycling code (here 05 for material made of
polypropylene PP).
This symbol indicates the recycling code (here 7 for all material that is not
specied by the other recycling codes).
PP This code indicates the use of polypropylene.
This CE symbol indicates the compliance of the Harmony breastpump with
the essential requirements of the Council Directive 93/42/EEC of 14 June
1993 concerning medical devices.
05
PP
7
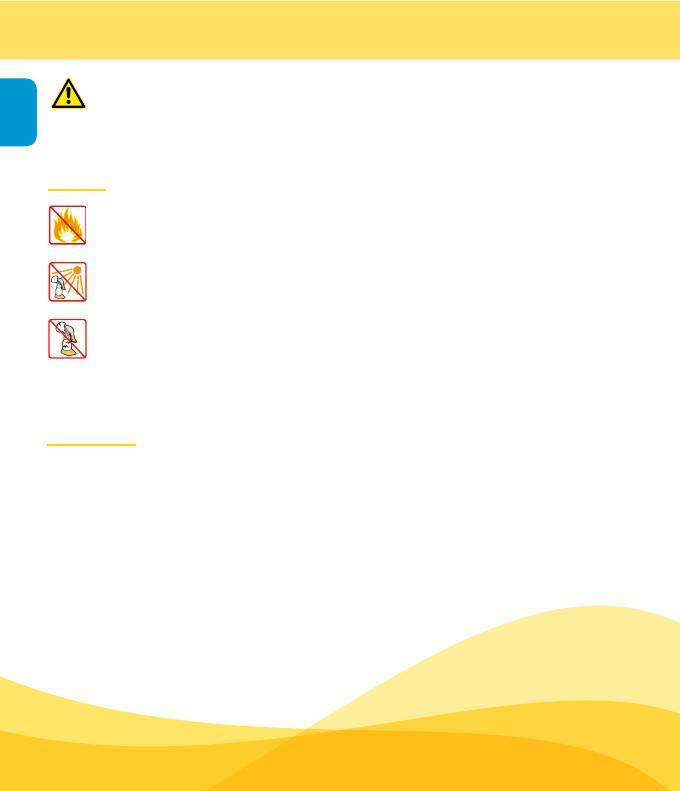
3. Important safety information
For your child’s safety and health
8
WARNING!
Failure to follow the safety information
on these pages can lead to danger.
Device
The Harmony breastpump is not heat-resistant: keep away from radiators
and open ames.
Do not expose the Harmony breastpump to direct sunlight.
Check the breastpump’s components for wear or damage.
Never use a defective device. Throw a part away at rst signs of damage
or weakness.
Important:
I Plastic bottles and component parts become brittle when frozen and
may break when dropped.
I Also, bottles and component parts may become damaged if mishandled,
e.g. dropped, over-tightened or knocked over.
I Take appropriate care in handling bottles and components.
l Do not use the breastmilk if bottles or components become damaged.

3. Important safety information
Use
9
Use the Harmony breastpump only for its intended use as described in
this manual.
Supervision is necessary when you use the Harmony breastpump in
the vicinity of children. Keep all parts that are not in use out of chil-
dren’s reach.
Contact your lactation consultant or physician if you experience
problems or pain.
This is a single user product. Use by more than one person may
present a health risk.

4. Product description
4.1 Harmony – light, convenient, clever
10
By buying the Harmony breastpump, you have chosen well:
Harmony is the rst manual breastpump based on 2-Phase Expression
Technology. This technology mimics your baby’s natural sucking
rhythm. The pump’s ergonomic handle allows you to alternate between
short movements to stimulate and longer ones, to express the milk.
Just like your baby sucks when it is being fed on your breast. As a
result, you can express more milk in less time.
The Harmony breastpump is ideal for occasional usage. For example, if you need to
leave your baby alone for short periods, e.g. to do sports or have an evening out.
Or if you want to involve your partner in breastfeeding. You can also use Harmony in
addition to a rental pump. Harmony can also help to overcome health problems, such
as sore, at or inverted nipples.
The main features of your Harmony breastpump are:
I Silent and discreet pumping;
I Easy to use, clean and assemble;
I Light to transport, suitable for use at home or on the go.
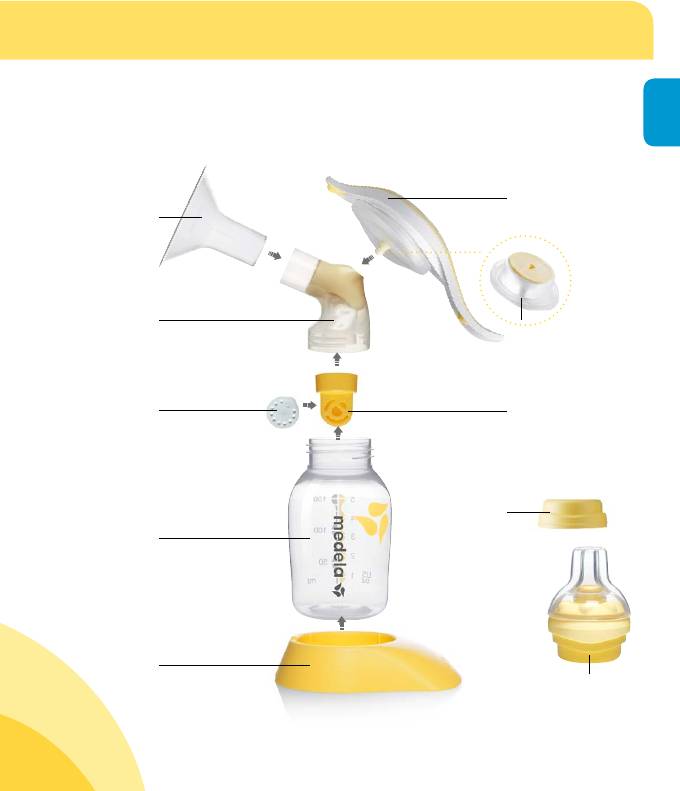
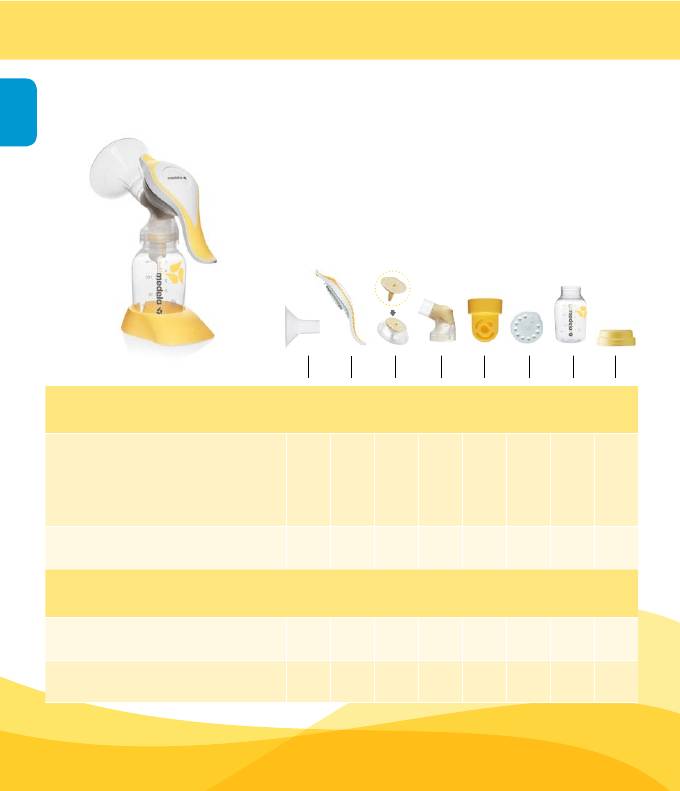
4.2 Product parts
11
You can nd spare parts and accessories available for order in chapter 12.
1 x PersonalFit™
1 x handle
Breastshield
24 mm*
1 x 2-component
connector
1 x diaphragm/stem
with O-ring
2 x valve
1 x valve head
membrane
1 x Calma
multi-lid
1 x bottle
1 x bottle stand
1 x Calma Solitaire
* for other breastshield sizes, see chapter 12
5. Cleaning
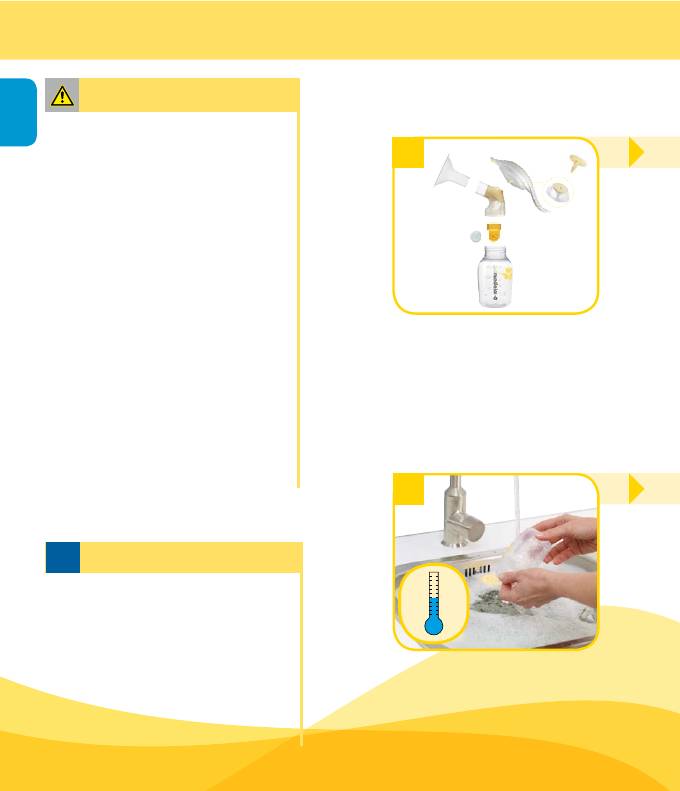
5.1 Before using for the rst
12
Caution
time and after every use
l Take apart and wash all parts
that come in contact with the
1
breast and breastmilk immedia-
tely after use, to avoid the
drying up of milk residues and
to prevent growth of bacteria.
l Only use drinking-quality water
for cleaning. To avoid contamina-
tion, do not touch the inside of
the parts after cleaning.
I Do not clean the pump set with a
sharp object (such as a toothpick).
Disassemble the pump set into
l Take care not to damage parts
its individual parts.
of the pump set during cleaning.
I Some parts of the Harmony pump
set are very small (e.g. the O-ring
or the valve membrane). Check
that no parts are missing when
you reassemble the pump set after
cleaning.
4
i
Note
l The pump set requires no
maintenance.
l If you clean the individual parts of
the pump set in a dishwasher,
parts may change in colour. This
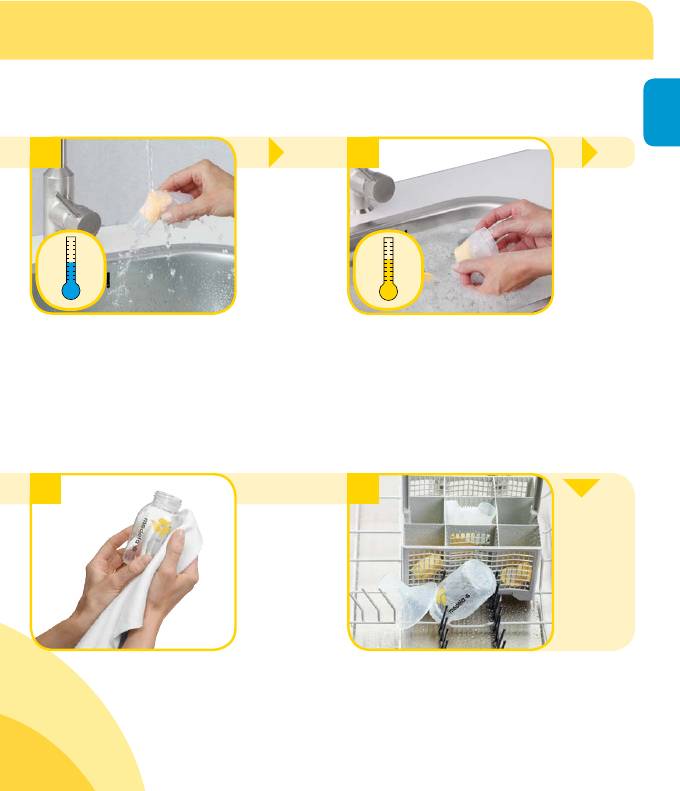
Rinse all parts with cold, clear
has no impact on the function.
water (approx. 20 ° C) for
I Do not leave (parts of) the pump
10 – 15 seconds.
set in direct sunlight or heat.
I Do not use chemical sterilisers.
13
2
3
Rinse all parts with cold, clear
Clean all parts with plenty
water (approx. 20 ° C).
of warm soapy water (approx.
Check the parts for damage
30 ° C).
and throw away at rst signs of
damage or weakness.
5
or
6
As an alternative to
steps 2, 3 and 4.
Dry with a clean cloth or
If you clean the individual parts
leave to dry on a clean cloth.
of the pump set in the dishwasher,
place them on the top rack or in
the cutlery section.
5. Cleaning
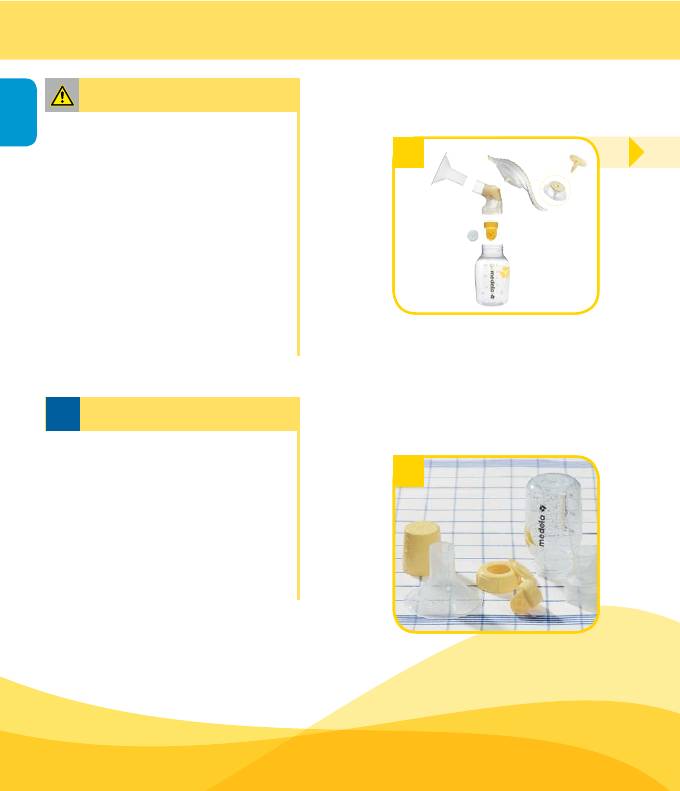
5.2 Before using for the
14
Caution
rst time and once a day
I Do not drop the parts of the
pump set into boiling water.
1
1
I To avoid contamination, do not
touch the inside of the parts after
sterilisation.
l Take apart and wash all parts
that come in contact with the
breast and breastmilk imme-
diately after use to avoid drying
up of milk residues and to
prevent growth of bacteria.
l Only use drinking-quality water
Disassemble the pump set
for cleaning.
into its individual parts.
i
Note
l When you boil the parts of the
pump set, you could add a tea -
3
spoon of citric acid to avoid a
build-up of limescale.
When you use citric acid, minor
traces might remain on the pump
parts. Use drinking-quality water
to wash them off. Dry the parts as
shown in gure 3 to the right.
Dry with a clean cloth or leave to
dry on a clean cloth. Store the
clean parts in an air-permeable,
clean bag/container, or in an
air-permeable, clean paper/cloth
until next use.
15
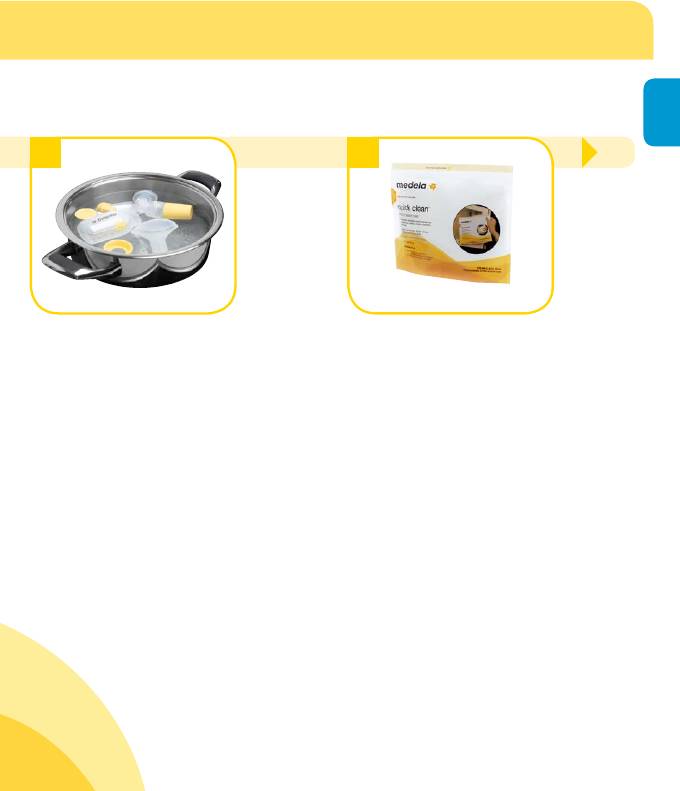
2a
or
2b
Cover all parts with water
Use a Quick Clean Microwave
and boil for ve minutes.
Bag* in accordance with the
instructions.
* More information at www.medela.com
5. Cleaning
5.3 Cleaning – summary
16
Before using for the rst time
and after every use
Rinse with cold, clear water ( approx.
20 ° C ), then clean with plenty of warm
soapy water ( approx. 30 ° C ) and
√ √ √ √ √ √ √ √
finally rinse with cold, clear water for
10 – 15 seconds;
Or wash in the dishwasher ( on the top
√ √ √ √ √ √ √ √
rack or in the cutlery section ).
Before using for the rst time
and once a day
Cover with water and boil for ve
√ √ √ √ √ √ √ √
minutes;
Or use a Quick Clean Microwave bag
√ -- √ √ √ √ √ √
in accordance with the instructions.

17
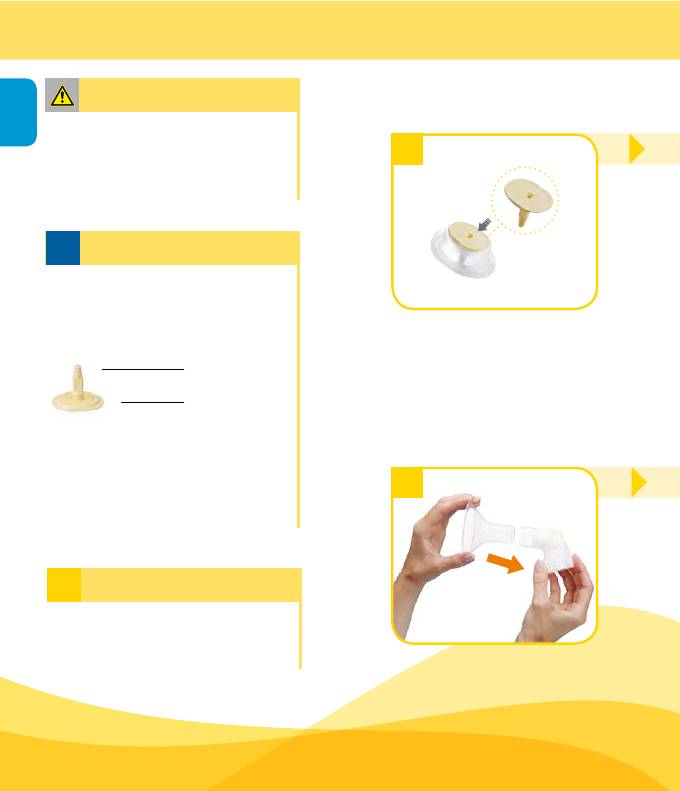
6. Preparing for pumping
6.1 Assembling the handle
18
Caution
l Wash your hands thoroughly (for
approx. one minute) with soap
1
and water before you touch your
breast and the pump parts.
i
Note
l Only use Medela original
accessories.
I Check that the (white) O-ring is
Insert the stem (with the
still placed around the stem:
O-ring) into the hole on the
upper side of the diaphragm.
O-ring
The stem and diaphragm are
Stem
parts of the pump’s handle.
The O-ring makes a sealed
6.2 Assembling the pump set
connection between the handle
and the 2-component connector
1
possible. This is necessary to
build up a vacuum.
Info
i
l Carry out all steps with care and
assemble the pump set correctly
for optimum performance.
Carefully insert the breast-
shield into the top opening of
the connector.
19
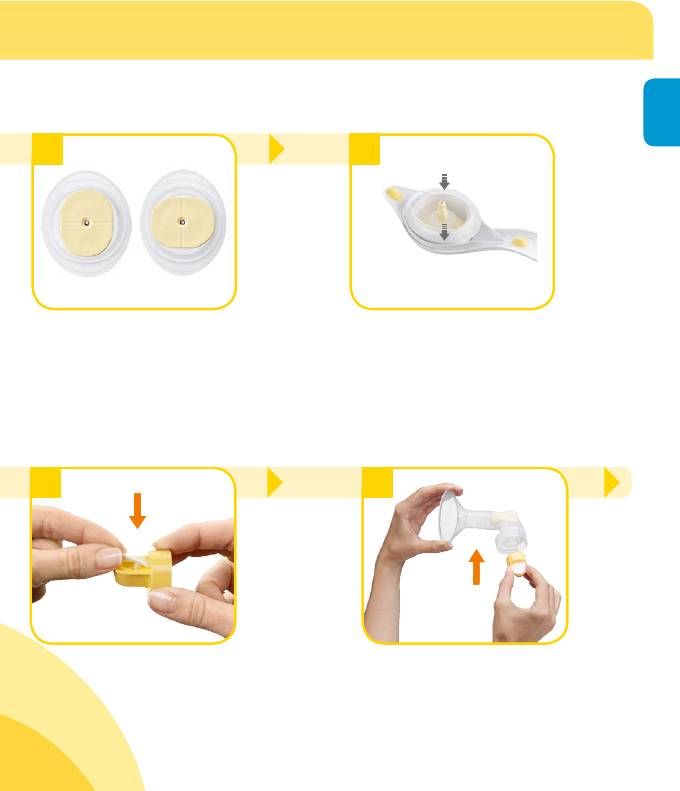
2
3
√
X
Make sure the oval shaped
Place the diagraphm into the
base of the stem has the
pump handle. Press down
right position in the dia phragm.
rmly around the entire edge
to ensure a proper seal.
2
3
Place the valve membrane in a
Push the valve head onto the
horizontal position on the valve
inner ring of the connector.
head. Carefully push the knob on the
The valve head must be
membrane‘s back into the smallest
positioned sideways (as you
hole of the head until it engages. The
can see in the above picture).
membrane must lie at on the head.

6. Preparing for pumping
6.2 continued
20
4
5
Screw the bottle onto the
Insert the stem of the handle
connector.
assembly into the opening
on top of the connector. Push
until the stem locks into
place.
6.3 Placing the breastshield
1
2
Wipe your breast with a warm
Hold the breastshield onto
cloth (do not use alcohol).
your breast with your thumb
Place the breastshield on
and index nger. Support
your breast so that your
your breast with the palm of
nipple is properly centred in
your hand.
the tunnel.


