Eneo PTB-1025F13: DE EN FR PL RU
DE EN FR PL RU: Eneo PTB-1025F13
Installation
DE
EN
FR
PL
RU
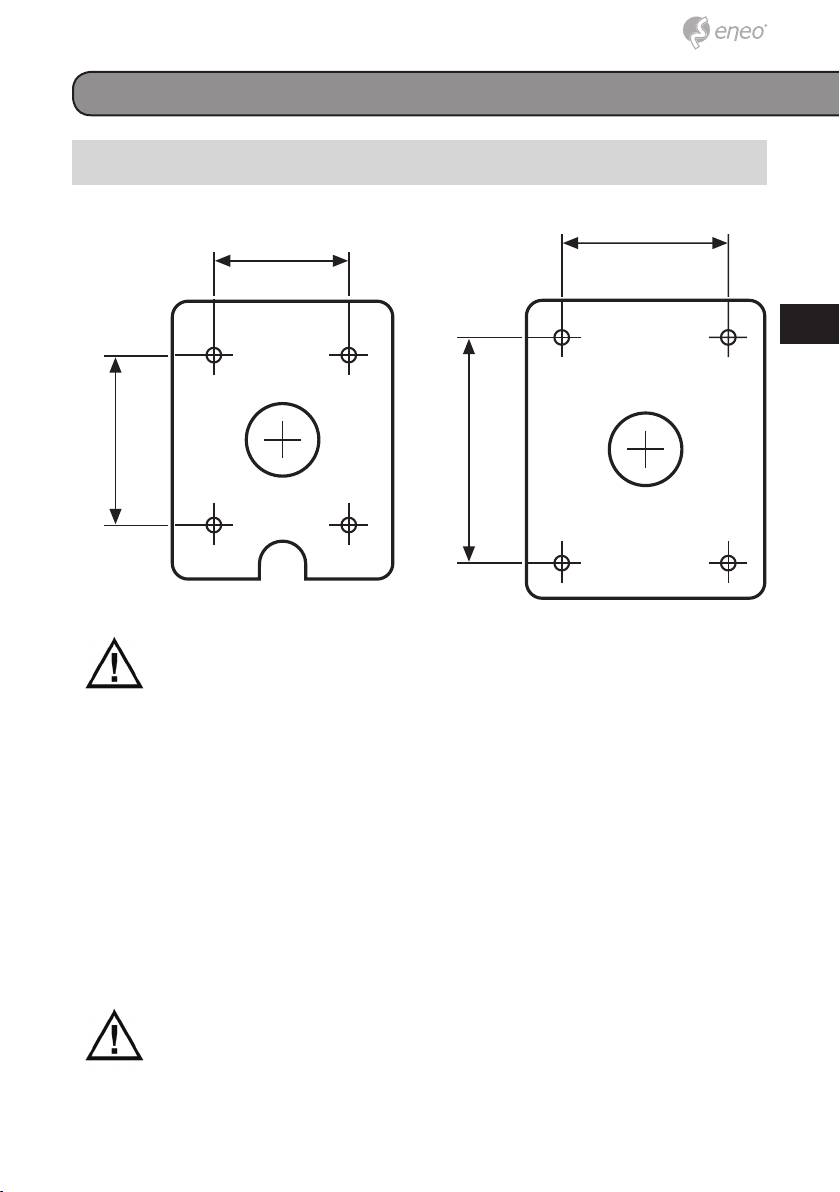
CAUTION: Easy Bracket can not be installed on the ceiling.
When it is installed on the wall, peg for Easy bracket Hook ⓚ
must be placed upwardly.
1) Drill the holes on wall using a supplied template.
2) Insert the anchors to the drilled holes.
2a) Easy Bracket: Match the EASY
BRACKET to the drilled position.
Fix the EASY BRACKET by using
Wall fixing screws.
3. Route cables to the installtion position and connect audio, power, alarm
and LAN cables as required.
Care should be taken the cable is NOT to be damaged, kinked or
exposed in the hazardous area.
The camera can work with either 24AC or 12VDC, dual voltage power and
21
56
76
56
45
57
76
45
57
Easy Bracket and Standard Bracket
PoE (IEEE Std. 802.3af). When using a 12VDC or 24VAC power supply
please proceed as follows:
• Make sure the power is removed before the installation.
• Follow the order for applying power.
First, connect the low voltage (AC24V or DC12V), then plug the AC adapter
to AC outlets to avoid an improper reset from power jitter and a damage
from the surge voltage when no load.
To communicate with the network camera it is necessary to connect a
standard RJ-45 cable to it. Generally a cross-over cable is used for direct
connection to PC, while a direct cable is used for connection to a hub /
switch.
4a) Easy Bracket: Connect hook ⓘ
4b) Standard Bracket: Match Foot
to peg ⓚ.
mount Hole (4x) ⓓ to the drilled
position.
5a) Easy Bracket: Fix Bracket Foot ⓒ
to EASY BRACKET by using wrench
5b) Standard Bracket: Fix the bracket
bolts through Foot mount Hole (4x)
by using Wall fixing screws.
ⓓ.
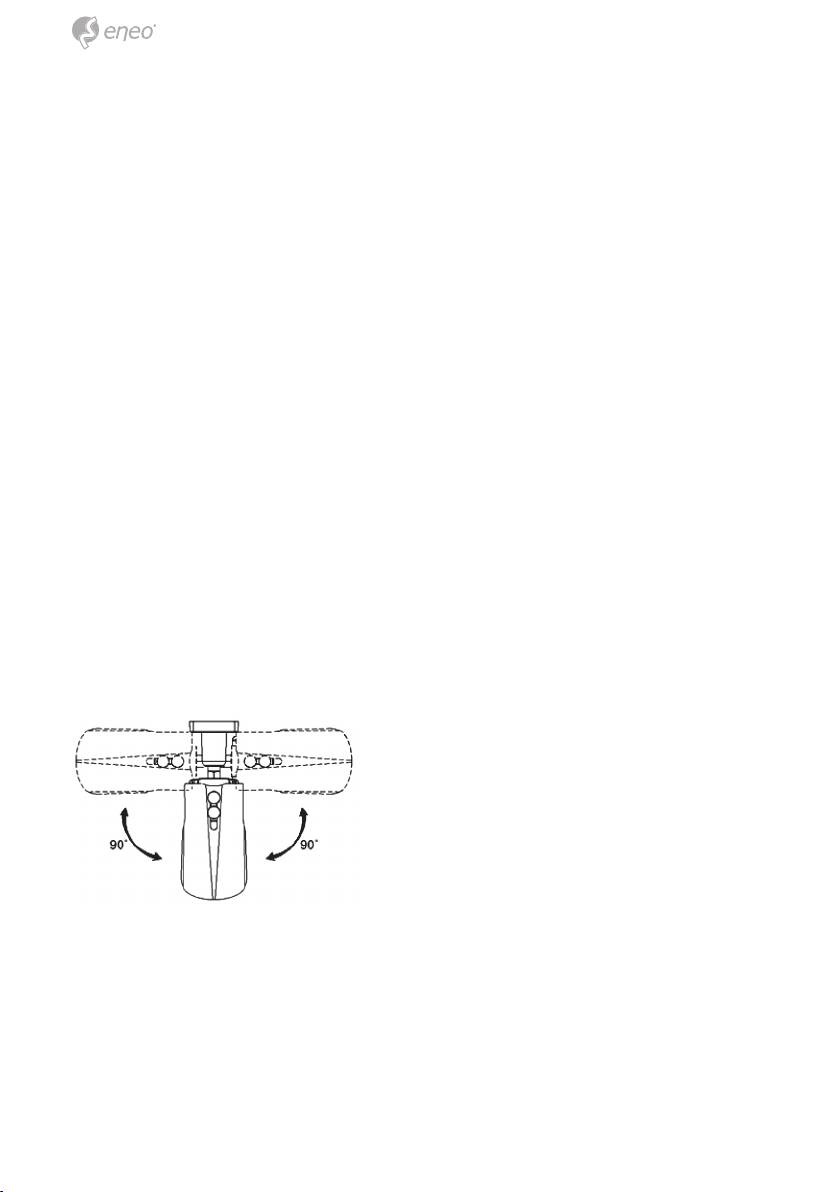
6. Set the camera’s angle (Pan, Tilt, inclination).
Pan is limited to +/- 90°.
Tilt is limited to 0°(2°) min ~ 90° max. for wall(ceiling) installation respec-
tively with reference to the ceiling when the inclination of camera module is
0°, that is, the image is aligned horizontally.
22
Оглавление
- DE EN FR PL RU
- DE DE EN EN FR FR
- DE DE EN EN
- DE DE
- DE DE EN EN FR FR PL PL RU RU
- DE DE EN EN FR FR
- DE DE EN EN FR FR PL PL RU RU
- DE
- DE EN FR PL RU
- DE EN FR
- DE EN FR PL RU
- DE
- DE EN FR
- DE DE
- DE DE EN EN FR FR PL PL RU RU
- DE DE EN EN FR FR PL PL
- DE DE EN EN FR FR PL PL RU RU
- DE DE EN EN
- DE DE
- DE DE EN EN FR FR PL PL RU RU
- DE DE EN EN FR FR
- DE DE EN EN FR FR PL PL RU RU
- DE DE
- DE DE EN EN FR FR PL PL RU RU
- DE DE
- DE DE EN EN FR FR PL PL RU RU
