Dolmar PS-220 TH: инструкция
Раздел: Оборудование для загородных домов и сада
Тип: Бензиновый Триммер
Инструкция к Бензиновому Триммеру Dolmar PS-220 TH
GB Instruction Manual
(Page 15 – 22)
F
Manuel d’instructions
(Page 23 – 31)
D
Betriebsanleitung
(Seite 32 – 40)
I
Istruzioni per l’uso
(Pagina 41 – 49)
NL Gebruiksaanwijzing
(Pagina 50 – 58)
E
Manual de instrucciones
(Página 59 – 67)
P
Manual de instruções
(Página 68 – 76)
S
Bruksanvisning
(Sida 77 – 84)
N
Bruksanvisning
(Side 85 – 92)
SF Käyttöohje
(Sivu 93 – 100)
GR
Οδηγίες χρήσεως
(
Σελίδ
á 101 – 109)
PL
Instrukcja obsługi
(
Strona
110 – 118)
RU
Инструкция по эксплуатации
(
Стр.
119 – 127)
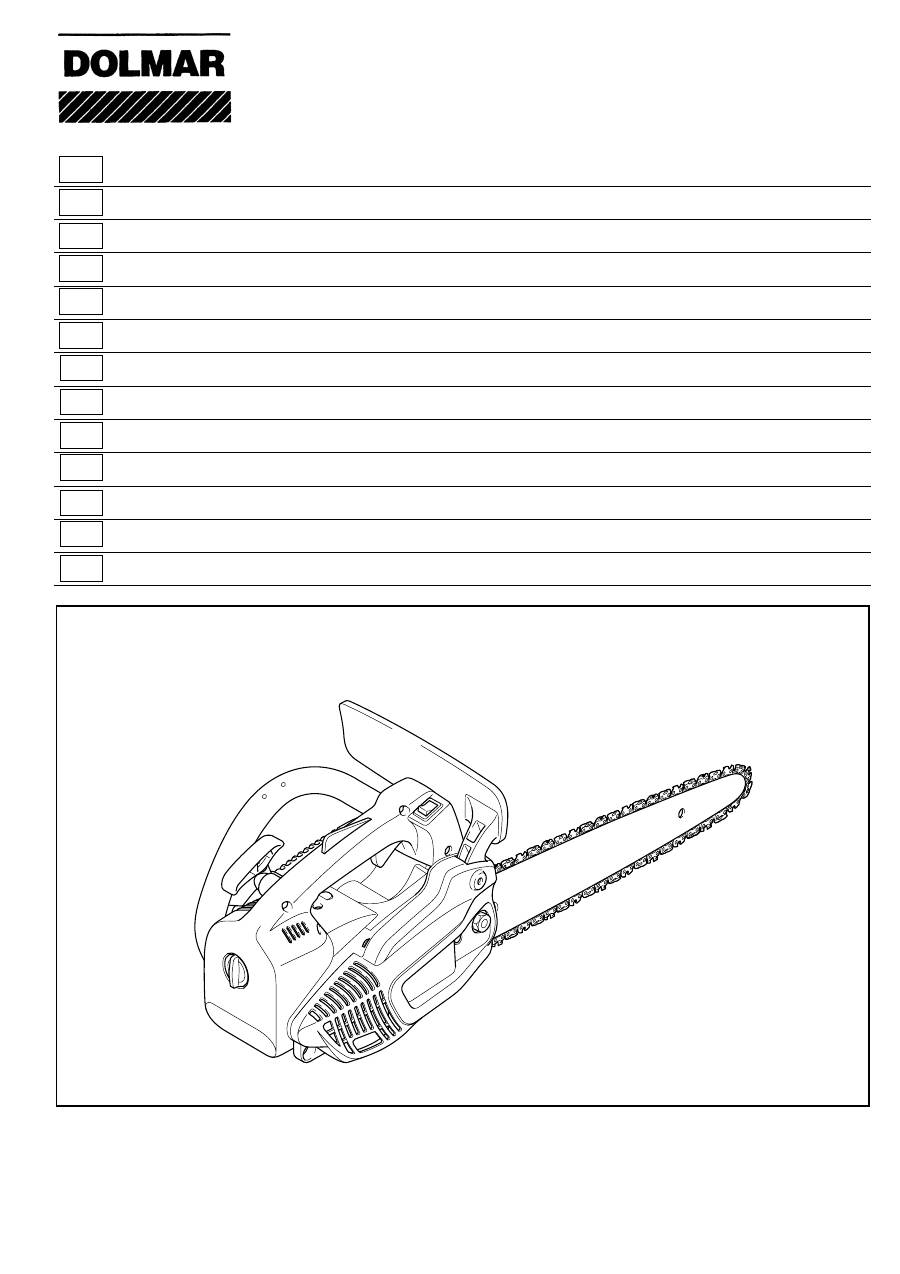
PS-220 TH
PS-221 TH

2
Important:
Read this instruction manual carefully before putting the chain saw into operation and strictly observe the safety regulations! Only persons who have completed training in
working from elevated platforms (cherry pickers, lifts), from platforms mounted on ladders or who are proficient in climbing with ropes are permitted to operate this chain saw.
Keep this Instruction Manual!
Attention:
Lire attentivement ce manuel avant la première mise en service et observer absolument les prescriptions de sécurité! C'est pourquoi ces tronçonneuses ne peuvent être
manipulées que par des opérateurs ayant reçu une formation complémentaire pour travailler en nacelle ou pour utiliser la technique de la descente en rappel!
Garder avec soins le manuel des instructions d’emploi!
Achtung:
Lesen Sie vor der ersten Inbetriebnahme diese Betriebsanleitung gründlich durch und befolgen Sie unbedingt die Sicherheitsvorschriften! Diese Motorsäge darf nur von
„Motorsägenführern mit Zusatzausbildung für Arbeiten in Hub- oder Leiterkörben bzw. Seilklettertechnik” bedient werden!
Betriebsanleitung sorgfältig aufbewahren!
Attenzione:
Osservare attentamente le norme di sicurezza. Errori nell’uso della motosega possono essere causa di incidenti! Questa motosega va utilizzata esclusivamente da “operatori
appositamente addestrati per eseguire lavori con motoseghe e addestrati inoltre per eseguire lavori in ceste sollevabili o di conduzione e con impianti ascensionali con funi”.
Conservare accuratamente le istruzioni d’impiego!
Belangrijk:
Voordat u de machine de eerste keer in gebruik neemt moet u deze gebruiksaanwijzing zorgvuldig doornemen. U dient er vooral op te letten dat u alle veiligheidsvoorschriften
goed heeft begrepen zodat u die strikt in acht kunt nemen! Deze motorzaag mag uitsluitend door „motorzaagbestuurders met extra scholing voor het werken in hef- of
ladderkooien, resp. bekend zijn met de touwklimtechniek“ worden bediend.
Berg de gebruiksaanwijzing goed op!
Atención:
Es indispensable leer con mucha atención las instrucciones de manejo antes de utilizar la motosierra por primera vez. ¡Preste especial atención a las recomendaciones de
seguridad!
Esta motosierra sólo podrá ser manejada por „usuarios de motosierra con formación complementaria” para realizar trabajos con cestos de elevación o de escaleras o bien
técnica de trepar con cuerdas.
Conservar cuidados los instrucciones de manejo.
Atenção:
Antes da primeira colocação em serviço, ler atentamente estas instruções de serviço e seguir sem falta as normas de segurança! Essa moto-serra deve somente ser utilizada
por „condutores de moto-serra com formação extra para trabalhos em caixa elevadora, em caixa de escada ou em técnica de escalar com cordas“!
Guardar bem as instruções de serviço!
Obs!
Läs noga igenom denna instruktionsbok innan du startar motorsågen och följ sedan exakt säkerhetsföreskrifterna! Denna motorsåg får användas endast av „Motorsågsförare
med extra utbildning för arbeten i lyft- eller stegkorgar och som är insatta i linklättringsteknik”!
Förvara instruktionsboken omsorgsfullt.
OBS!
Les grundig gjennom denne bruksanvisningen før du tar maskinen i bruk og følg sikkerhetsforskriftene nøye! Denne motorsagen må kun brukes av „motorsagførere med ekstra
utdannelse for arbeid i løfte- eller stigekurver hhv. tauklatringsteknikk“!
Ta godt vare på bruksanvisningen.
Tärkeää:
Lue tarkkaan tämä käyttöohje ennen ensimmäistä käyttöönottoa ja noudata ehdottomasti turvallisuusohjeita! Vain ”lisäkoulutuksen nosto- ja tikaskorissa sekä
köysikiipeilytekniikassa suoritettavasta työstä saaneet moottorisahan käyttäjät” saavat käyttää tätä moottorisahaa!
Säilytä käyttöohje huolellisesti.
Σηµαντικ:
∆ιαβάστε αυτ το εγχειρίδιο οδηγιών προσεκτικά πριν βάλετε το πρινι αλυσίδας σε λειτουργία και τηρείτε αυστηρά τις οδηγίες ασφάλειας! Μνο άτοµα που
έχουν εκπαιδευτεί σε εργασία απ ανυψωµένες πλατφρµες (συλλέκτες κερασιών, ανυψωτήρες), απ πλατφρµες τοποθετηµένες σε σκάλες ή που είναι ικανοί
σε αναρριχήσεις µε σχοινιά, επιτρέπεται να λειτουργούν αυτ το πρινι αλυσίδας.
Êñáôåßóôå áõôü ôï åã÷åéñßäéï Ïäçãéþí.
Ważne:
Przed przystąpieniem do pracy z piłą łańcuchową przeczytaj uważnie instrukcję obsługi i przestrzegaj rygorystycznie środków ostrożności! Urządzenie może być obsługiwane
wyłącznie przez osoby, które zostały przeszkolone w zakresie pracy na podnoszonych platformach (np. do zrywania owoców, podnośnikach), platformach przymocowanych
do drabin lub które umieją wspinać się z użyciem lin. Zachowaj instrukcję obsługi!
Важно:
Внимательно прочитайте эту инструкцию по эксплуатации перед запуском бензопилы и строго соблюдайте правила безопасности! К управлению этой бензопилой
допускаются только лица, которые прошли полную подготовку для работы с подъемных корзин (кран-балках, подъемниках), с платформ, установленных на
лестницах, или лица, которые имеют опыт работы при подъеме с использованием канатов. Сохраните эту инструкцию по эксплуатации!
3
1 2 3 4 5 6 7 8
4 5 6 7 1 2 3
3 meters
4
9 10 11 12 13 14 15 16
B
A
B
