Toshiba Dynadock: Guide for Uninstalling the dynadock™ Utility & Driver 1. Insert the dynadock™ Software Installation CD that was included in the 2. You will see the following message. Click “OK” to begin the Utility &
Guide for Uninstalling the dynadock™ Utility & Driver 1. Insert the dynadock™ Software Installation CD that was included in the 2. You will see the following message. Click “OK” to begin the Utility &: Toshiba Dynadock
Table of contents
- Guide for Uninstalling the dynadock™ Utility & Driver 1. Insert the dynadock™ Software Installation CD that was included in the 2. You will see the following message. Click “OK” to begin the Utility &
- 3. Follow the on-screen directions to finish uninstalling the dynadock™ Utility.
- 4. After the Utility uninstall is completed, the Audio Driver will be uninstalled automatically.
- 5. When the computer is restarted, the Video Driver will be uninstalled automatically.
- 6. After the computer has restarted, click “Install dynadock Utility & Driver” to install the new version.
Guide for Uninstalling the dynadock™ Utility & Driver
Note:
■ Before starting the steps below, you must eject the dynadock™ from
your computer using the TOSHIBA dynadock™ utility icon on your
Notification Area/System Tray.
■ Disconnect the dynadock™ from the computer. Any devices connected
to the dynadock™ will be disabled.
■ Close all other programs and applications.
■ You must uninstall any previous versions of the dynadock™ Utility &
Driver before installing the new version. You will be prompted to
uninstall the dynadock™ Utility & Driver, Audio Drivers and Video
Drivers and reboot your computer twice before installing the new
version.
To uninstall the dynadock™ utility and driver, please follow the procedure
below.
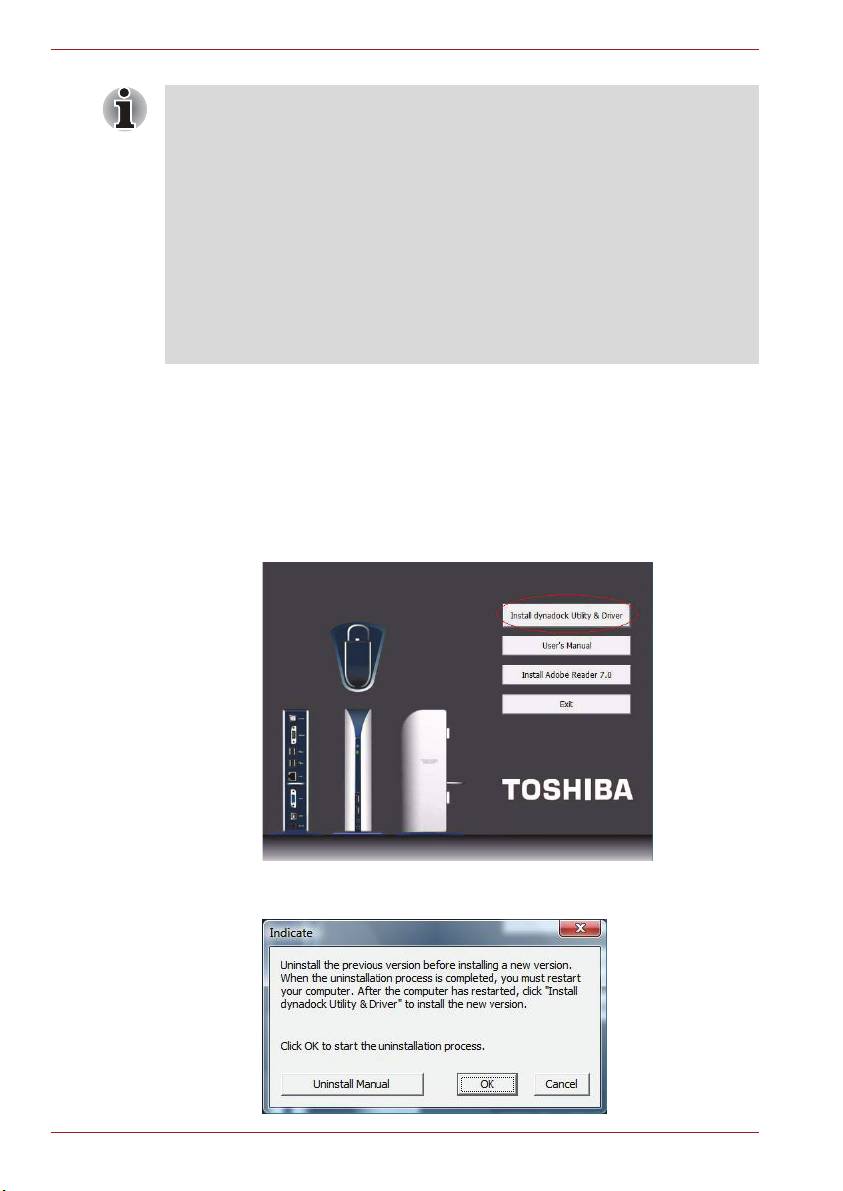
1. Insert the dynadock™ Software Installation CD that was included in the
dynadock™ box. The main menu below should open automatically. If it
does not, right click the “Start” button, “Open”, locate and click on the
optical drive and then double click “Auto Run”.
Click on the “Install dynadock Utility & Driver” button. The “User
Account Control” dialog will be displayed, please click “Continue”.
2. You will see the following message. Click “OK” to begin the Utility &
Driver uninstallation process.
EN-2
