IBM u-1070: Using Shooting Modes
Using Shooting Modes: IBM u-1070
Using Shooting Modes
The shooting mode changes in the order
Using the digital image
of P G h s z each time the K
stabilization mode (h mode)
button is pressed. By switching to another
shooting mode, most settings in modes
This mode enables the user to reduce blurring
other than P mode will be changed to the
that is caused by a camera shake and subject
default settings of the respective shooting
movement.
mode.
1
Press the K button a few times to
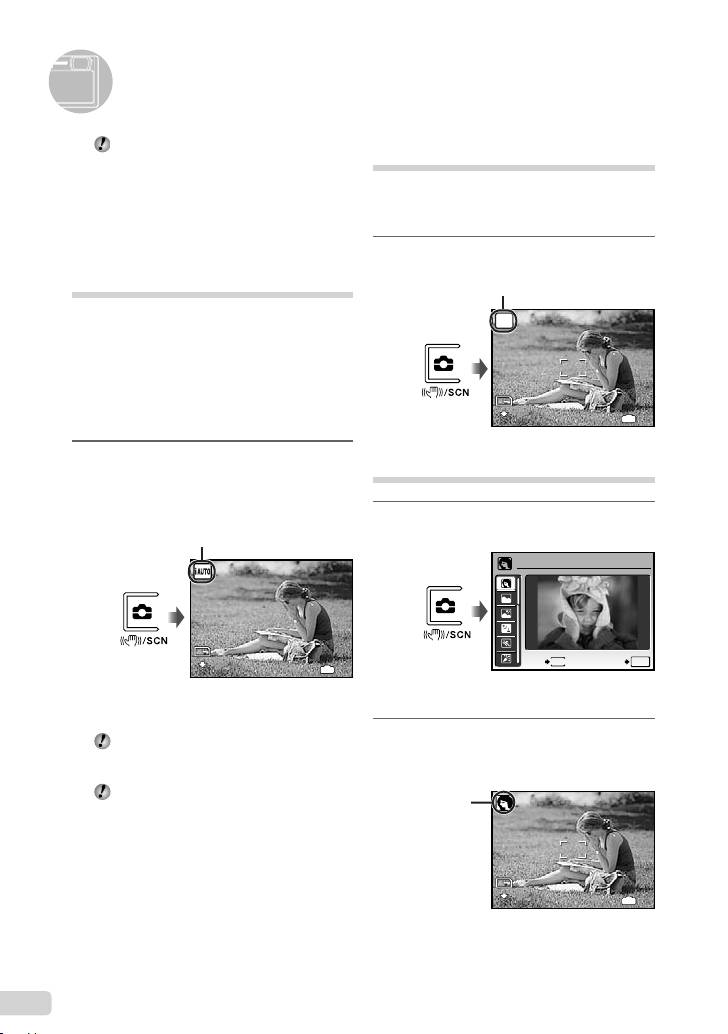
Shooting with automatic
set h.
settings (G mode)
The camera automatically selects the best
shooting mode for the scene from [PORTRAIT],
[LANDSCAPE], [NIGHT+PORTRAIT], [SPORT]
and [MACRO]. This is a fully automatic mode
that allows the user to take pictures using the
best mode for the shooting scene simply by
pressing the shutter button. Shooting-related
settings are not available in G mode.
Using the best mode for the
1
Press the K button a few times to
shooting scene (s mode)
set G.
1
Press the K button a few times to
set s.
●
To check which shooting mode the camera has
●
An explanation of the selected mode is displayed
automatically selected, press the shutter button
while the E button is pressed and held.
halfway or press the g button.
2
Use CE to select the best
Depending on the shooting scene, the
camera may not select the intended
shooting mode for the scene, and
shooting mode.
press the x button.
If the camera cannot determine the best
shooting mode, the picture will be taken in
P mode.
10
EN
12
M
h
12
M
4
IN
4
N
ORM
h mode indicator
N
ORM
G mode indicator
The indicator changes to
the icon for the scene mode
selected by the camera.
12
M
12
M
4
IN
4
N
ORM
PORTRAIT
EXIT
MENU
SET
OK
N
ORM
12
M
12
M
4
IN
4
N
ORM
Icon indicating
the scene mode
that is set
N
ORM
d4399_e_basic_000_book_cs2e.indb10 10d4399_e_basic_000_book_cs2e.indb10 10 11/14/2008 9:50:57 AM11/14/2008 9:50:57 AM
In s mode, the optimum shooting
Capturing the perfect moment when
settings are pre-programmed for specifi c
shooting ([YPRE-CAPTURE MOVIE]
shooting scenes. For this reason, settings
mode)
may not be changed in some modes.
1 Use CE to select [YPRE-CAPTURE
To change to another scene mode, use the
MOVIE], and press the x button to set.
menu. [C SWITCH SHOOTING MODES]
●
This function is ready for shooting
(p. 28)
immediately after setting this option.
2 Press the shutter button to start movie
Submenu 1 Application
shooting.
B PORTRAIT/F LANDSCAPE/
*1
G NIGHT SCENE
/
●
After shooting stops, the camera saves a
M NIGHT+PORTRAIT/
7-second movie, including up to 2 seconds of
C SPORT/N INDOOR/
recording time taken before the shutter button
The camera
W CANDLE/R SELF PORTRAIT/
was pressed, to the memory card.
*1
*1
takes a picture in
S SUNSET
/X FIREWORKS
/
the mode for the
●
The optical zoom and auto focus function are
V CUISINE/d DOCUMENTS/
available during movie recording.
*2
shooting scene.
N SMILE SHOT
/
q BEACH & SNOW/
Sound is not recorded.
Y PRE-CAPTURE MOVIE/
The AF target mark is not displayed.
A MOVIE
*1
When the subject is dark, noise reduction is
Select [IMAGE SIZE] from [VGA] or [QVGA],
automatically activated. In this case, shooting takes
and select [FRAME RATE] from [30fps] or
twice as long as normal and the next shot cannot be
[15fps].
taken while the previous picture is being processed.
*2
The focus is locked at the fi rst frame.
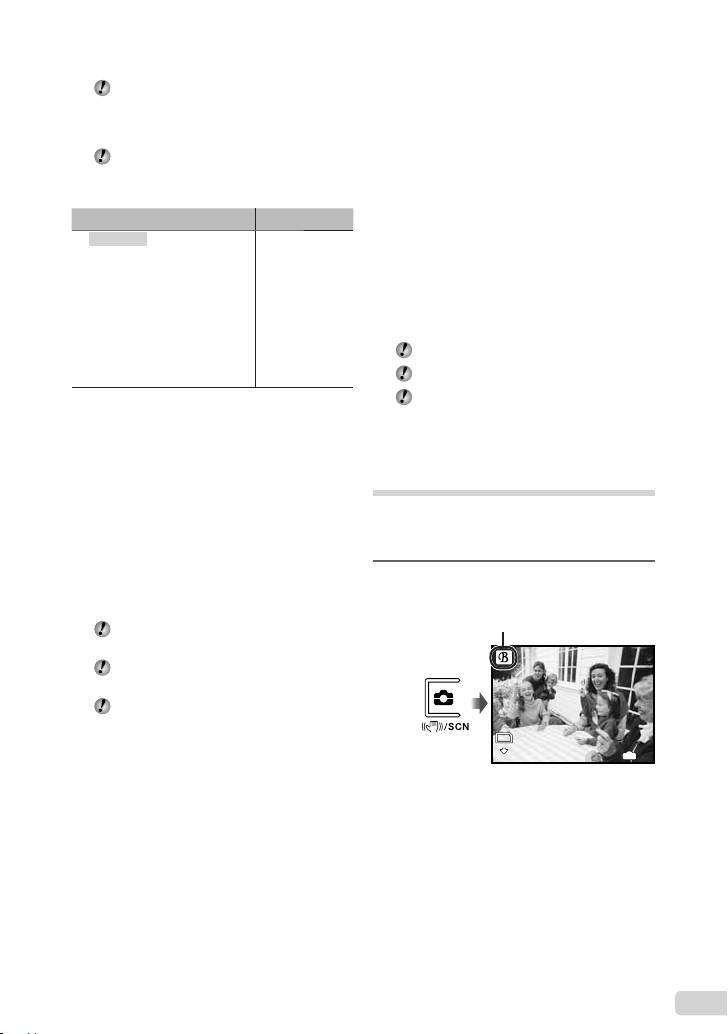
Smoothing out skin tone and
To release the shutter automatically
texture (z mode)
when the camera detects a smiling
The camera fi nds a person’s face and gives the
face ([N SMILE SHOT] mode)
skin a smooth, translucent look for taking the
1 Select [N SMILE SHOT] and point the
picture.
camera toward the subject.
●
The self-timer lamp turns on. When the
1
Press the K button a few times to
camera detects a smiling face, it automatically
set z.
takes 3 frames sequentially.
Pictures can also be taken manually by
pressing the shutter button.
Depending on your subject, a smiling face
may not be detected.
[IMAGE SIZE] is limited to [I] or lower.
EN
11
12
M
12
M
4
IN
4
N
ORM
z mode indicator
N
ORM
d4399_e_basic_000_book_cs2e.indb11 11d4399_e_basic_000_book_cs2e.indb11 11 11/14/2008 9:50:57 AM11/14/2008 9:50:57 AM
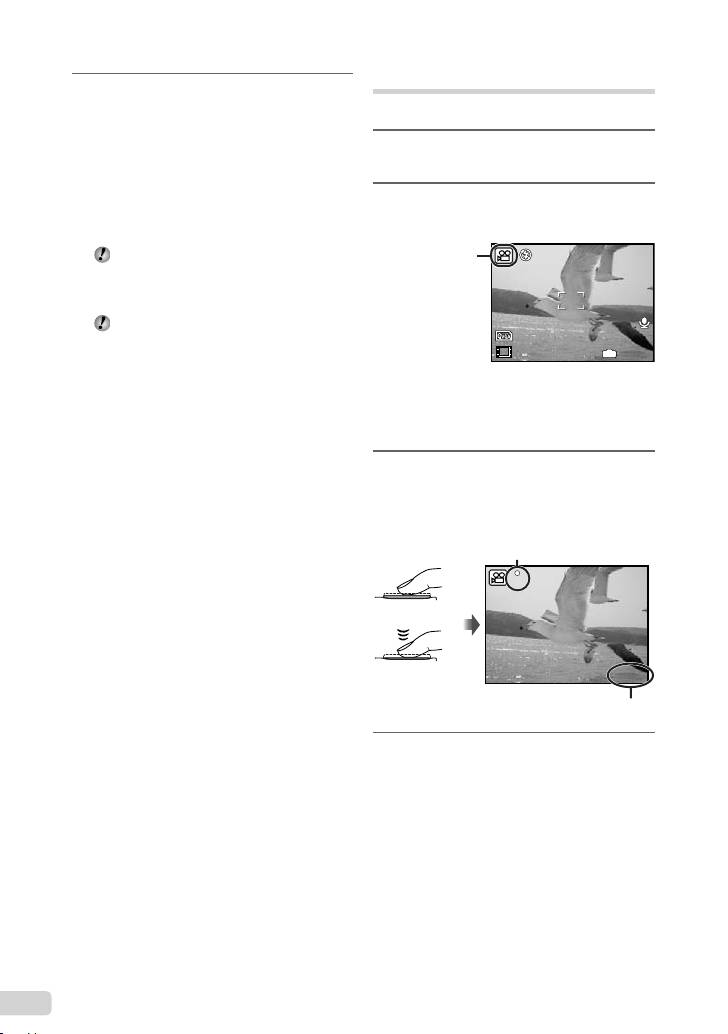
Shooting movies (A mode)
2
Point the camera toward the
subject. Check the frame appearing
Sound is recorded at the same time.
around the face detected by the
camera, and then press the shutter
1
Press the K button a few times to
button to take the picture.
set s.
●
The unedited image and edited image are both
saved.
2
Use CE to select [A MOVIE], and
●
If the image cannot be retouched, only the
press the x button to set.
unedited image is saved.
The frame may not appear or may take
some time to appear for some subjects. In
addition, this function may have no visible
effect on some subjects.
The [IMAGE SIZE] of the retouched image
is limited to [J] or lower.
To use the zoom
The optical zoom is not available during
movie recording. Use [DIGITAL ZOOM]
(p. 27).
3
Press the shutter button halfway
down to focus on the subject, and
gently press the button all the way
down to start recording.
4
Gently press the shutter button all
the way down to stop recording.
12
EN
00:34
IN
00:34
15
A mode indicator
15
00:34
00:34
REC
Lights red during shooting
REC
Press halfway
Press fully
Remaining recording time (p. 55)
d4399_e_basic_000_book_cs2e.indb12 12d4399_e_basic_000_book_cs2e.indb12 12 11/14/2008 9:50:58 AM11/14/2008 9:50:58 AM
Оглавление
- Preparing the Camera
- Shooting, Playback, and Erasing
- Using Shooting Modes
- Using Shooting Functions
- Printing
- Using OLYMPUS Master 2
- Appendix
- Préparer l’appareil photo
- Prise de vue, lecture et effacement
- Utiliser les modes prise de vue
- Utiliser les fonctions de prise de vue
- Imprimer
- Utiliser OLYMPUS Master 2
- Appendice
- Preparación de la cámara
- Toma, reproducción y borrado
- Uso de los modos de toma
- Uso de las funciones de toma
- Impresión
- Uso del programa OLYMPUS Master 2
- Apéndice
- Vorbereiten der Kamera
- Aufnahme, Wiedergabe und Löschen von Bildern
- Verwenden der verschiedenen Aufnahmemodi
- Verwenden der Aufnahmefunktionen
- Verwenden der Software OLYMPUS Master 2
- Anhang
- Подготовка фотокамеры
- Съемка, воспроизведение и удаление
- Использование режимов съемки
- Использование функций съемки
- Печать
- Использование OLYMPUS Master 2
- Приложение
