chiliGREEN MS1754: CHAPTER 2
CHAPTER 2: chiliGREEN MS1754

CHAPTER 2
Introductions

2-2
Introductions
Congratulations on becoming an user of this notebook, the finely designed notebook. This
brand-new exquisite notebook will give you a delightful and professional experience in using
notebook. We are proud to tell our users that this notebook is thoroughly tested and certified by
our reputation for unsurpassed dependability and customer satisfaction
.
Manual Map
This User’s Manual provides instructions and illustrations on how to operate this notebook. It is
recommended to read this manual carefully before using this notebook.
Chapter 1, Preface
, gives users the basic safety information and caution that is interrelated to using
this notebook. It is recommended to read these information or caution when using this notebook
for the first time.
Chapter 2, Introductions
, includes the descriptions of all the accessories of this notebook. It is
recommended to check out that if you have all the accessories included when you open the packing
box. If any of these accessories is damaged or missing, please contact the vendor where you
purchased this notebook. Also, this chapter provides the specification of this notebook, and
introduces the function buttons, quick launch buttons, connectors, LEDs and externals of this
notebook.
Chapter 3, Getting Started
, gives the basic operation instructions on using keyboard, touchpad,
hard disk drive, and optical storage drive. Beside, the steps of installing and uninstalling the
battery; and the procedures of connecting the various external devices, communication devices,
and so on, are also provided to help users getting familiar with this notebook.
2-3
Introductions
Chapter 4, BIOS Setup, provides information on BIOS Setup program and allows you to configure
the system for optimum use.
Unpacking
First, unpack the shipping carton and check all items carefully. If any item contained is damaged or
missing, please contact your local dealer immediately. Also, keep the box and packing materials in
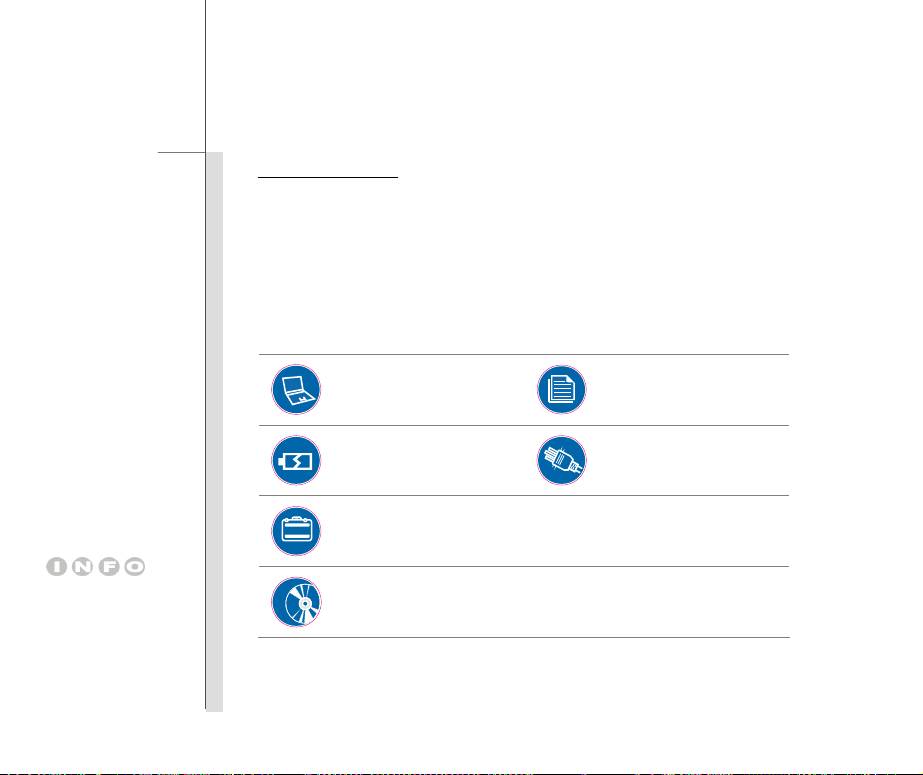
case you need to ship the unit in the future. The package should contain the following items:
Notebook
Quick Start Manual
AC/DC adapter and AC power
High-capacity Li-ion battery
cord
Carry bag (optional)
These accessories listed
All-in-one application disk, containing the full version of user’s manual,
above may change without
drivers, utilities, and optional recovery function, etc..
notice.

2-4
Introductions
Specification
Physical Characteristic
Dimension 417.8 (W) x 269.3 (D) x 39 (H) mm
Weight 2.9 kg (with 6 cell battery)
CPU
Socket Socket rPGA989
®
Supported Processor Intel
Sandy Bridge (Dual-core)
Process 32nm
L2/ L3 Cache up to 4MB (based on CPU)
TDP (Thermal Design Power) 35W
Special Notification The actual processor preinstalled in the notebook depends on
the model you purchased. Please contact the local dealer for
detailed information.
Core Chips
®
Chipset Intel
HM65
TDP (Thermal Design Power) 3.9W
Special Notification The actual core chip(s) preinstalled in the notebook depends
on the model you purchased. Please contact the local dealer
for detailed information.

2-5
Introductions
Memory
Technology DDR3 1066/ 1333 MHz
Memory DDR3 SO-DIMM X 2 slots
Maximum 8 GB (4 GB DDR3 SO-DIMM x 2)
Power
AC/DC Adapter (1) (optional) 65W, 19V
Input: 100~240V, 1.5A~2.0A 50~60Hz
Output: 19V
3.42A
AC/DC Adapter (2) (optional) 90W, 19V
Input: 100~240V, 1.5A~2.0A 50~60Hz
Output: 19V
4.74A
Battery Type 6-cell / 9-cell (optional)
RTC Battery Yes
Special Notification The actual battery pack that comes with the package may vary
without notice. Please contact the local dealer for detailed
information.
Storage (Items listed here may vary without notice)
HDD form factor 2.5” HDD
Optical Drive Device Super Multi / Blu-ray (optional)
Special Notification The actual HDD and ODD preinstalled in the notebook depends
on the model you purchased, and may vary without notice.

2-6
Introductions
I/O Port
Monitor (VGA) 15 pin D-Sub x 1
USB x 4 (version 3.0/ version 2.0) (optionally supported)
Mic-in/ Line-in x 1
Headphone-out x 1
RJ45 x 1
HDMI x 1
Card Reader x 1 (SD/ MMC/ MS/ MS Pro/xD)
The supported memory cards may vary without notice.
Communication Port (Items listed here may vary without notice)
LAN 10/100/1000 Ethernet
Wireless LAN Optionally supported
Bluetooth Optionally supported
Display
LCD Type 17.3” 16:9 LED
Brightness controlled by K/B hot-keys
Video
Graphics Discrete / UMA (optional)
VRAM DDR3, 1GB (optional)
CRT output Supported

2-7
Introductions
HDMI output Supported
Dual View Function Supported
External display devices will be auto detected when connected.
WebCam
HD CMOS Camera Supported
Audio
®
Sound Controller Realtek
ALC269
Internal Speaker x 4
Internal Microphone x 1
Sound Volume Adjust by K/B hot-key & SW
Software & BIOS
USB Flash Boot Yes, USB floppy boot up DOS only
BIOS Fast Boot Support --- Yes
Others
Compliance WHQL
Kensington Lock Hole x 1
2-8
Introductions
Product Overview
This section provides the description of basic aspects of the notebook. It will help you to know
more about the appearance of this notebook before using it. Please be aware that the notebook
shown in this section may vary from the actual one that users purchased.
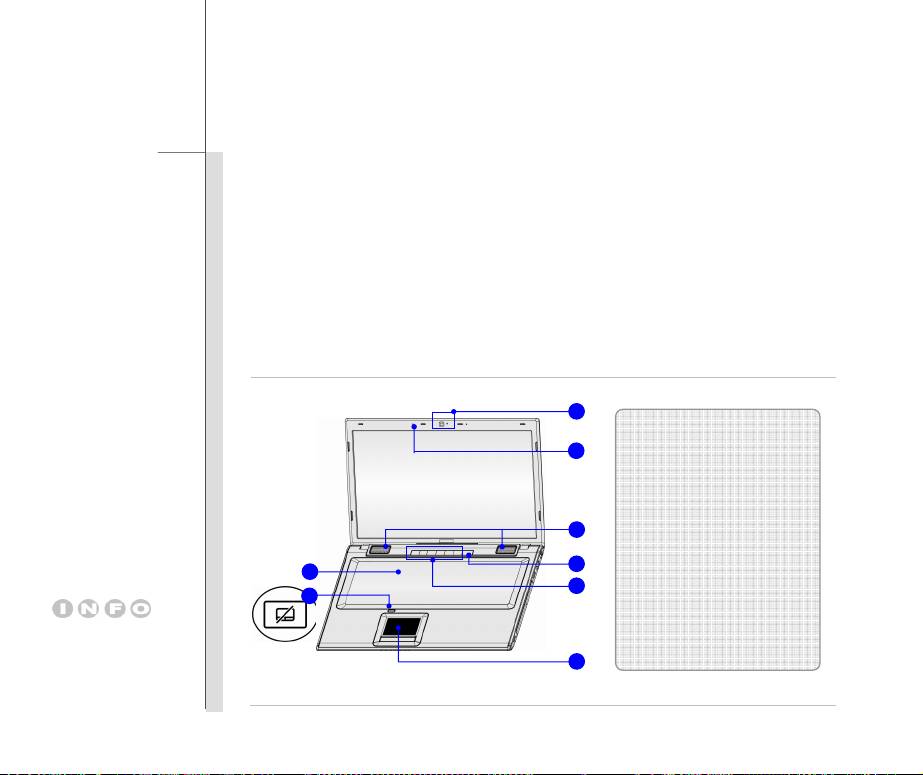
Top-open View
The figure of top-open view and description shown below will lead you to browse the main operating
area of your notebook.
1
2
1. Webcam
2. Internal microphone
3. Stereo Speakers
4. Power Button / Power LED
3
5. Quick Launch Buttons
4
6. Touchpad
8
5
7. Touchpad Switch
7
8. Keyboard/
The figures show here are
Quick Launch [Fn] Buttons
for reference only.
6

2-9
Introductions
1. Webcam
This built-in Webcam can be used for picture taking, video recoding or conferencing, and
any other interactive applications.
Webcam LED indicator, next to the webcam, grows orange when webcam function is
activated; LED goes out when this function is turned off.
2. Internal Microphone
This is the built-in microphone and its function is the same with microphone.
3. Stereo Speakers
Give high quality sound blaster with stereo system and Hi-Fi function supported.
4. Power Button / Power LED
Power Button
Press the power button to turn the notebook power ON and OFF.
Press the power button to awake the notebook from the sleep state.
Power/ Power Saving function LED
Glowing blue when the notebook power is turned on.
LED goes off when this function is turned off.
2-10
Introductions
5. Quick Launch Buttons
Press the quick launch buttons to activate the specific applications or tools. The following
Quick Launch Buttons will only be functional in the Operating System with the S-Bar application
installed. Find the S-Bar application in the all-in-one disk that comes with the package for easy
and convenient operation. It is strongly recommended to install the S-Bar application.
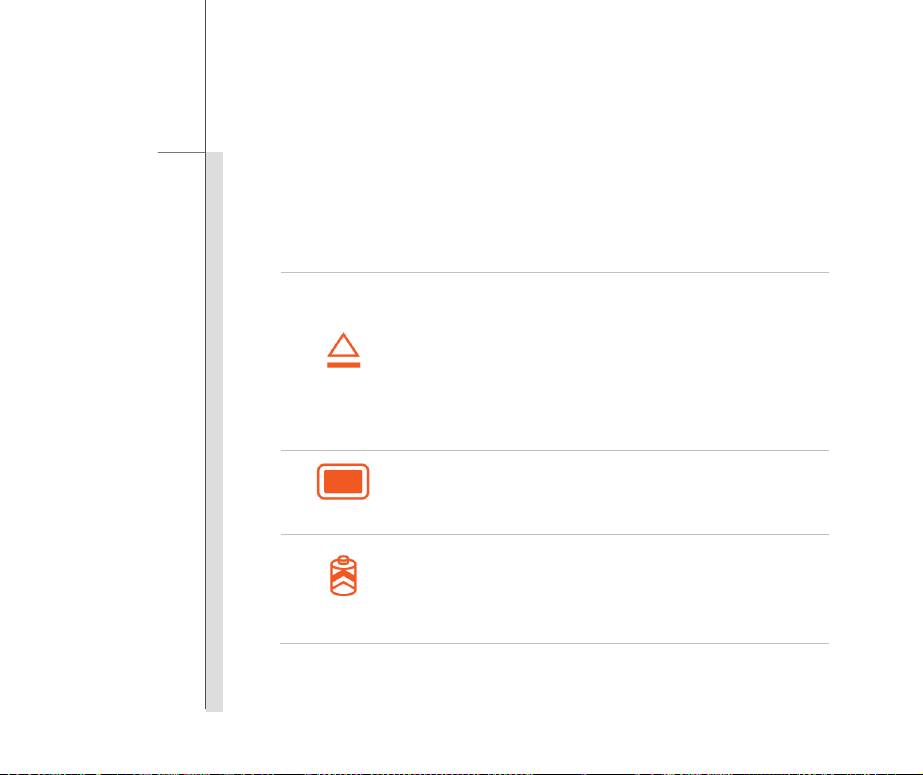
Press this button to eject the disc tray of the optical device drive.
Press this button again to retrieve the disc tray.
Please Note: The ODD Eject button is functional under pure DOS
system. However, in an Operating System without the S-Bar
ODD Eject
application installed, the Eject button will not be functional.
In such a case, users can right-click the ODD in "My Computer"
and select "Eject" to eject the ODD tray.
Press this button to switch the display off instantly to economize the
power consumption.
Display Off
Press this button again to switch on the display.
Press this button to enable the Tu r boBattery+ function to
maximize the battery running time.
Press this button again to disable the TurboBattery+ function.
TurboBattery+
Refer to chapter 3 of this manual for the further information.
2-11
Introductions
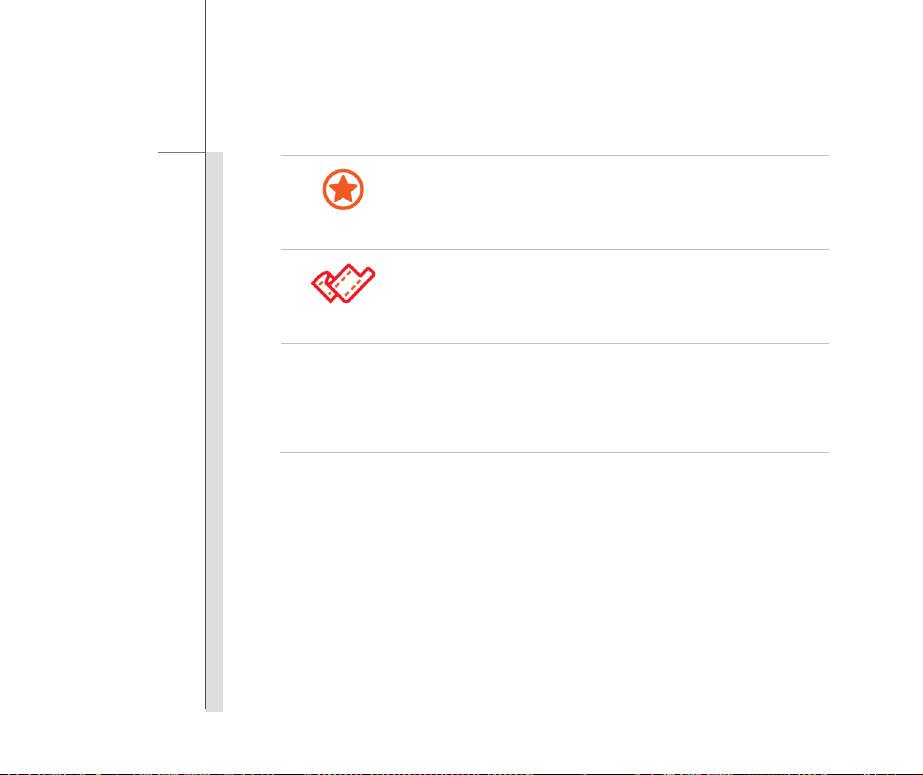
Press this button to activate the S-Bar application.
Refer to chapter 3 of this manual for the further information.
Device Key
Press this button to activate the Cinema Pro function which
enhances the playback quality from your display device and sound
Cinema Pro
system. Press again to turn this function off.
Press this button once to bring up the User Define Key dialogue.
Press this button again to launch the user defined application.
P1
In the User Define Key dialogue, users are allowed to set up the
User Defined
P1 quick launch button for launching the particular application.
6. Touchpad
This is the pointing device of the notebook.
7. Touchpad Switch
Press this button to enable or disable the touchpad function. The touchpad indicator, if
equipped, glows when the touchpad function is disabled.

2-12
Introductions
8. Keyboard
The built-in keyboard provides all the functions of a full-sized keyboard.
Quick Launch [Fn] Buttons
Use the [Fn] buttons on the keyboard to activate the specific applications or tools.
With the help of these quick launch buttons, users will be able to do work more efficiently.
Press and hold the Fn button, and then press the F4 button to
+
launch the user defined application.
User Defined
Or, press and hold the Fn button, and then press the F4 button to
or
Windows Search
launch the Windows Search function.
(optional)
Press and hold the Fn button, and then press the F5 button
repeatedly to switch among various power saving modes provided
+
by ECO Engine, or to turn this function off recurrently.
ECO Engine
Refer to chapter 3 of this manual for the further information.
(Power Saving)
Press and hold the Fn button, and then press the F6 button to turn
+
the Webcam function on. Press again to turn it off.
Webcam
The functions listed here
are for reference only.
2-13
Introductions
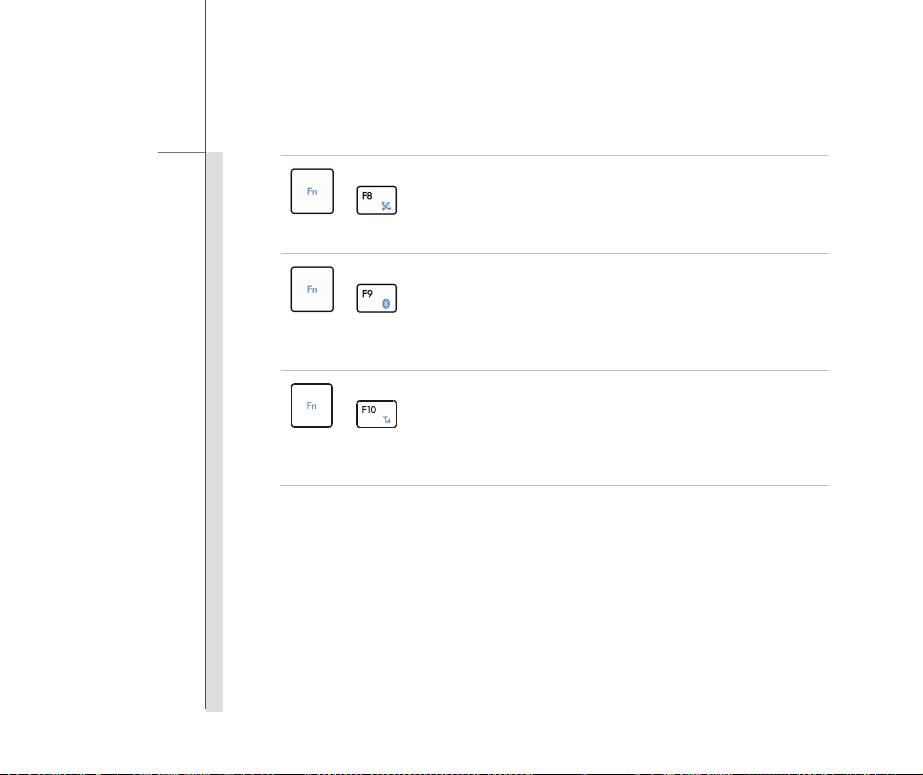
Press and hold the Fn button, and then press the F8 button
repeatedly to turn the Wireless LAN (WiFi) function on or off
+
recurrently.
WLAN (WiFi)
Press and hold the Fn button, and then press the F9 button to turn
the Bluetooth function on. Press again to turn it off.
+
This function button will not be available when the Bluetooth
Bluetooth
function is not supported.
(optional)
+
This function is NOT supported on this model.
3G
(Not supported)
2-14
Introductions
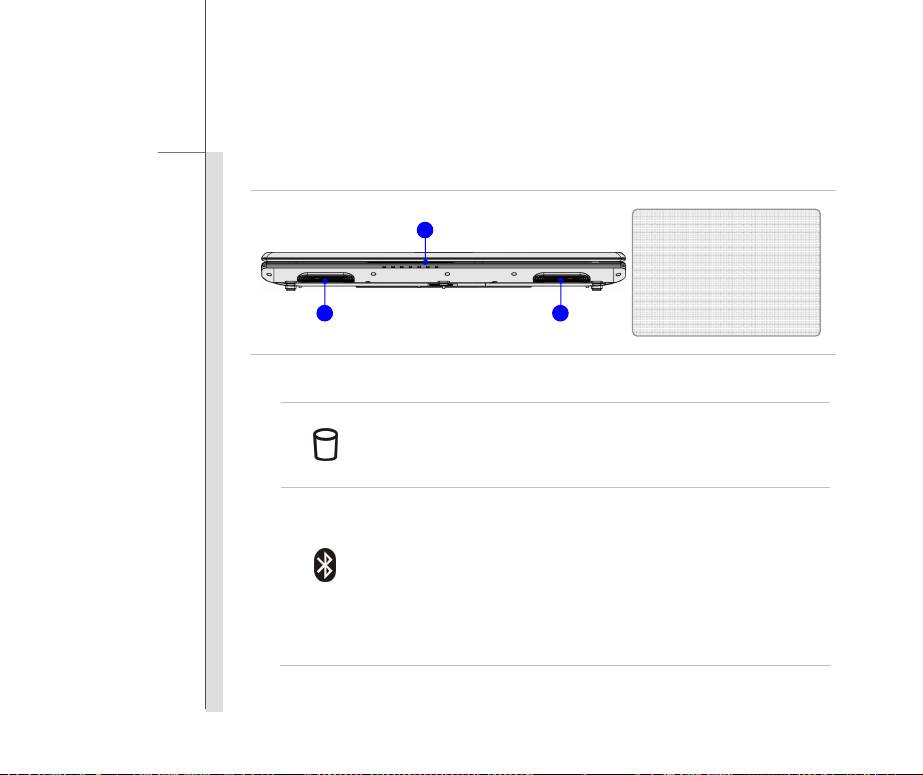
Front Side View
1
1. Status LED
2. Ventilator
2 2
1. Status LED
Hard Disk/ Optical Drive Device In-use
Blinking blue when the system is accessing the hard disk drive or the optical
drive device.
Bluetooth
Bluetooth LED indicator glows blue when Bluetooth function is enabled.
Warning: For flight safety consideration, make sure this LED indicator
goes out when you are in flight.
Bluetooth
Note: The Bluetooth Function may be optional supported depending on
the model users purchased.
Contact the local distributor for further information if necessary.

2-15
Introductions
Wireless LAN (WiFi)
This LED indicator glows blue when Wireless LAN (WiFi) function is
enabled.
LED indicator goes out when this function is disabled.
Note: Functions listed here may be optional supported depending on the
WLAN(WiFi)
model users purchased.
Warning: For flight safety consideration, make sure this LED indicator
goes out when you are in flight.
Contact the local distributor for further information if necessary.
Battery Status
Glowing blue when the battery is being charged.
Glowing amber when the battery is in low battery status.
Blinking amber if the battery fails and it is recommended to replace a new
battery. Consult the local dealer for purchasing an equivalent type of
battery recommended by the manufacturer.
Battery LED goes out when it is fully charged or when the AC/DC adapter
is disconnected.
Caps Lock: Glowing blue when the Caps Lock function is activated.
Num Lock: Glowing blue when the Num Lock function is activated.

2-16
Introductions
Sleep State
Blinking blue when the system is in Sleep state.
LED goes out when the system is turned off.
2. Ventilator
The ventilator is designed to cool the system. DO NOT block the ventilator for air circulation.
2-17
Introductions
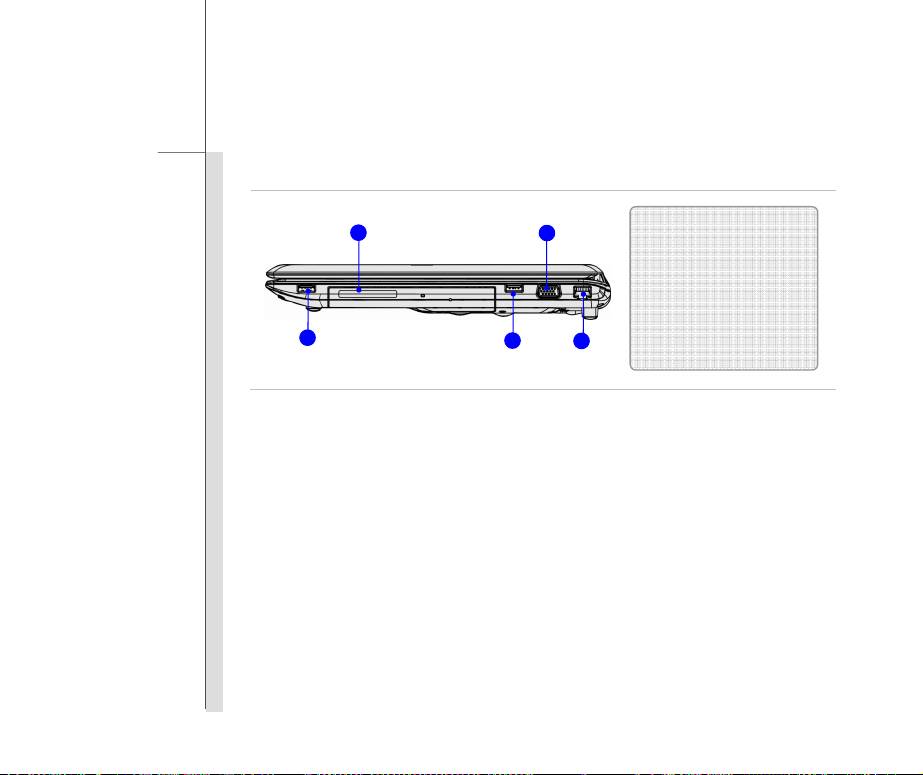
Right Side View
1
2
1. Optical Drive Device
2. VGA Port
3. USB Port
4. RJ-45 Connector
3
3
4
1. Optical Drive Device
This notebook is equipped with an optical drive device. The actual device preinstalled in the
notebook depends on the model you purchased.
2. VGA Port
The 15-pin-D-sub VGA port allows you to connect an external monitor or other standard
VGA-compatible device (such as a projector) for a great view of the computer display.

2-18
Introductions
3. USB 2.0/ 3.0 Port (Optional)
The USB 2.0 port allows you to connect USB-interface peripheral devices, such as the mouse,
keyboard, modem, portable hard disk module, printer and more.
USB 3.0, the SuperSpeed USB, delivers the higher interface speeds for connecting various
devices, such as storage devices, hard drives, or video cameras, and offers more advantages
over high-speed data transferring.
4. RJ-45 Connector
The 10/100/1000 Ethernet connector is used to connect a LAN cable for network connection.
2-19
Introductions
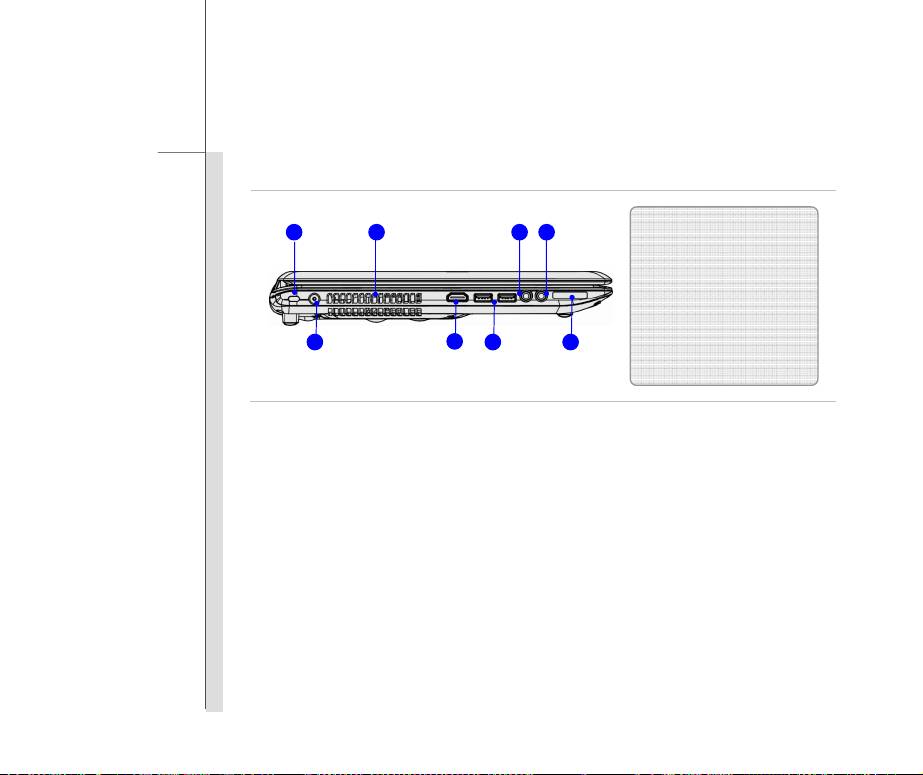
Left Side View
1. Kensington Lock
1 2 3 3
2. Ventilator
3. Audio Port Connectors
4. Power Connector
5. HDMI Connector
4 6 7
5
6. USB Port
7. Card Reader
1. Kensington Lock
This notebook provides a Kensington Lock
hole, which allows users to secure the notebook in
place with a key or some mechanical PIN device and attached through a rubberised metal cable. The
end of the cable has a small loop which allows the whole cable to be looped around a permanent
object, such as a heavy table or other similar equipment, thus securing the notebook in place.
2. Ventilator
The ventilator is designed to cool the system. DO NOT block the ventilator for air circulation.
2-20
Introductions
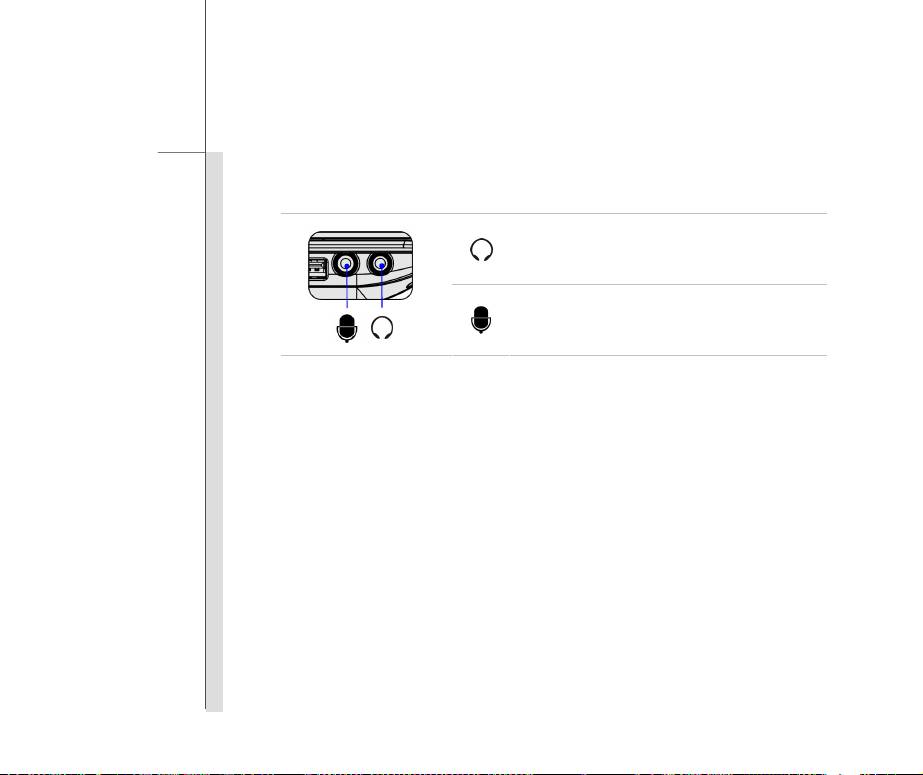
3. Audio Port Connectors
Make high quality sound blaster with stereo system and Hi-Fi function supported.
Headphone: A connector for speakers or
headphones.
Microphone: Used for an external microphone.
4. Power Connector
To connect the AC/DC adapter and supply power for the notebook.
5. HDMI Connector
HDMI (High Definition Multimedia Interface) is a new interface standard for PCs, displays and
consumer electronics devices that supports standard, enhanced and high-definition video, plus
multi-channel digital audio on a single cable.
6. USB 2.0/ 3.0 Port (Optional)
The USB 2.0 port allows you to connect USB-interface peripheral devices, such as the mouse,
keyboard, modem, portable hard disk module, printer and more.
USB 3.0, the SuperSpeed USB, delivers the higher interface speeds for connecting various
devices, such as storage devices, hard drives, or video cameras, and offers more advantages
over high-speed data transferring.

2-21
Introductions
7. Card Reader
The built-in card reader
may support various types of memory card, such as MMC (Multi-Media
Card), XD (eXtreme Digital), SD (Secure Digital), SDHC (SD High Capacity), SDXC(SD
eXtended Capacity), MS (Memory Stick) or MS Pro (Memory Stick Pro) cards. Contact the
local dealer for further and correct information and be noted that the supported memory
cards may vary without notice.
2-22
Introductions
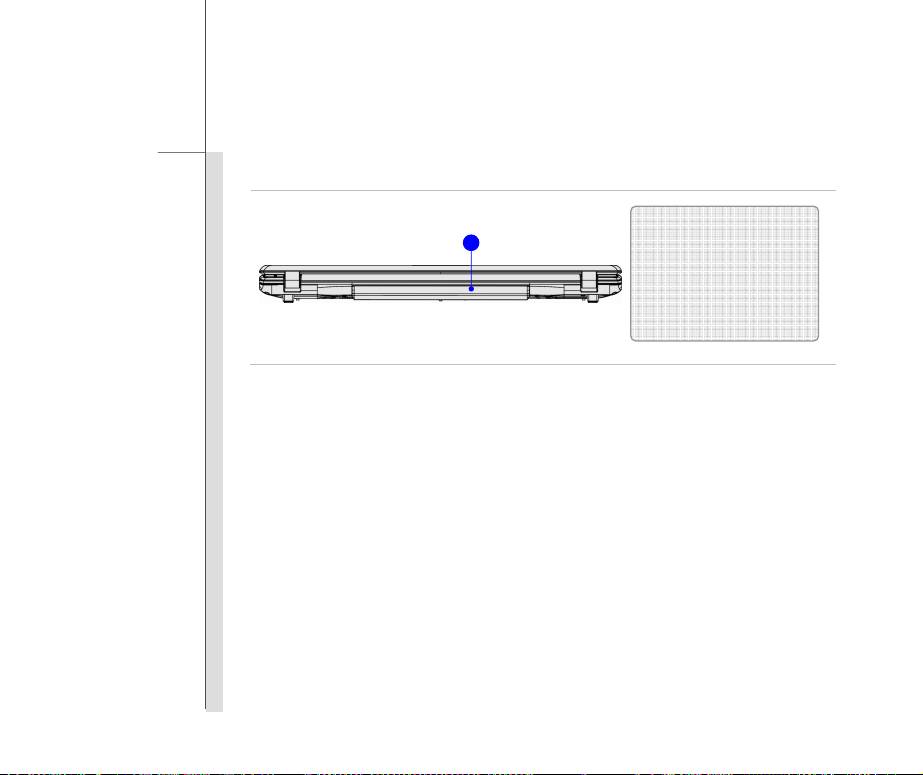
Rear Side View
1
1. Battery Pack
1. Battery Pack
This notebook will be powered by the battery pack when the AC adapter is disconnected.
2-23
Introductions
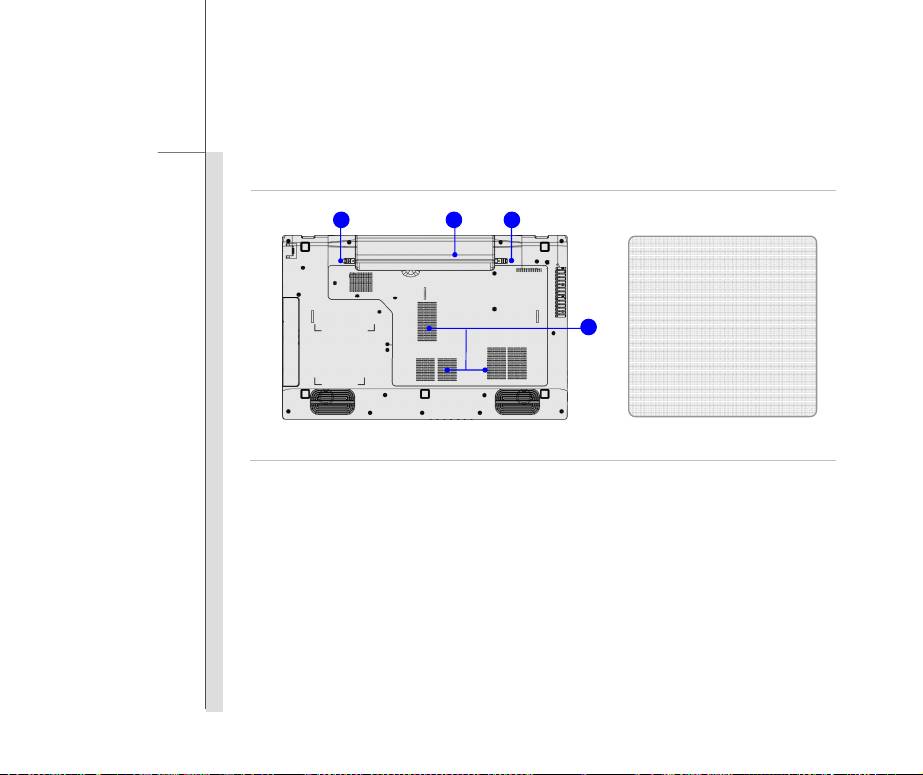
Bottom Side View
1 3 2
1. Battery Release Button
2. Battery Lock/Unlock Button
4
3. Battery Pack
4. Ventilator
1. Battery Release Button
It is a bounce-back device as a preparation for releasing the battery pack. Slide it with one hand
and pull the battery pack carefully with the other.
2. Battery Lock/Unlock Button
Battery cannot be moved when the button is positioned on lock status. Once the button is slid to
unlock position, the battery is removable.

2-24
Introductions
3. Battery Pack
This notebook will be powered by the battery pack when the AC/DC adapter is disconnected.
4. Ventilator
The ventilator is designed to cool the system. DO NOT block the ventilator for air circulation.
