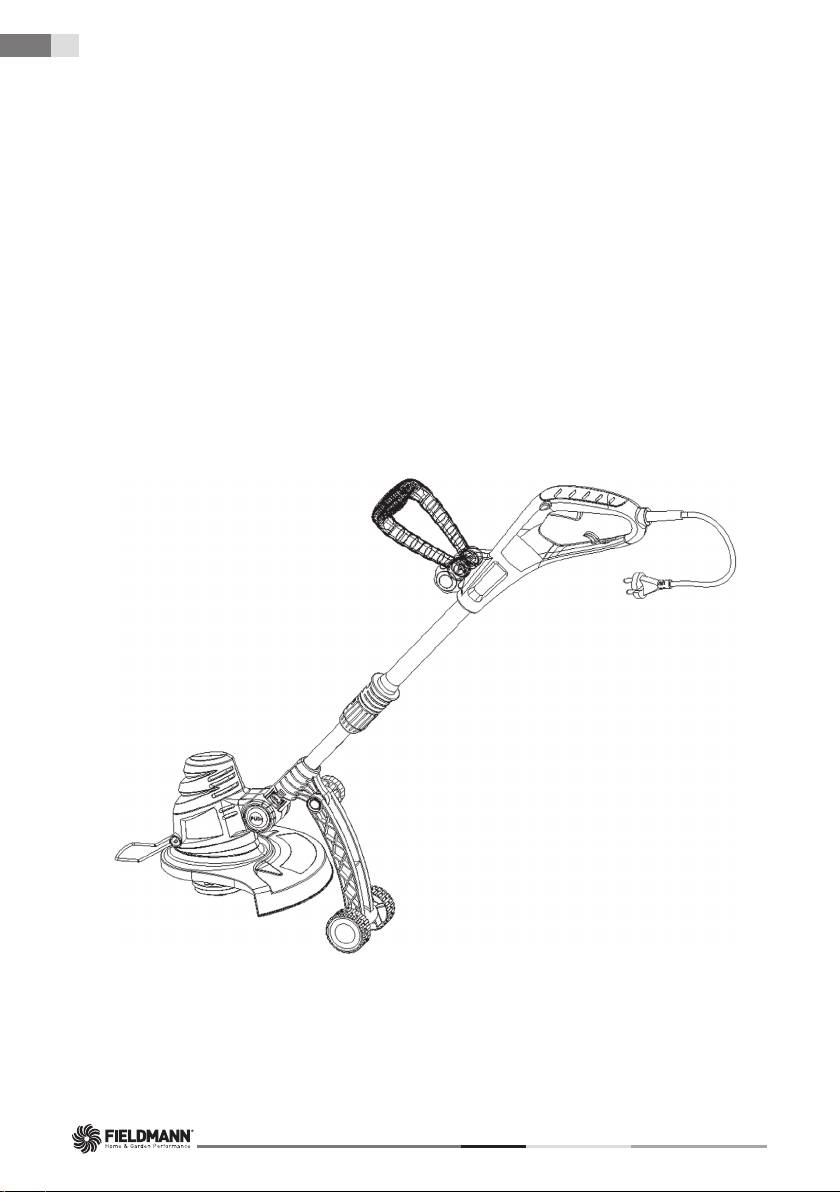
Fieldmann FZS 2002-E: instruction
Class: Gardening equipment
Type:
Manual for Fieldmann FZS 2002-E

FZS 2002-E
2
FZS 2002-E
English .................................................................................................................................................. 9 - 20
Čeština .............................................................................................................................................. 21 - 32
Slovenčina ...................................................................................................................................... 33 - 44
Magyarul .......................................................................................................................................... 45 - 56
Polski ................................................................................................................................................... 57 - 68
Русский ................................................................................................................................................ 69 - 81
3
1
1
2
3
13
12
5
4
6
7
14
11
9
8
10
4
FZS 2002-E
2
A
C
B
5
3
1
2
A
B
4
AB
3
6
FZS 2002-E
5 6
7
1
3
2
8
1
2
7
9 10
11 12
13 14
8
FZS 2002-E
15
Table of contents
- FZS 2002-E
- Electric String Trimmer
- 1. GENERAL SAFETY INSTRUCTIONS
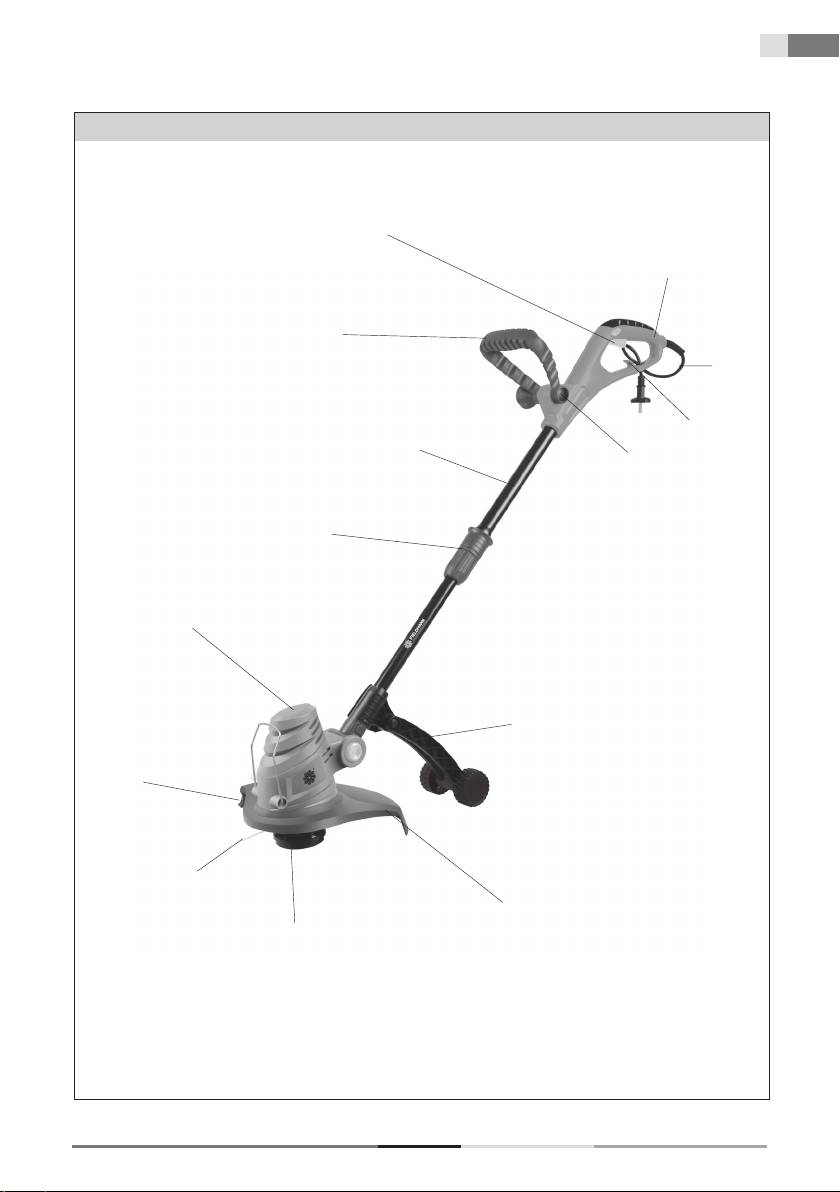
- 3. MACHINE DESCRIPTION AND ITEMS DELIVERED
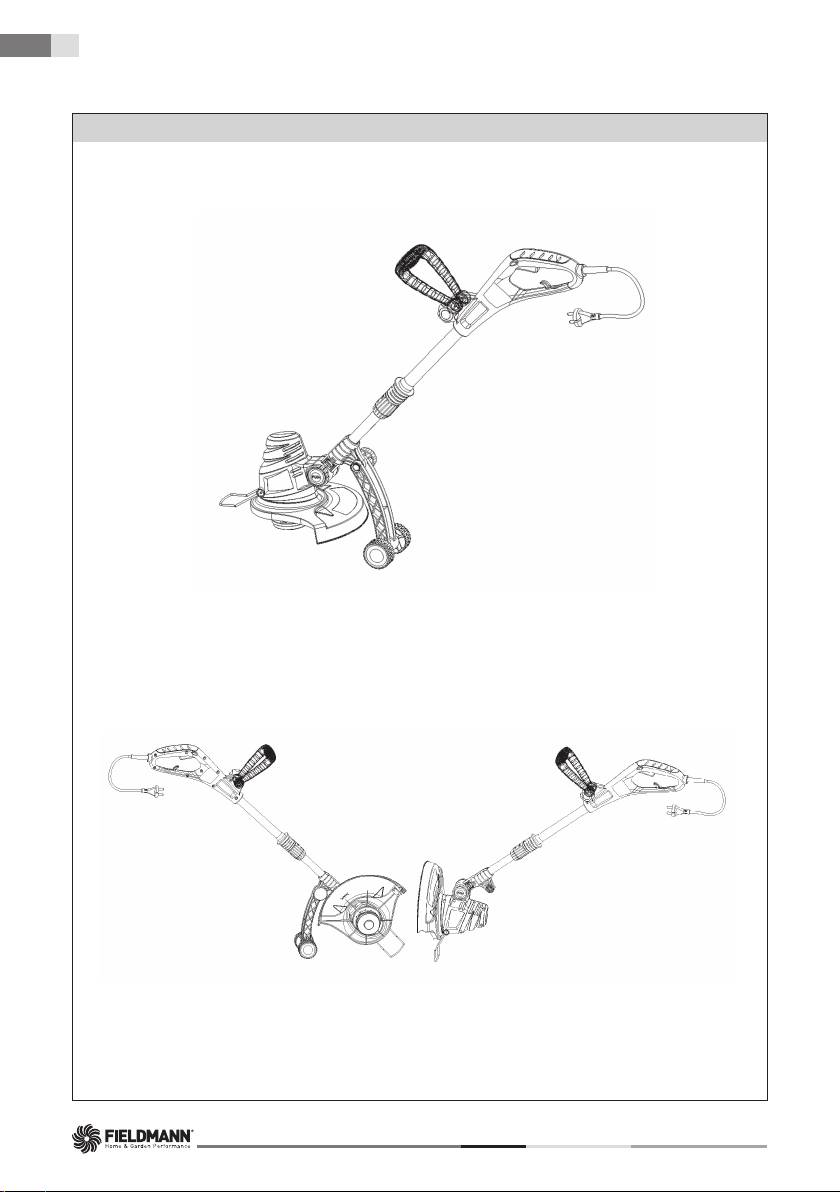
- 5. APPLICATION
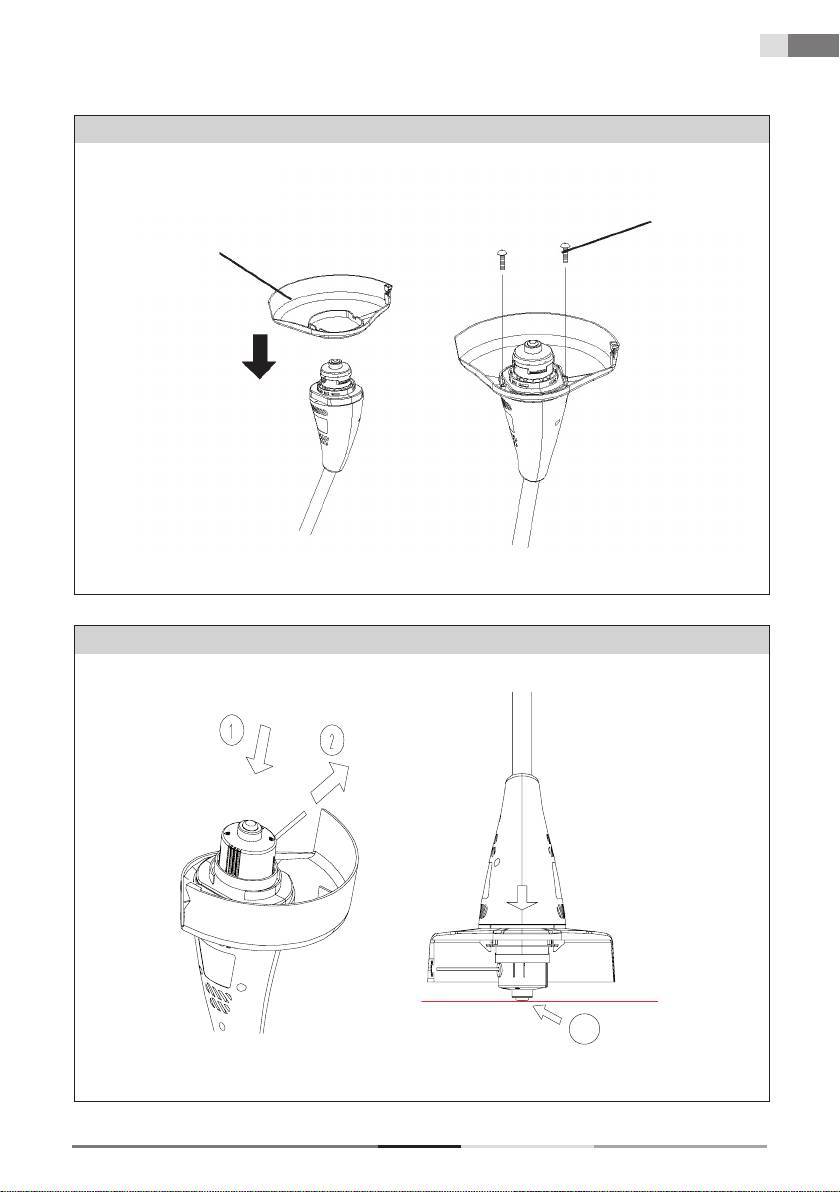
- 6. ASSEMBLY INSTRUCTIONS
- 7. OPERATION
- 8. STRING TRIMMER STARTUP (Fig. 14)
- 9. MAINTENANCE
- 11. DECLARATION OF CONFORMITY
- 12. DISPOSAL
- Elektrická strunová sekačka
- 1. VŠEOBECNÉ BEZPEČNOSTNÍ PŘEDPISY
- 2. VYSVĚTLENÍ ŠTÍTKŮ S POKYNY NA STROJI
- 3. POPIS STROJE A OBSAH DODÁVKY
- 5. POUŽITÍ
- 7. PROVOZ
- 8. SPUŠTĚNÍ SEKAČKY (obr. 14)
- 9. ÚDRŽBA
- 11. PROHLÁŠENÍ O SHODĚ
- 12. LIKVIDACE
- Elektrická strunová sekačka
- 1. VŠEOBECNÉ BEZPEČNOSTNÉ PREDPISY
- 2. VYSVETLENIE ŠTÍTKOV S POKYNMI NA STROJI
- 3. POPIS STROJA A OBSAH DODÁVKY
- 5. POUŽITIE
- 6. POKYNY PRE MONTÁŽ
- 7. PREVÁDZKA
- 8. SPUSTENIE KOSAČKY (obr. 14)
- 9. ÚDRŽBA
- 11. VYHLÁSENIE O ZHODE
- 12. LIKVIDÁCIA
- Elektromos szegélynyíró
- 1. ÁLTALÁNOS BIZTONSÁGI ELŐÍRÁSOK
- 2. A GÉPEN TALÁLHATÓ CÍMKÉK UTASÍTÁSAINAK ISMERTETÉSE
- 3. A GÉP BEMUTATÁSA ÉS A CSOMAGOLÁS TARTALMA
- 5. HASZNÁLAT
- 7. ÜZEMELTETÉS
- 8. A SZEGÉLYVÁGÓ BEINDÍTÁSA (14. ábra)
- 11. MEGFELELŐSÉGI NYILATKOZAT
- 12. MEGSEMMISÍTÉS
- Podkaszarka elekryczna
- 1. OGÓLNE PRZEPISY BEZPIECZEŃSTWA
- 2. OBJAŚNIENIE TABLICZEK INFORMACYJNYCH ZNAJDUJĄCYCH SIĘ NA URZĄDZENIU
- 3. OPIS URZĄDZENIA I ZAWARTOŚCI OPAKOWANIA
- 5. ZASTOSOWANIE
- 7. EKSPLOATACJA
- 8. URUCHOMIENIE PODKASZARKI (ilustracja 14)
- 11. DEKLARACJA ZGODNOŚCI
- 12. LIKWIDACJA
- Электрический триммер
- 1. ОБЩИЕ ПРАВИЛА БЕЗОПАСНОСТИ
- 2. ОПИСАНИЕ ТАБЛИЧЕК С УКАЗАНИЯМИ НА УСТРОЙСТВЕ
- 3. ОПИСАНИЕ УСТРОЙСТВА И КОМПЛЕКТ ПОСТАВКИ
- 5. ПРИМЕНЕНИЕ
- 7. ЭКСПЛУАТАЦИЯ
- 8. ЗАПУСК ТРИММЕРА (рис. 14)
- 10. ТЕХНИЧЕСКИЕ ДАННЫЕ
- 11. СЕРТИФИКАТ СООТВЕТСТВИЯ
- 12. УТИЛИЗАЦИЯ
