Lacie Rugged Safe: instruction
Class: Professional equipment
Type:
Manual for Lacie Rugged Safe
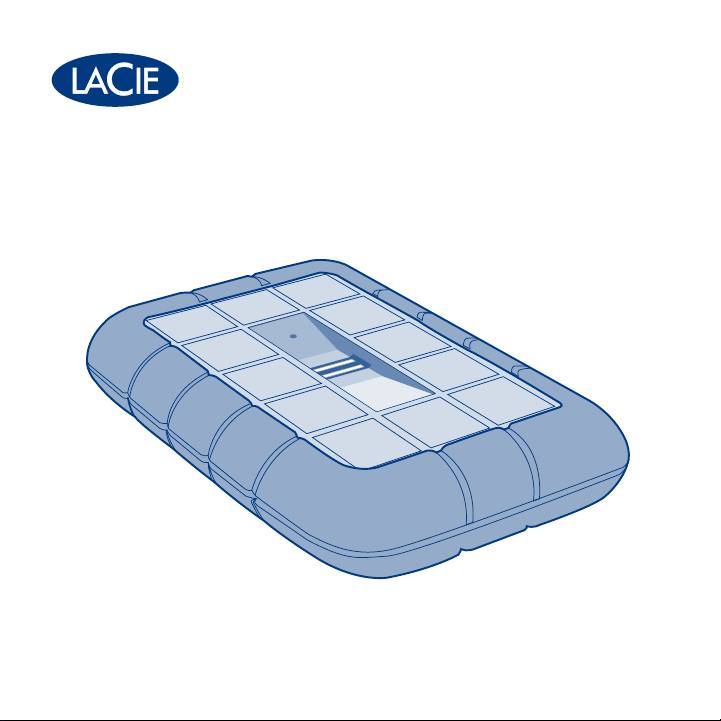
rugged SAFE
Secure All-Terrain Hard Disk
FireWire 800 and Hi-Speed USB 2.0
Design by Neil Poulton
Quick Install Guide

Box Content
LaCie Rugged Safe Hard Disk
FireWire 800 (9-to-9 pin) cable
FireWire 400 to 800 (6 pin to 9 pin) adapter cable
Hi-Speed USB 2.0 cable
USB power-sharing cable
Quick Install Guide
LaCie utilities (including the User Manual)
All utilities and manuals are also
available for free download from the
LaCie website: www.lacie.com
Protect your investment – register for free technical support at www.lacie.com/register
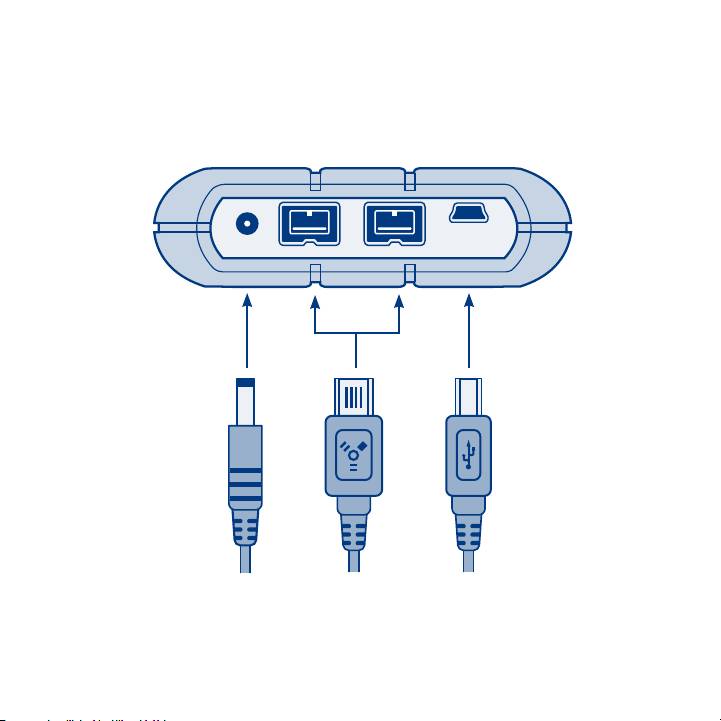
Power USB 2.0FireWire 800
Power USB 2.0FireWire 800
Power USB 2.0FireWire 800
Rear View
Table of contents
Annotation for Lacie Rugged Safe in format PDF
Top 10 manuals
100.00
NZXT HALE90 1000W99.99
Samsung SM-R38099.97
AEG BSB 18C99.97
Dell 2700W99.97
Smeg KSEC70X99.96
Beurer HDE 4099.96
Pyramida KH 50 v.299.96
MSI CSM-H81M-P3299.96
AEG HR 562799.95
Melissa 640-048